How to Tie Twilly on a Bag Handle
Spread the twilly fabric out to make it flat and remove wrinkles.. Slide the twilly between the handle and the bag.. Pull the fabric towards you about 2–3 in (5.1–7.6 cm) to create a loop.
Steps
Spread the twilly fabric out to make it flat and remove wrinkles.
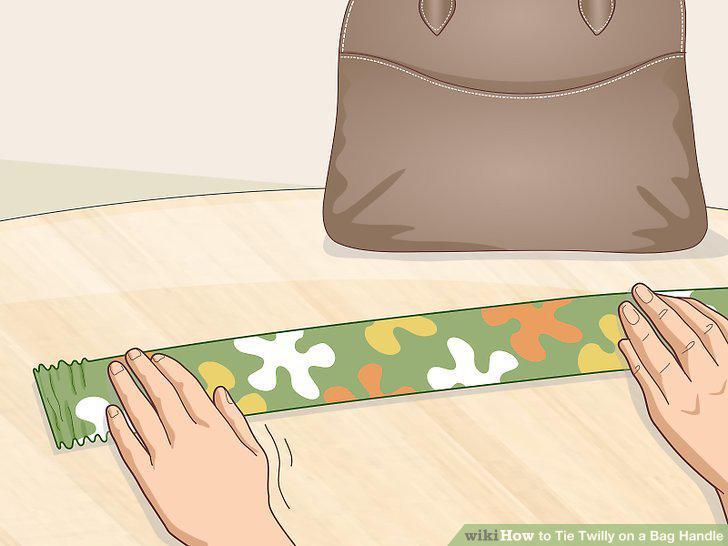
Spread the twilly fabric out to make it flat and remove wrinkles.
Slide the twilly between the handle and the bag.
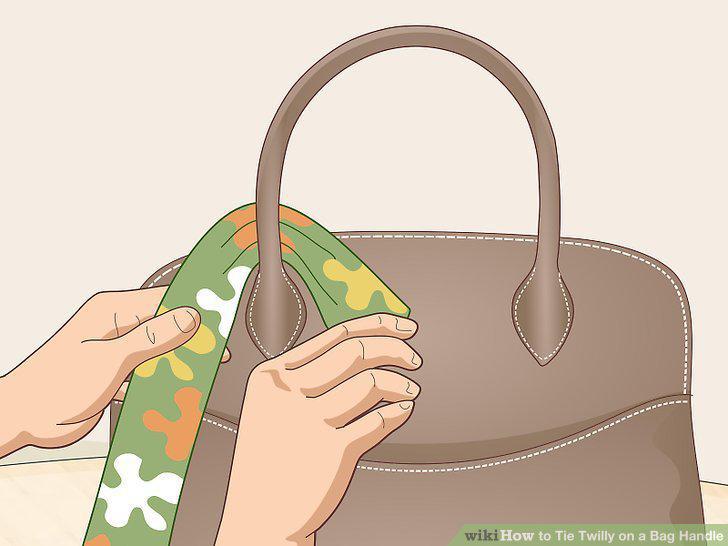
Slide the twilly between the handle and the bag.
Pull the fabric towards you about 2–3 in (5.1–7.6 cm) to create a loop.
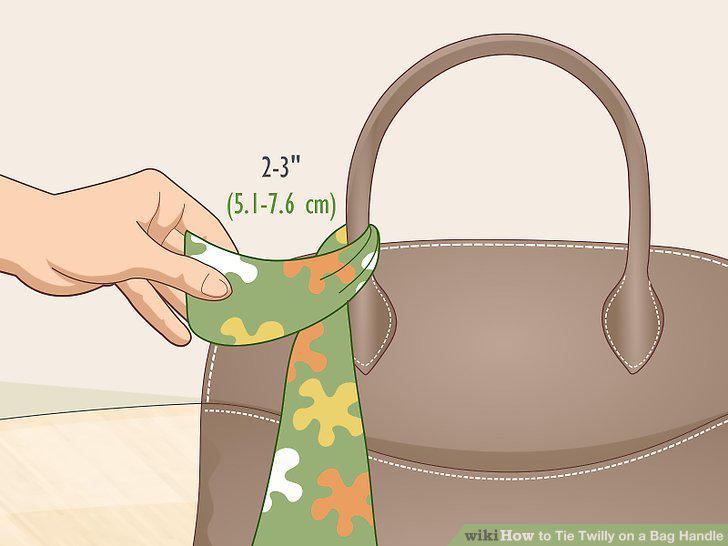
Pull the fabric towards you about 2–3 in (5.1–7.6 cm) to create a loop.
Tie the loop into a simple knot with a little fabric sticking out at the bottom.
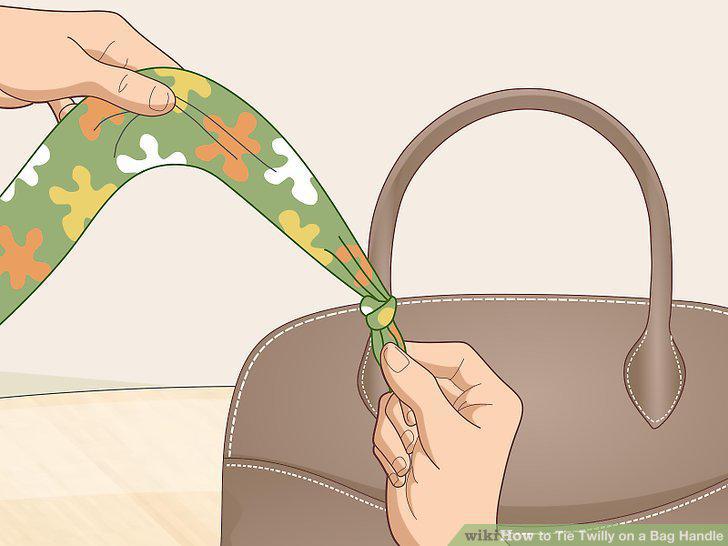
Tie the loop into a simple knot with a little fabric sticking out at the bottom.
Layer the twilly over the handle by wrapping the fabric.
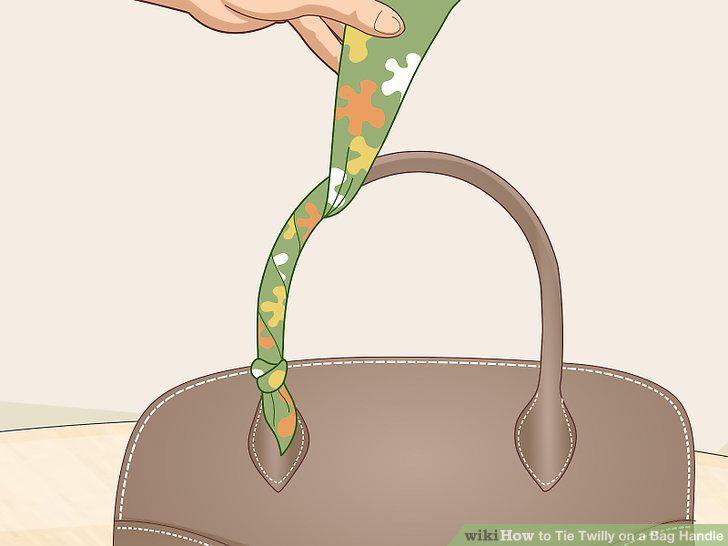
Layer the twilly over the handle by wrapping the fabric.
Continue wrapping the fabric until you reach the other end of the handle.
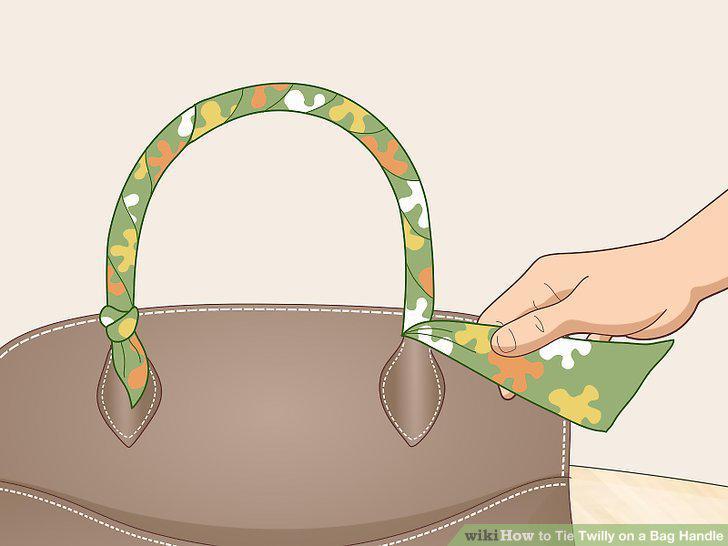
Continue wrapping the fabric until you reach the other end of the handle.
Loosen the last wrap a little while pinching the fabric above it.
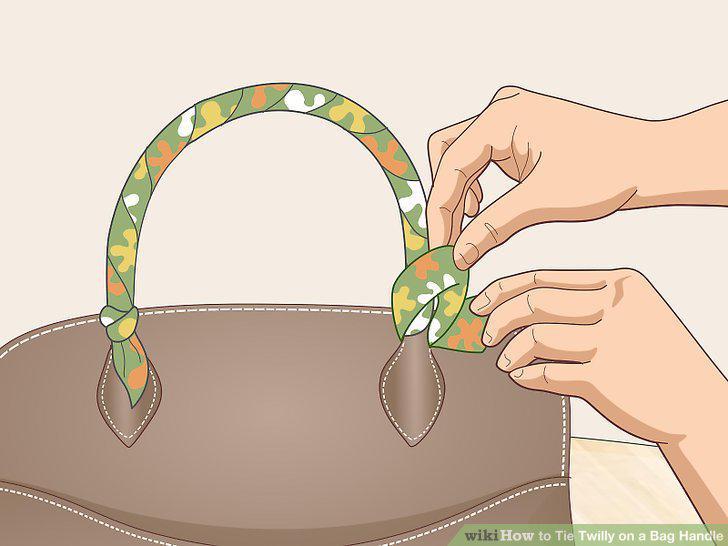
Loosen the last wrap a little while pinching the fabric above it.
Pull the loose fabric through the opening to make your second knot.
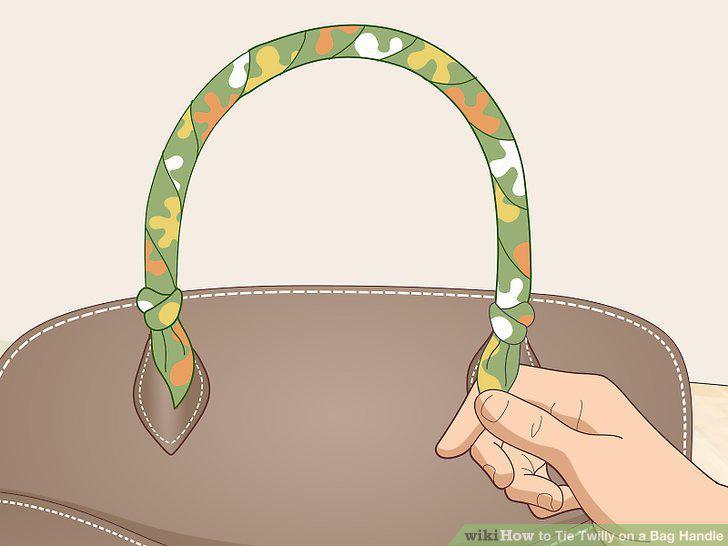
Pull the loose fabric through the opening to make your second knot.
Fold the twilly in half lengthwise to make it thinner.
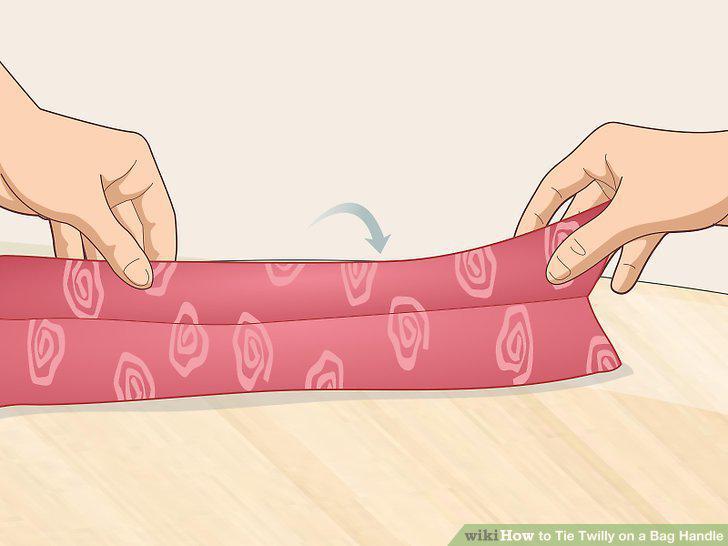
Fold the twilly in half lengthwise to make it thinner.
Wrap the twilly around the end of the handle where you want to add the knot.
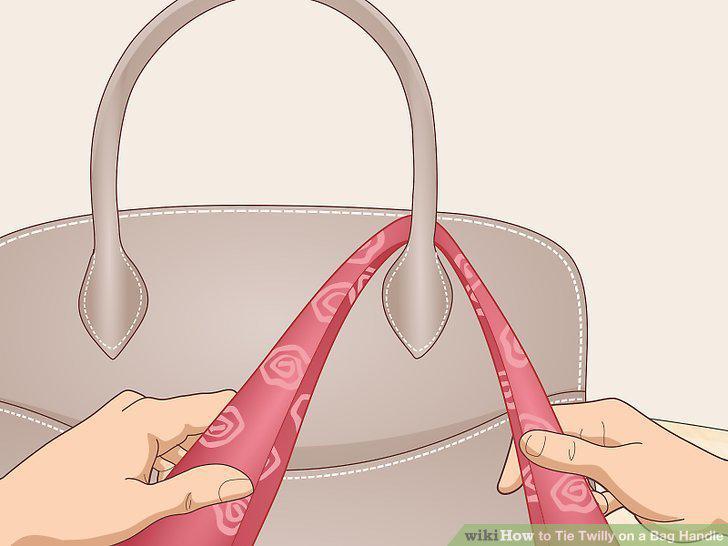
Wrap the twilly around the end of the handle where you want to add the knot.
Pull the 2 sides against one another and twist the fabric clockwise.
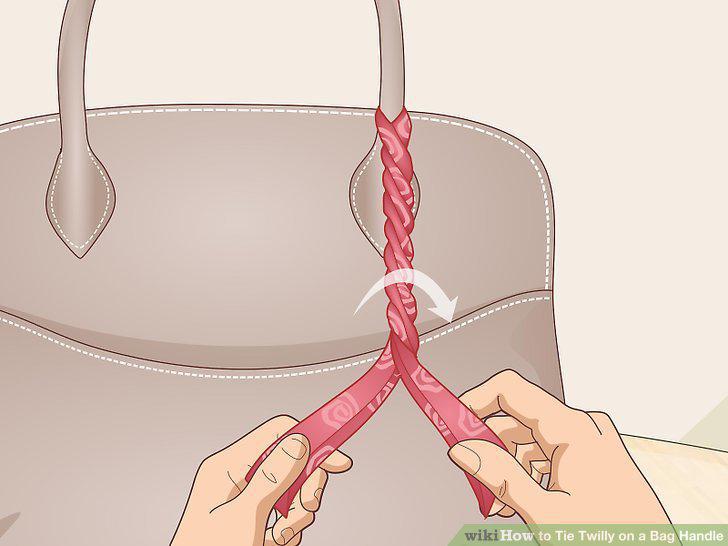
Pull the 2 sides against one another and twist the fabric clockwise.
Make a rose-like bundle by twisting the twilly around itself.
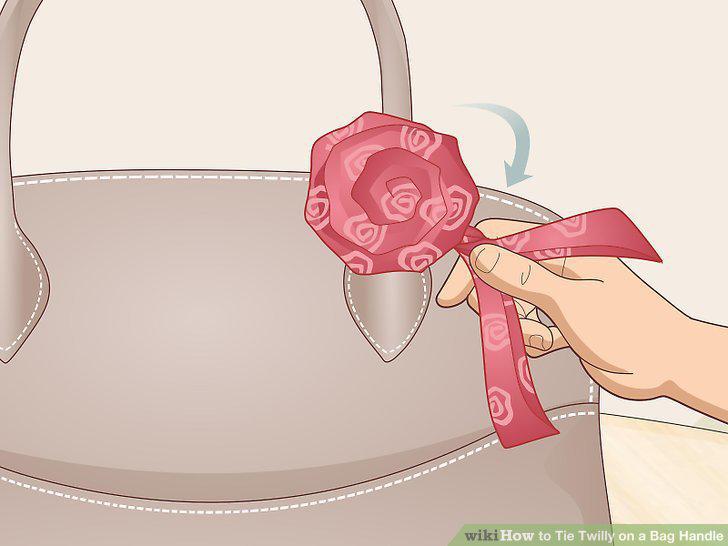
Make a rose-like bundle by twisting the twilly around itself.
Pull the 2 ends of the twilly in opposite directions behind the knot.
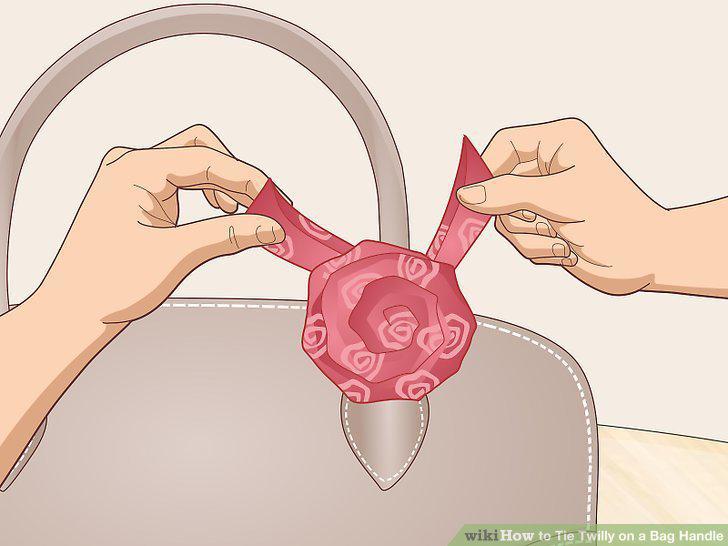
Pull the 2 ends of the twilly in opposite directions behind the knot.
Tuck the 2 ends together under the knot to secure your twilly.
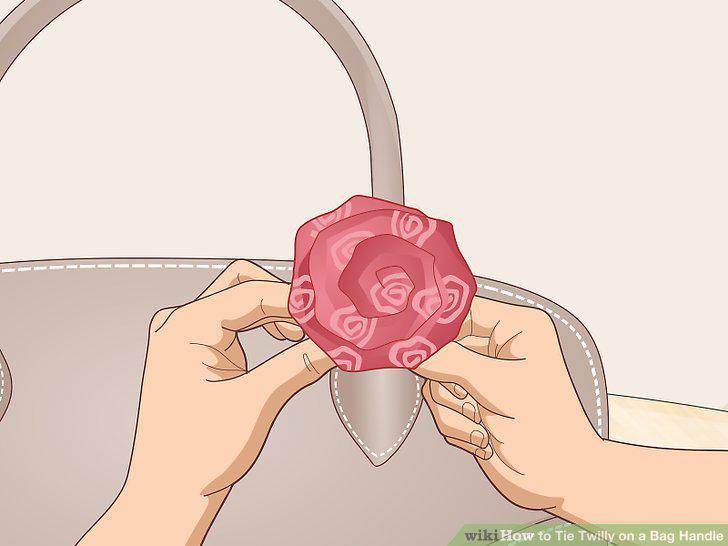
Tuck the 2 ends together under the knot to secure your twilly.
Slide the twilly through the middle of the handle.
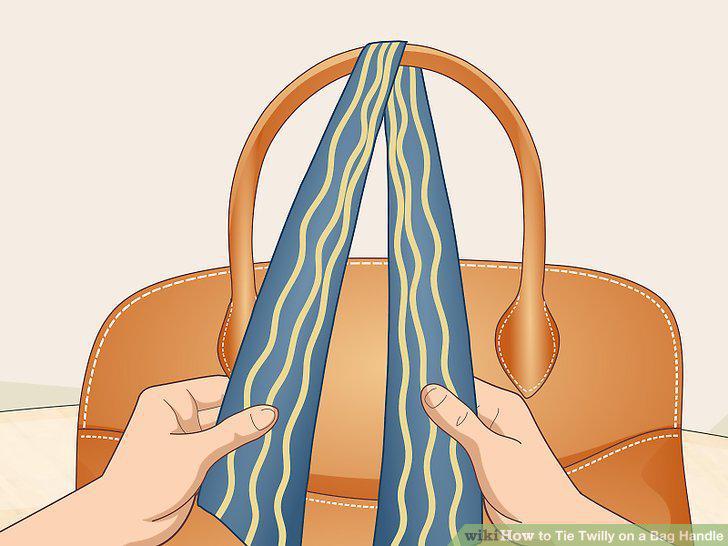
Slide the twilly through the middle of the handle.
Take the fabric underneath the handle and line it up along the handle.
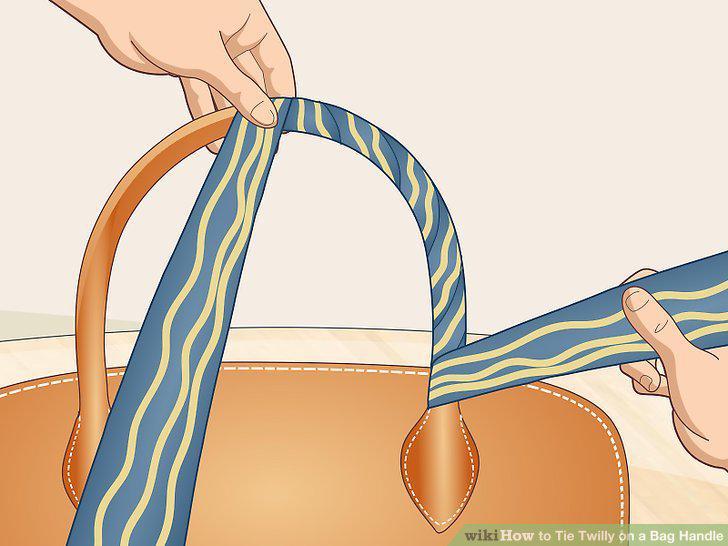
Take the fabric underneath the handle and line it up along the handle.
Wrap the free end of the twilly around the middle to hold it in place.
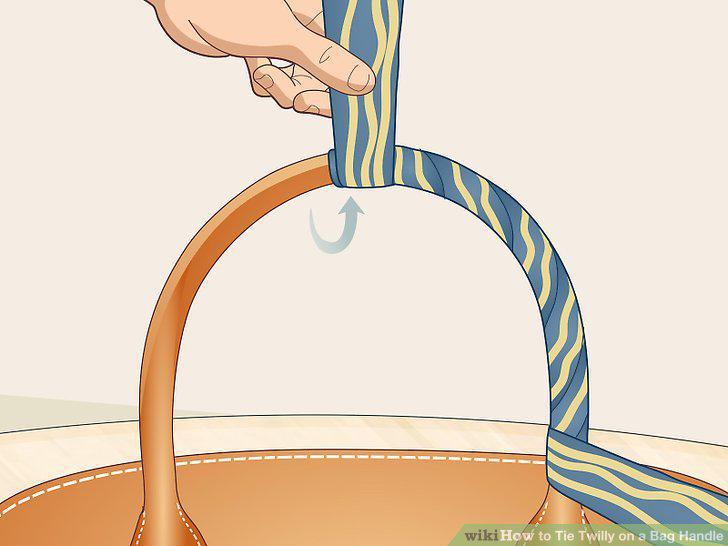
Wrap the free end of the twilly around the middle to hold it in place.
Continue wrapping the handle using the piece you wrapped the center with.
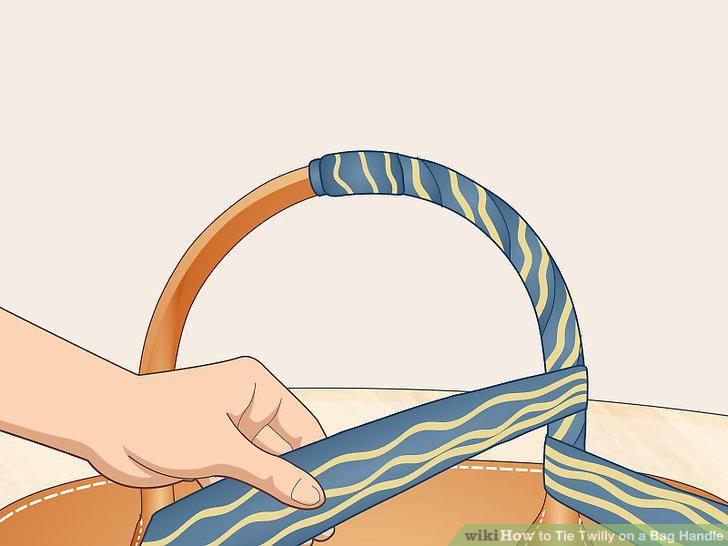
Continue wrapping the handle using the piece you wrapped the center with.
Wrap the excess twilly around the base of the handle 2-3 times.
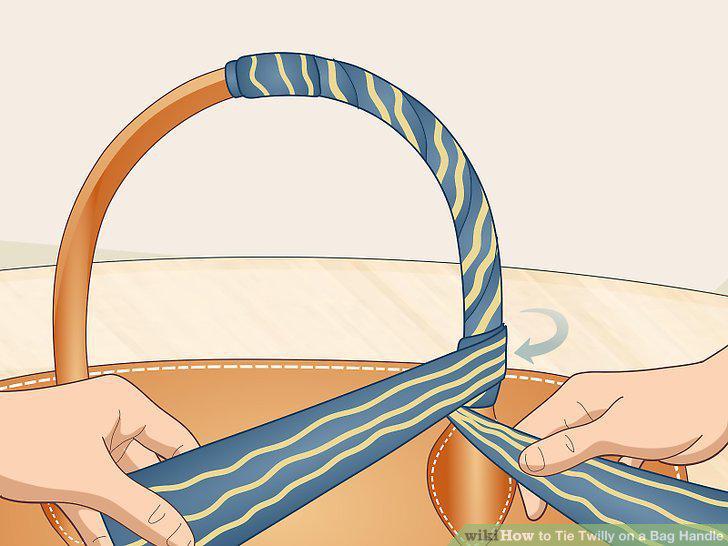
Wrap the excess twilly around the base of the handle 2-3 times.
Create two loops with the remaining fabric to start your bow.
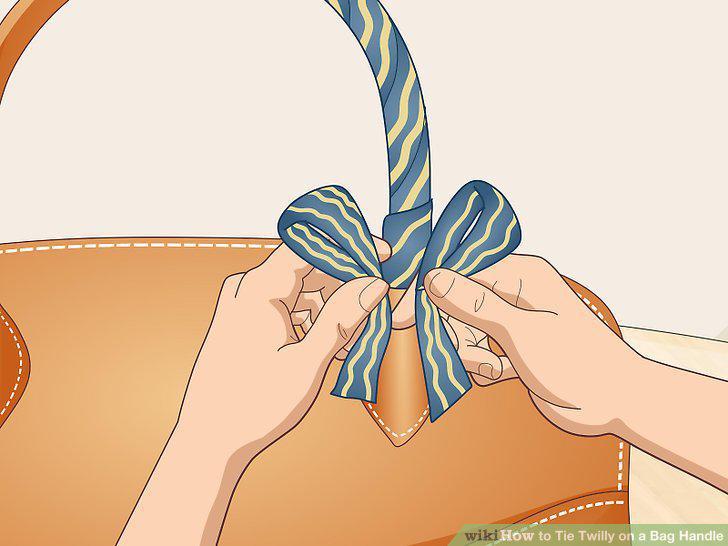
Create two loops with the remaining fabric to start your bow.
Pass the bottom lengths of fabric through the 2 loops to complete the bow.
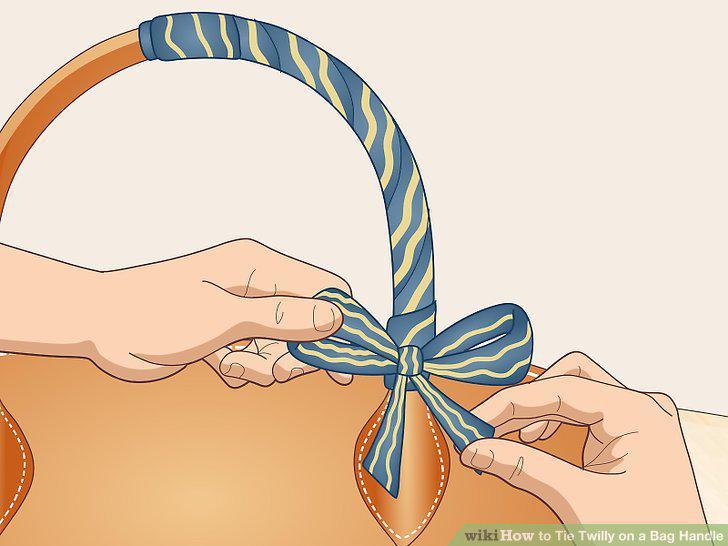
Pass the bottom lengths of fabric through the 2 loops to complete the bow.
Comments (0)
No comments yet. Be the first to share your thoughts!