How to Repair Gelcoat
Use a rotary tool with a burr bit to taper the edges of gouges.. Sand out small scratches with 80-grit, 150-grit, and 240-grit sandpaper.. Wipe the surface of the damaged area with acetone to clean it.
Steps
Use a rotary tool with a burr bit to taper the edges of gouges.
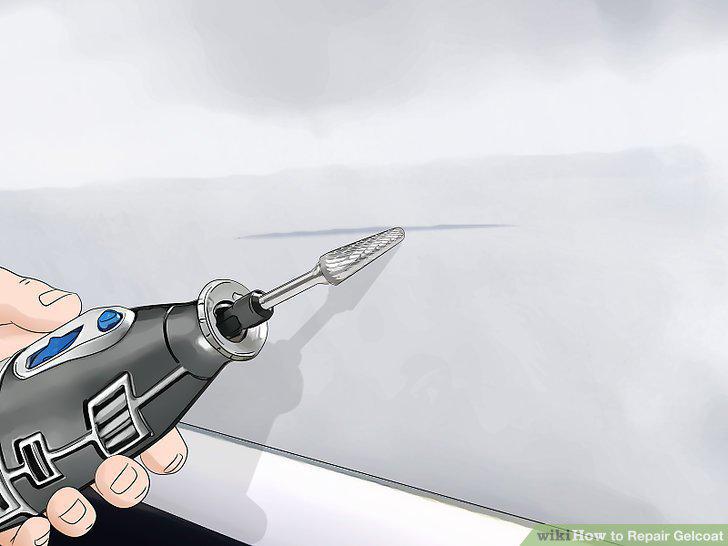
Use a rotary tool with a burr bit to taper the edges of gouges.
Sand out small scratches with 80-grit, 150-grit, and 240-grit sandpaper.
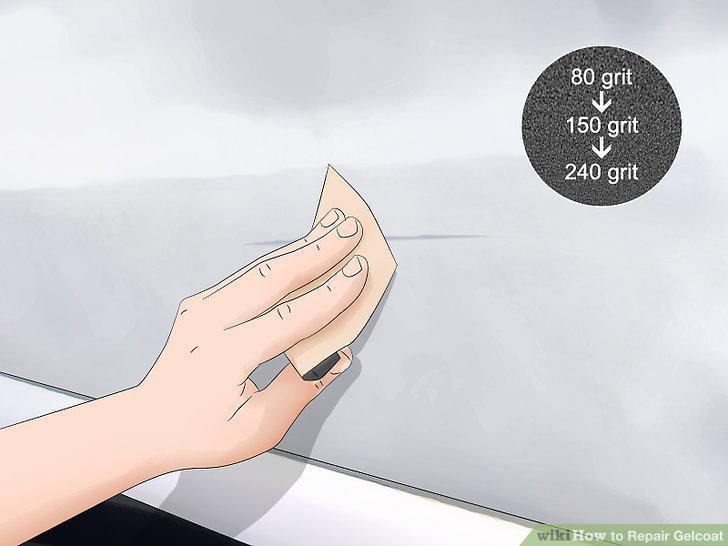
Sand out small scratches with 80-grit, 150-grit, and 240-grit sandpaper.
Wipe the surface of the damaged area with acetone to clean it.
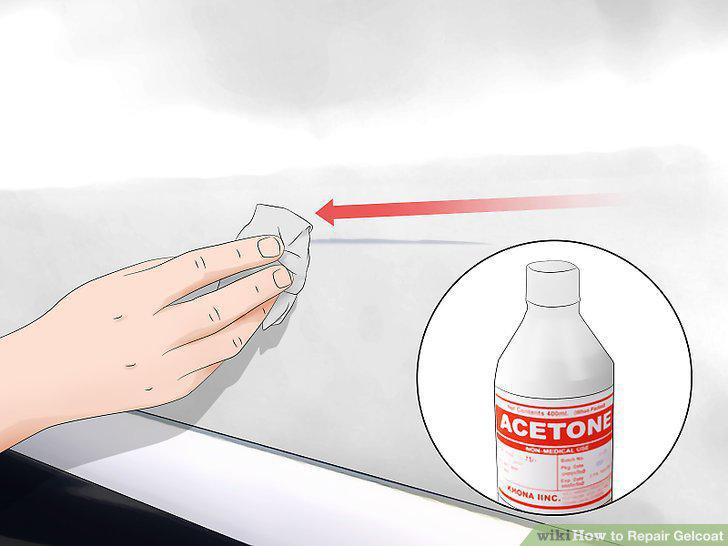
Wipe the surface of the damaged area with acetone to clean it.
Tape all the way around the damaged area with painter's tape.
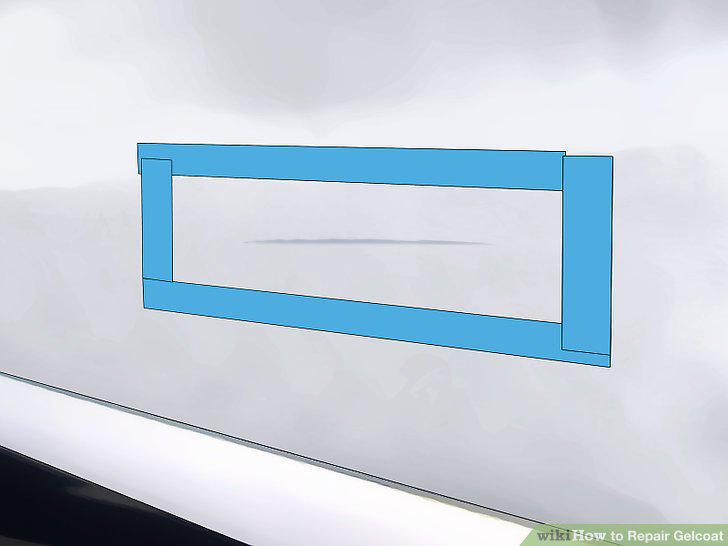
Tape all the way around the damaged area with painter's tape.
Purchase a wax gelcoat repair kit that matches the color of the damaged spot.
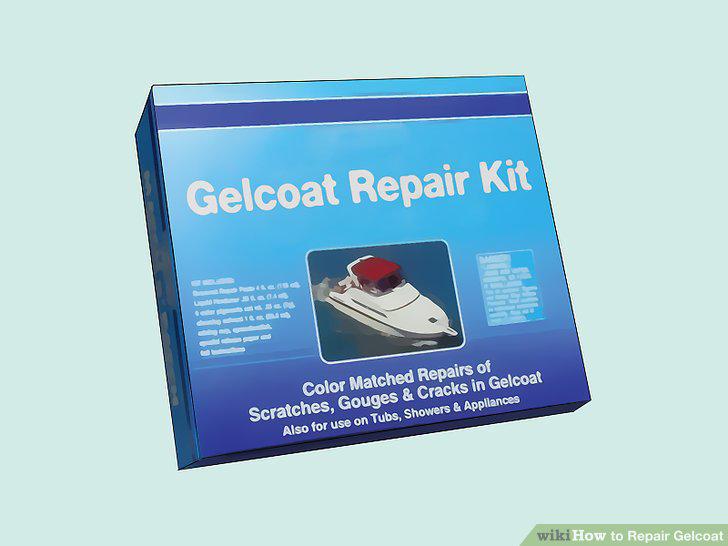
Purchase a wax gelcoat repair kit that matches the color of the damaged spot.
Mix the new gelcoat according to the manufacturer's instructions.
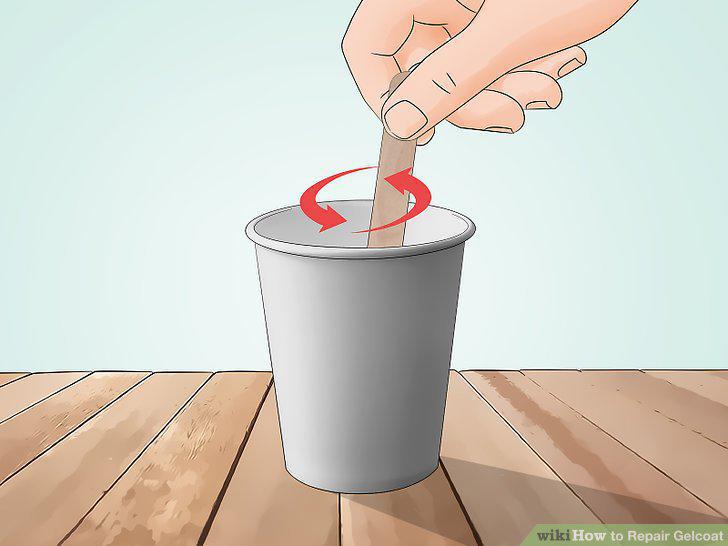
Mix the new gelcoat according to the manufacturer's instructions.
Press the gelcoat onto the damaged area with the mixing stick.
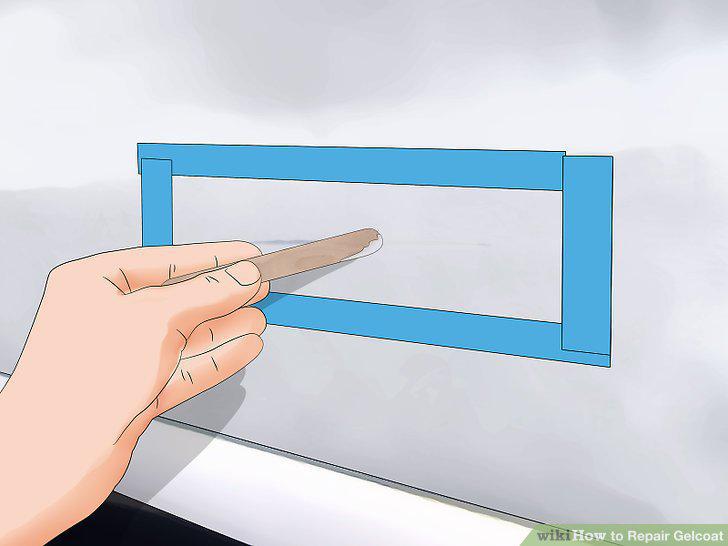
Press the gelcoat onto the damaged area with the mixing stick.
Let the gelcoat dry for at least 8 hours to cure.
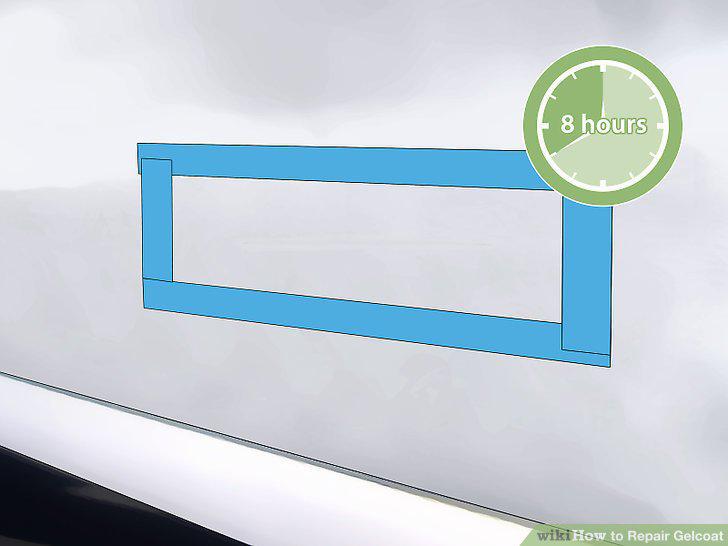
Let the gelcoat dry for at least 8 hours to cure.
Sand down the repaired area with 80-grit, 240-grit, and 400-grit sandpaper.
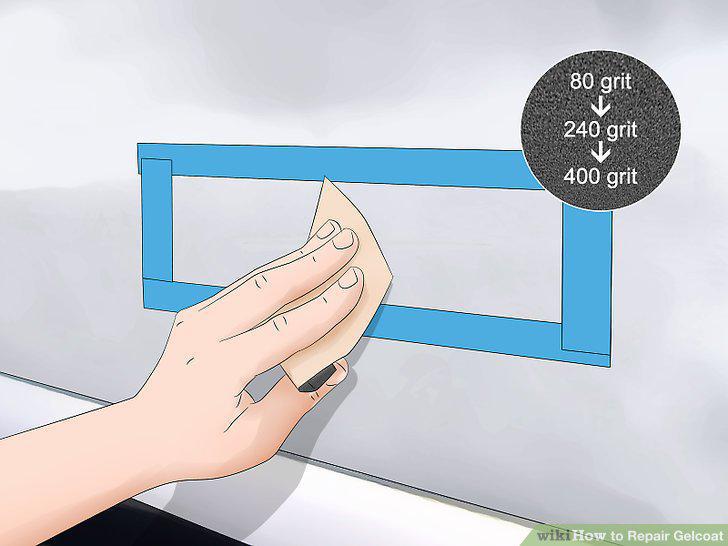
Sand down the repaired area with 80-grit, 240-grit, and 400-grit sandpaper.
Buff the repaired area with an electric buffer and rubbing compound.
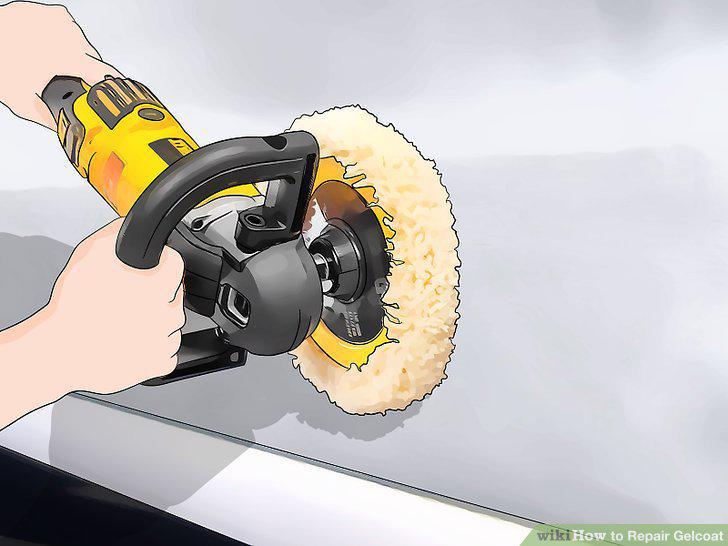
Buff the repaired area with an electric buffer and rubbing compound.
Apply a coat of wax to the buffed area to finish.
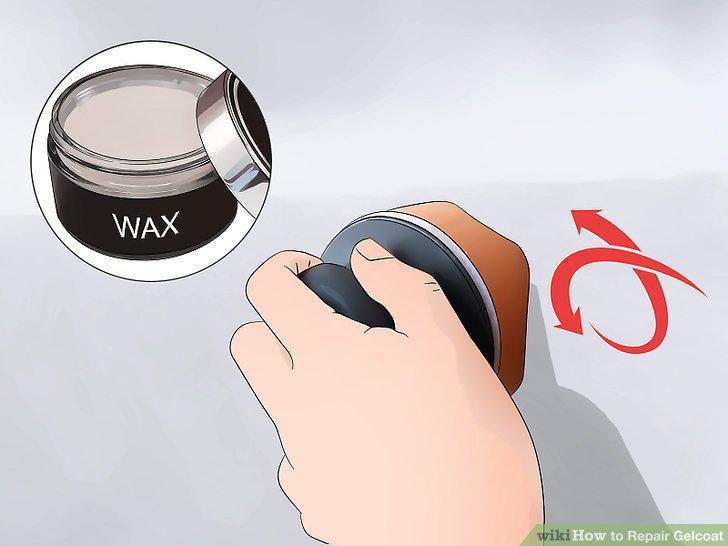
Apply a coat of wax to the buffed area to finish.
Comments (0)
No comments yet. Be the first to share your thoughts!