How to Install a Camper Awning
Purchase an awning kit.. Select a location for your awning.. Use a felt tip marker to mark where the ends of the awning will be.
Steps
1
Purchase an awning kit.
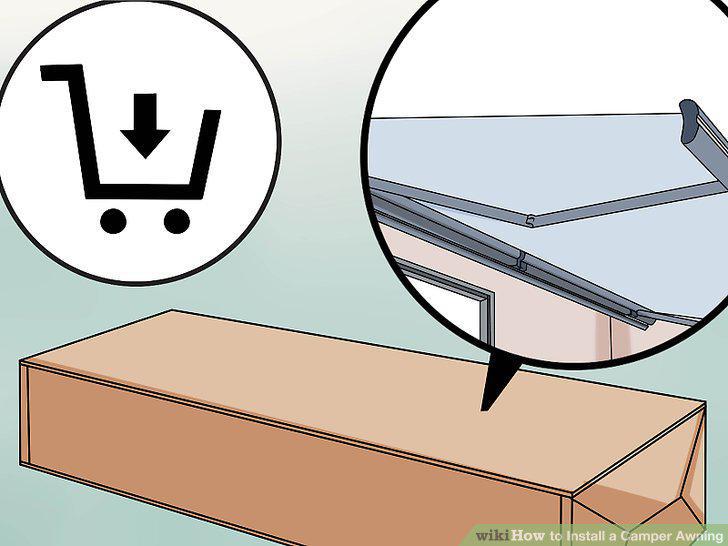
Purchase an awning kit.
2
Select a location for your awning.
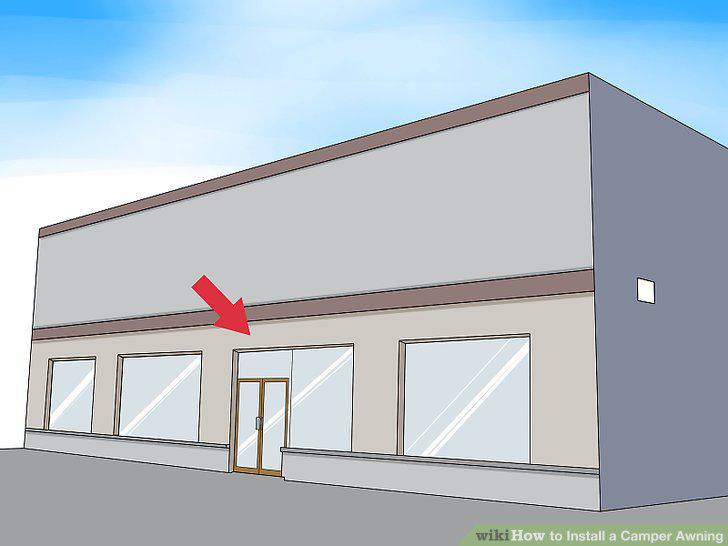
Select a location for your awning.
3
Use a felt tip marker to mark where the ends of the awning will be.
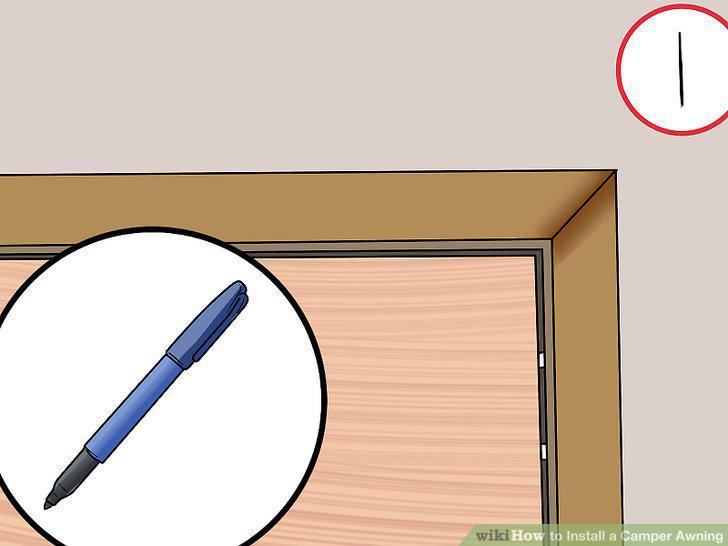
Use a felt tip marker to mark where the ends of the awning will be.
4
Draw a straight line between the two marks.
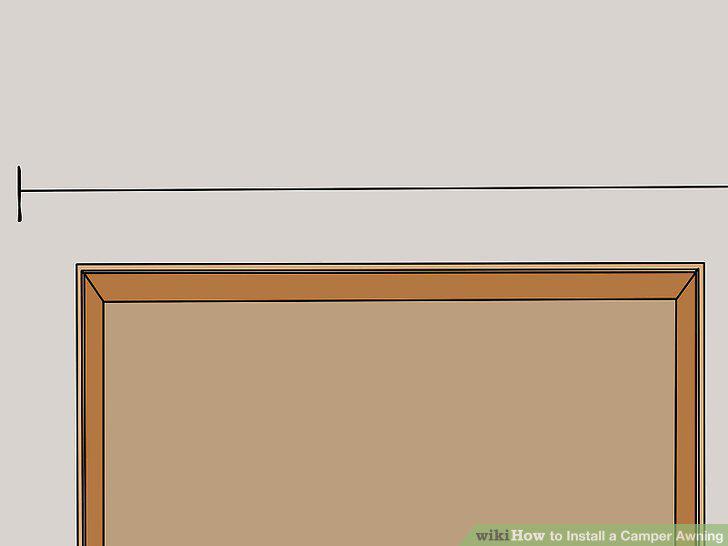
Draw a straight line between the two marks.
5
Place the two end mounting brackets approximately three inches inside the end ma
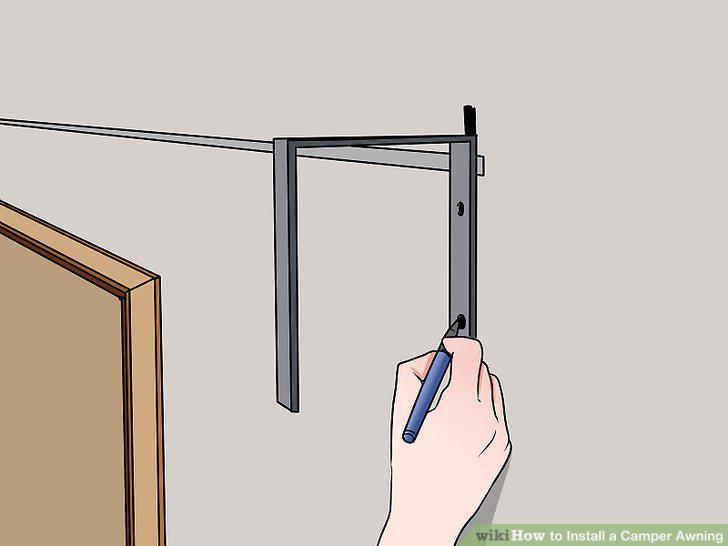
Place the two end mounting brackets approximately three inches inside the end marks.
6
Place the third mounting bracket directly in the middle of the chalk line.
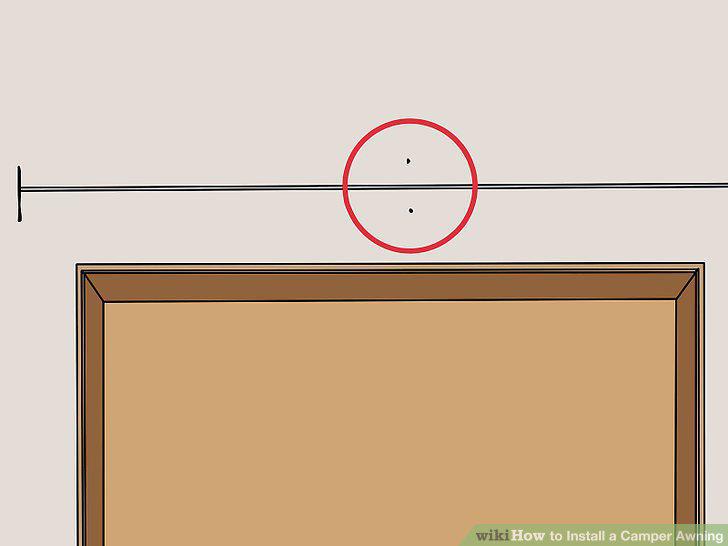
Place the third mounting bracket directly in the middle of the chalk line.
7
Drill holes for the mounting bracket screws.
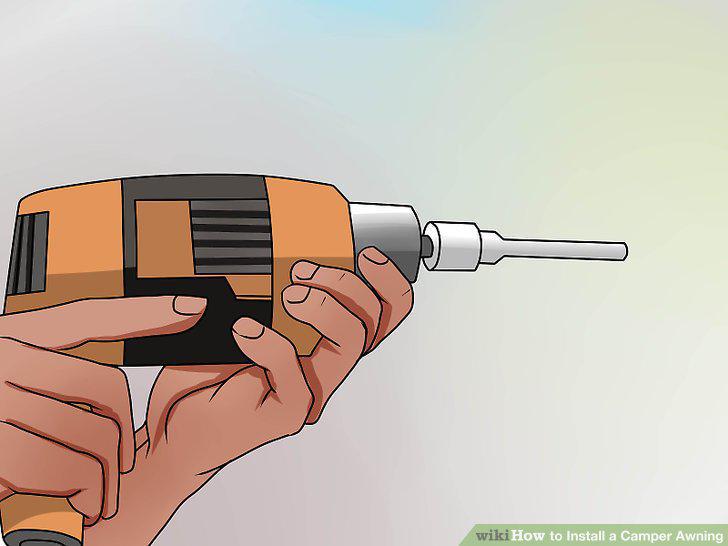
Drill holes for the mounting bracket screws.
8
Coat the provided screws in a water-tight sealant.
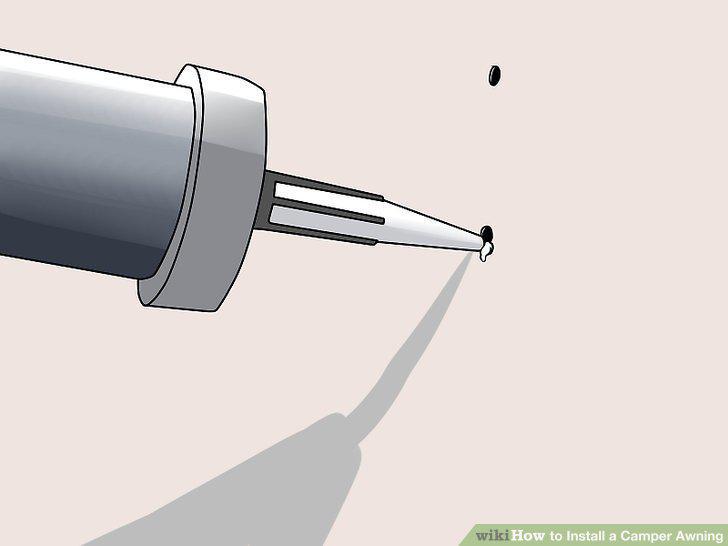
Coat the provided screws in a water-tight sealant.
9
Attach the mounting brackets.
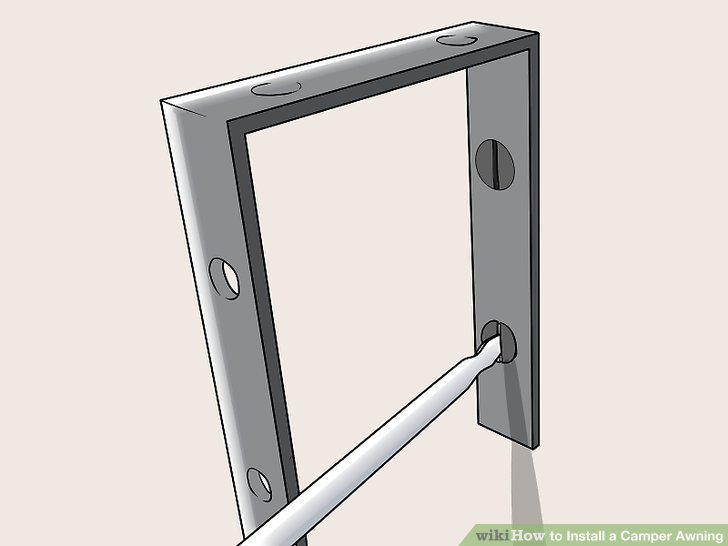
Attach the mounting brackets.
10
Hang the camper awning over the mounting brackets.
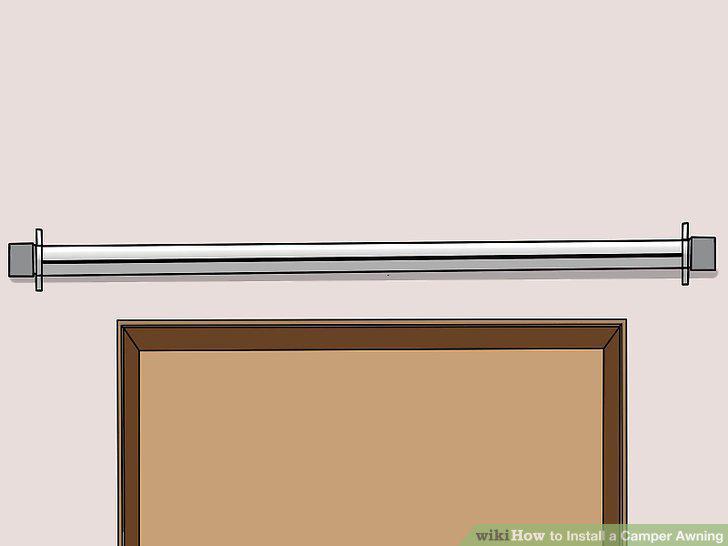
Hang the camper awning over the mounting brackets.
11
Extend the awning.
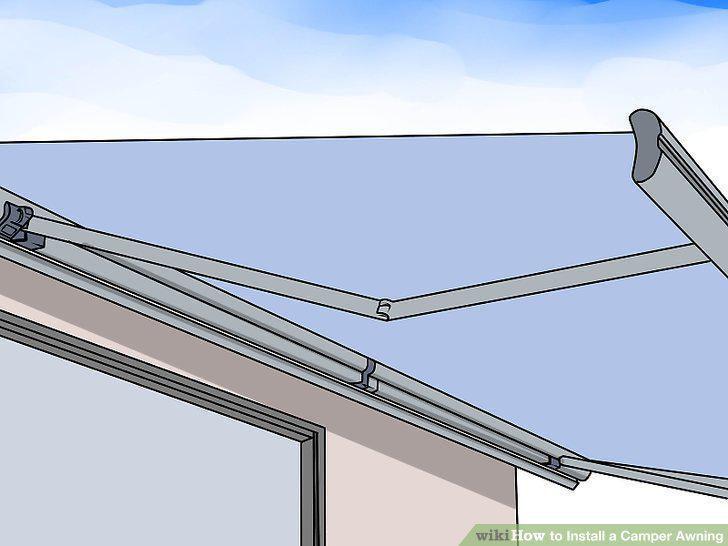
Extend the awning.
12
Make torsion adjustments.
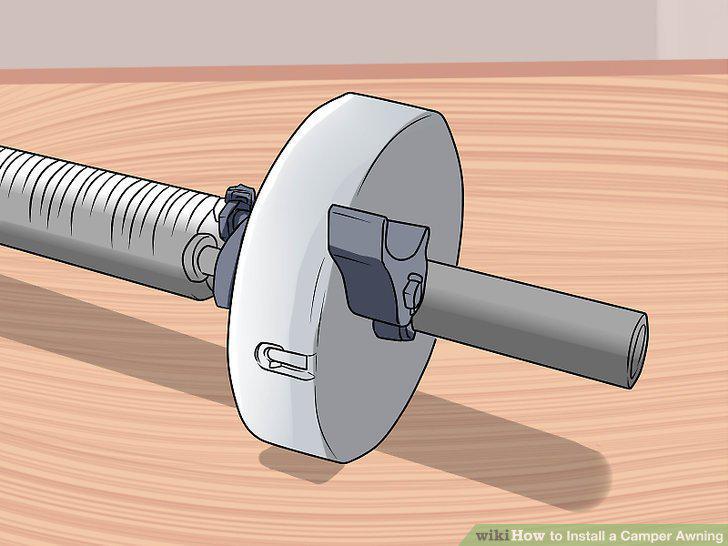
Make torsion adjustments.
13
Consider purchasing a "deflapper.
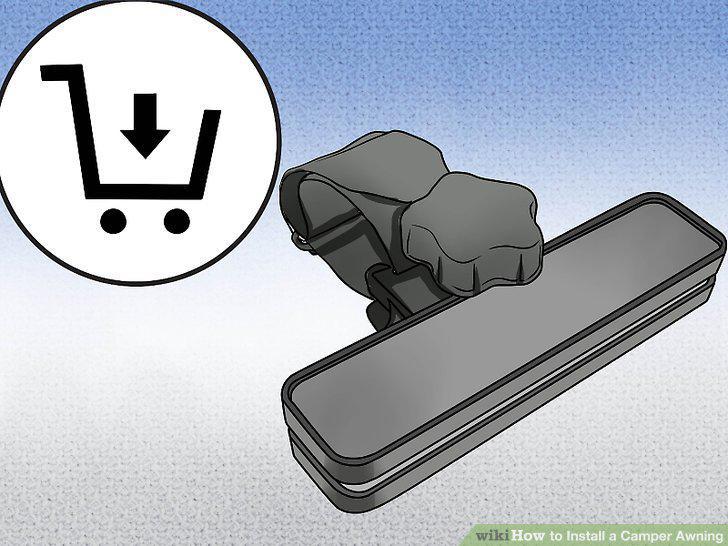
Consider purchasing a "deflapper.
14
Skew your awning slightly.
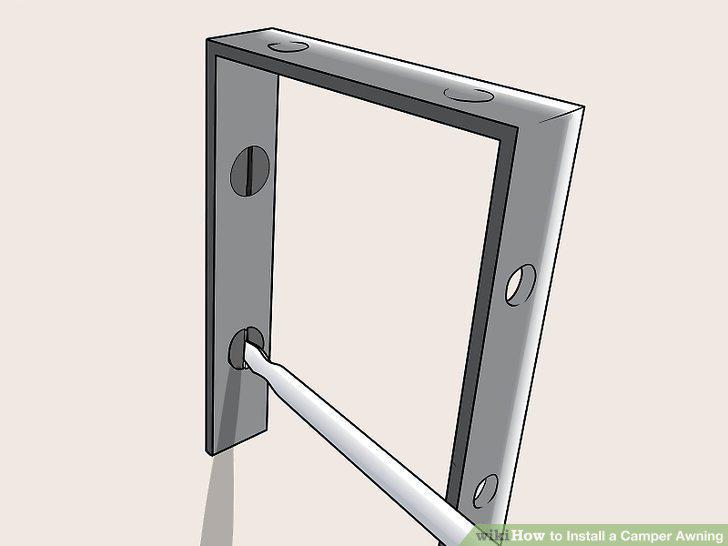
Skew your awning slightly.
Comments (0)
No comments yet. Be the first to share your thoughts!