How to Make a Paper Purse
Cut a sheet of double-sided scrapbook paper into two 4½ by 12-inch (11.43 by 30.48 centimeters) strips.. Trim one of DSP (double-sided scrapbook paper) pieces down to 7 inches (17.78 centimeters) long.. Use double-sided tape to join the two pieces together to make a long, skinny rectangle.
Steps
Cut a sheet of double-sided scrapbook paper into two 4½ by 12-inch (11.43 by 30.
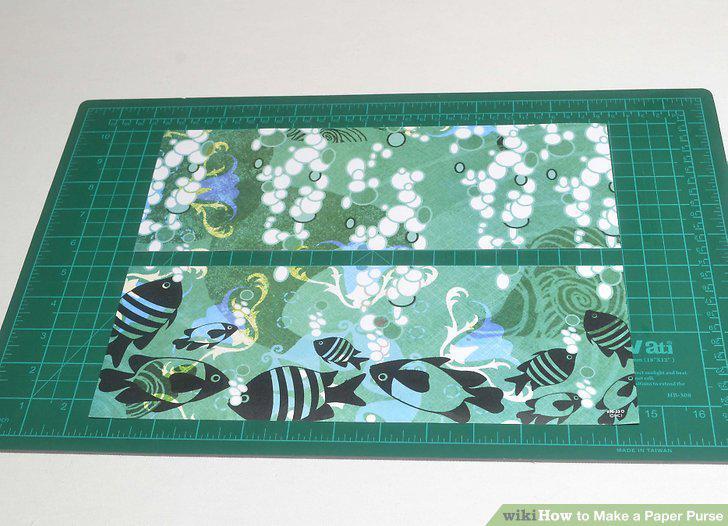
Cut a sheet of double-sided scrapbook paper into two 4½ by 12-inch (11.43 by 30.48 centimeters) strips.
Trim one of DSP (double-sided scrapbook paper) pieces down to 7 inches (17.78 ce
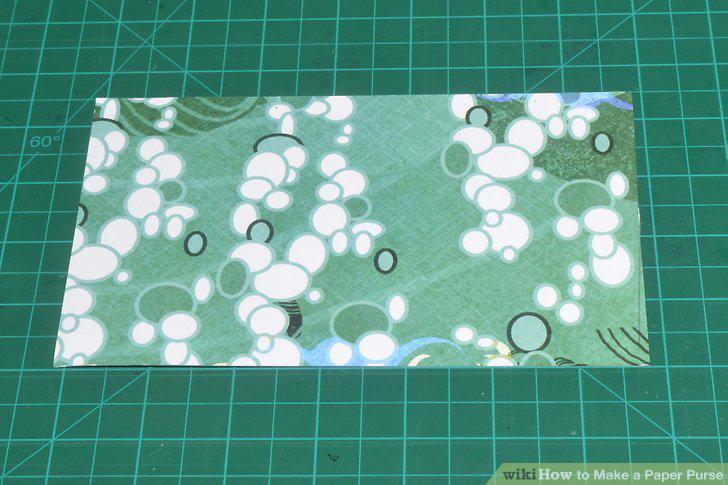
Trim one of DSP (double-sided scrapbook paper) pieces down to 7 inches (17.78 centimeters) long.
Use double-sided tape to join the two pieces together to make a long, skinny rec
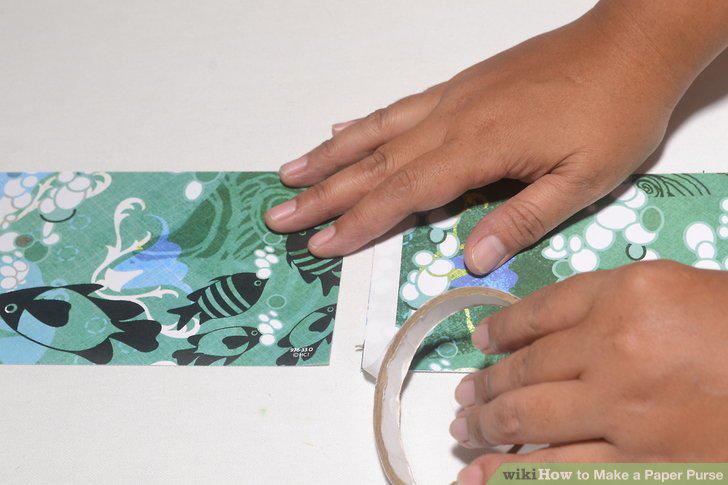
Use double-sided tape to join the two pieces together to make a long, skinny rectangle.
Cut some solid-colored scrapbook paper into four ¾-inch (1.91 centimeters) wide
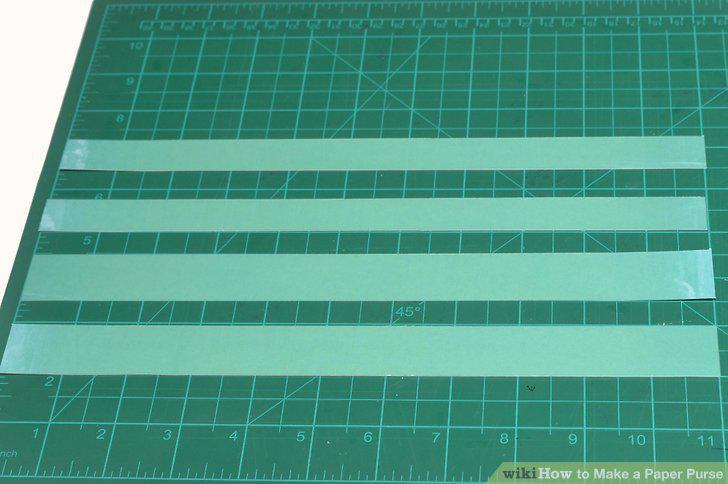
Cut some solid-colored scrapbook paper into four ¾-inch (1.91 centimeters) wide strips to make the top border on your purse.
Use double-sided tape to attach one of the 11-inch (27.94 centimeters) long stri
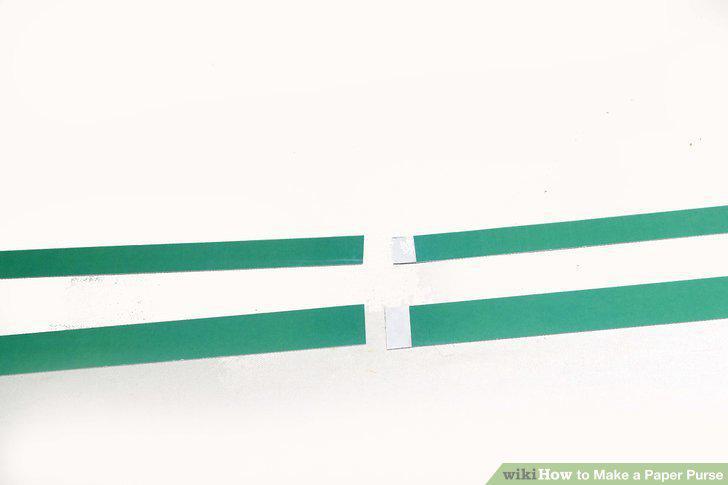
Use double-sided tape to attach one of the 11-inch (27.94 centimeters) long strips to one of 8½-inch (21.59 centimeters) long strips.
Cut a 5 by 8-inch (12.7 by 20.32 centimeters) rectangle out of solid-colored scr
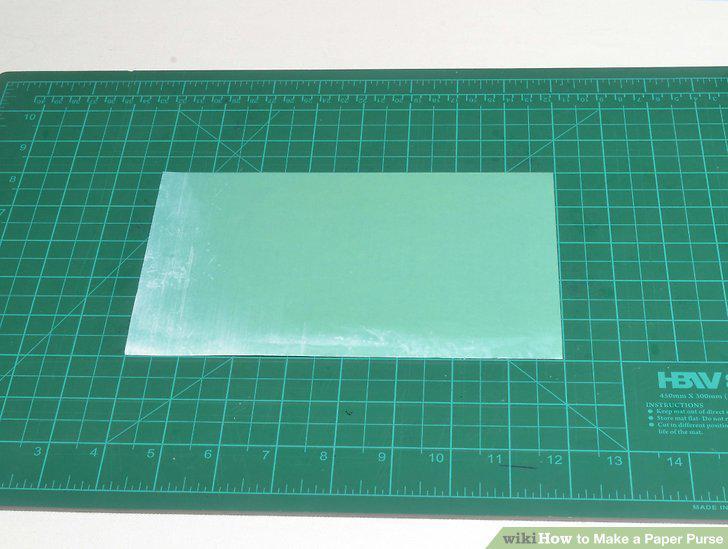
Cut a 5 by 8-inch (12.7 by 20.32 centimeters) rectangle out of solid-colored scrapbook paper.
Score folding lines at the top, bottom, and side edges.
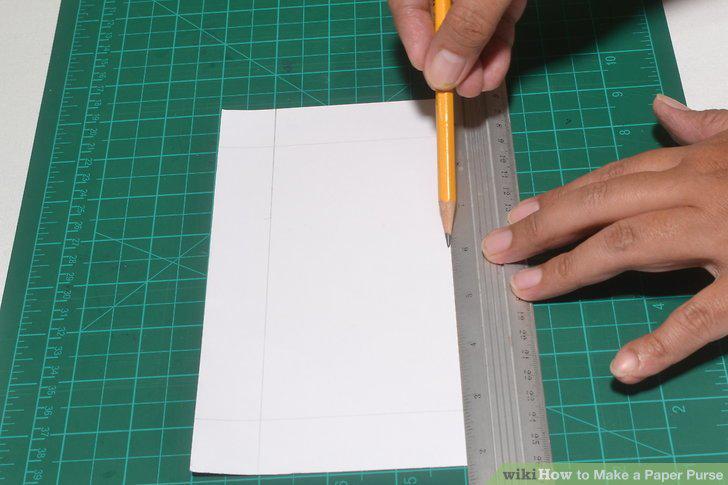
Score folding lines at the top, bottom, and side edges.
Cut four 1-inch (2.54 centimeters) vertical slits at the top and bottom corners
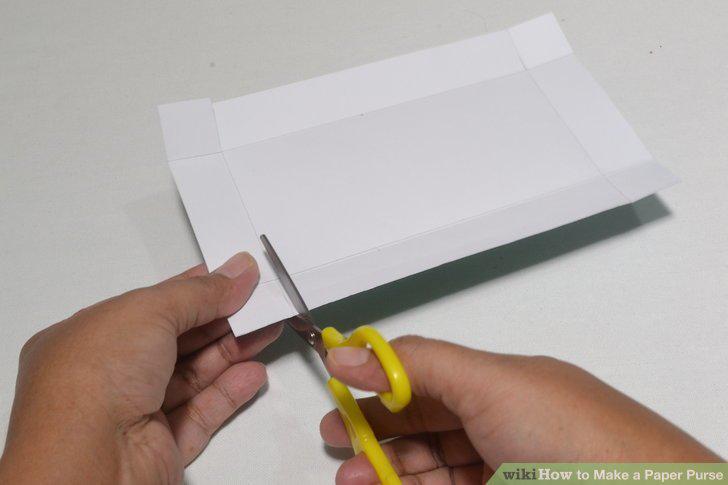
Cut four 1-inch (2.54 centimeters) vertical slits at the top and bottom corners of your rectangle.
Fold the paper along each of the scored lines to make a box.
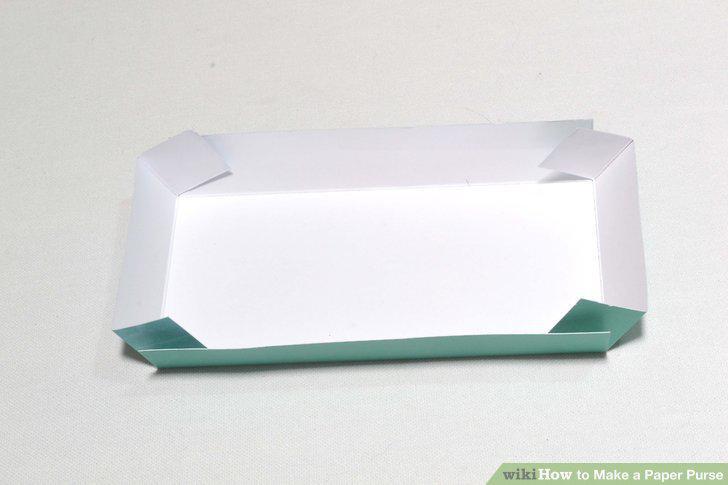
Fold the paper along each of the scored lines to make a box.
Tape the flaps to the inside walls of your box to hold it together.
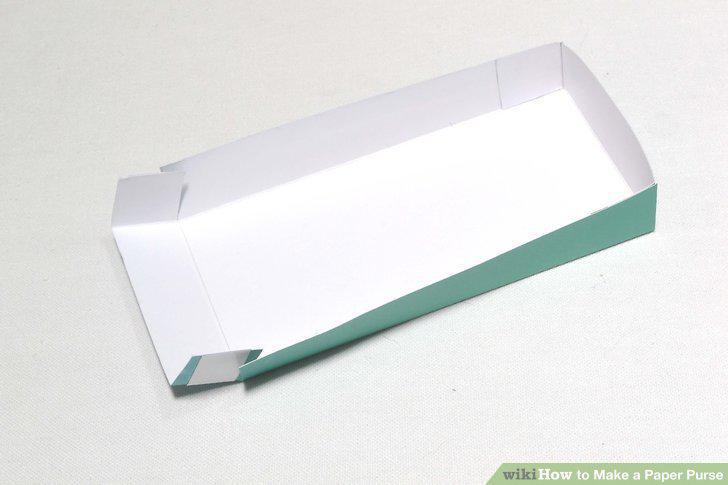
Tape the flaps to the inside walls of your box to hold it together.
Cut two 1 by 11-inch (2.54 by 27.94 centimeters) strips of solid-colored scrapbo
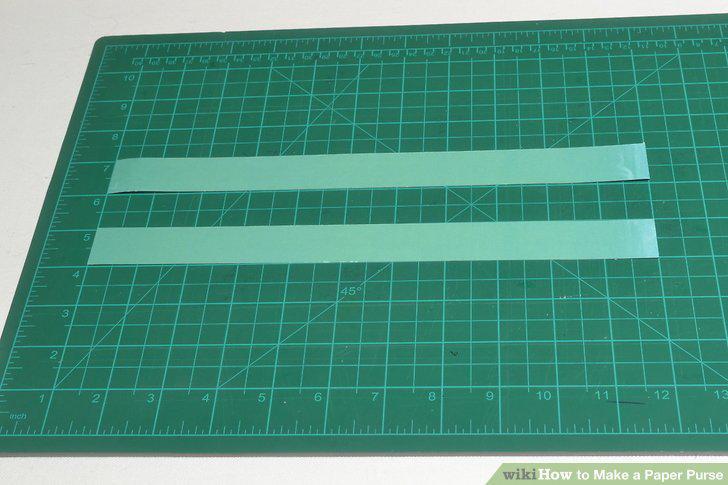
Cut two 1 by 11-inch (2.54 by 27.94 centimeters) strips of solid-colored scrapbook paper for the handles.
Score both strips vertically down the center, lengthwise, but leave 1½-inch (3.8
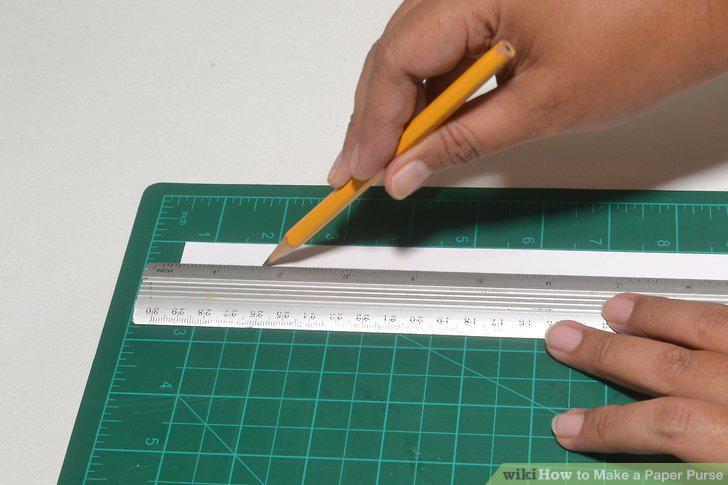
Score both strips vertically down the center, lengthwise, but leave 1½-inch (3.81 centimeters) at each end un-scored.
Glue the handles along the fold, but leave the un-scored parts alone.
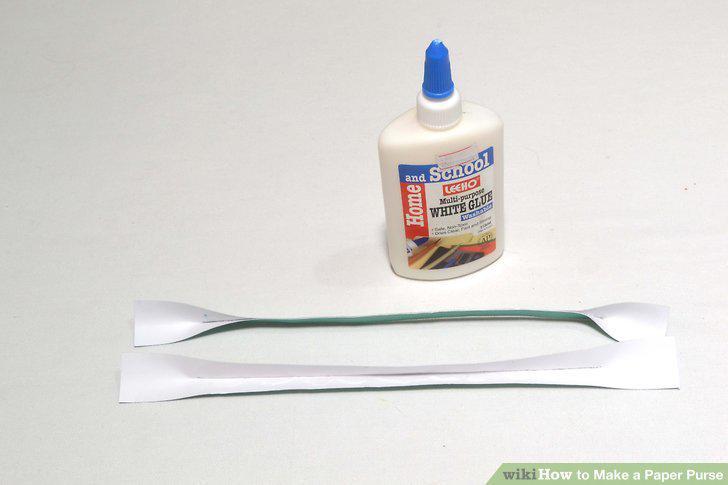
Glue the handles along the fold, but leave the un-scored parts alone.
Curl the handles using a bone folder to give them some shape.
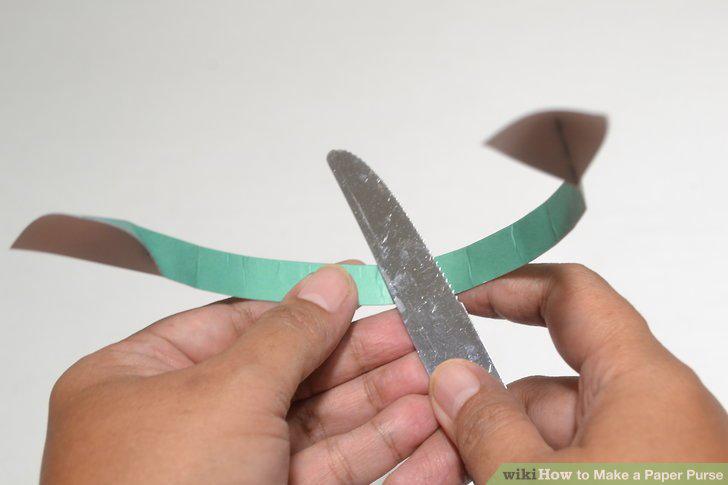
Curl the handles using a bone folder to give them some shape.
Place a strip of double-sided tape along the bottom and one of the narrow, side
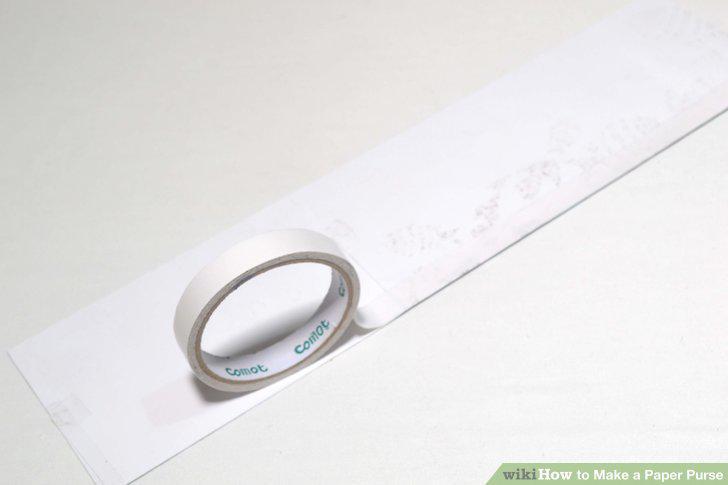
Place a strip of double-sided tape along the bottom and one of the narrow, side edges of the DSP strip.
Wrap the DSP strip around the bottom part of the purse.
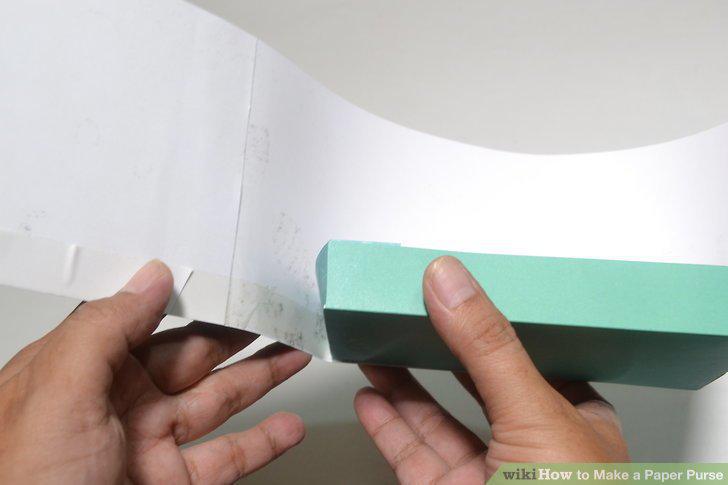
Wrap the DSP strip around the bottom part of the purse.
Attach the ¾-inch (1.91 centimeter) wide border strips around the top inside and
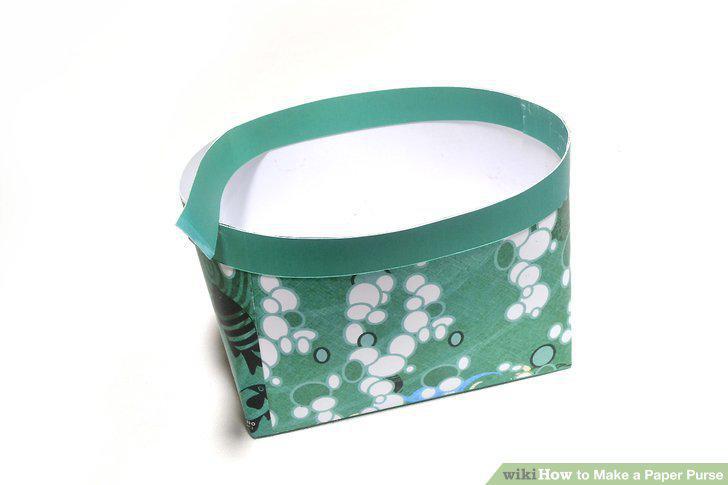
Attach the ¾-inch (1.91 centimeter) wide border strips around the top inside and outside edges of the purse.
Place several strips of double-sided tape along the bottom edges of each handle.
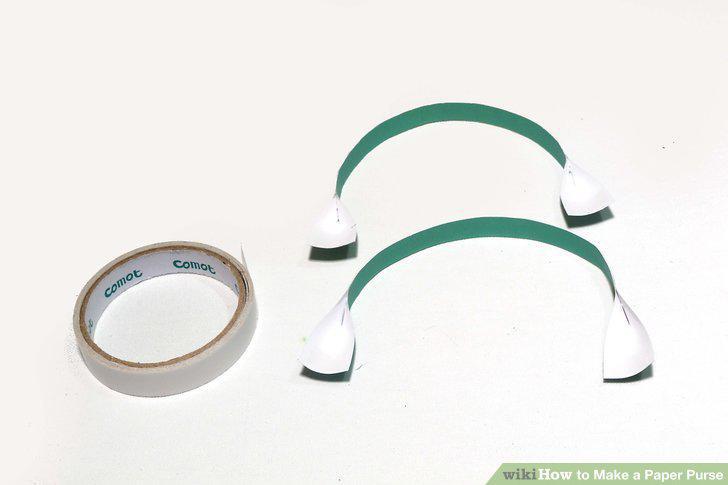
Place several strips of double-sided tape along the bottom edges of each handle.
Attach the handles to the front and back of your purse.
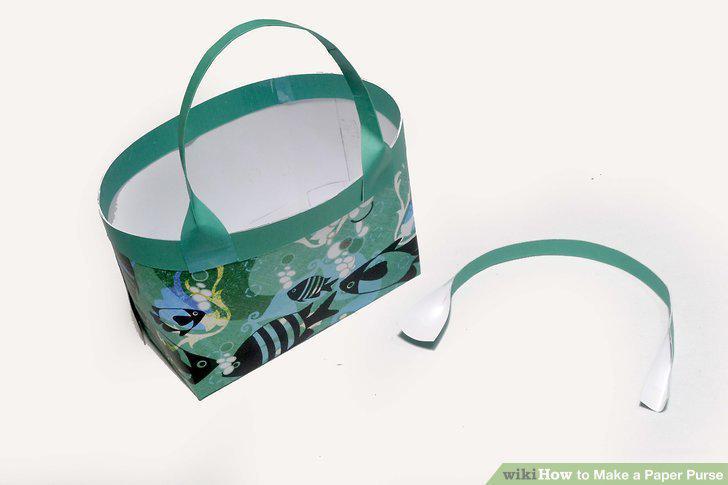
Attach the handles to the front and back of your purse.
Embellish the handles.
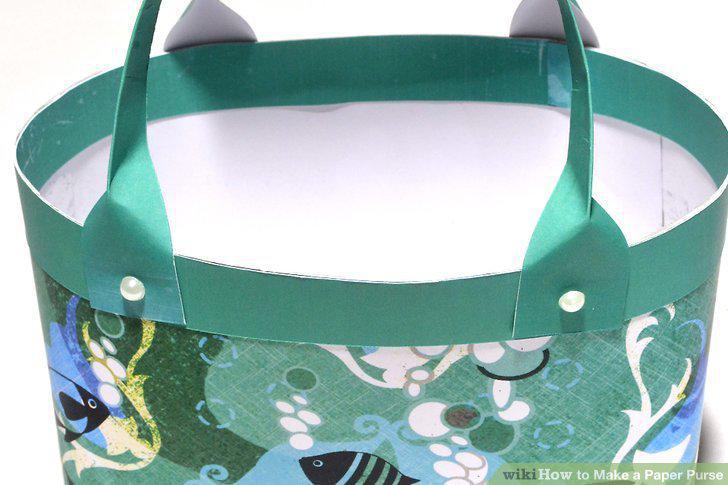
Embellish the handles.
Use the bag with care.
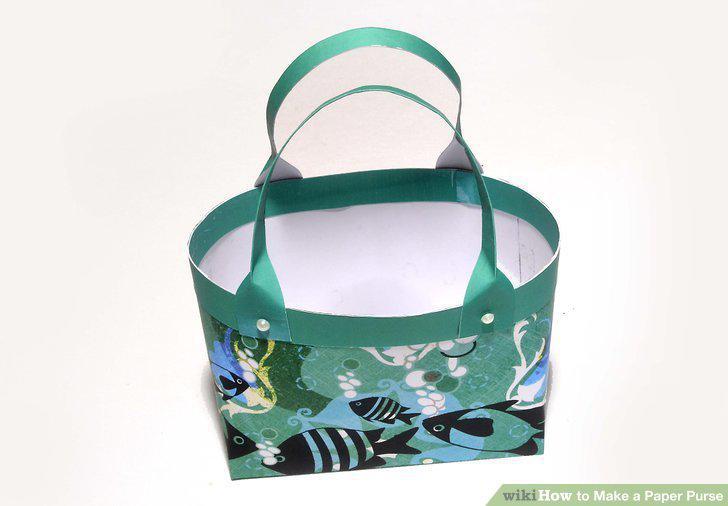
Use the bag with care.
Comments (0)
No comments yet. Be the first to share your thoughts!