How to Print Your Own Fabric
Create a stamp to create a design.. Pick out paint for your project.. Brush the paint onto the block or stamp.
Steps
Create a stamp to create a design.
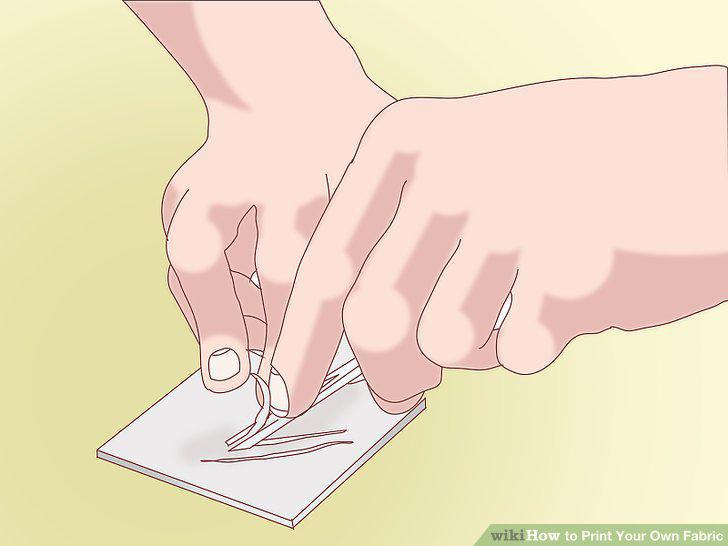
Create a stamp to create a design.
Pick out paint for your project.
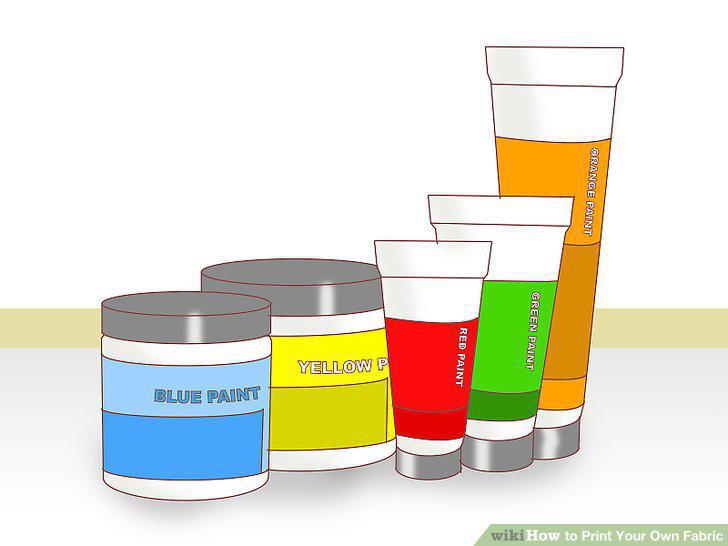
Pick out paint for your project.
Brush the paint onto the block or stamp.
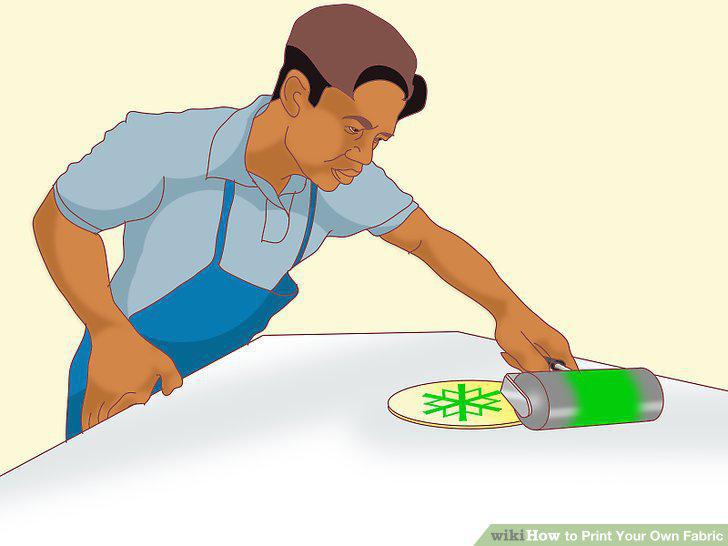
Brush the paint onto the block or stamp.
Practice first.
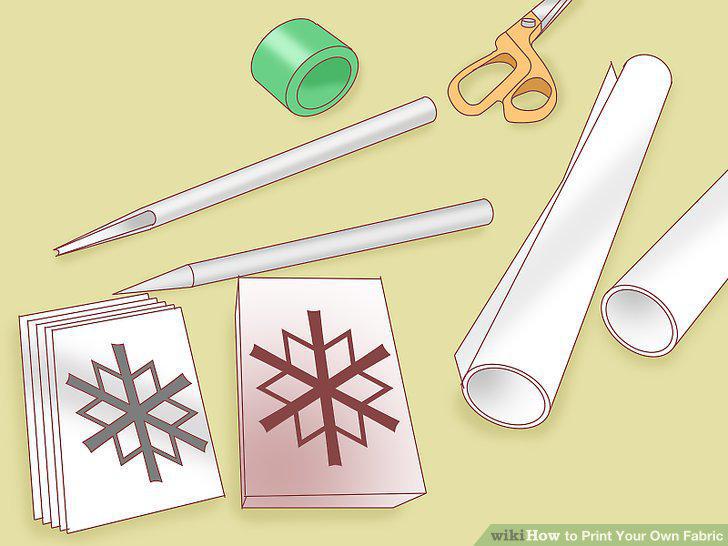
Practice first.
Press your stamp on to the fabric on a flat surface.
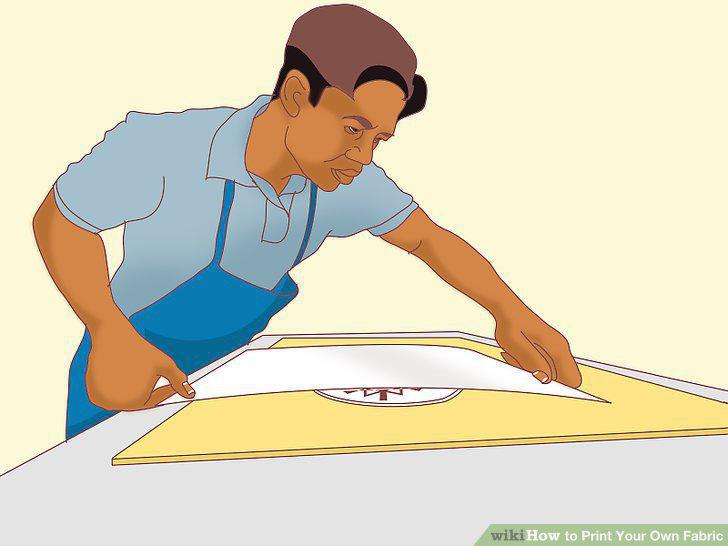
Press your stamp on to the fabric on a flat surface.
Allow your fabric to dry.
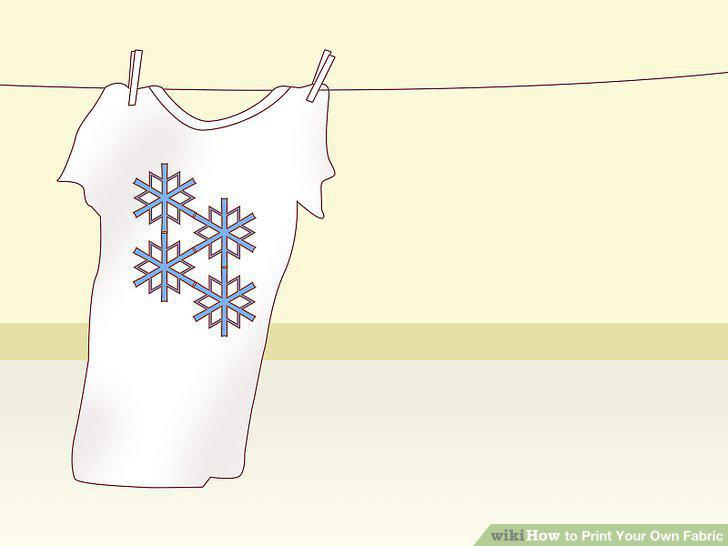
Allow your fabric to dry.
Buy fabric that can be printed on by an ink-jet printer.
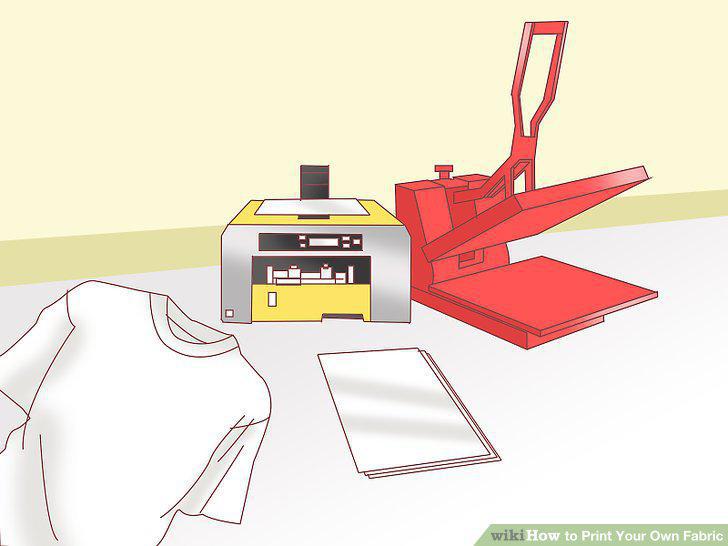
Buy fabric that can be printed on by an ink-jet printer.
Attach a stabilizer and cut your fabric to size.
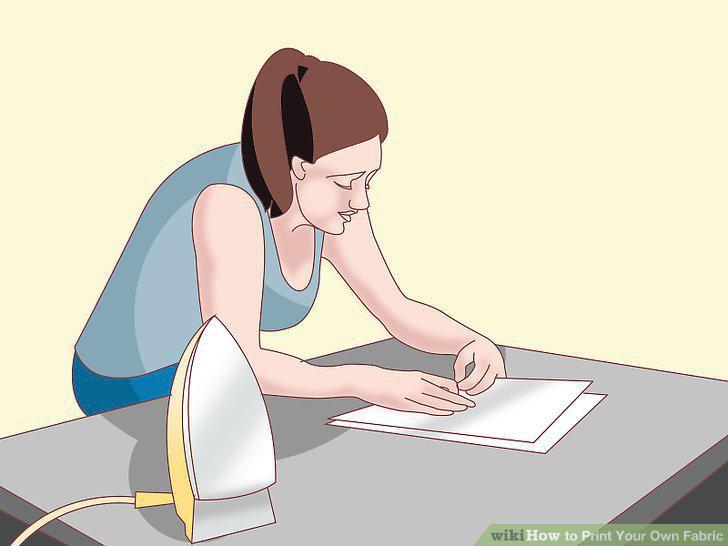
Attach a stabilizer and cut your fabric to size.
Check your printer and ink cartridges to make sure they are compatible with fabr
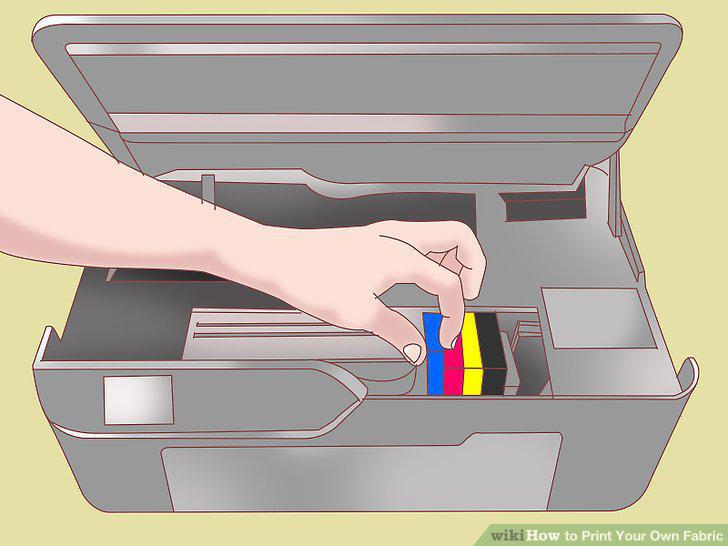
Check your printer and ink cartridges to make sure they are compatible with fabric printing.
Start out with a simple design for your first project.
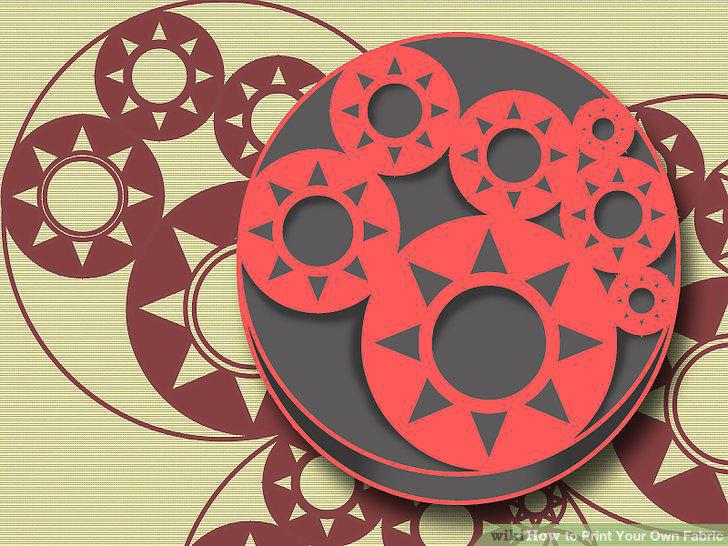
Start out with a simple design for your first project.
Use a photo-editing computer program or other website to edit your design.
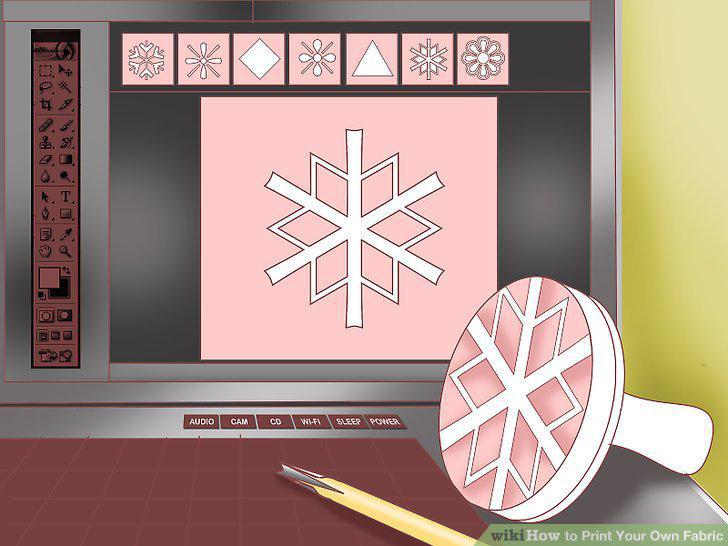
Use a photo-editing computer program or other website to edit your design.
Check your computer settings before printing.
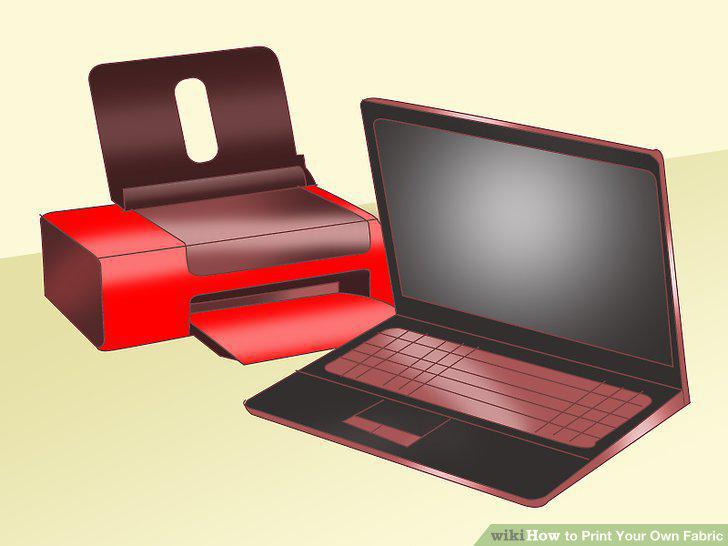
Check your computer settings before printing.
Place the fabric in your printer and feed it through gently as it prints.
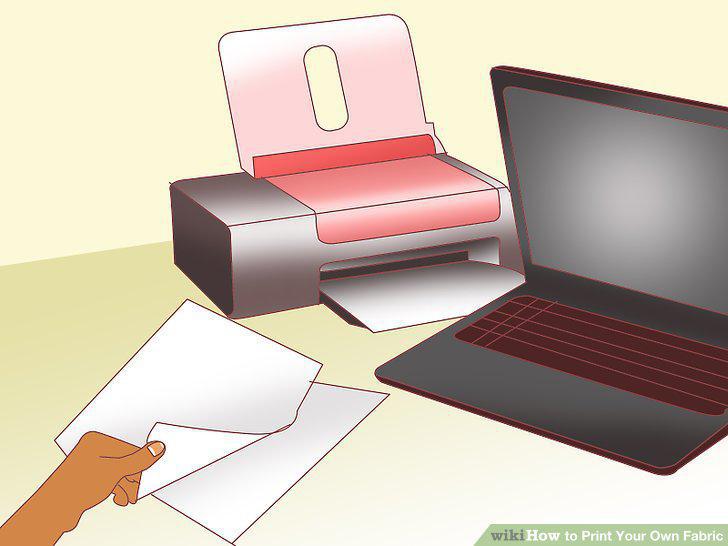
Place the fabric in your printer and feed it through gently as it prints.
Comments (0)
No comments yet. Be the first to share your thoughts!