How to Use a Tatting Shuttle
Select tatting thread for your project.. Insert the thread through the hole in the middle of the shuttle.. Wrap the thread through each end of the shuttle.
Steps
1
Select tatting thread for your project.
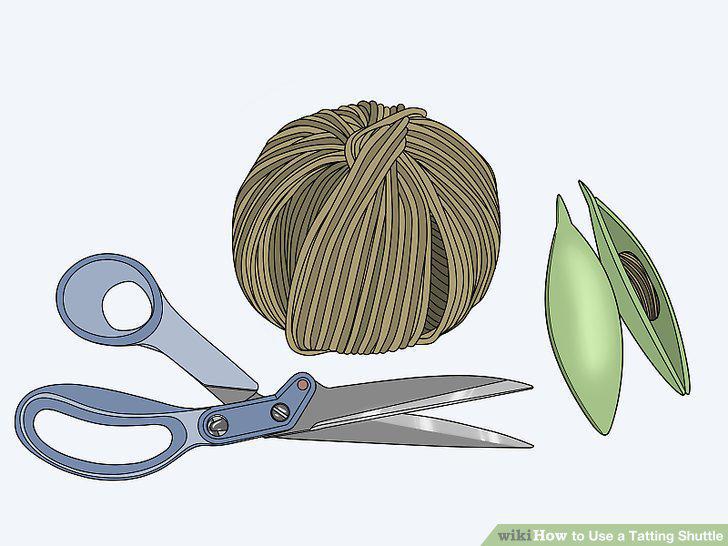
Select tatting thread for your project.
2
Insert the thread through the hole in the middle of the shuttle.
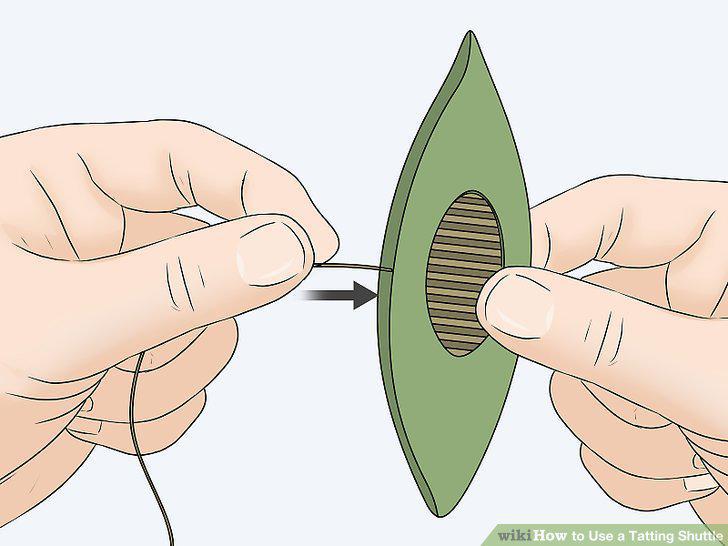
Insert the thread through the hole in the middle of the shuttle.
3
Wrap the thread through each end of the shuttle.
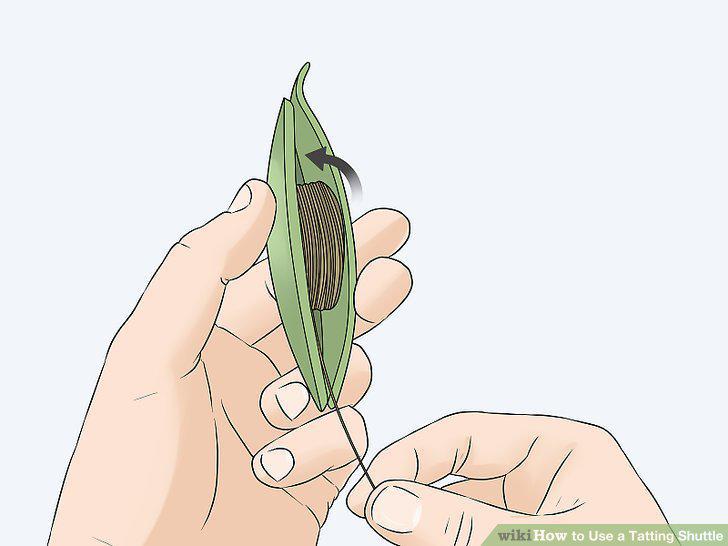
Wrap the thread through each end of the shuttle.
4
Keep wrapping the thread until it's at the edge of the shuttle.
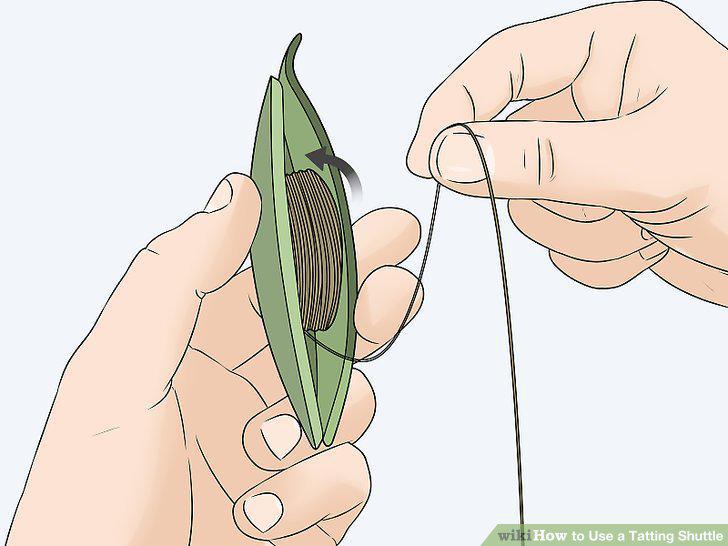
Keep wrapping the thread until it's at the edge of the shuttle.
5
Leave a 2 feet (0.61 m) tail and cut the thread.
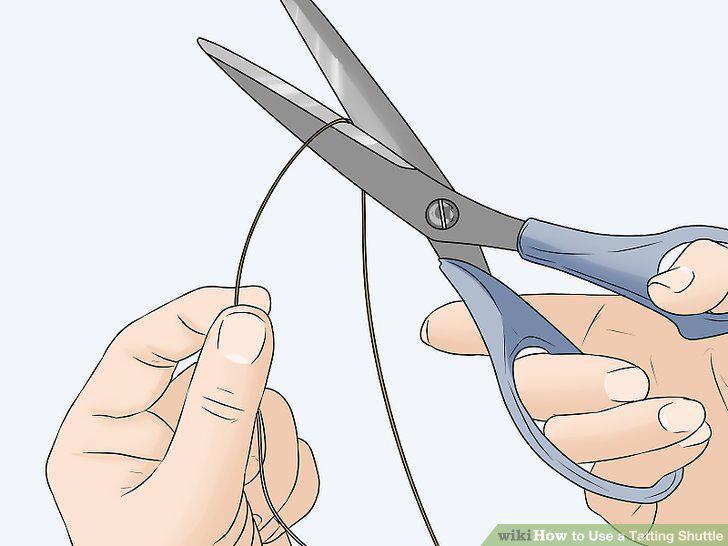
Leave a 2 feet (0.61 m) tail and cut the thread.
6
Hold the end of the thread with your non-dominant hand.
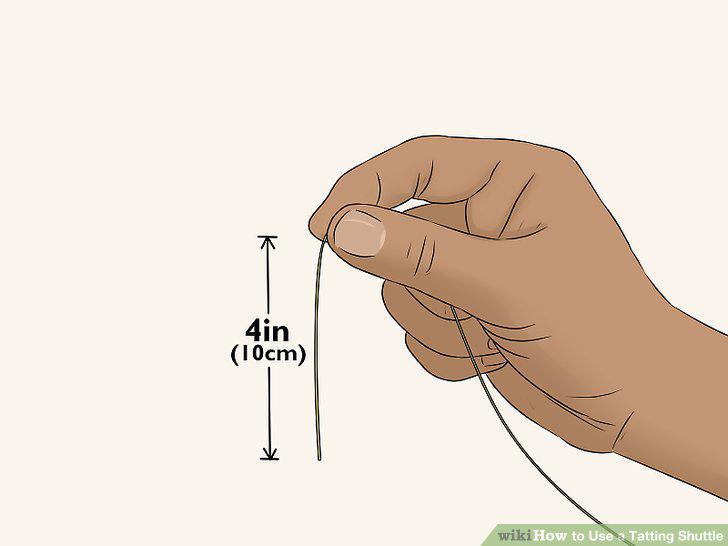
Hold the end of the thread with your non-dominant hand.
7
Wrap the end of the thread into a wide loop around your fingers.
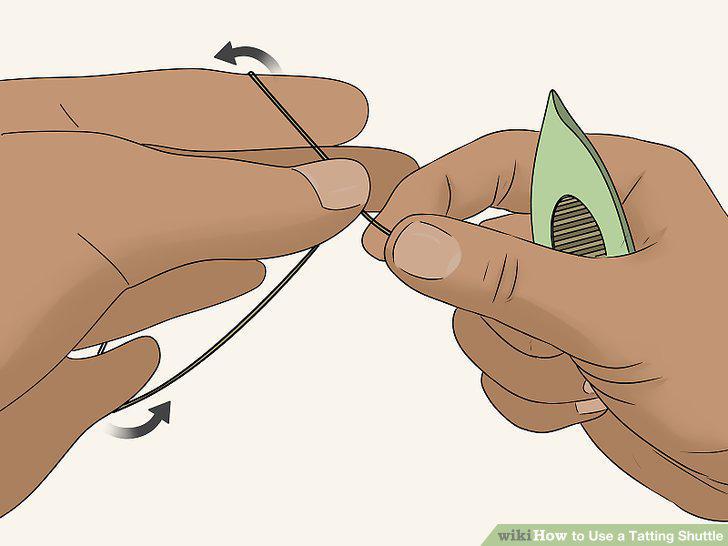
Wrap the end of the thread into a wide loop around your fingers.
8
Bend your pinky finger to catch the thread.
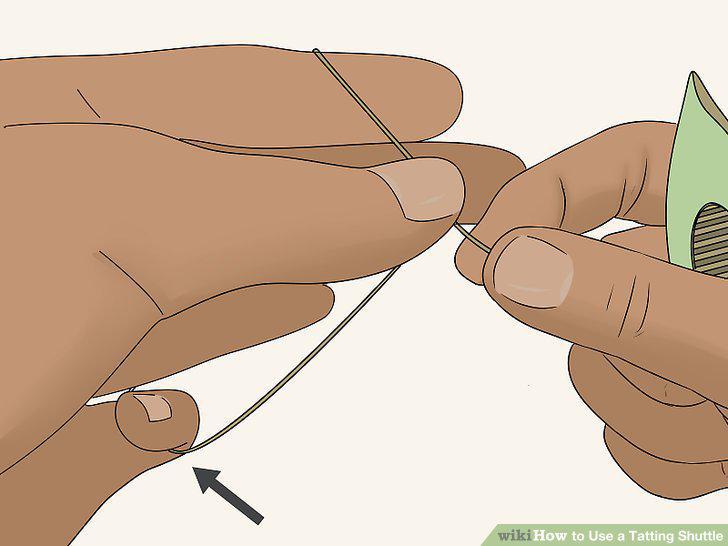
Bend your pinky finger to catch the thread.
9
Practice tatting with the shuttle.
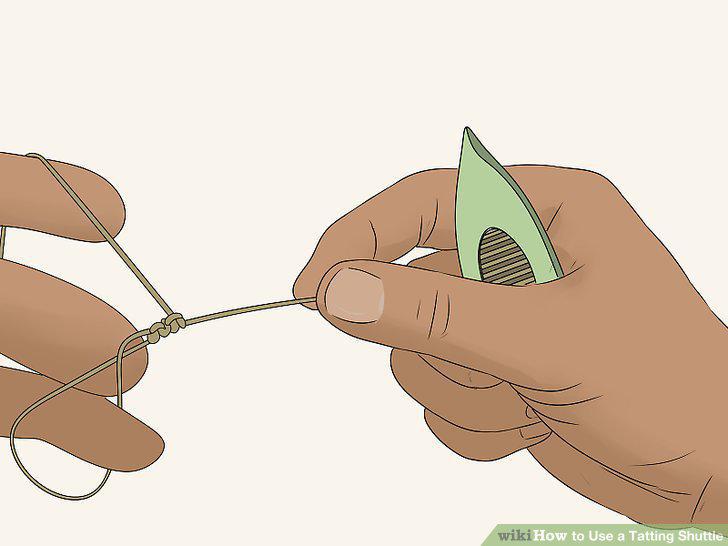
Practice tatting with the shuttle.
10
Learn how to make a double stitch.
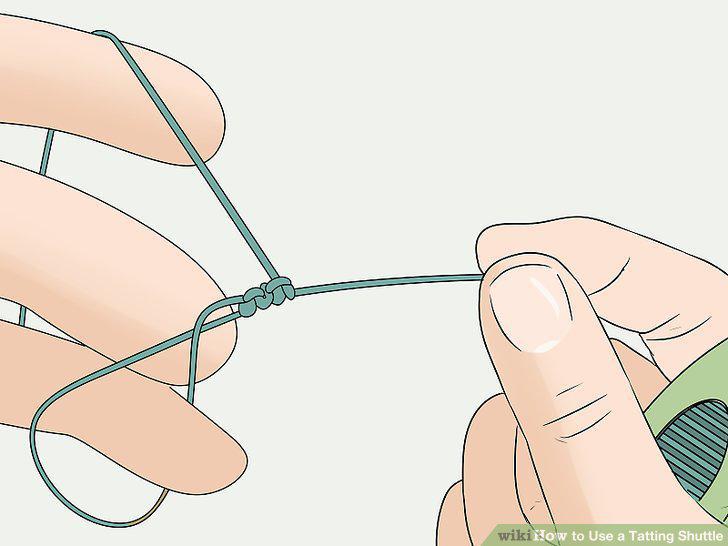
Learn how to make a double stitch.
11
Practice making rings.
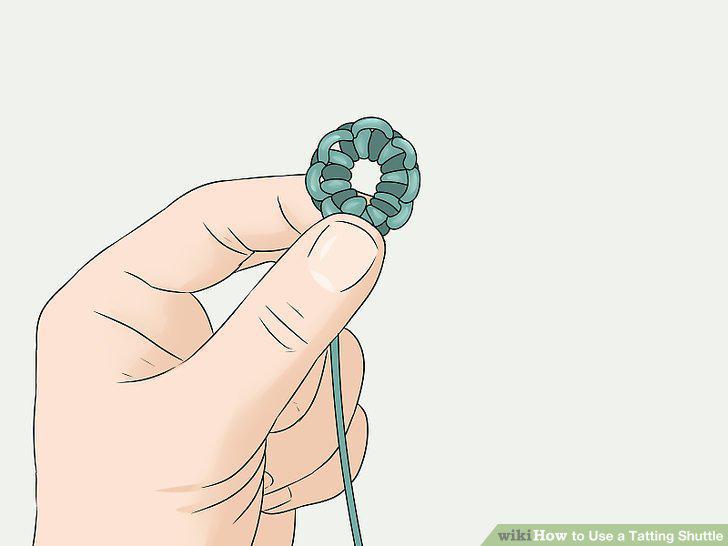
Practice making rings.
12
Make picots for a decorative touch.
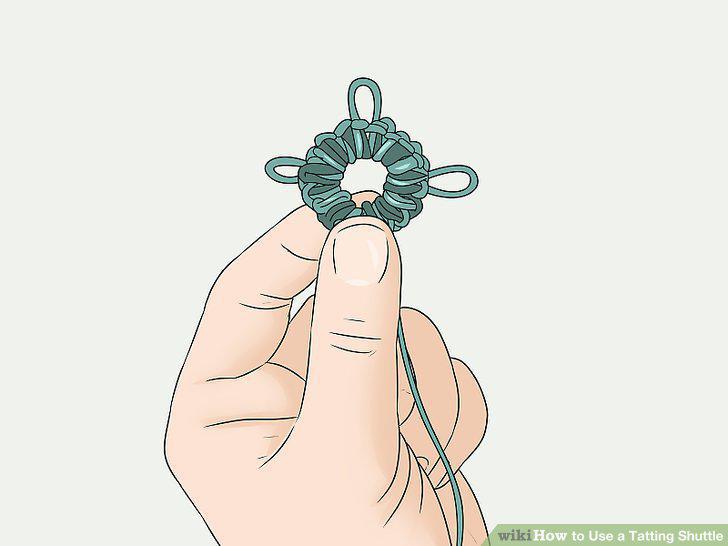
Make picots for a decorative touch.
13
Create a chain of stitches instead of a ring.
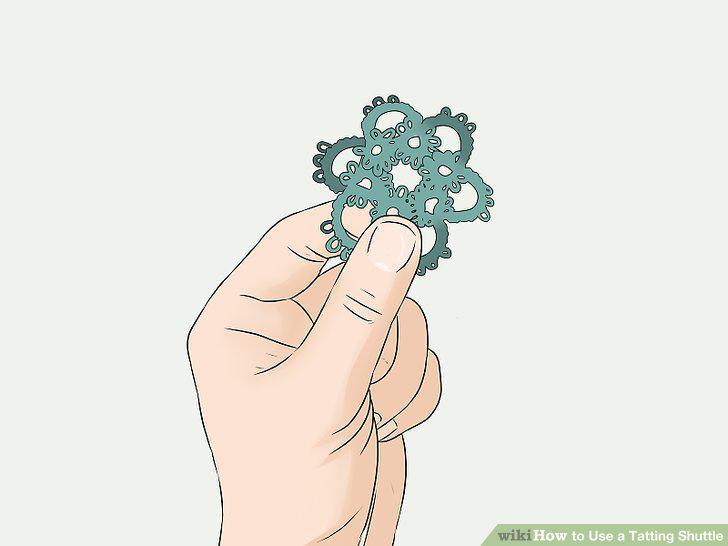
Create a chain of stitches instead of a ring.
Comments (0)
No comments yet. Be the first to share your thoughts!