How to Increase Frames Per Second in Counter Strike
Open the Video Settings menu in Counter-Strike.. Lower all settings and then raise them one at a time.. Lower the resolution.
Steps
Open the Video Settings menu in Counter-Strike.
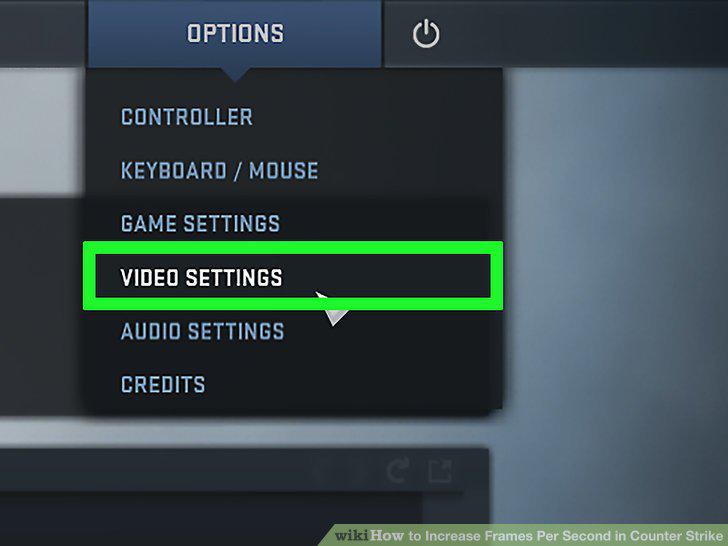
Open the Video Settings menu in Counter-Strike.
Lower all settings and then raise them one at a time.
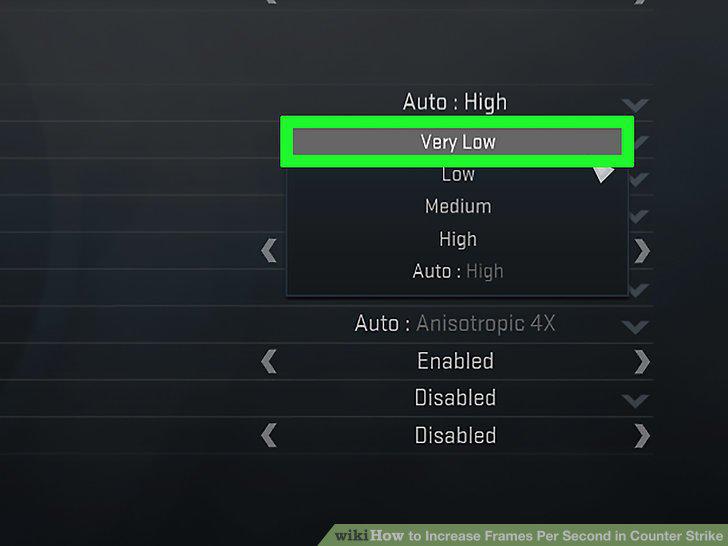
Lower all settings and then raise them one at a time.
Lower the resolution.
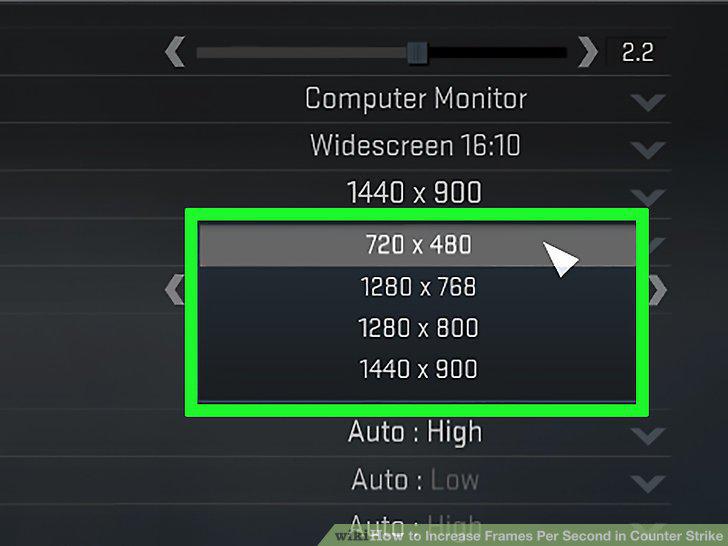
Lower the resolution.
Turn off "Laptop Power Savings."
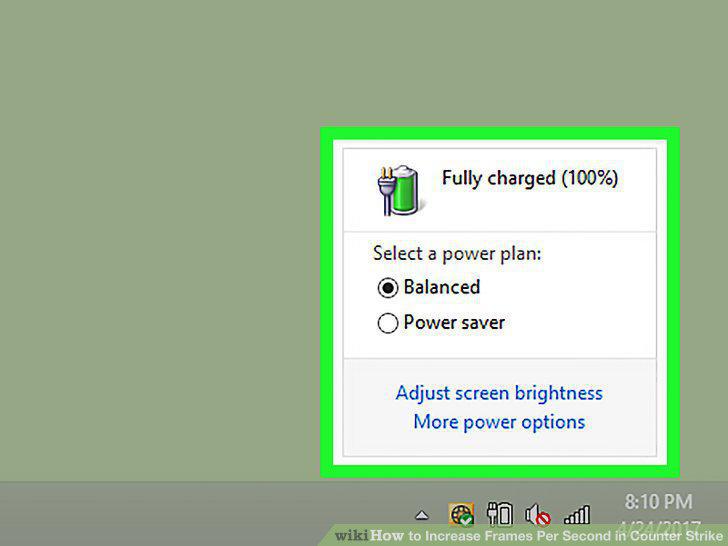
Turn off "Laptop Power Savings."
Turn down effects and detail settings.
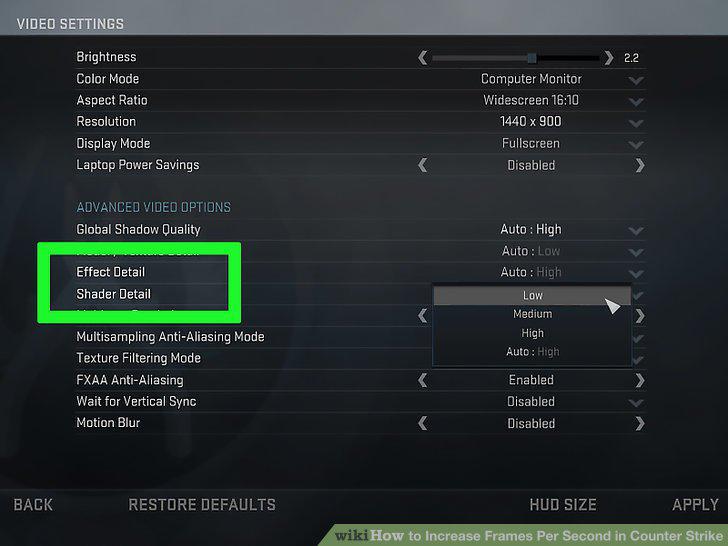
Turn down effects and detail settings.
Switch to a lower anti-aliasing mode or disable it completely.
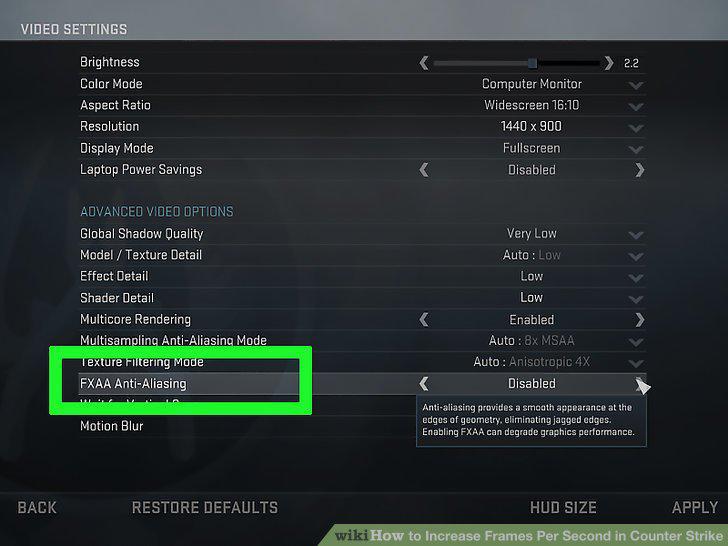
Switch to a lower anti-aliasing mode or disable it completely.
Disable motion blur.
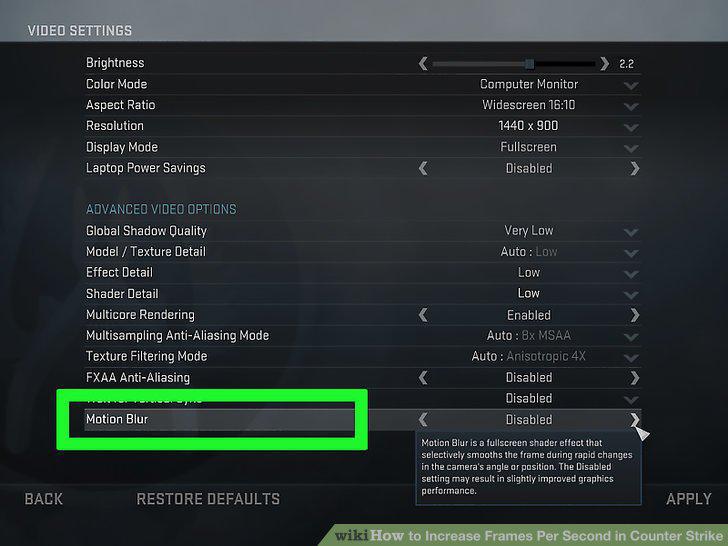
Disable motion blur.
Close any visibly open programs before starting CS:GO.
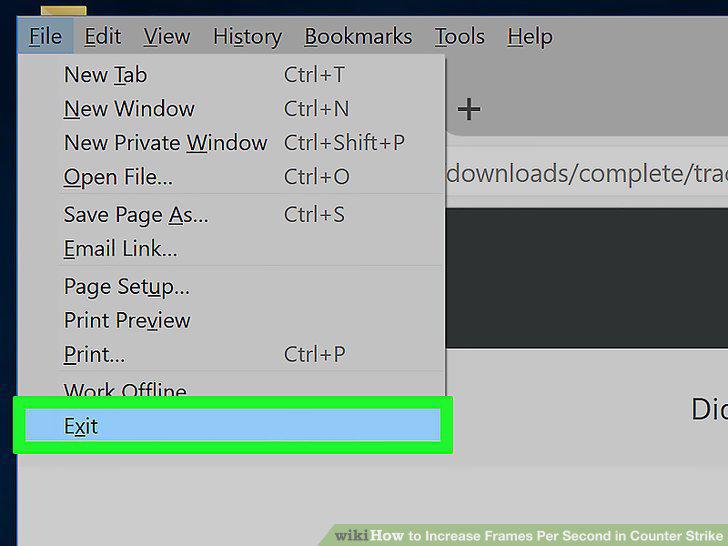
Close any visibly open programs before starting CS:GO.
Close any torrenting programs.
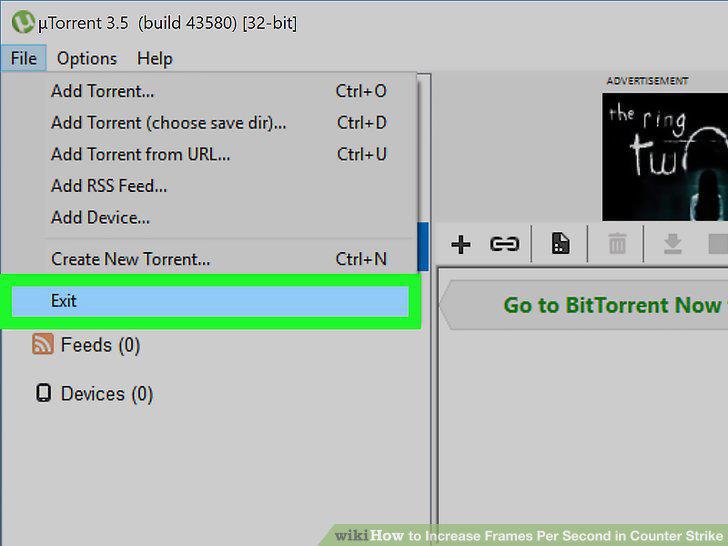
Close any torrenting programs.
Stop your antivirus program.
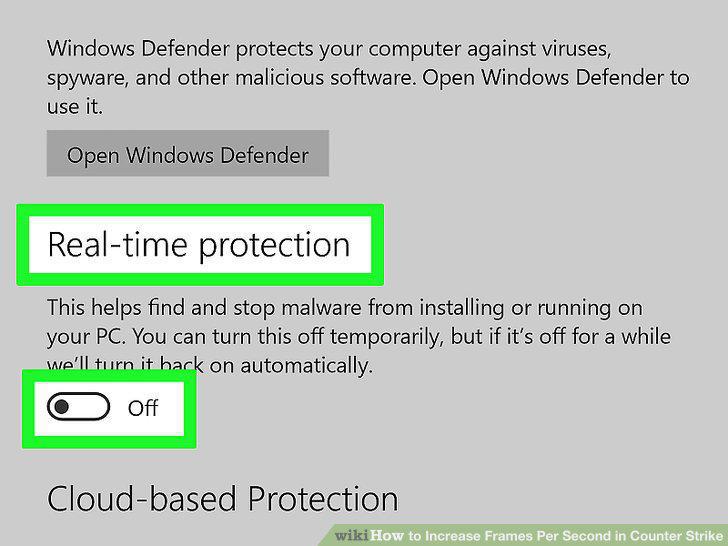
Stop your antivirus program.
Run a malware scan on a regular basis.
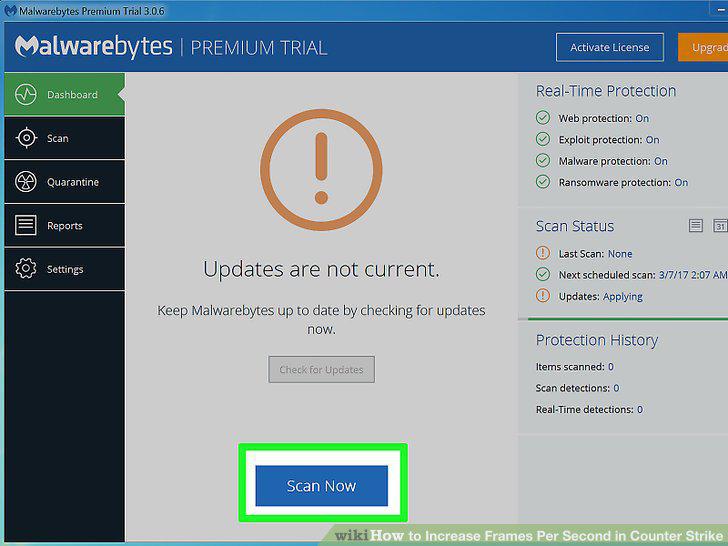
Run a malware scan on a regular basis.
Open the Steam window.
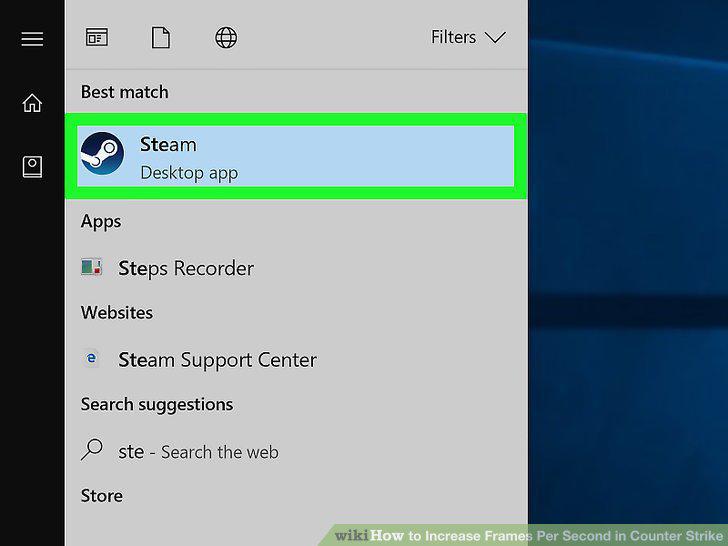
Open the Steam window.
Click the "Steam" menu and select "Settings."
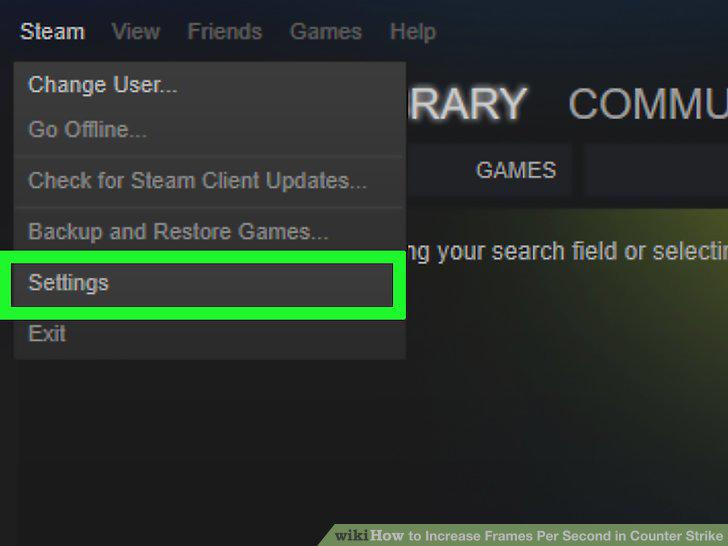
Click the "Steam" menu and select "Settings."
Click the "In-Game" tab on the left.
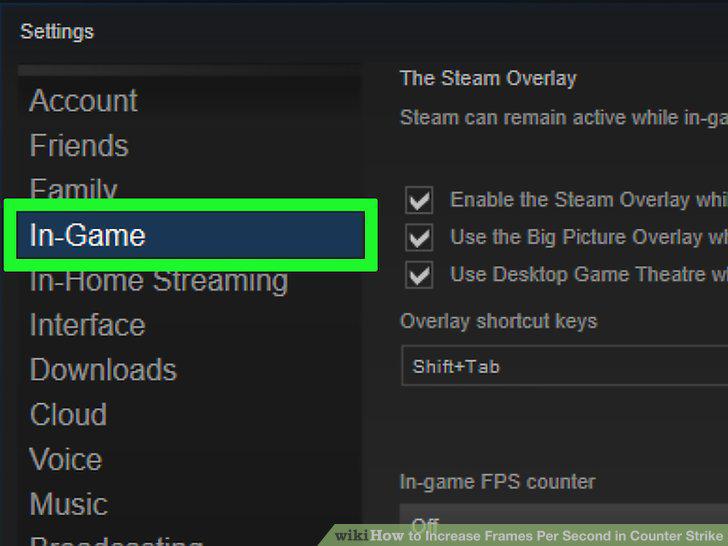
Click the "In-Game" tab on the left.
Uncheck the "Enable the Steam Overlay while in-game" box.
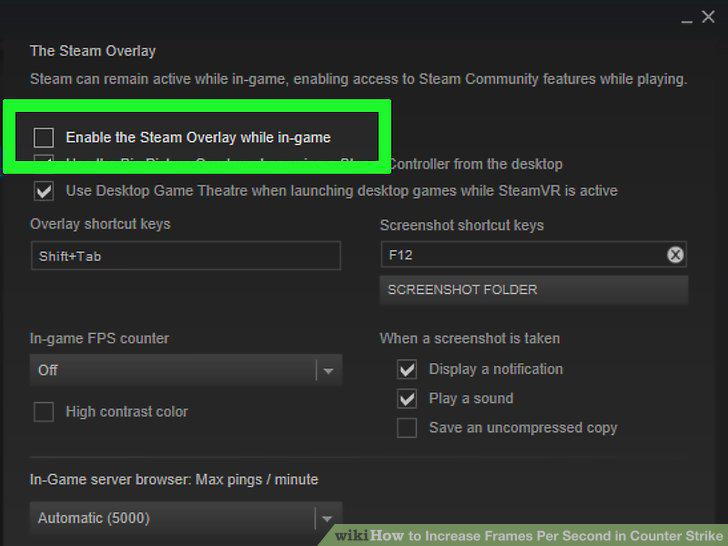
Uncheck the "Enable the Steam Overlay while in-game" box.
Click "OK" to save your changes.
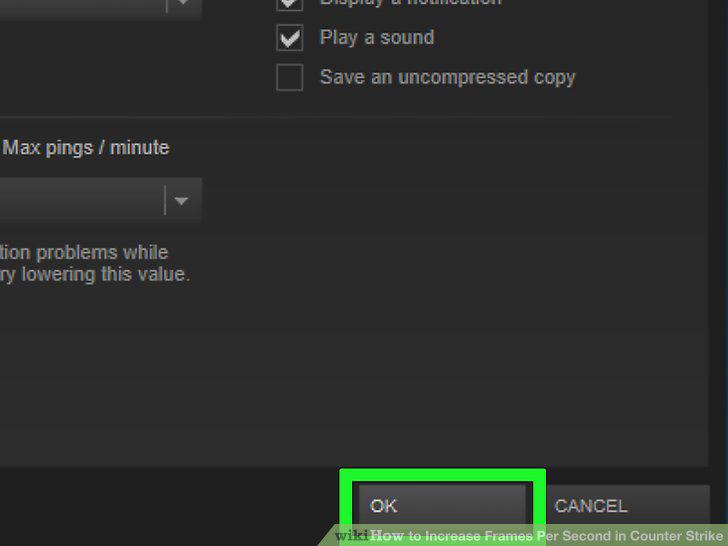
Click "OK" to save your changes.
Open Steam.
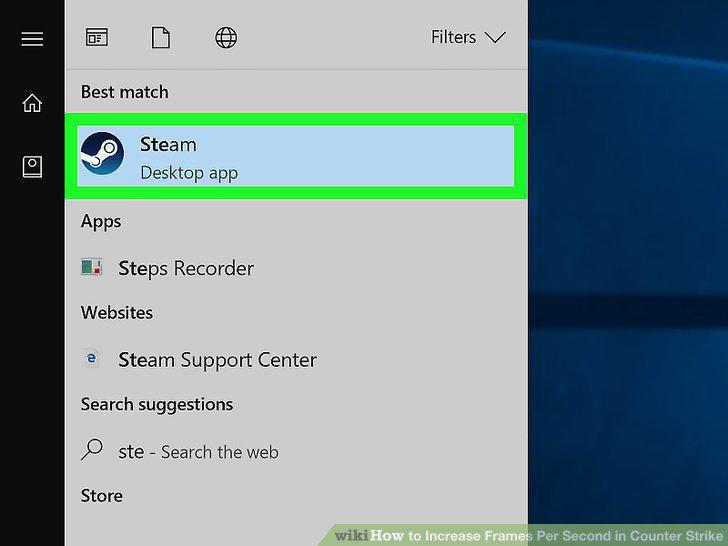
Open Steam.
Right-click on CS:GO in your Library and select "Properties."
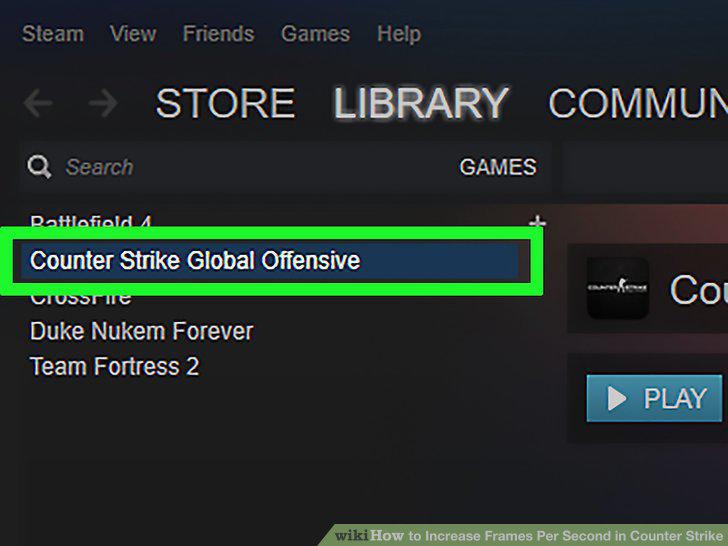
Right-click on CS:GO in your Library and select "Properties."
Click the "Set Launch Options" button.
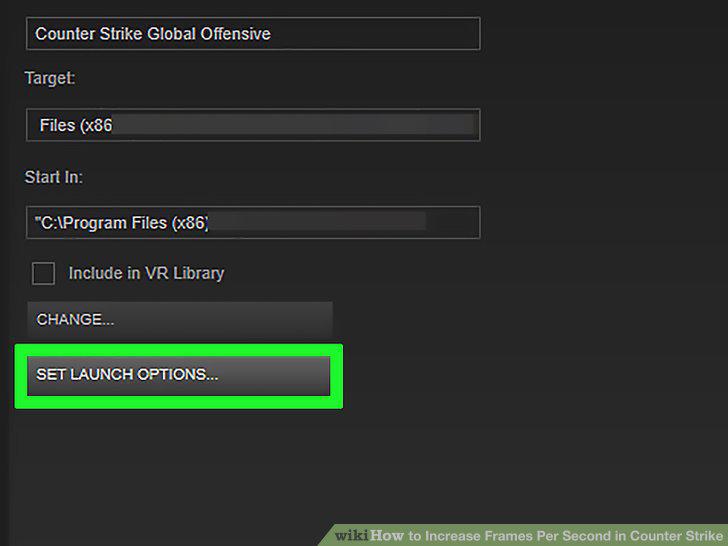
Click the "Set Launch Options" button.
Paste the following launch options.
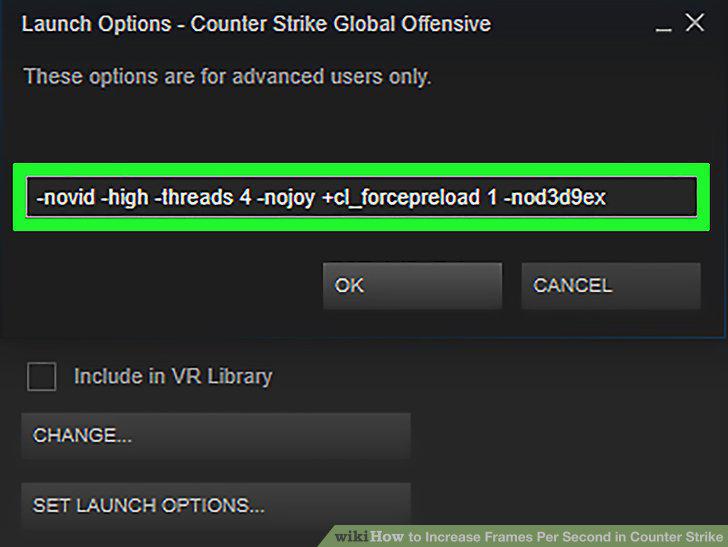
Paste the following launch options.
Save your changes.
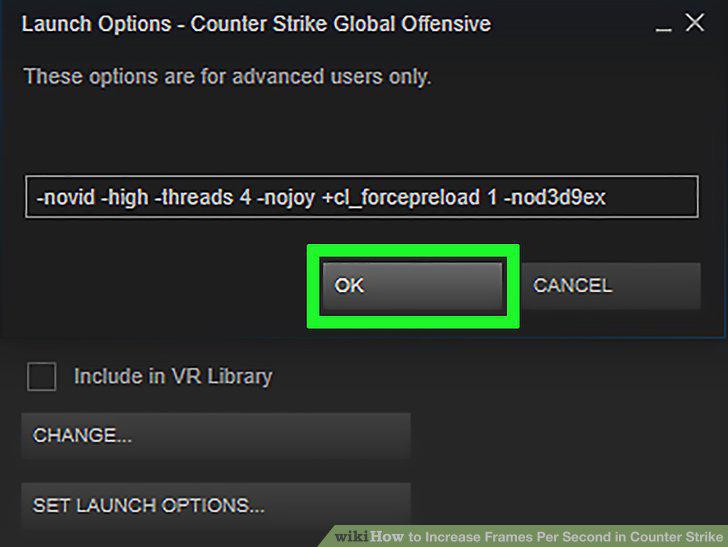
Save your changes.
Open the Device Manager.
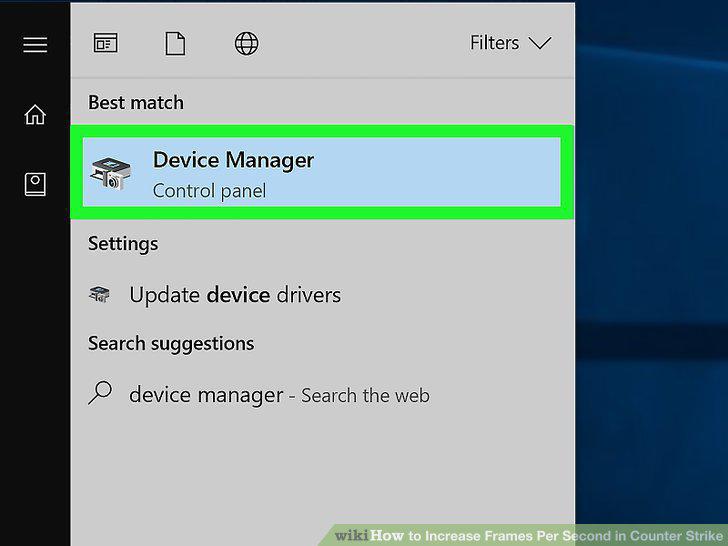
Open the Device Manager.
Expand the "Display adapters" section.
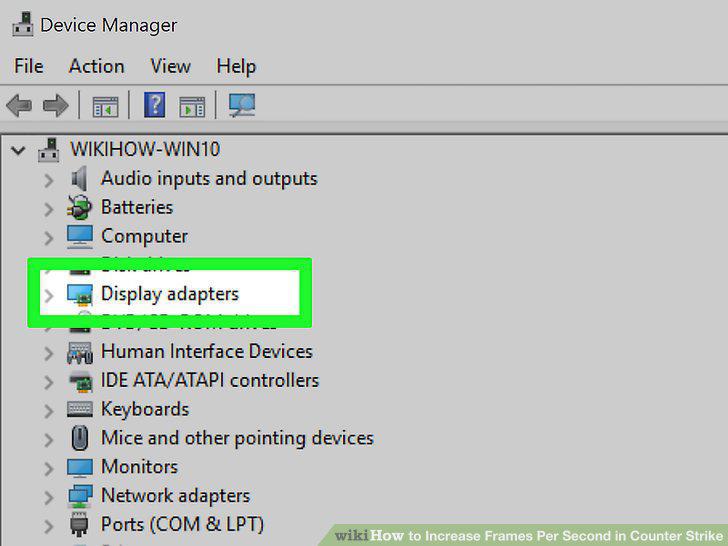
Expand the "Display adapters" section.
Find your graphics adapter model.
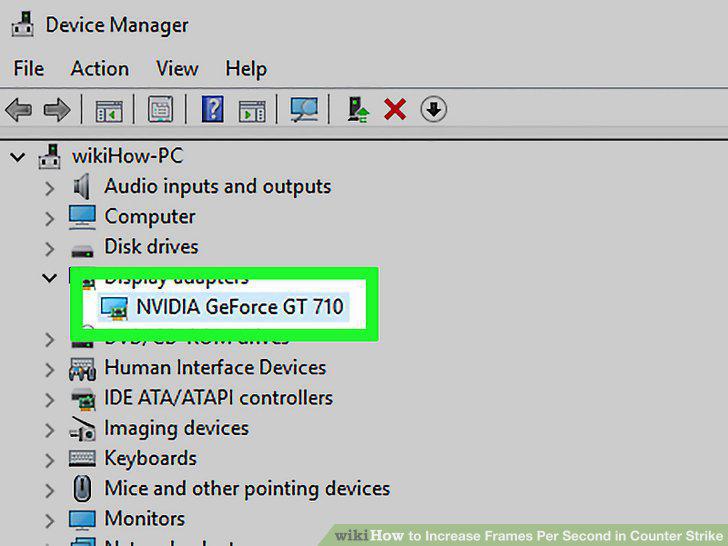
Find your graphics adapter model.
Visit the manufacturer's website.
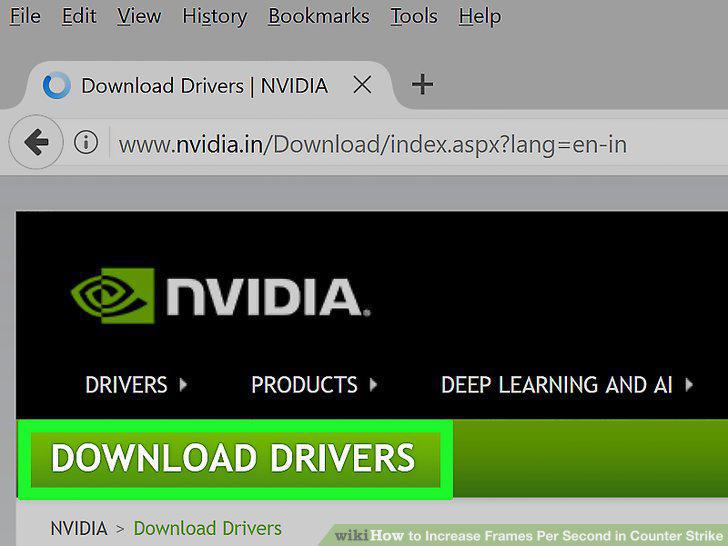
Visit the manufacturer's website.
Find the driver download for your graphics adapter.
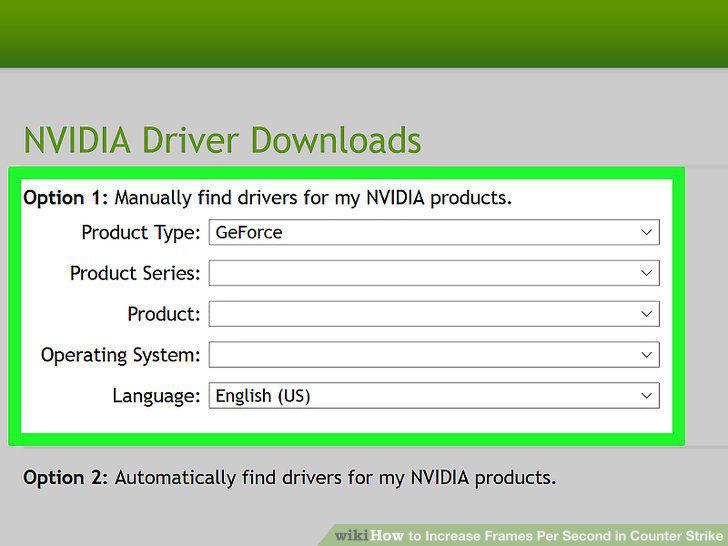
Find the driver download for your graphics adapter.
Run the installer.
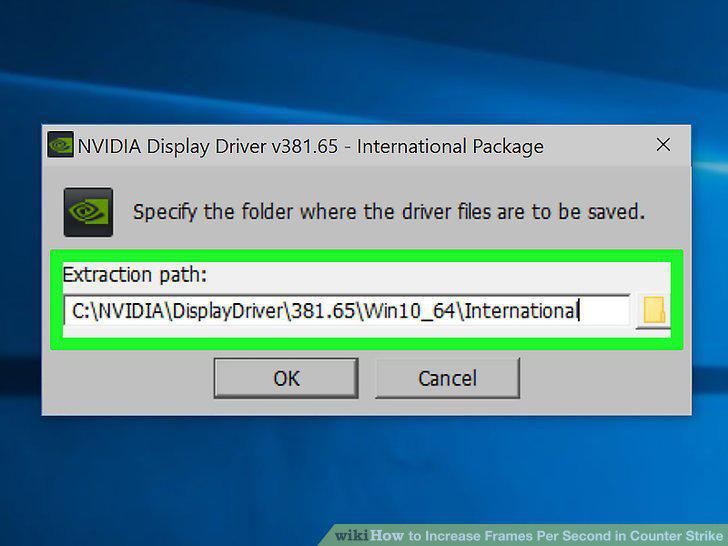
Run the installer.
Plug your laptop into a power source.
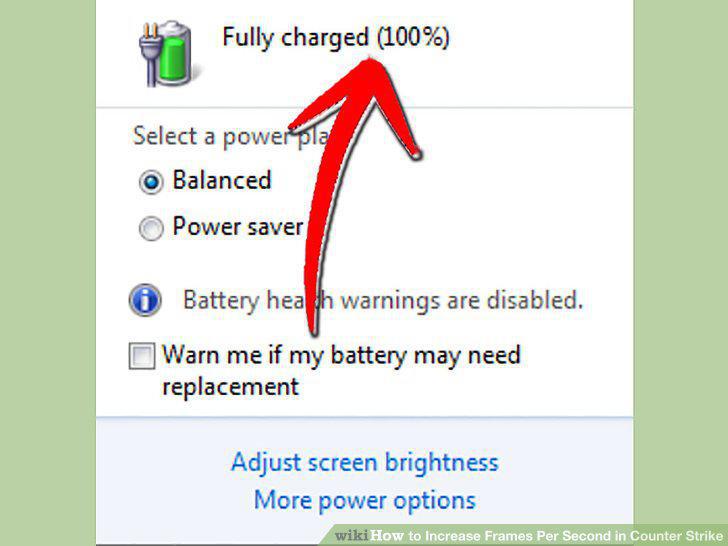
Plug your laptop into a power source.
Open the Control Panel.
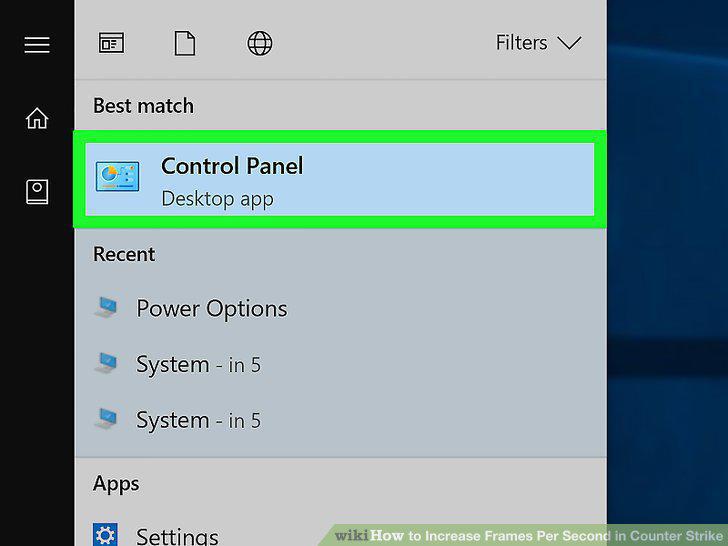
Open the Control Panel.
Select "Power Options."
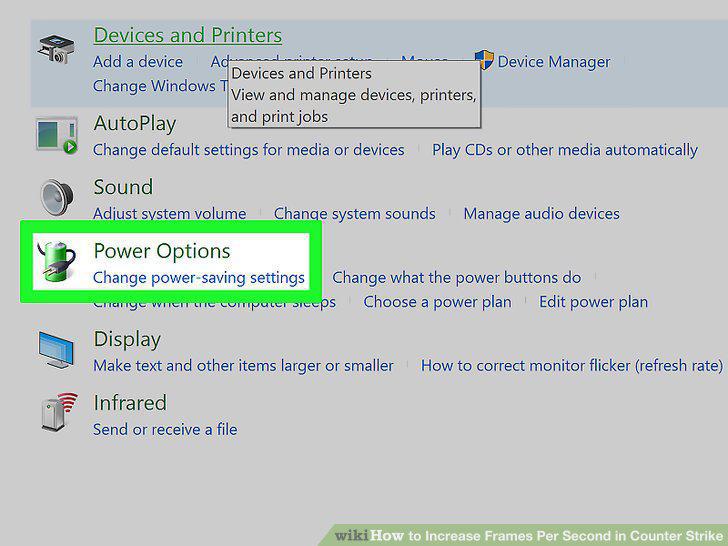
Select "Power Options."
Click the "Show additional plans" option.
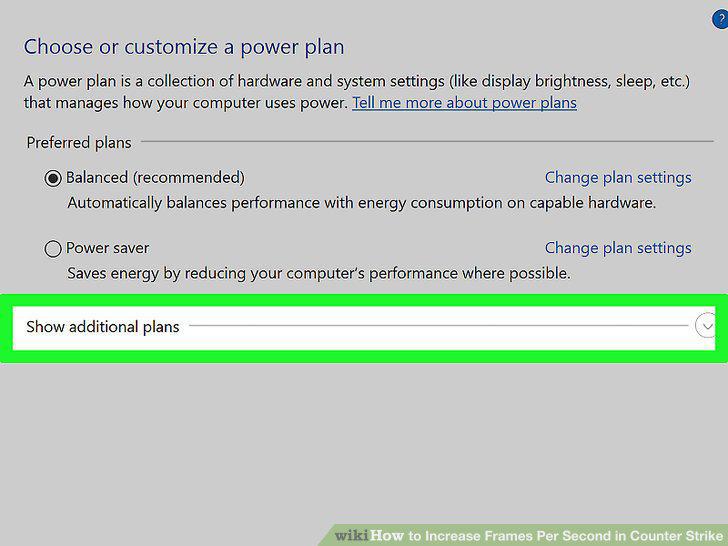
Click the "Show additional plans" option.
Select "High performance" and close the window.
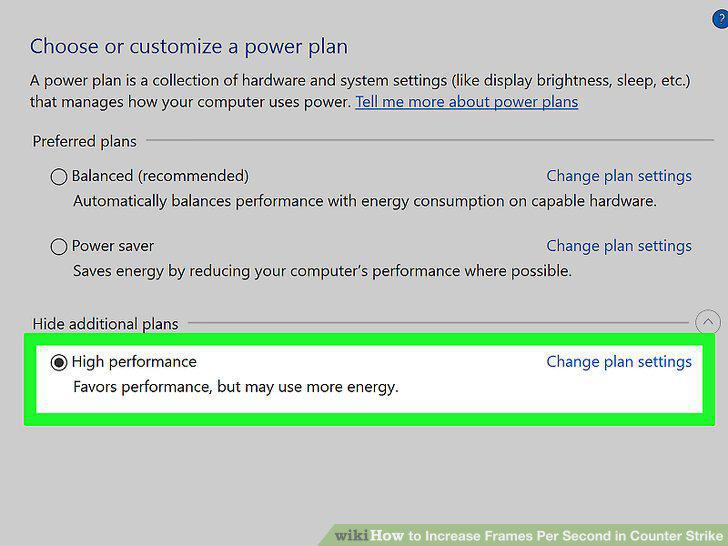
Select "High performance" and close the window.
Download the utility.
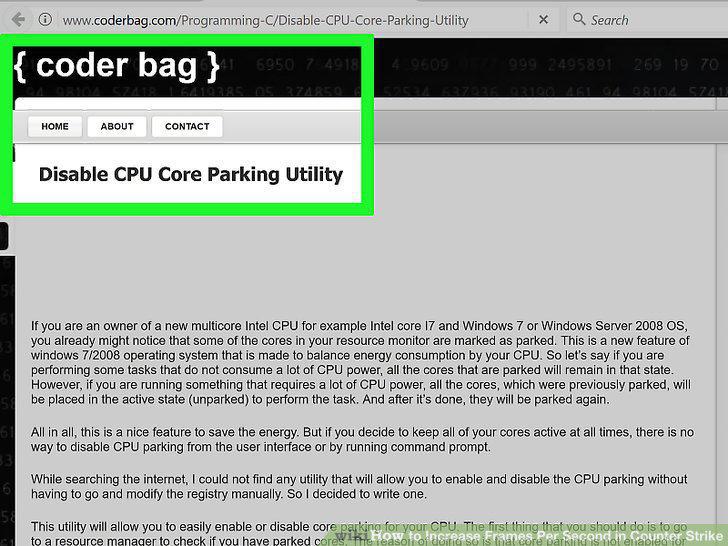
Download the utility.
Extract the ZIP file and run the program.
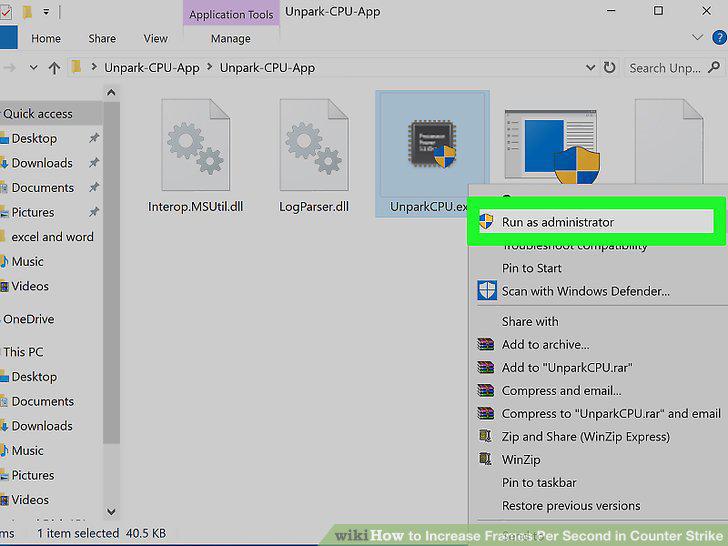
Extract the ZIP file and run the program.
Click the "Check Status" button.
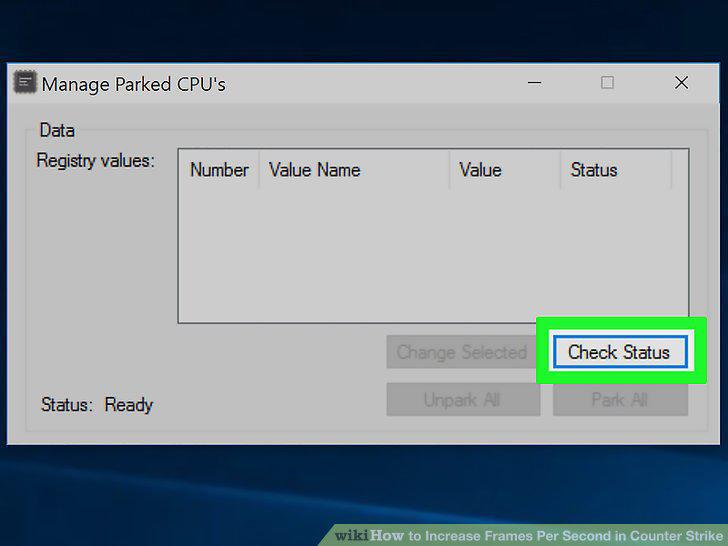
Click the "Check Status" button.
Click the "Unpark All" button.
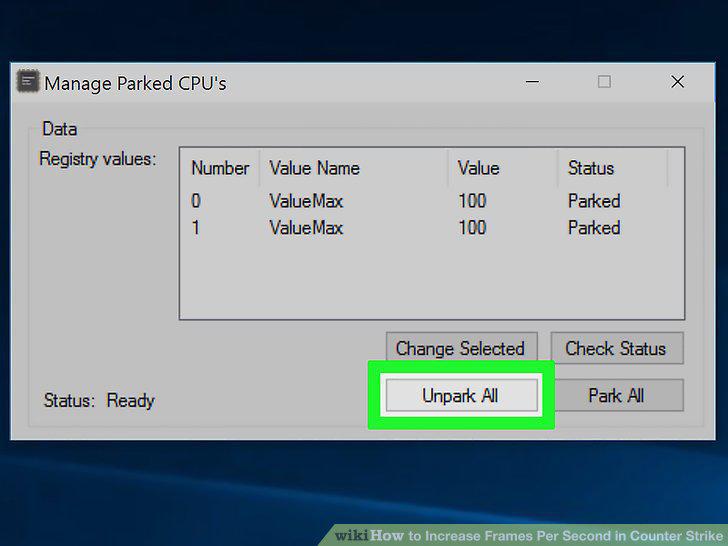
Click the "Unpark All" button.
Reboot your computer.
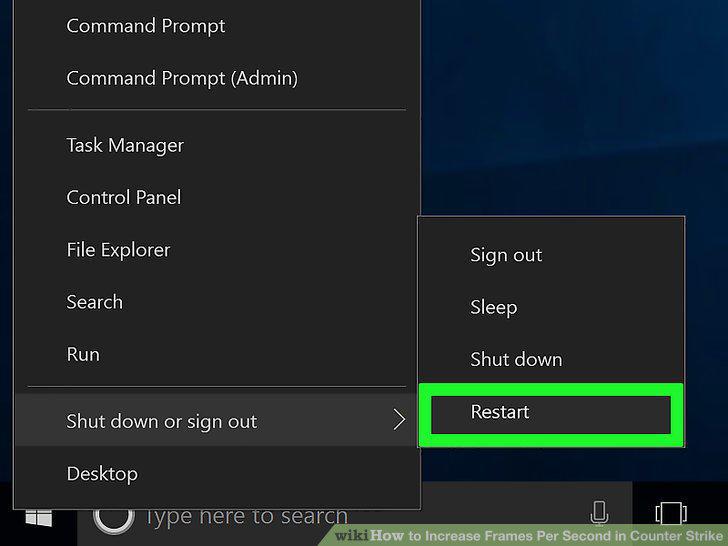
Reboot your computer.
Comments (0)
No comments yet. Be the first to share your thoughts!