How to Mod Podge Paper to Wood
Choose a suitable object for the project.. Sand away any rough patches on your wood piece.. Wipe the wood piece down to get rid of the sanding dust.
Steps
Choose a suitable object for the project.
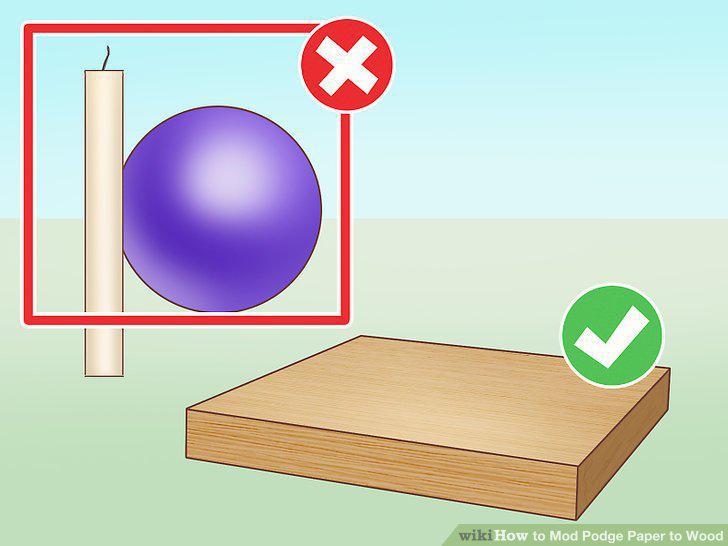
Choose a suitable object for the project.
Sand away any rough patches on your wood piece.
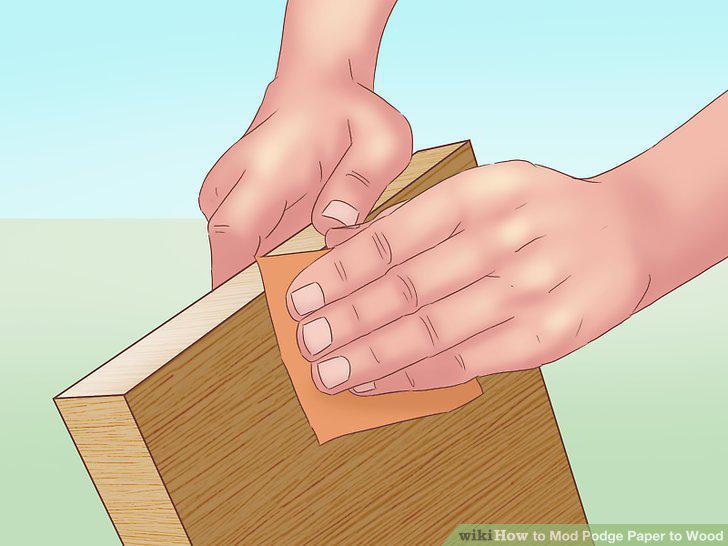
Sand away any rough patches on your wood piece.
Wipe the wood piece down to get rid of the sanding dust.
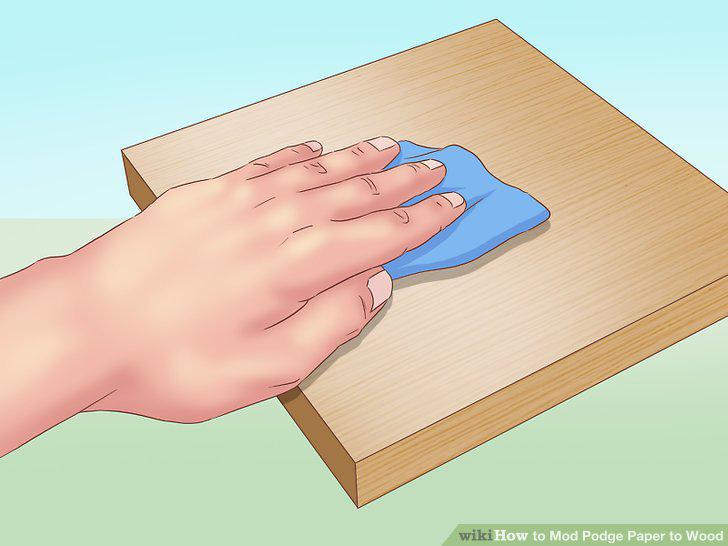
Wipe the wood piece down to get rid of the sanding dust.
Paint the wood piece a solid color, if desired.
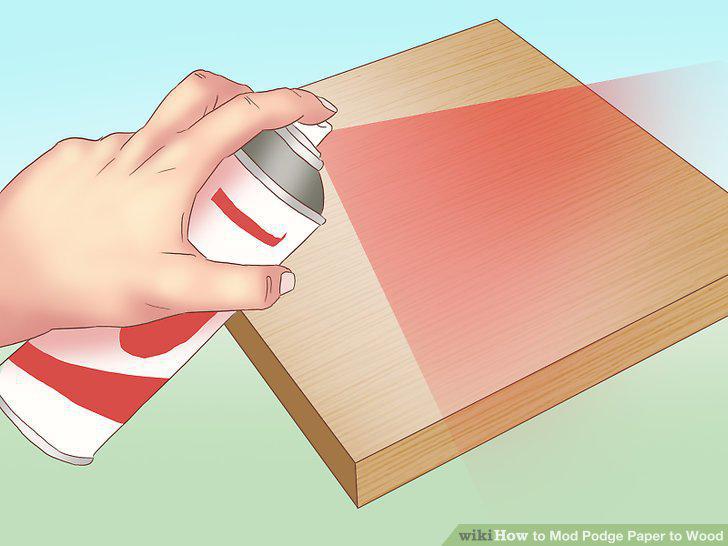
Paint the wood piece a solid color, if desired.
Allow the paint to dry, if you applied it.
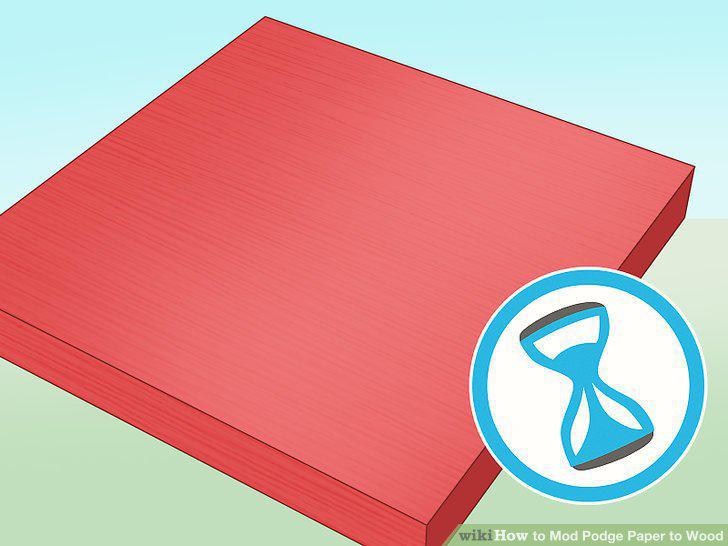
Allow the paint to dry, if you applied it.
Choose some suitable paper.
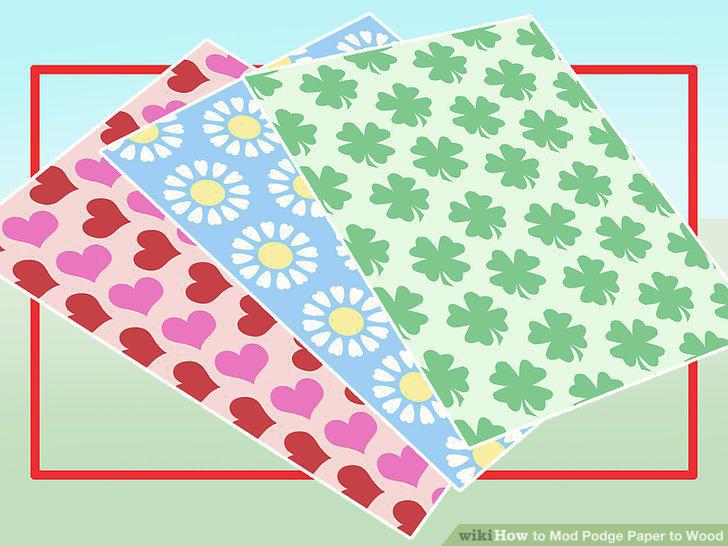
Choose some suitable paper.
Seal the paper with clear, acrylic sealer, if needed.
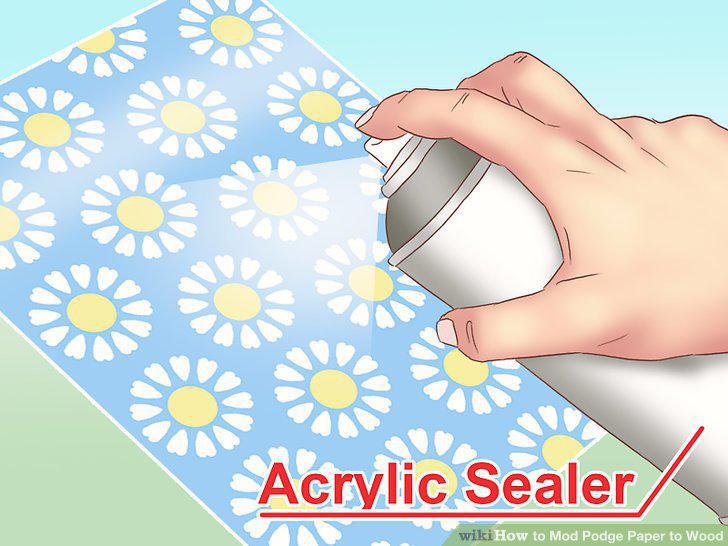
Seal the paper with clear, acrylic sealer, if needed.
Trace your wood piece onto the back of the paper.
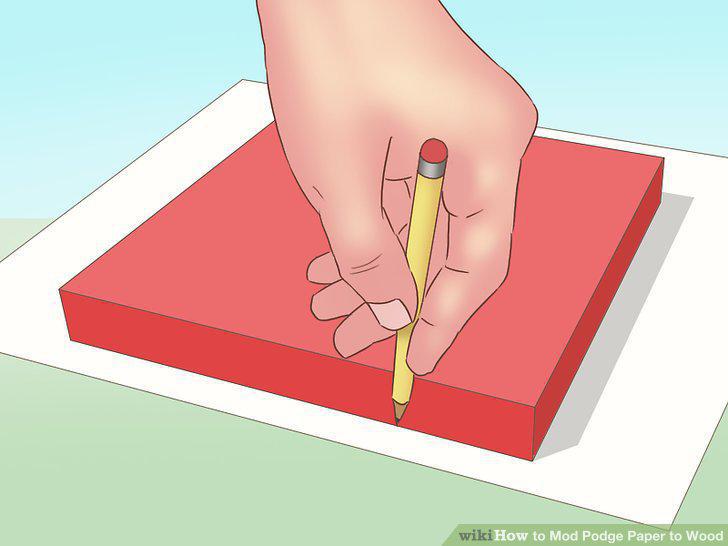
Trace your wood piece onto the back of the paper.
Cut the traced scrapbooking paper.
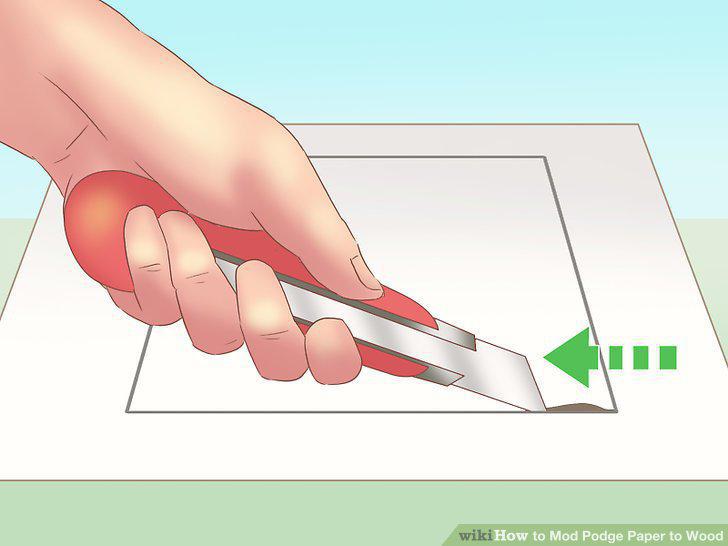
Cut the traced scrapbooking paper.
Pour the Mod Podge into a bowl or container, if desired.
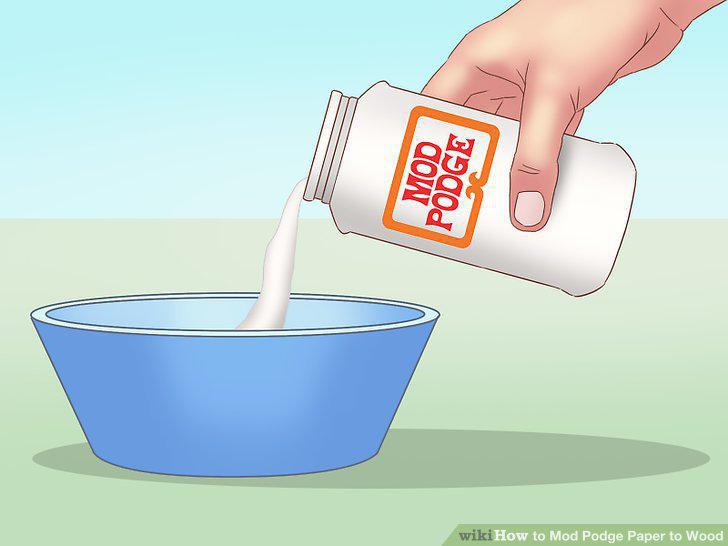
Pour the Mod Podge into a bowl or container, if desired.
Apply a thin coat of Mod Podge to the wood piece.
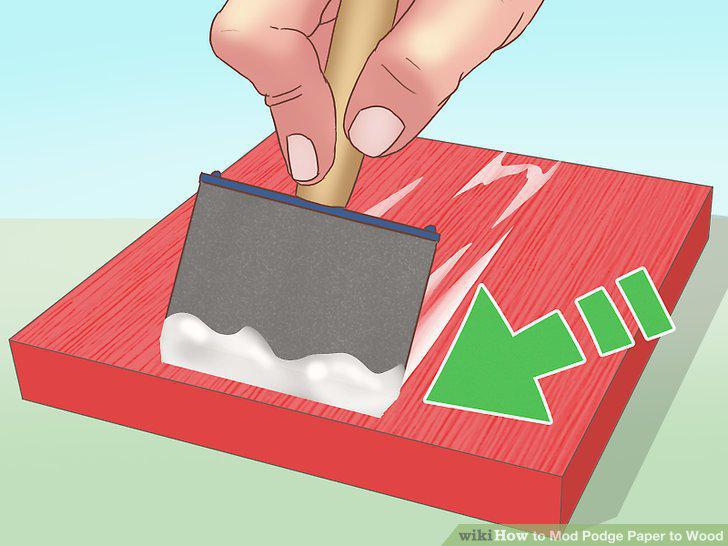
Apply a thin coat of Mod Podge to the wood piece.
Place the paper onto the Mod Podged surface and smooth it down.
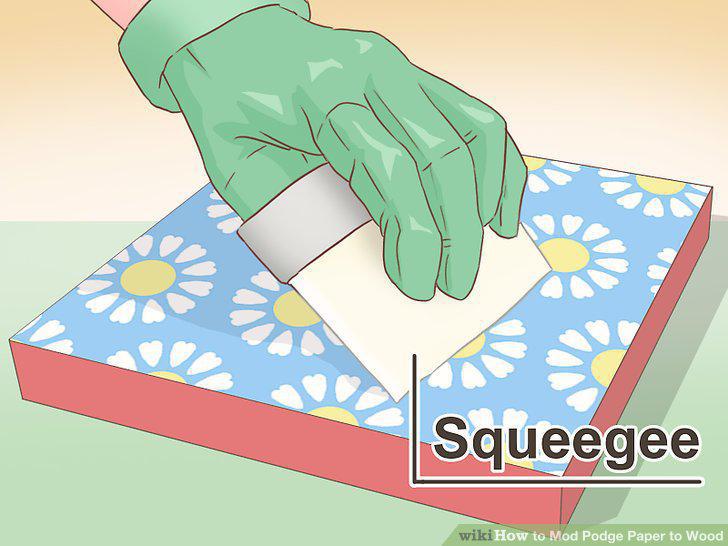
Place the paper onto the Mod Podged surface and smooth it down.
Allow the paper to dry before adding a second coat.
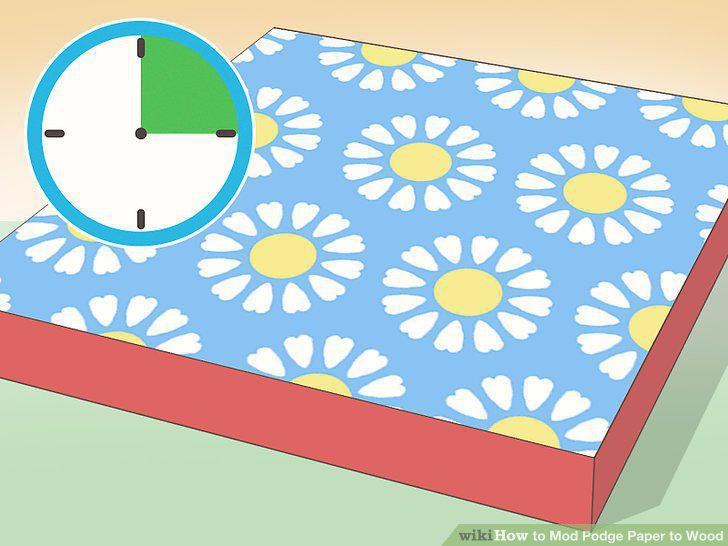
Allow the paper to dry before adding a second coat.
Add some cut-outs, if desired.
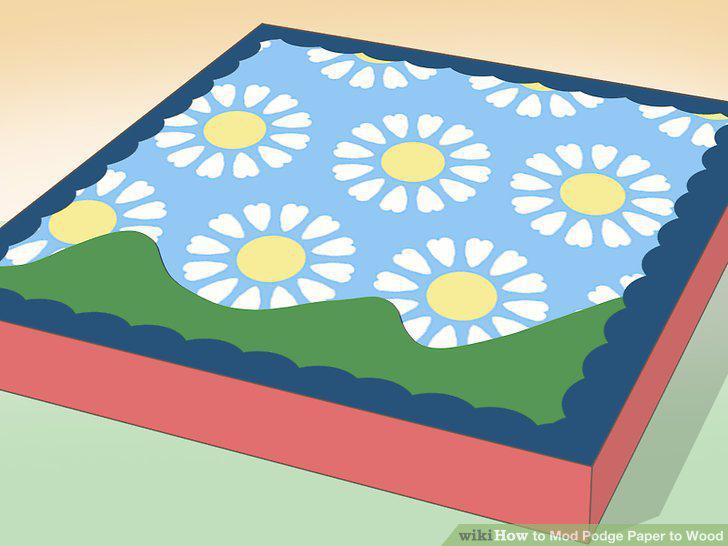
Add some cut-outs, if desired.
Apply two more coats of Mod Podge, then let it dry completely.
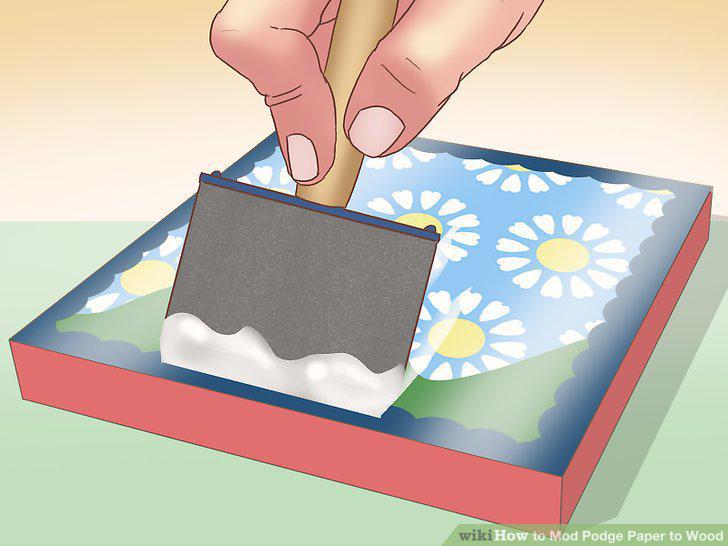
Apply two more coats of Mod Podge, then let it dry completely.
Finish the other sides, if needed.
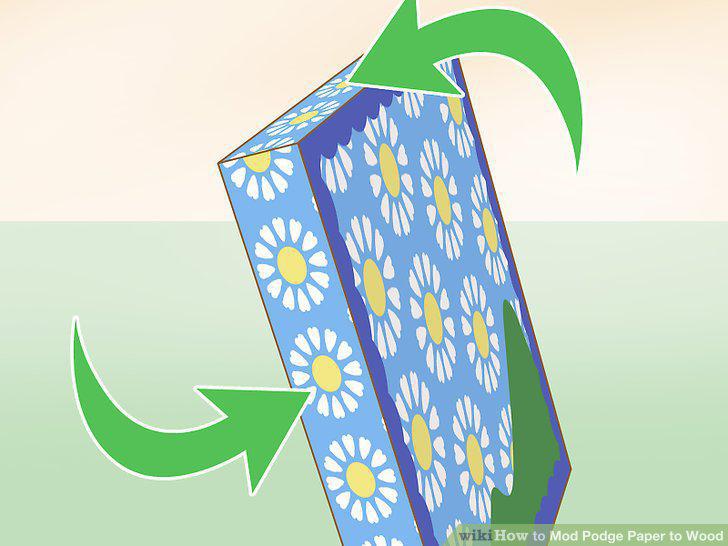
Finish the other sides, if needed.
Embellish the finished piece, if desired.
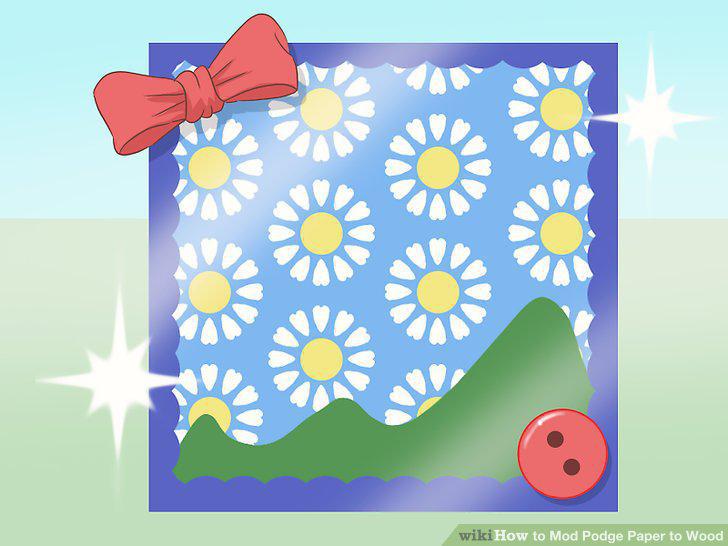
Embellish the finished piece, if desired.
Comments (0)
No comments yet. Be the first to share your thoughts!