How to Remove the "Twinkle" Feature from Christmas Lights
Remove the lights from the tree.. Find replacement bulbs.. Locate the blinking bulbs.
Steps
1
Remove the lights from the tree.
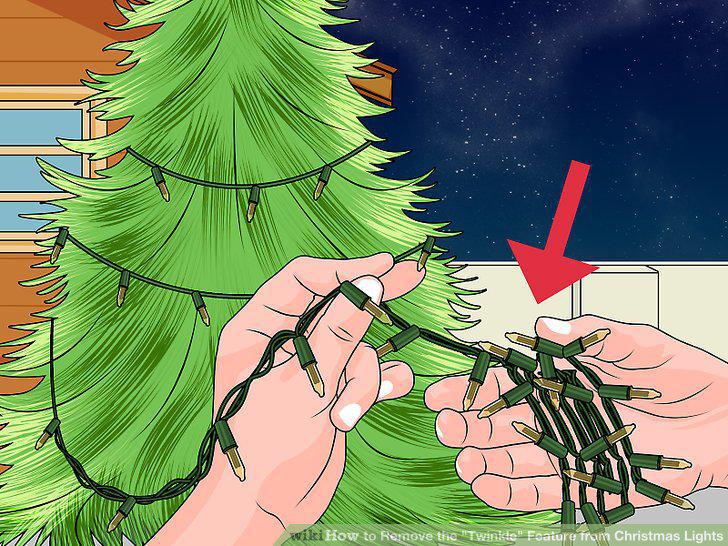
Remove the lights from the tree.
2
Find replacement bulbs.
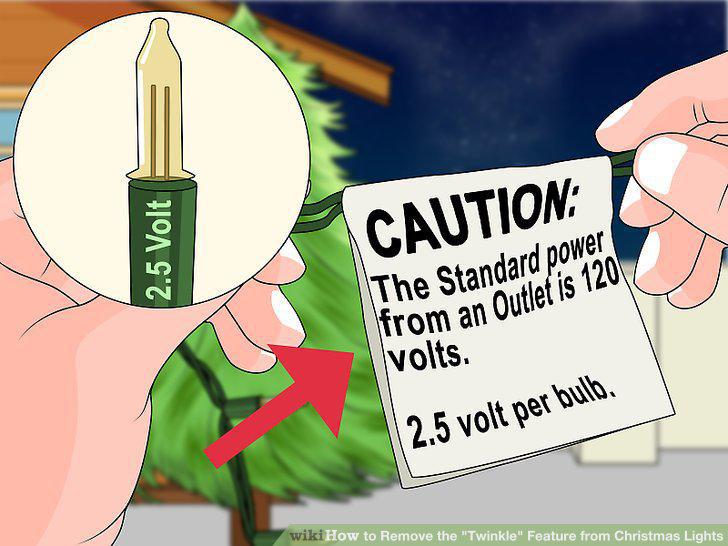
Find replacement bulbs.
3
Locate the blinking bulbs.
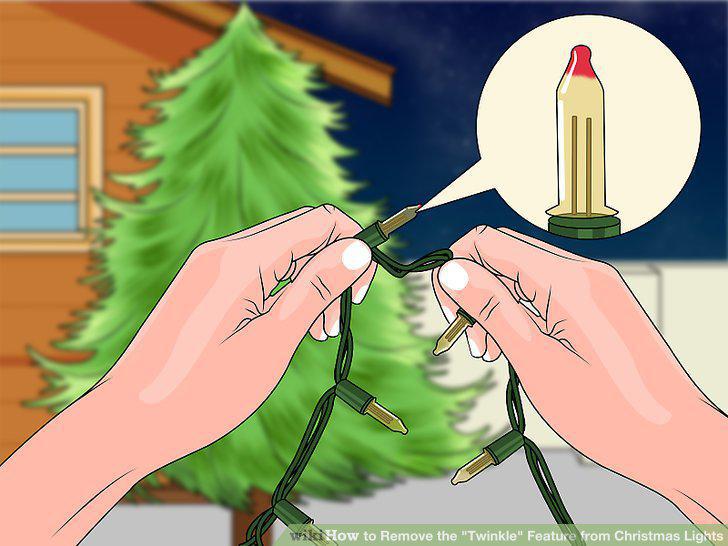
Locate the blinking bulbs.
4
Remove the bulbs.
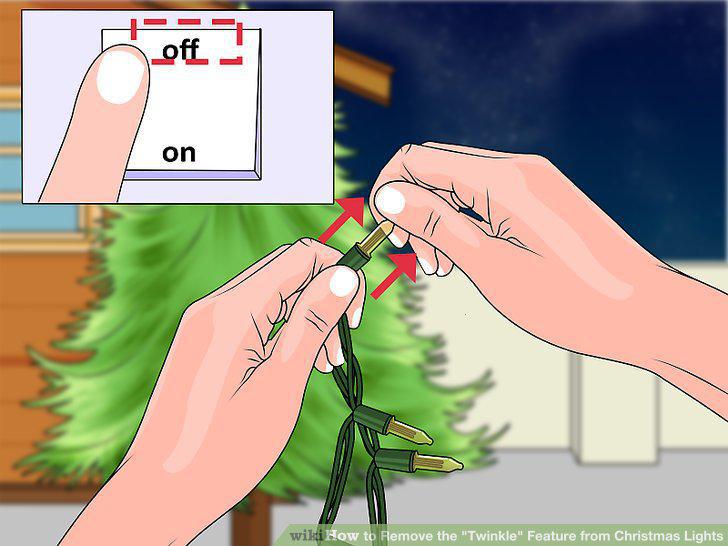
Remove the bulbs.
5
Replace the bulbs.
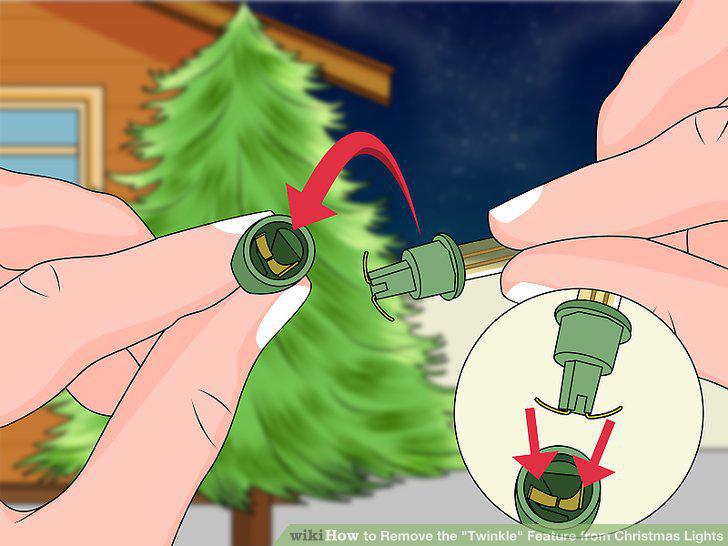
Replace the bulbs.
6
Test the lights.
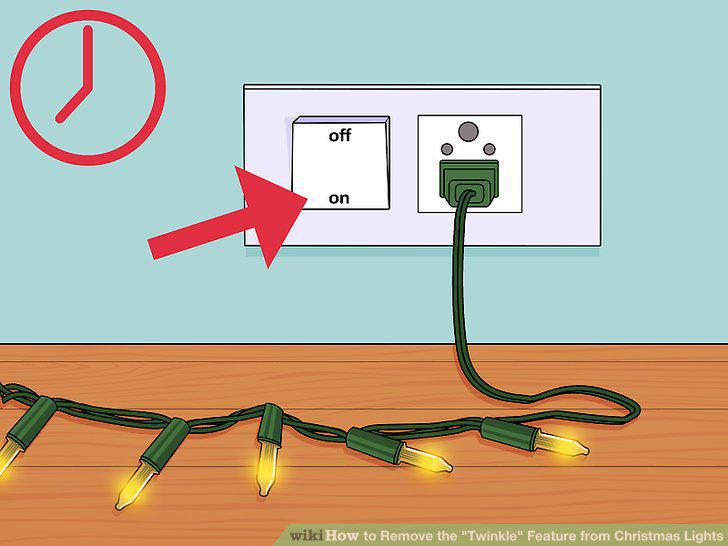
Test the lights.
7
Unplug the lights and remove them from the tree.
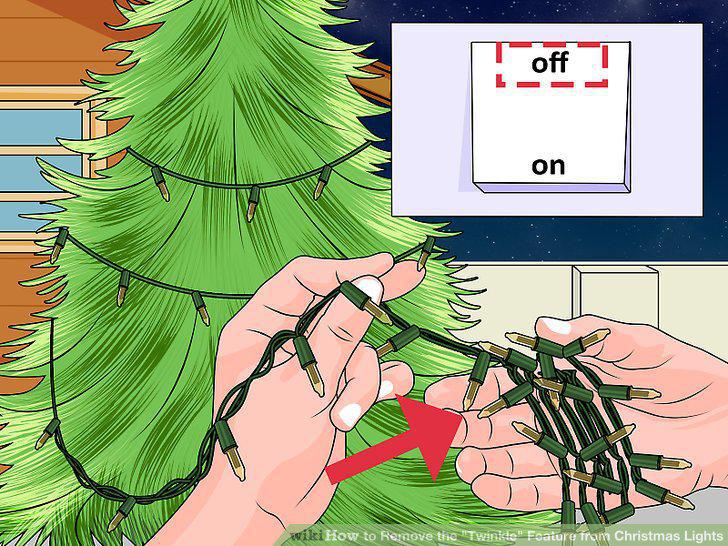
Unplug the lights and remove them from the tree.
8
Locate the control box.
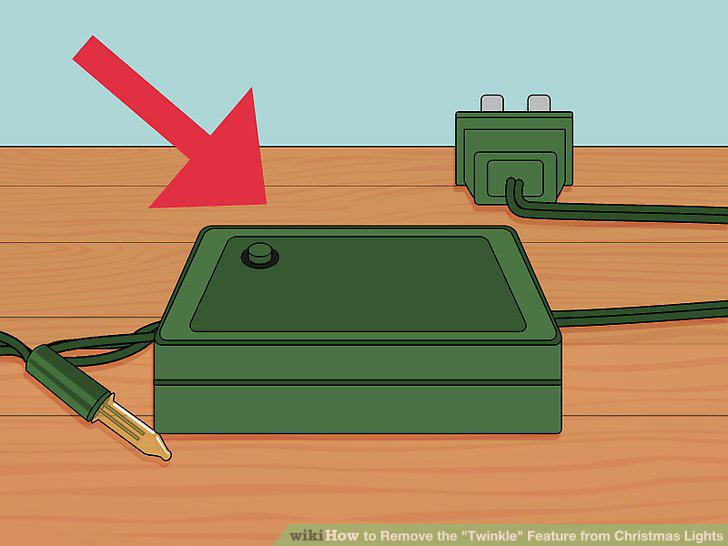
Locate the control box.
9
Open the control box.
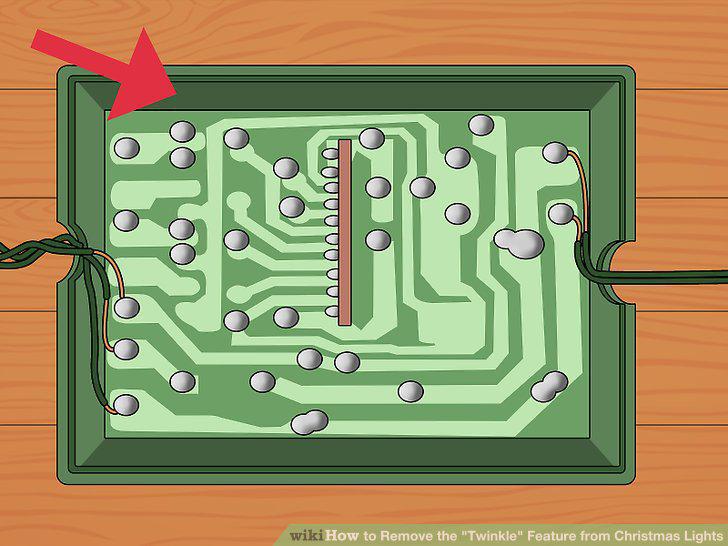
Open the control box.
10
Cut the power cable.
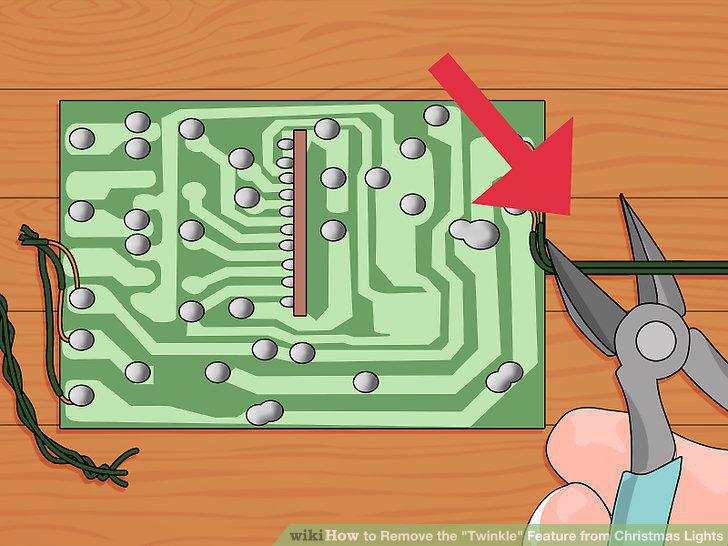
Cut the power cable.
11
Strip the coating from the wires.
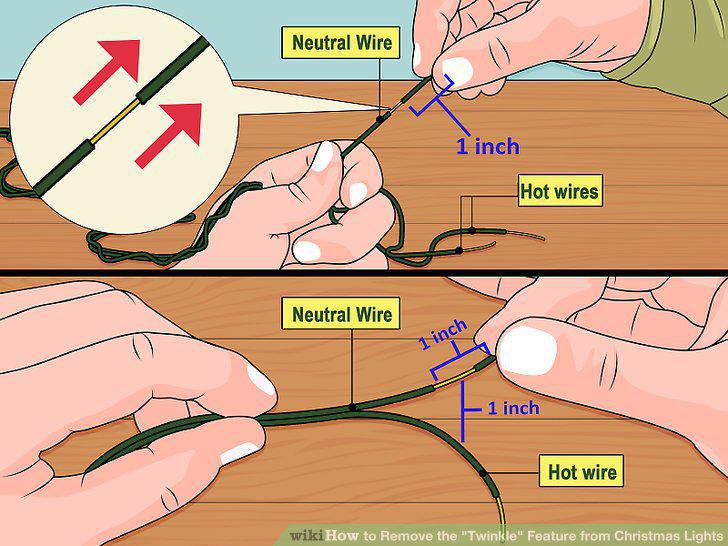
Strip the coating from the wires.
12
Splice together the hot wires.
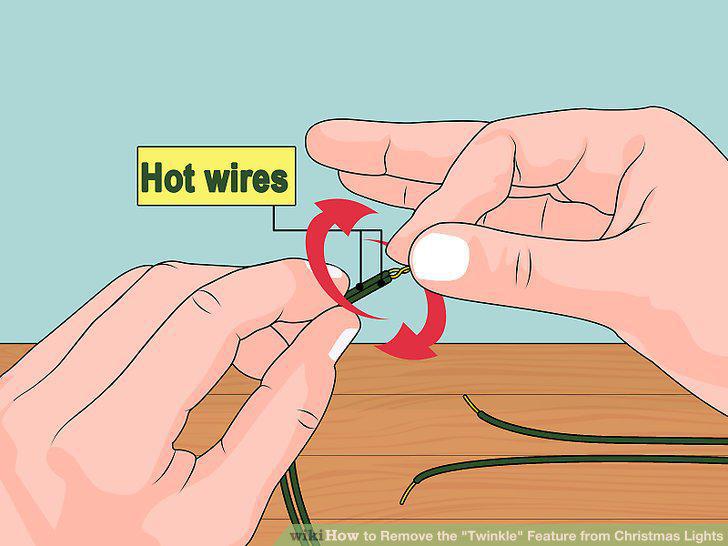
Splice together the hot wires.
13
Attach the hot wires to the power.
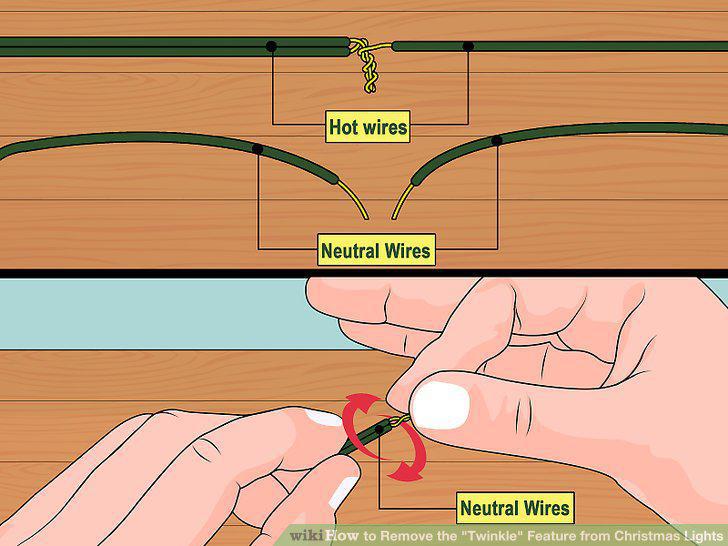
Attach the hot wires to the power.
14
Secure the wires with electrical tape.
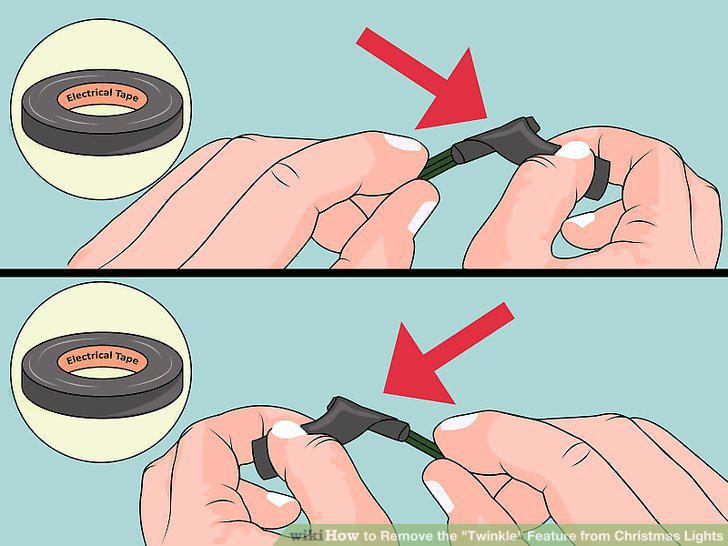
Secure the wires with electrical tape.
15
Purchase a bridge rectifier.
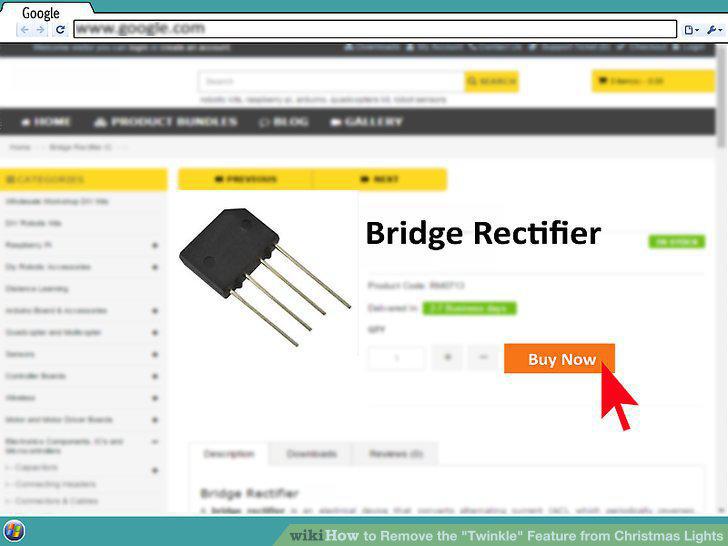
Purchase a bridge rectifier.
16
Unplug the lights and take them off the tree.
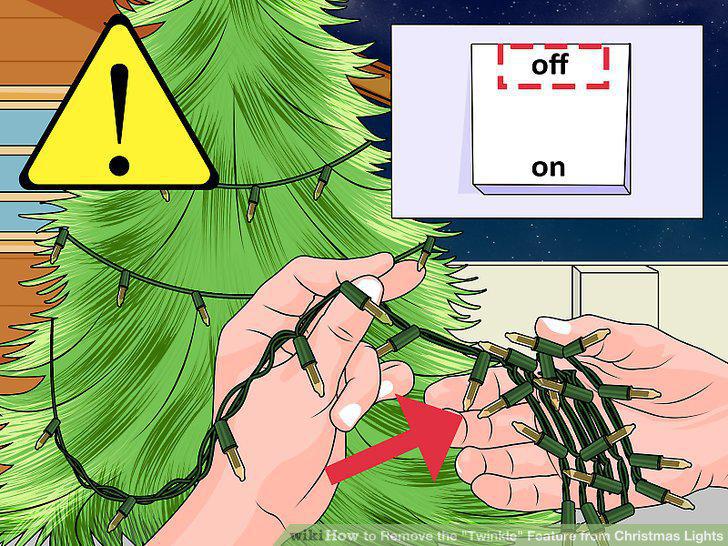
Unplug the lights and take them off the tree.
17
Cut the plug off the lights.
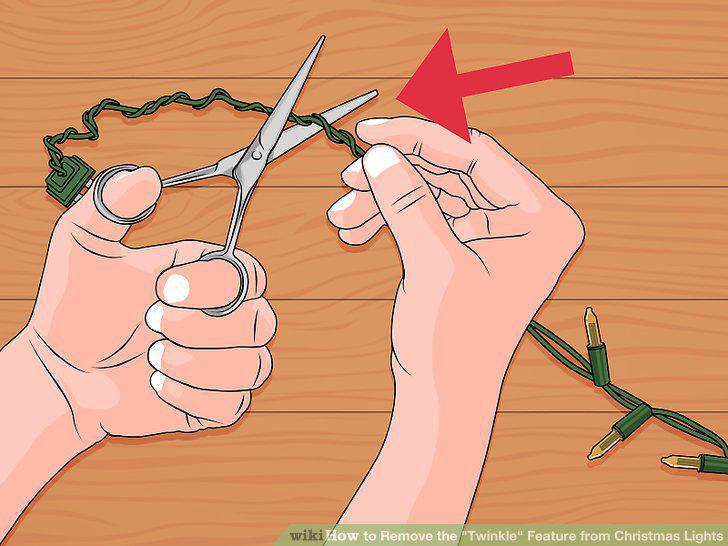
Cut the plug off the lights.
18
Solder the power wires to the bridge rectifier.
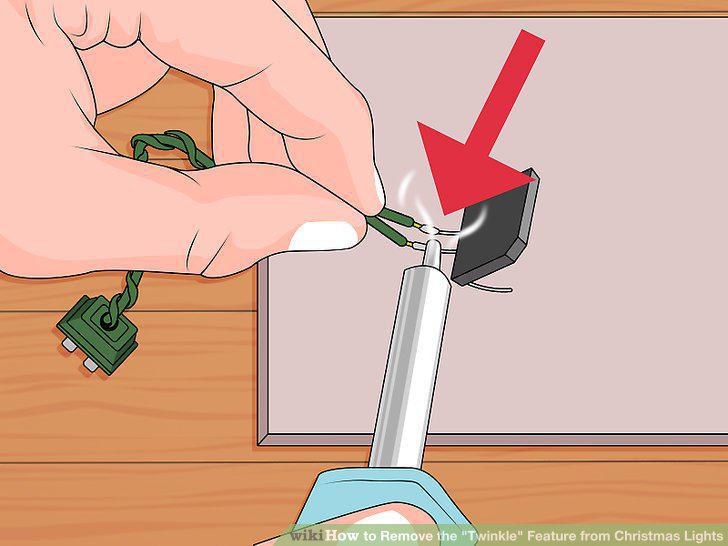
Solder the power wires to the bridge rectifier.
19
Determine the positive and negative light wires.
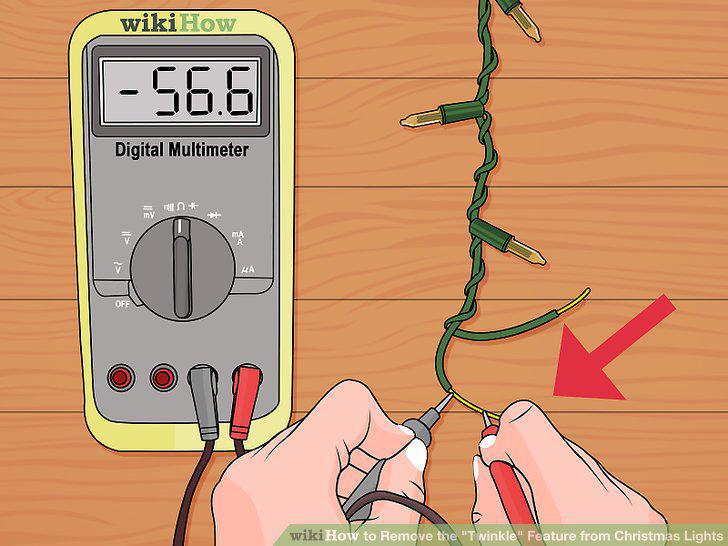
Determine the positive and negative light wires.
20
Attach the lights to the bridge rectifier.
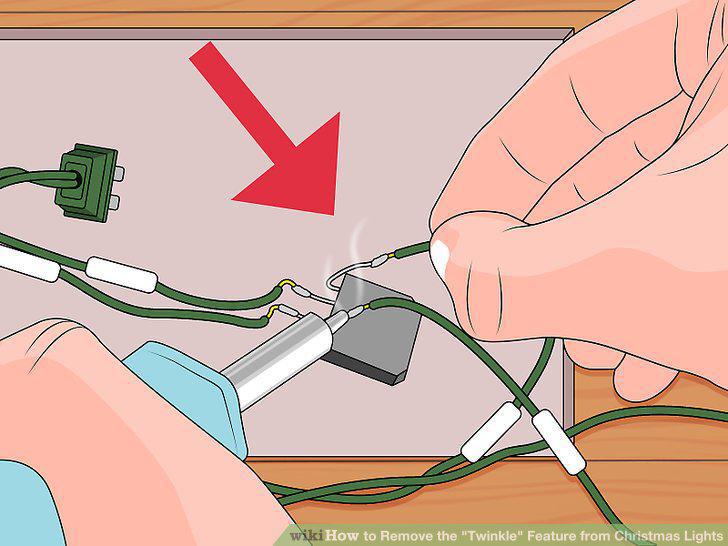
Attach the lights to the bridge rectifier.
21
Activate the heat shrink.
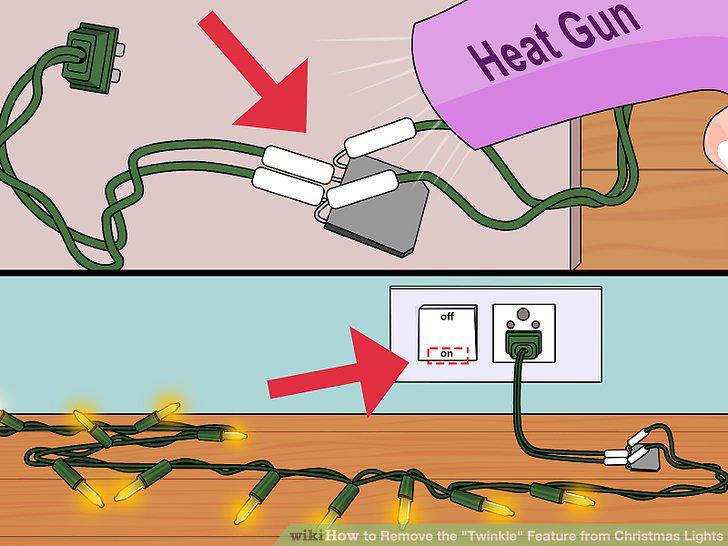
Activate the heat shrink.
Comments (0)
No comments yet. Be the first to share your thoughts!