How to Access Work Email from Home
Contact your company's IT department.. Find out if your business uses Office 365 or an Exchange server that supports Outlook Web App (Access).. Visit the login page for your company's email service.
Steps
Contact your company's IT department.
Contact your company's IT department.
Find out if your business uses Office 365 or an Exchange server that supports Ou
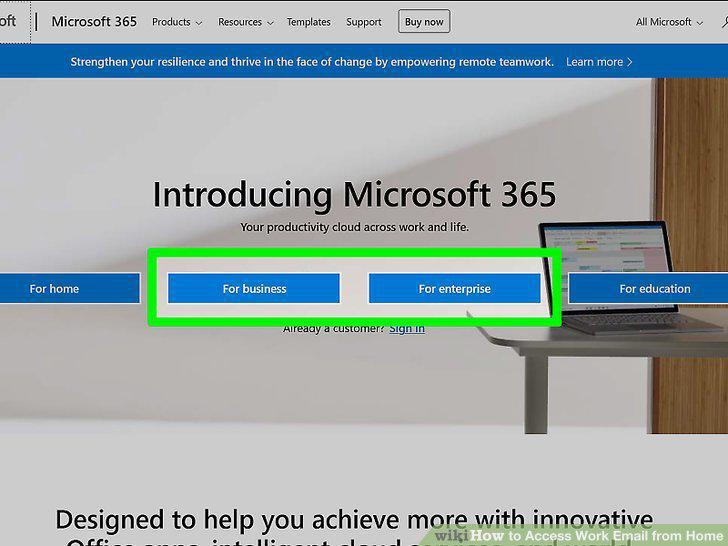
Find out if your business uses Office 365 or an Exchange server that supports Outlook Web App (Access).
Visit the login page for your company's email service.
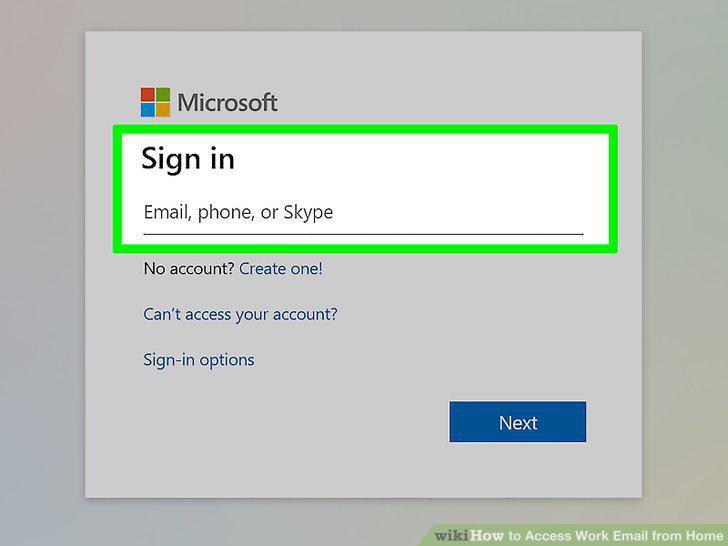
Visit the login page for your company's email service.
Log in with your full email address and password.
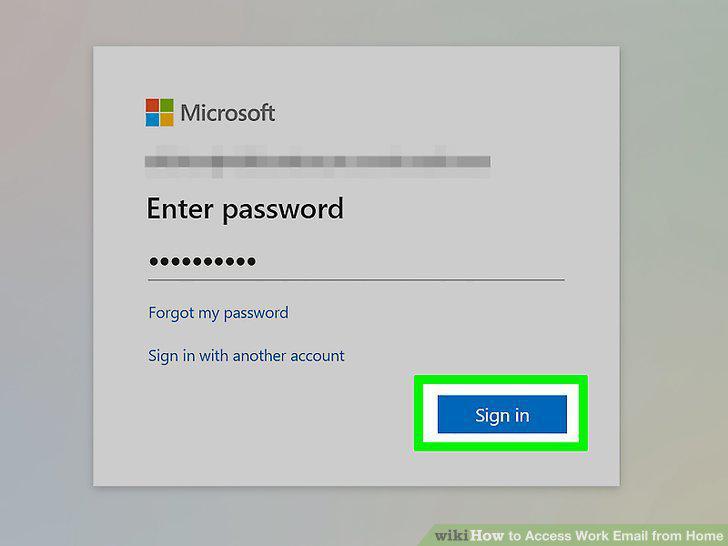
Log in with your full email address and password.
Open your mail box.
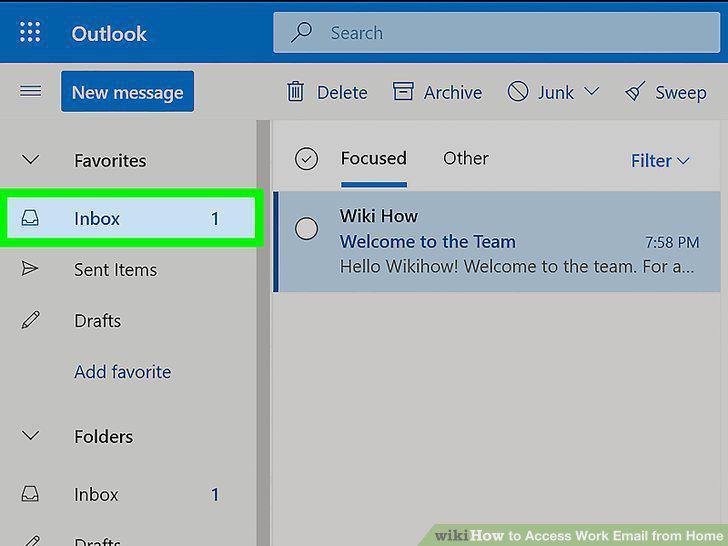
Open your mail box.
Read and reply to your mail.
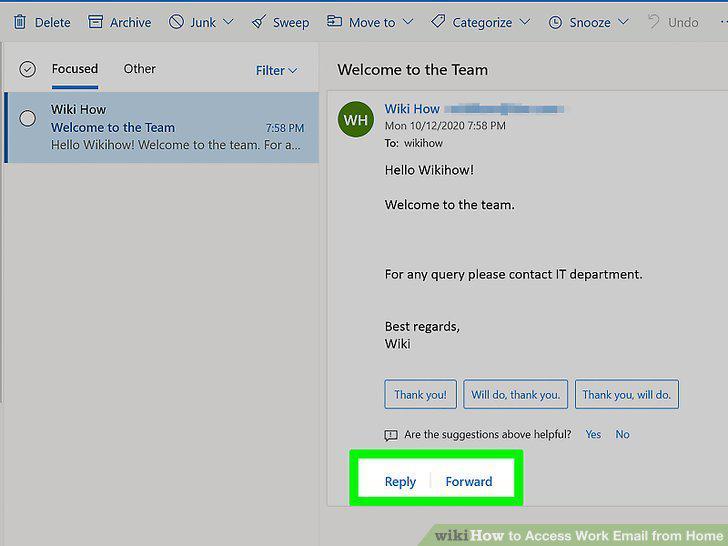
Read and reply to your mail.
Contact your IT department.
Contact your IT department.
Open Outlook on your computer.
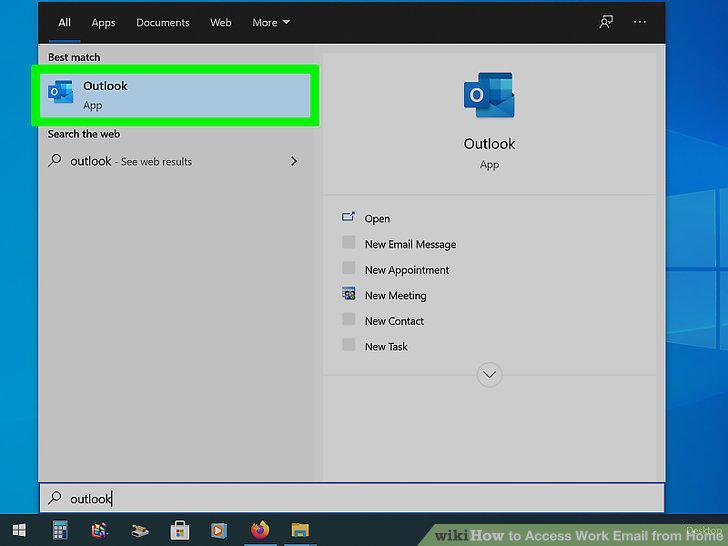
Open Outlook on your computer.
Click the File menu and select "Info."
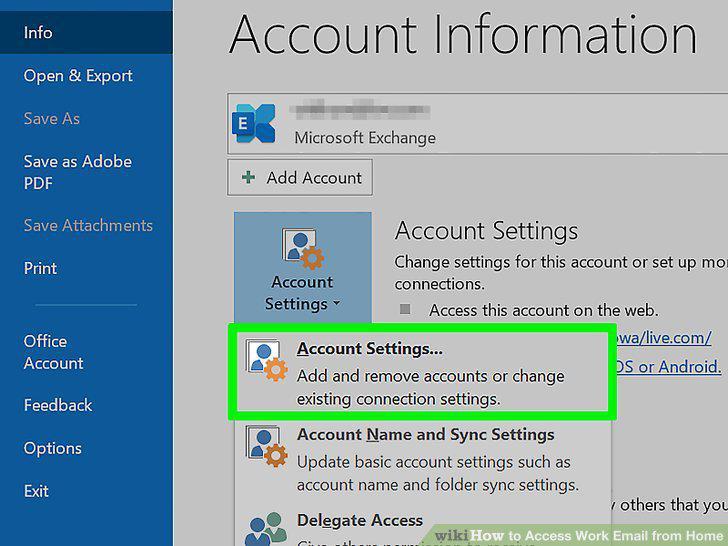
Click the File menu and select "Info."
Click the "Add Account" button.
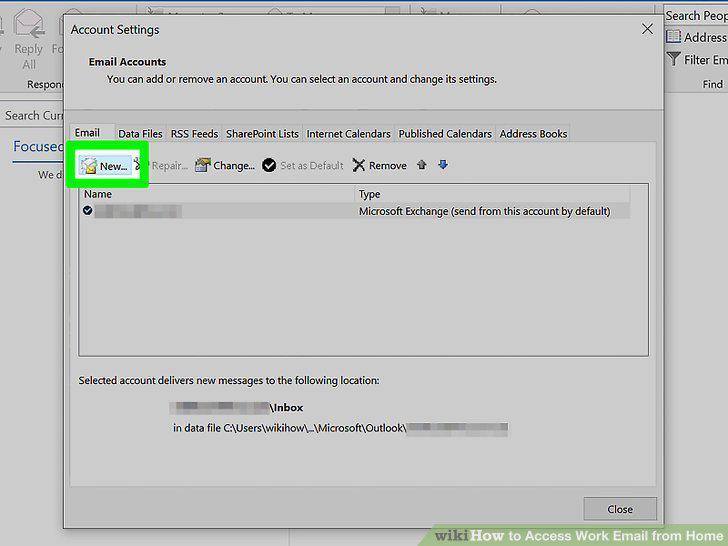
Click the "Add Account" button.
Enter your work email address and password.
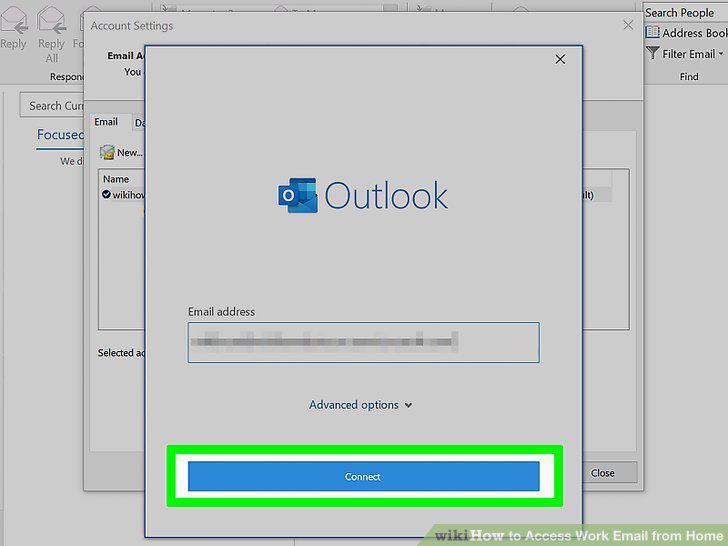
Enter your work email address and password.
Access your work email.
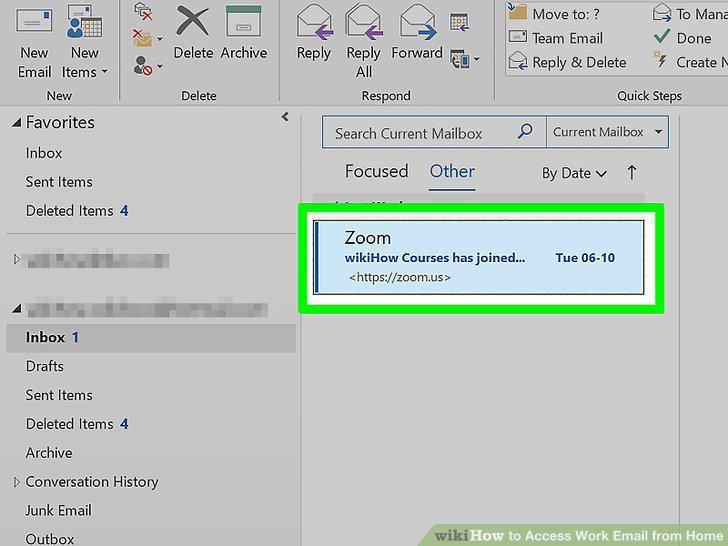
Access your work email.
Contact your IT department.
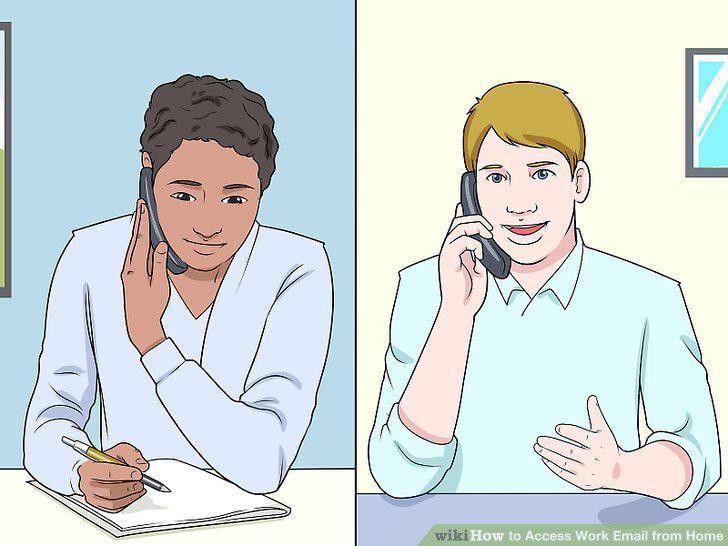
Contact your IT department.
Open the Settings app on your iPhone.
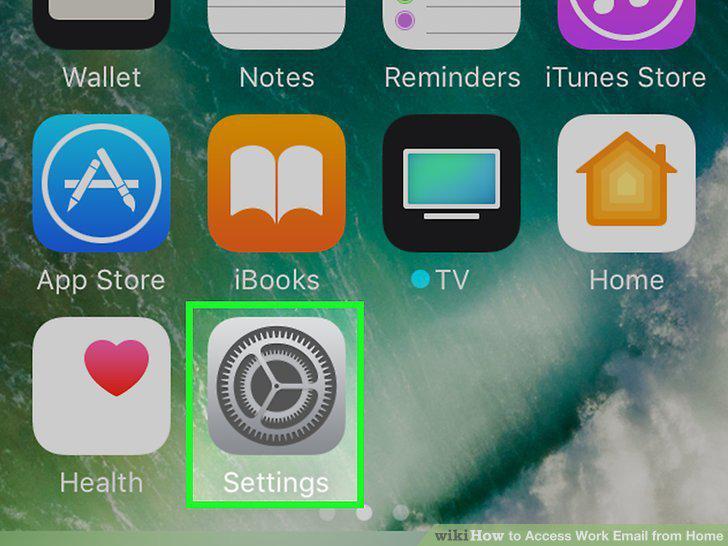
Open the Settings app on your iPhone.
Select "Mail, Contacts, Calendars."
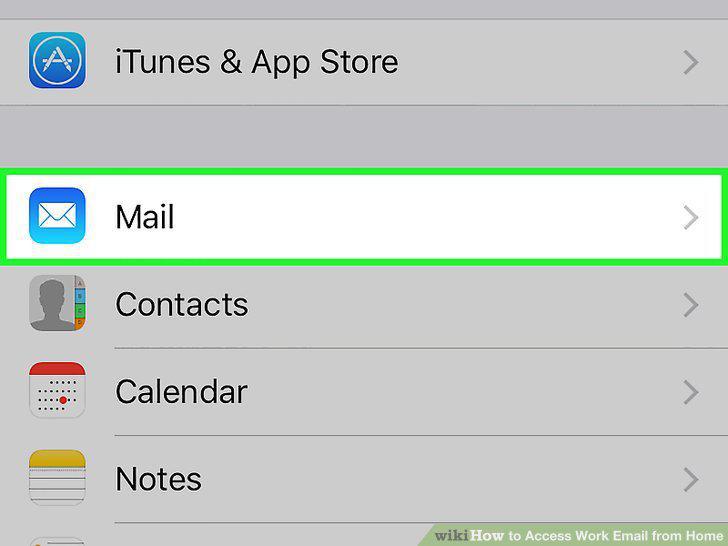
Select "Mail, Contacts, Calendars."
Tap "Add Account" and select "Exchange."
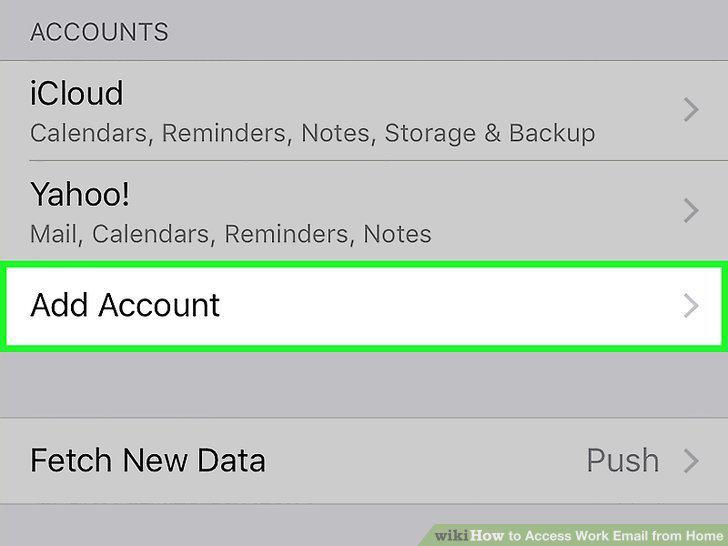
Tap "Add Account" and select "Exchange."
Enter your full email address and password.
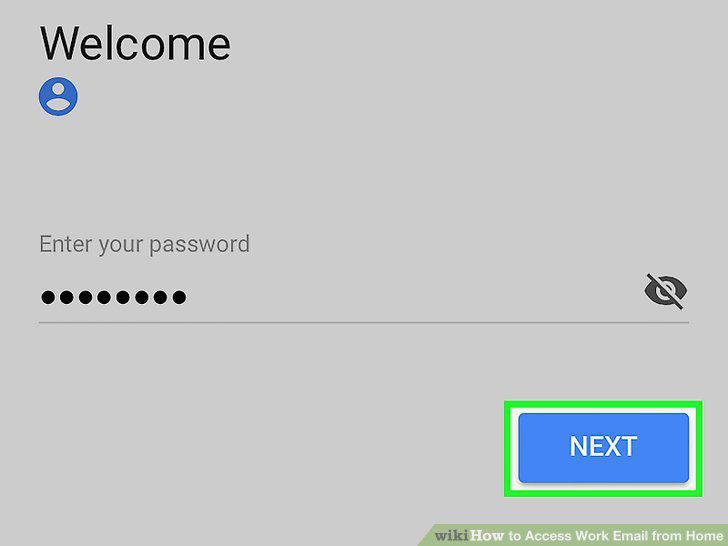
Enter your full email address and password.
Ensure that "Mail" is toggled on and tap "Save."
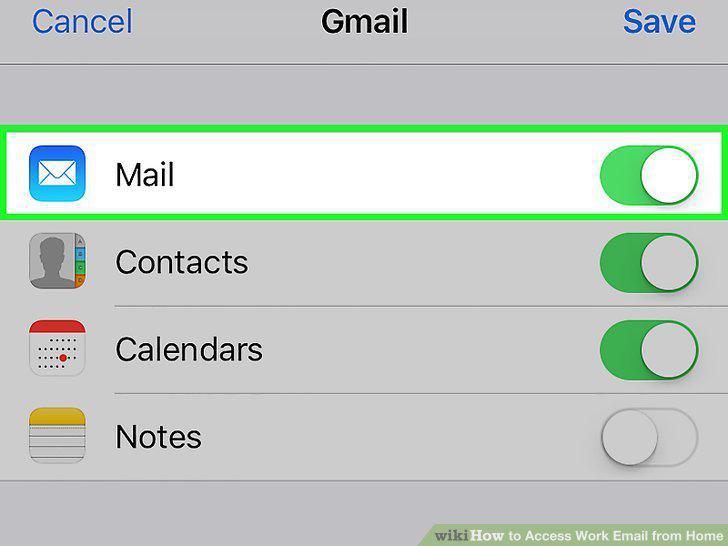
Ensure that "Mail" is toggled on and tap "Save."
Create a passcode if prompted.
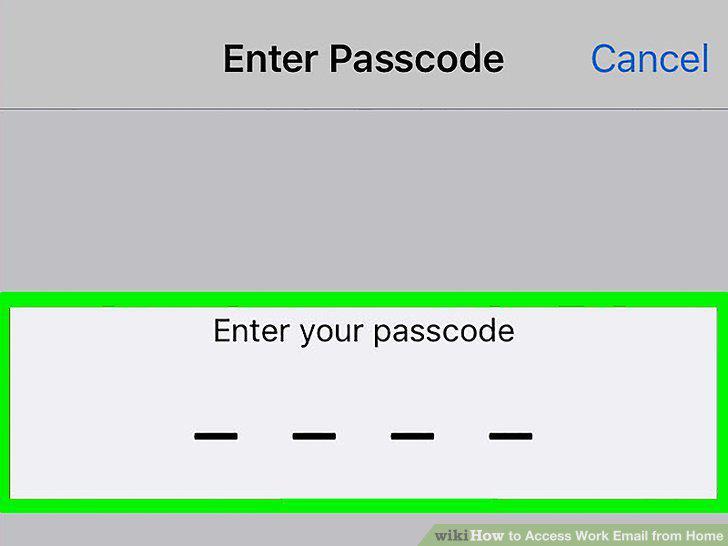
Create a passcode if prompted.
Contact your IT department.
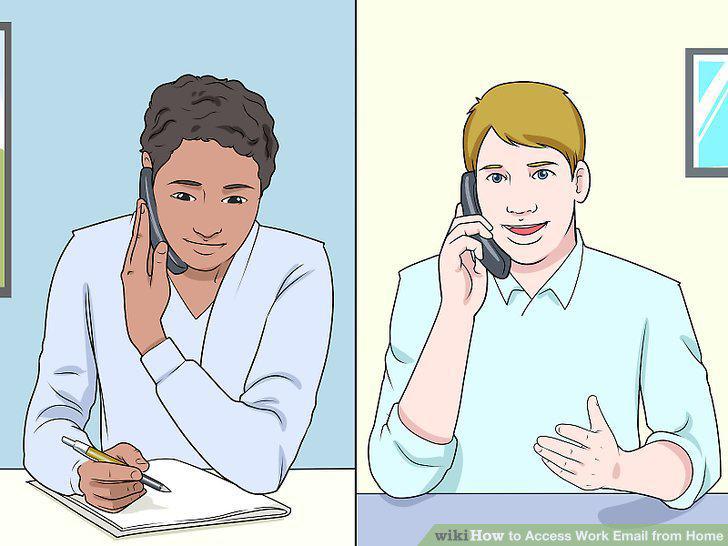
Contact your IT department.
Open the Settings app on your Android.
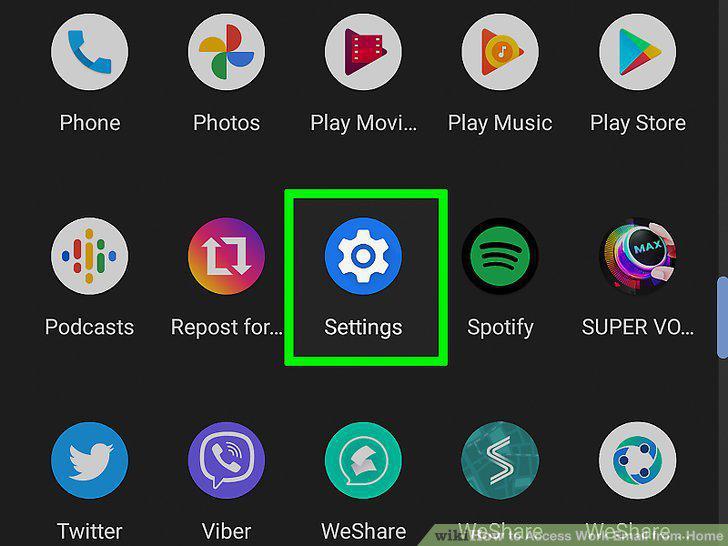
Open the Settings app on your Android.
Select the "Accounts" option.
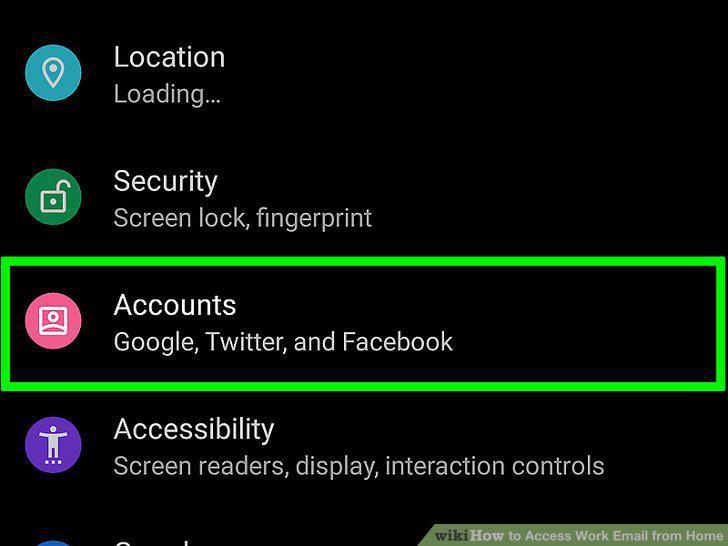
Select the "Accounts" option.
Tap the "+ Add account" button and select "Exchange."
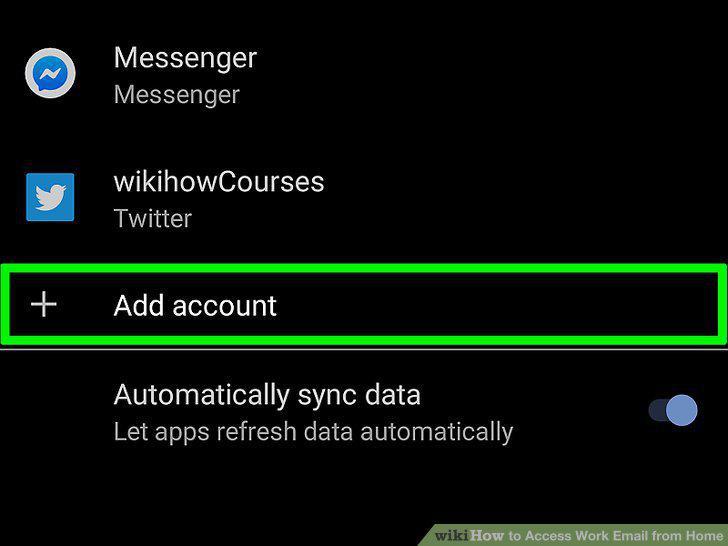
Tap the "+ Add account" button and select "Exchange."
Enter your full work email address.
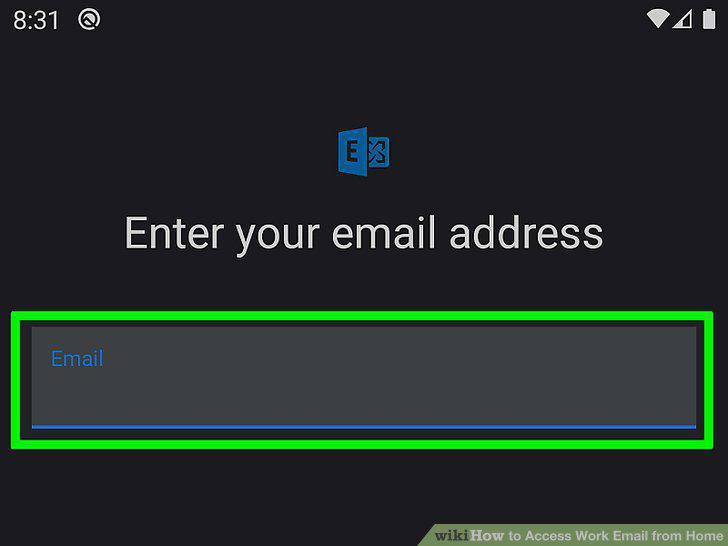
Enter your full work email address.
Enter your work email password.
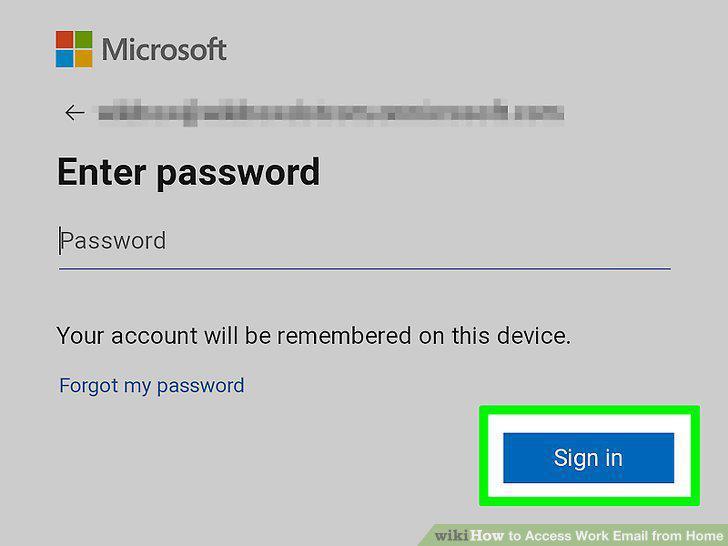
Enter your work email password.
Review the account and server information.
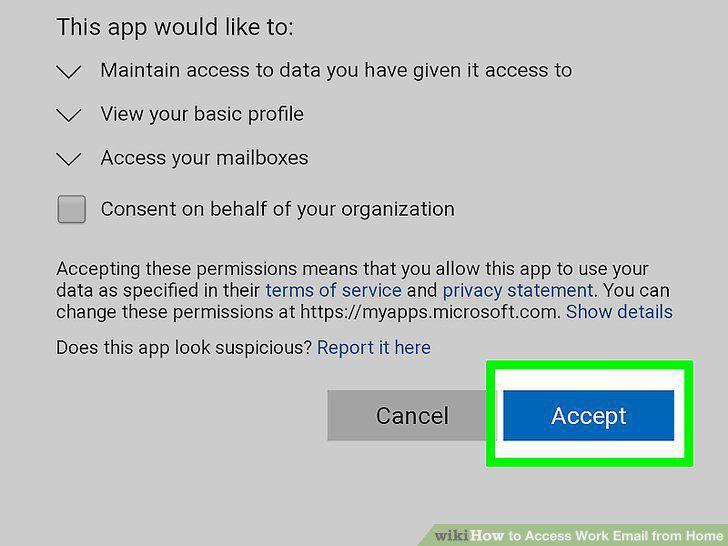
Review the account and server information.
Adjust your account settings.
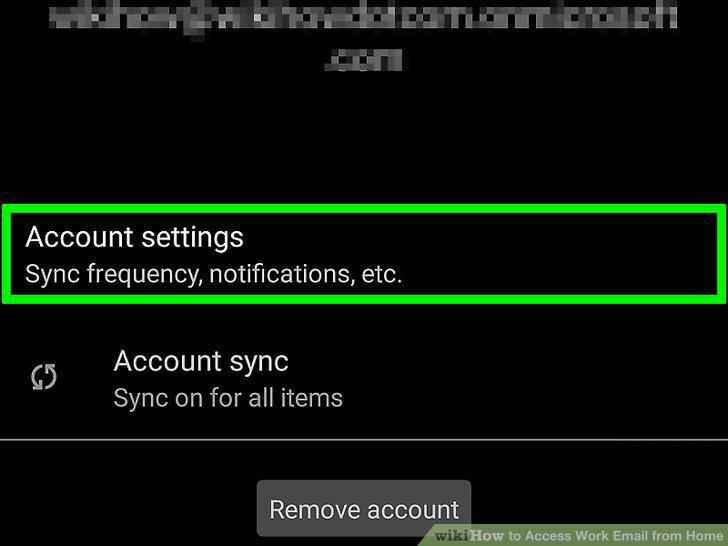
Adjust your account settings.
Access your email from the Email or Mail app.
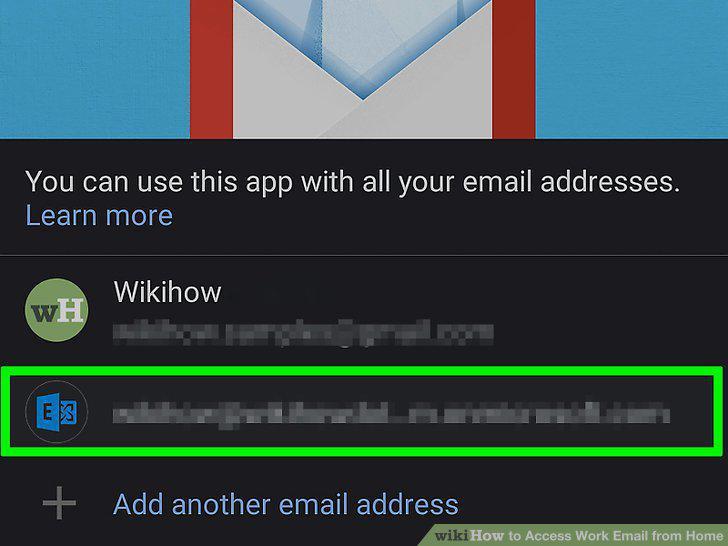
Access your email from the Email or Mail app.
Contact your IT department.
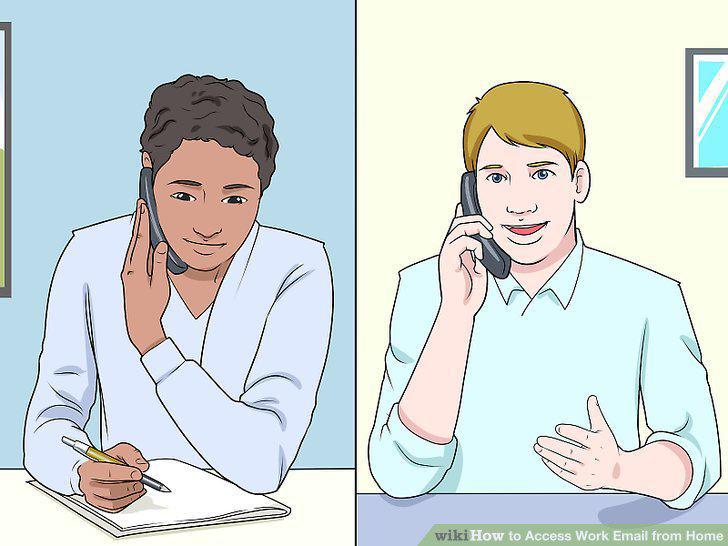
Contact your IT department.
Open the Settings menu on your BlackBerry.
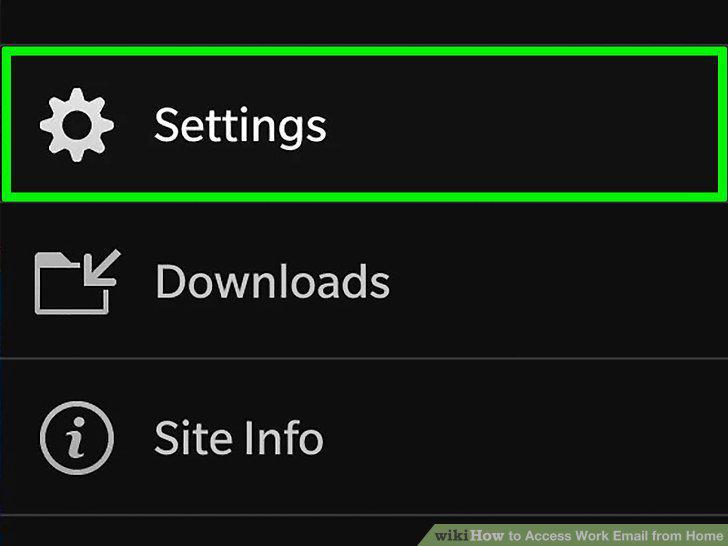
Open the Settings menu on your BlackBerry.
Select the "System Settings" section and then tap "Accounts."
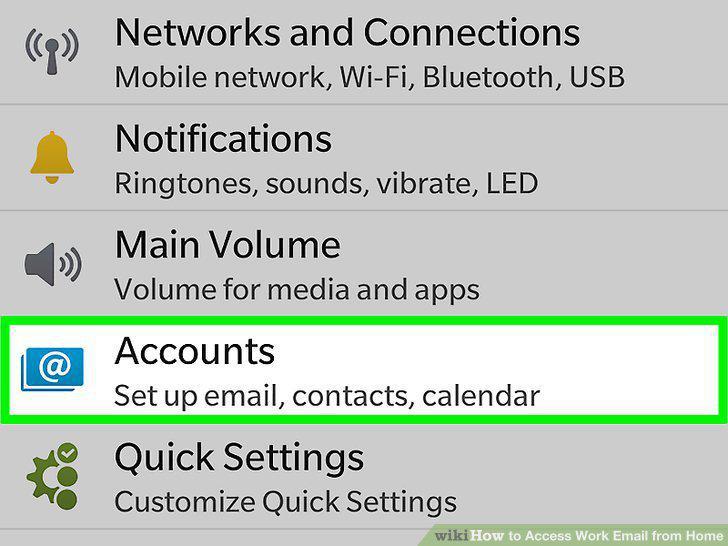
Select the "System Settings" section and then tap "Accounts."
Tap the "Add account" button.
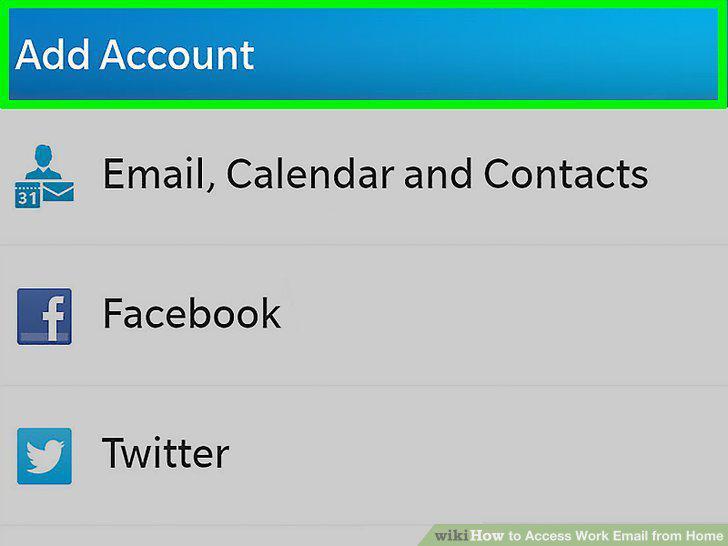
Tap the "Add account" button.
Select "Email, Calendar, and Contacts" from the list of account types.
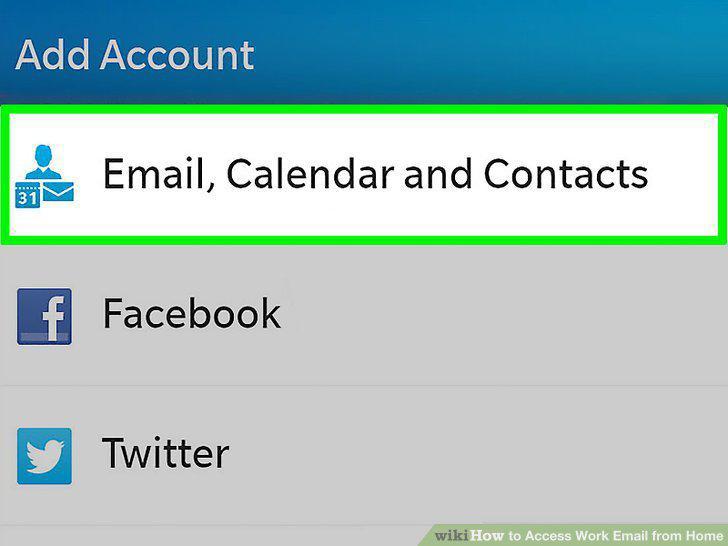
Select "Email, Calendar, and Contacts" from the list of account types.
Enter your email address and password.
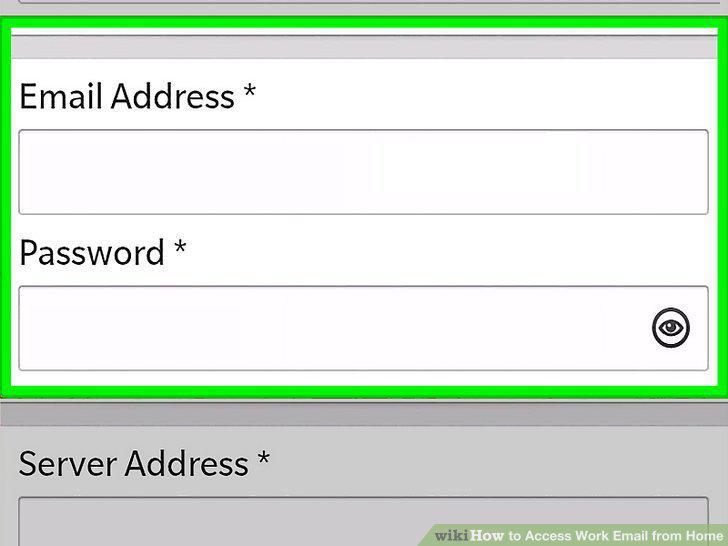
Enter your email address and password.
Comments (0)
No comments yet. Be the first to share your thoughts!