How to Repair a Broken Lipstick
Prepare a clean work surface.. Swivel up the lipstick as far as possible.. Remove the broken piece.
Steps
1
Prepare a clean work surface.
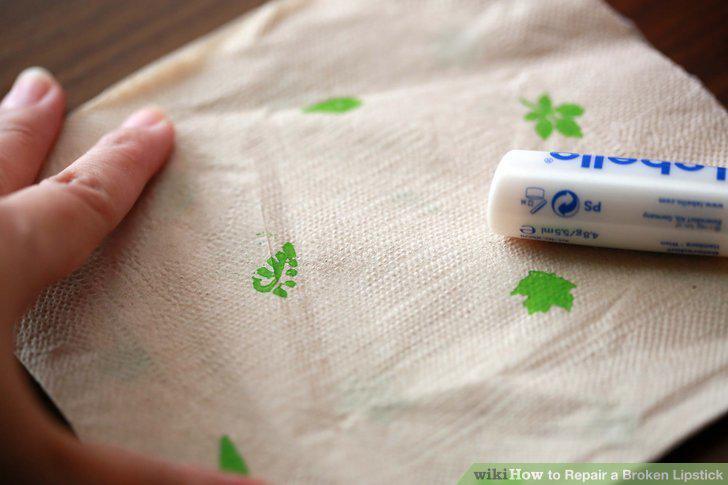
Prepare a clean work surface.
2
Swivel up the lipstick as far as possible.
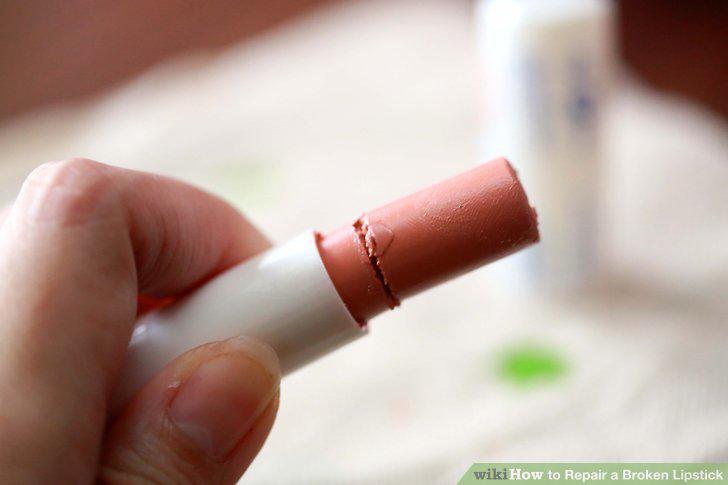
Swivel up the lipstick as far as possible.
3
Remove the broken piece.
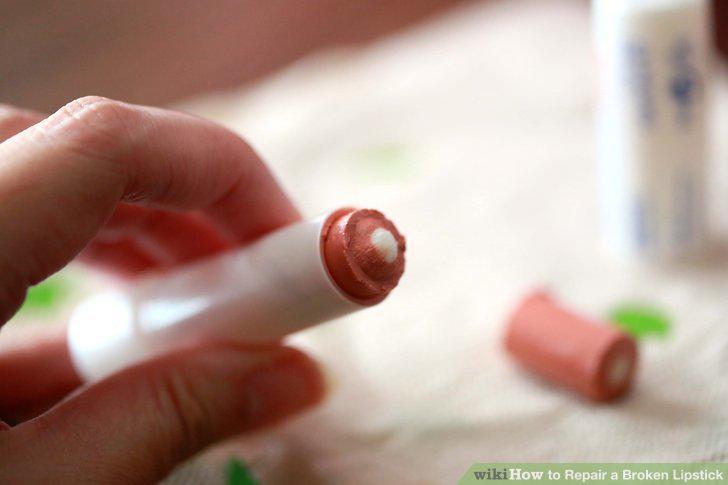
Remove the broken piece.
4
Melt the broken ends of the lipstick.
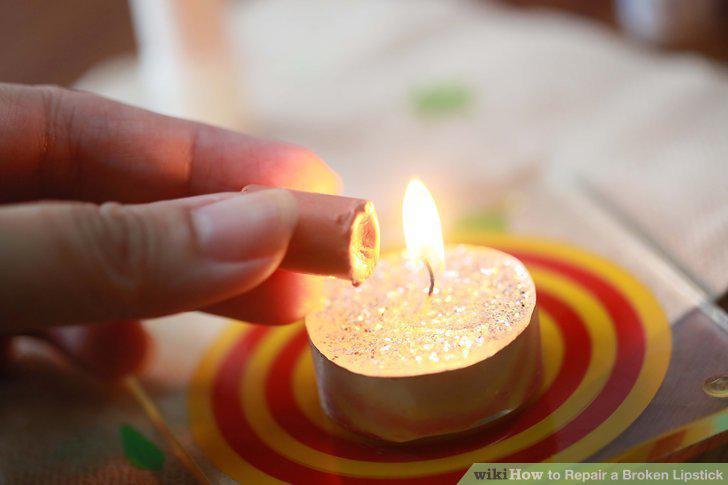
Melt the broken ends of the lipstick.
5
Connect the broken piece to the base.
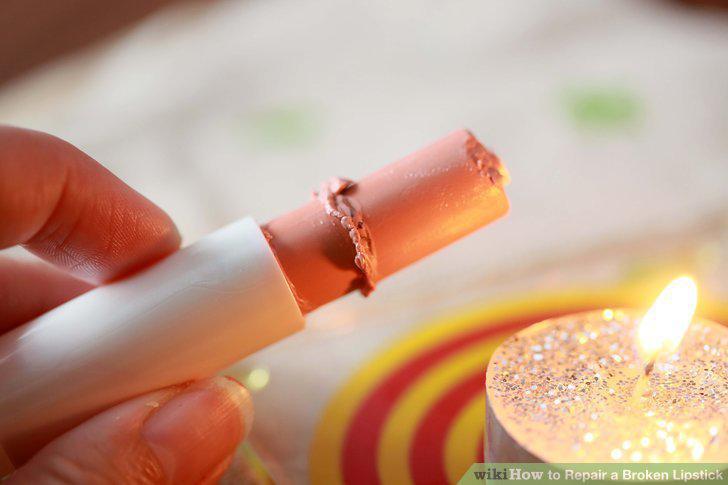
Connect the broken piece to the base.
6
Seal the edges.
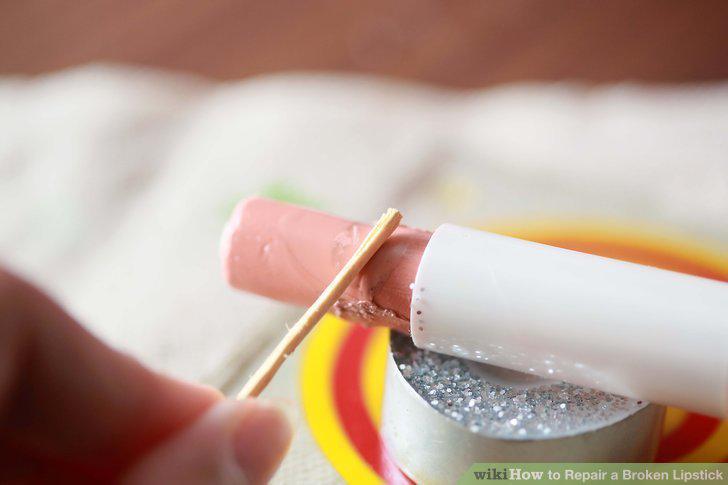
Seal the edges.
7
Put the lipstick in the fridge for about 30 minutes.
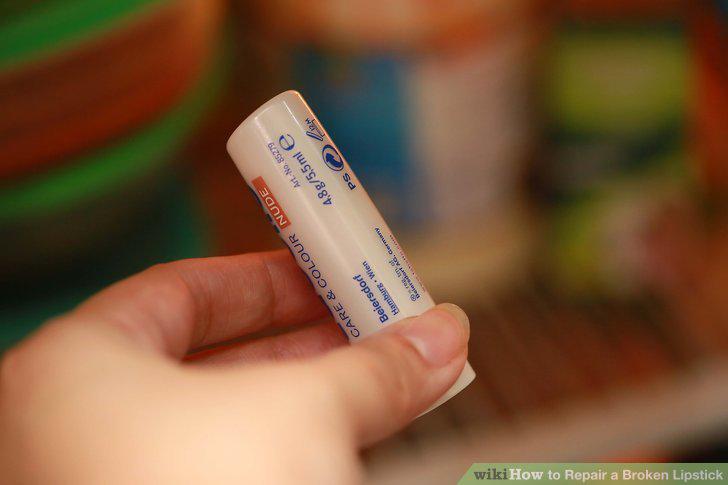
Put the lipstick in the fridge for about 30 minutes.
8
Prepare your work surface.
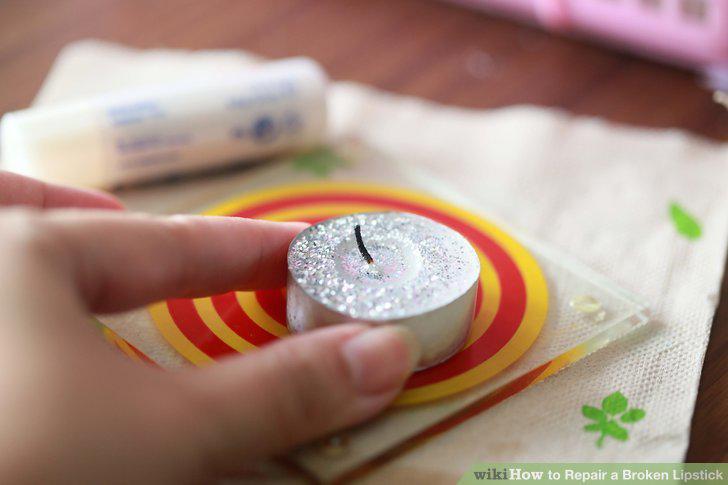
Prepare your work surface.
9
Remove the lipstick.
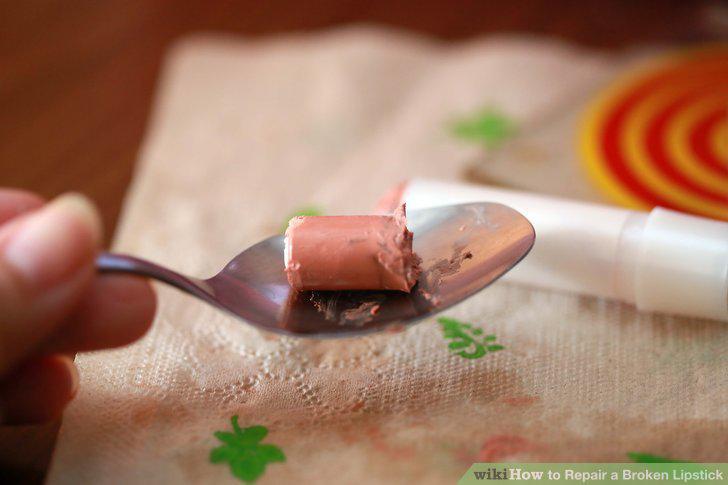
Remove the lipstick.
10
Melt it to remove lumps.
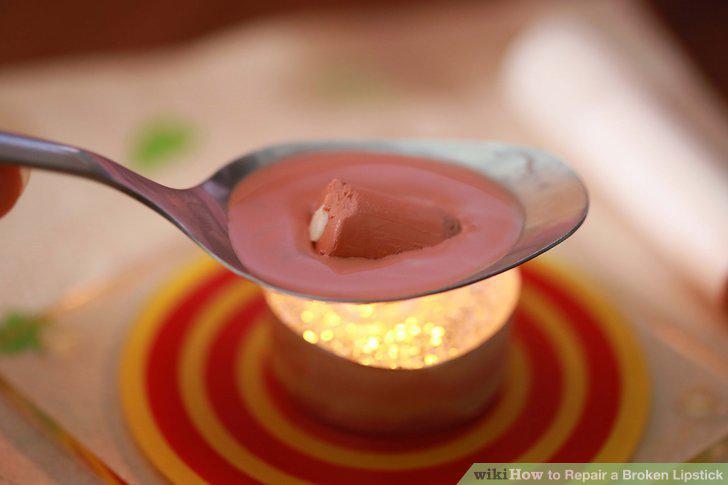
Melt it to remove lumps.
11
Pour it into your new container.
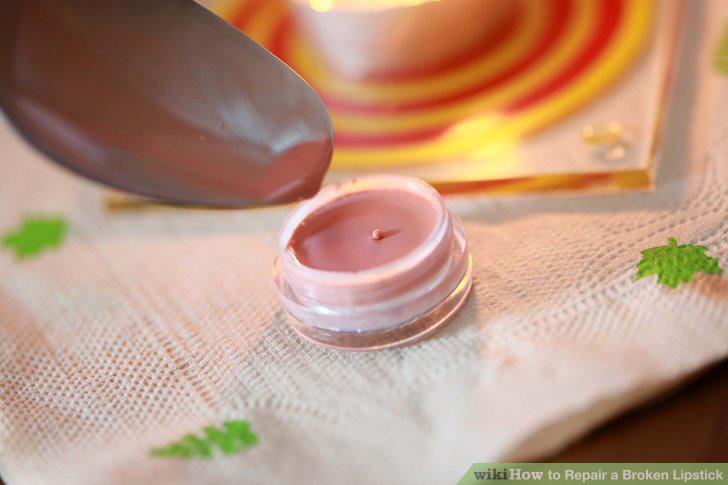
Pour it into your new container.
12
Put it in the fridge for half an hour.
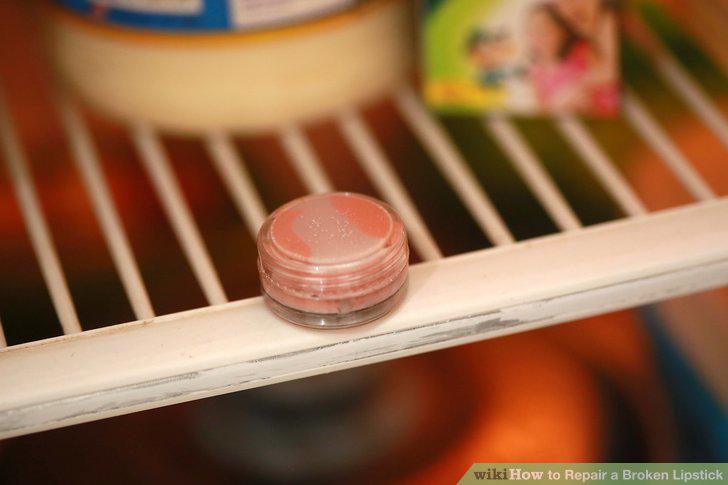
Put it in the fridge for half an hour.
Comments (0)
No comments yet. Be the first to share your thoughts!