How to Make a Rubik's Cube Turn Better
Turn the top layer 45 degrees.. Pry out an edge piece of the top row.. Disassemble the other edges and corners.
Steps
1
Turn the top layer 45 degrees.
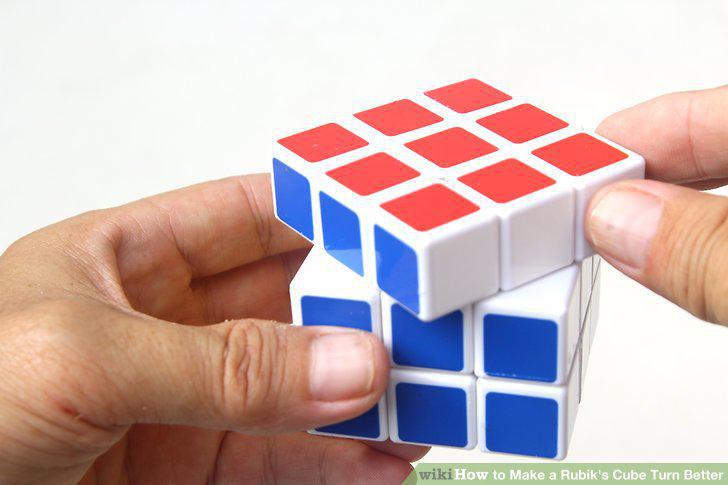
Turn the top layer 45 degrees.
2
Pry out an edge piece of the top row.
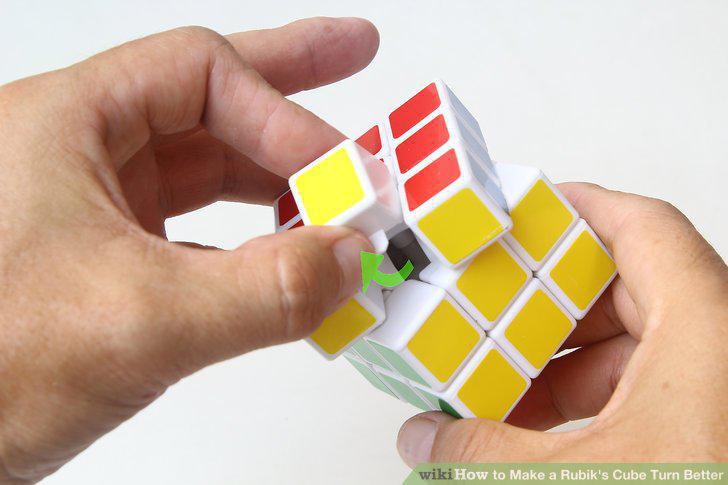
Pry out an edge piece of the top row.
3
Disassemble the other edges and corners.
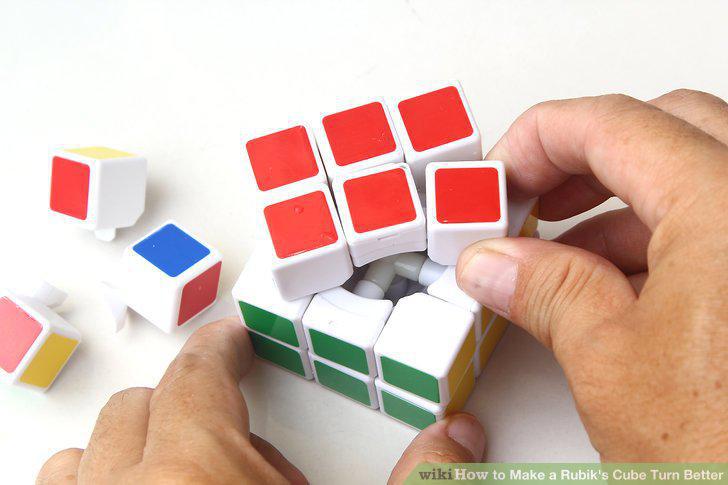
Disassemble the other edges and corners.
4
Protect the logo.
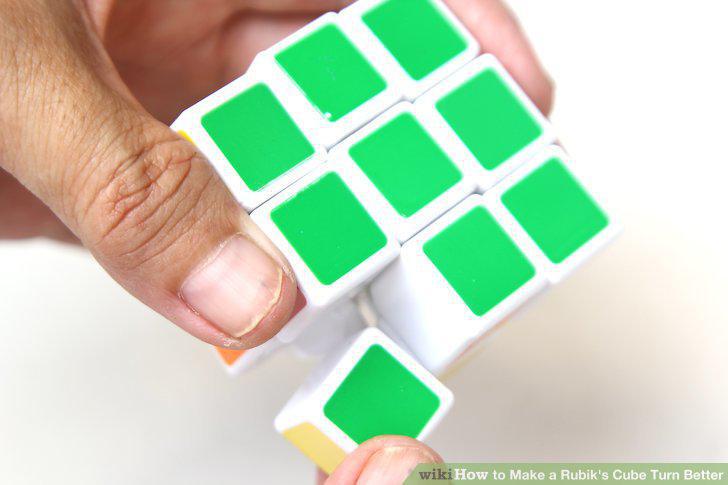
Protect the logo.
5
Consider sanding the cube.
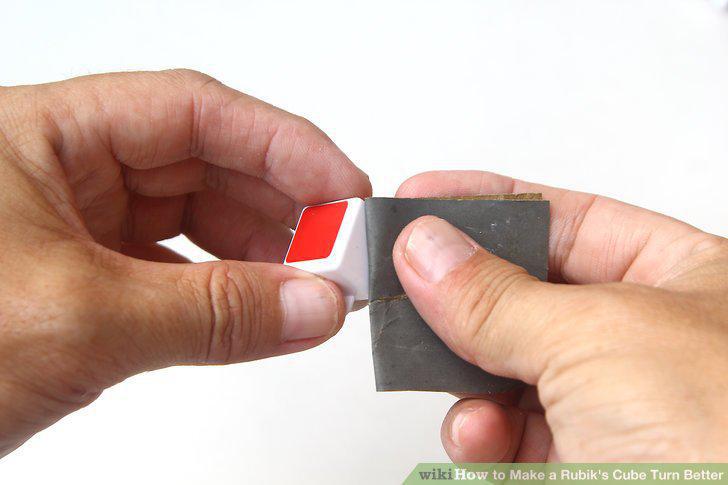
Consider sanding the cube.
6
Lubricate the pieces with silicone.
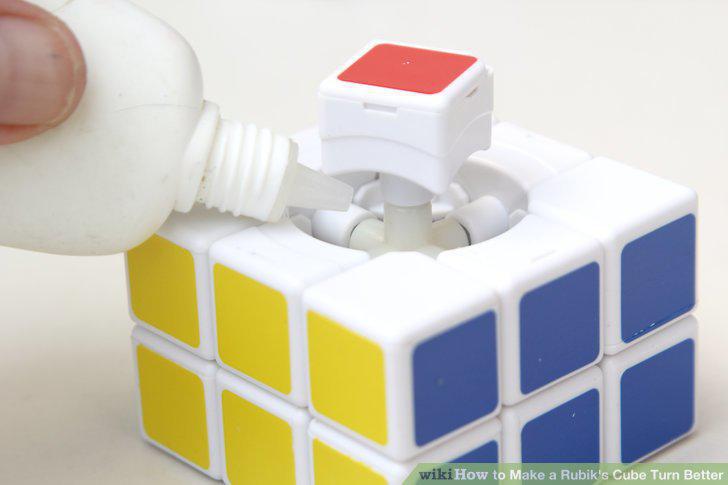
Lubricate the pieces with silicone.
7
Look into alternative lubricants.
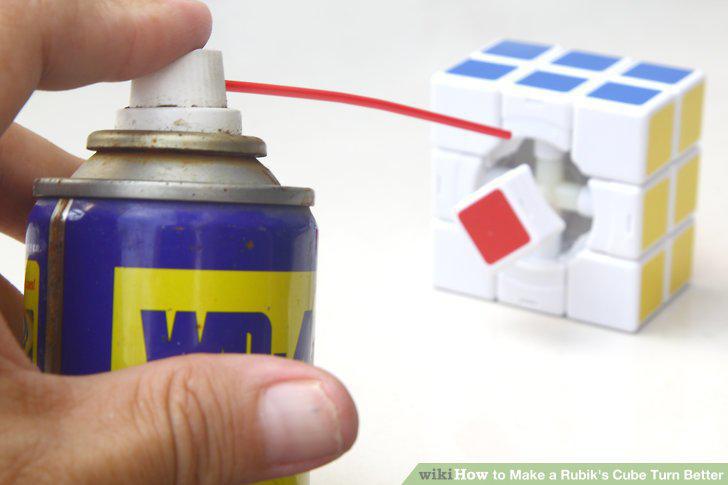
Look into alternative lubricants.
8
Let your pieces dry.
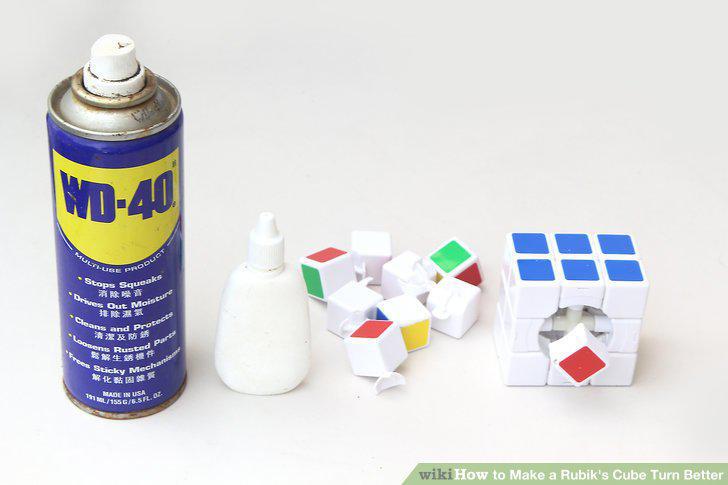
Let your pieces dry.
9
Pop the caps off the center pieces.
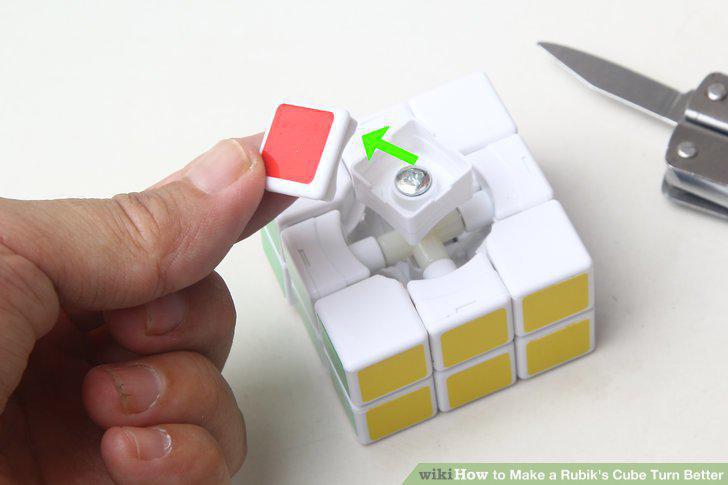
Pop the caps off the center pieces.
10
Turn the screws to adjust tension.
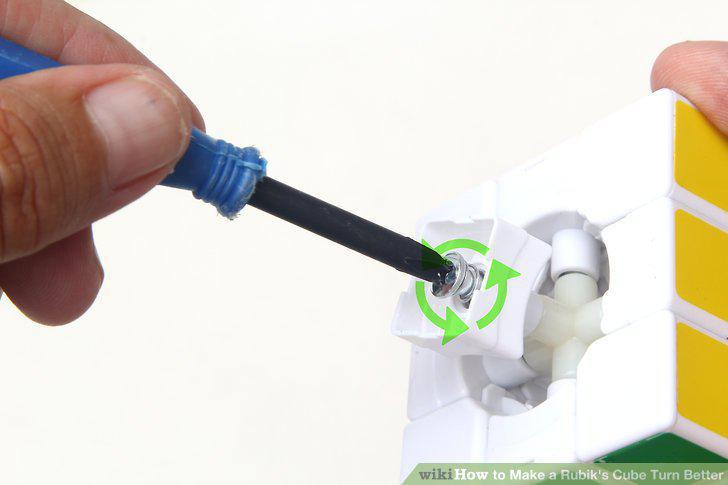
Turn the screws to adjust tension.
11
Superglue a troublesome screw.
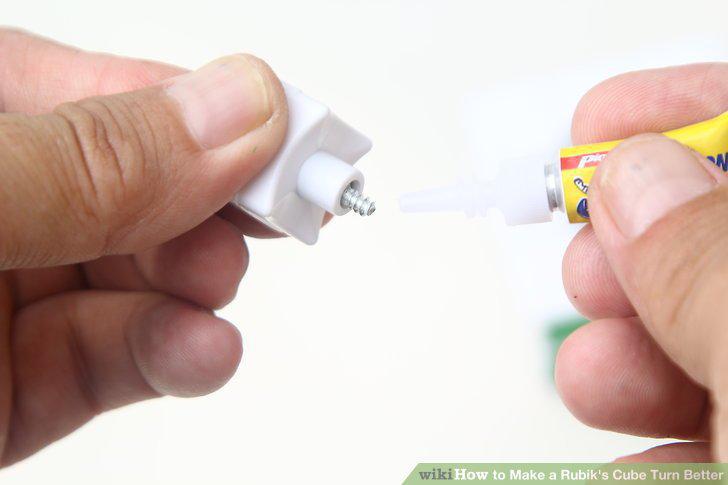
Superglue a troublesome screw.
12
Fit the central squares back on.
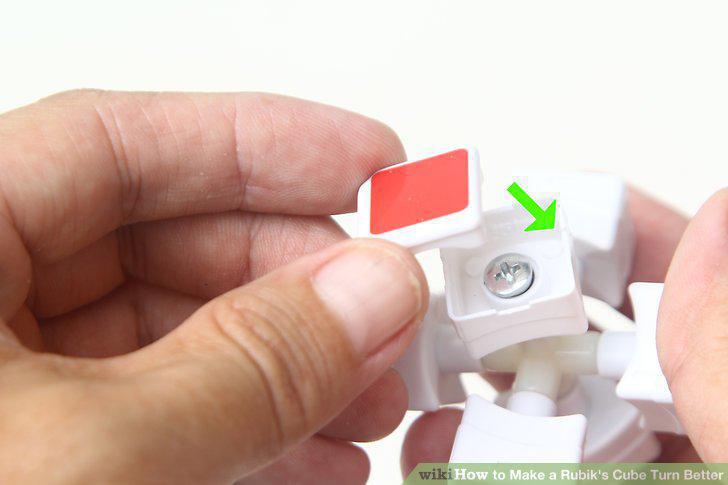
Fit the central squares back on.
13
Make a cross of a single color.
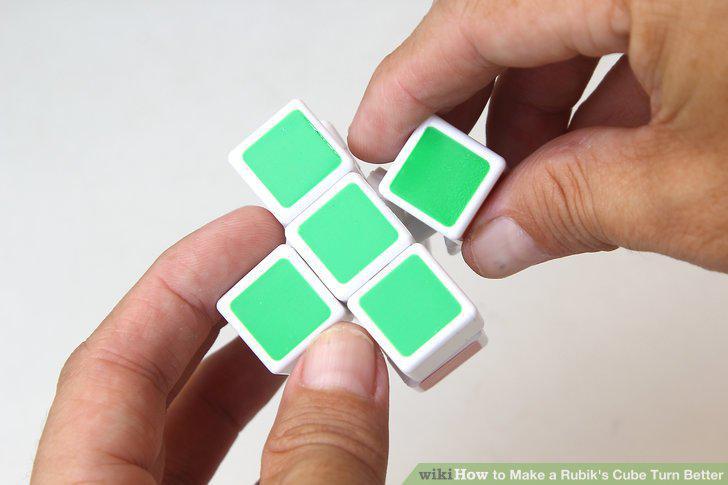
Make a cross of a single color.
14
Complete the bottom layer.
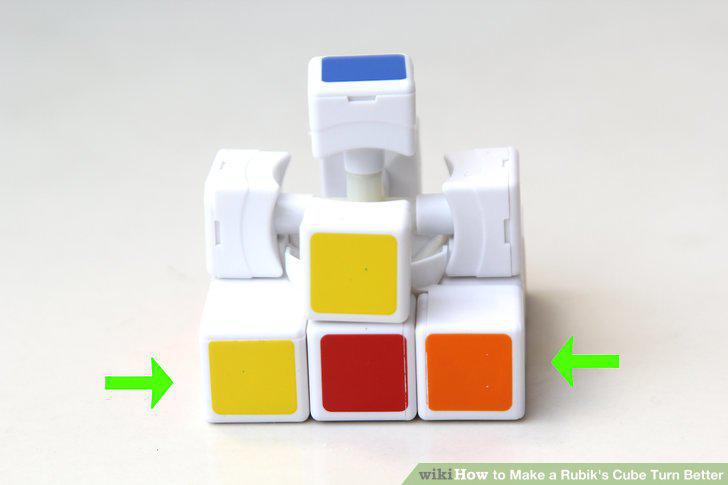
Complete the bottom layer.
15
Attach three pieces in the middle layer.
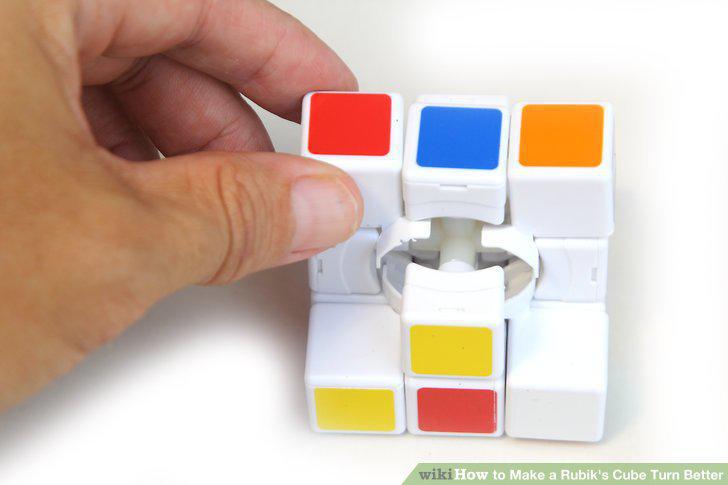
Attach three pieces in the middle layer.
16
Build two rows of the top layer.
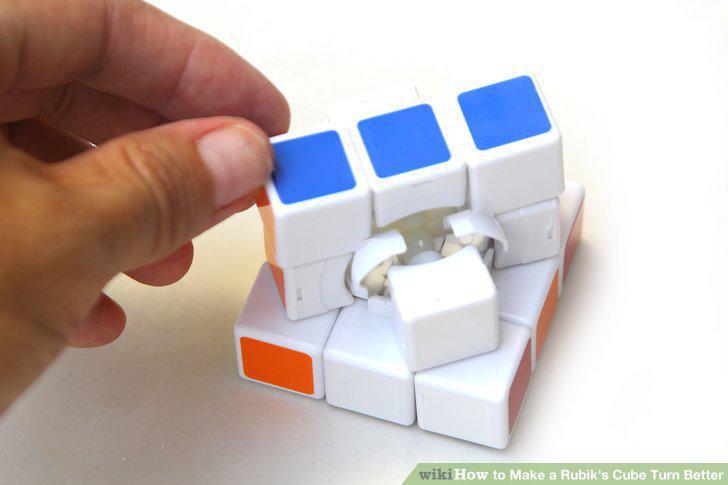
Build two rows of the top layer.
17
Complete the cube.
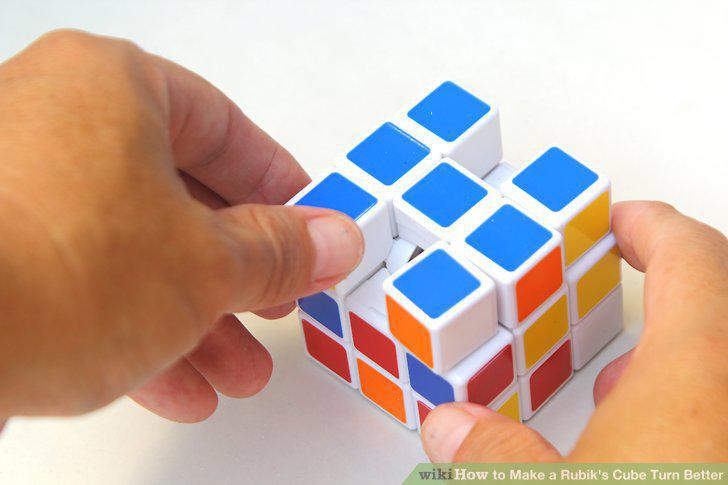
Complete the cube.
18
Scramble the cube for a while.
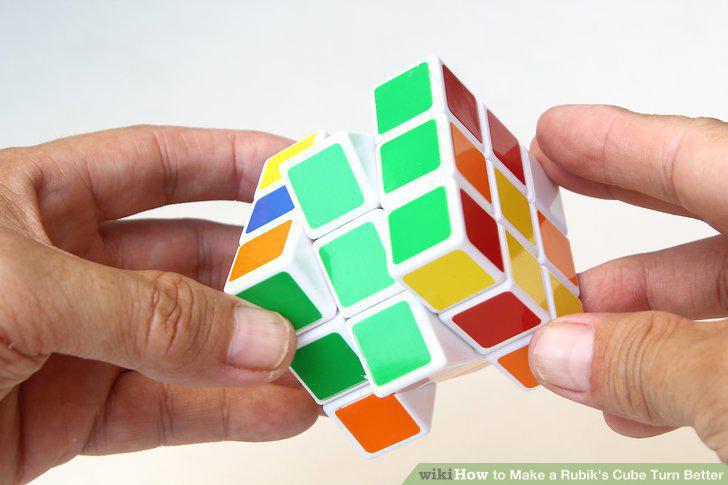
Scramble the cube for a while.
Comments (0)
No comments yet. Be the first to share your thoughts!