How to Make an Eiffel Tower
Find a line drawing of the Eiffel tower.. Enlarge the drawing, if necessary.. Trace, photocopy, or print the drawing.
Steps
Find a line drawing of the Eiffel tower.
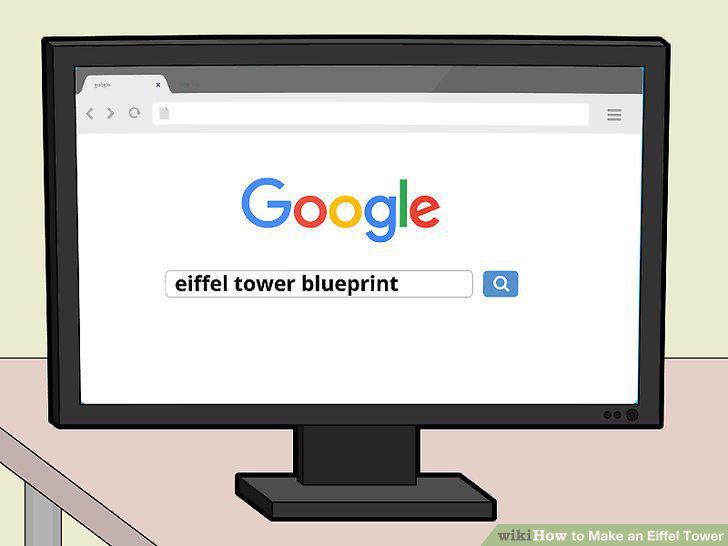
Find a line drawing of the Eiffel tower.
Enlarge the drawing, if necessary.
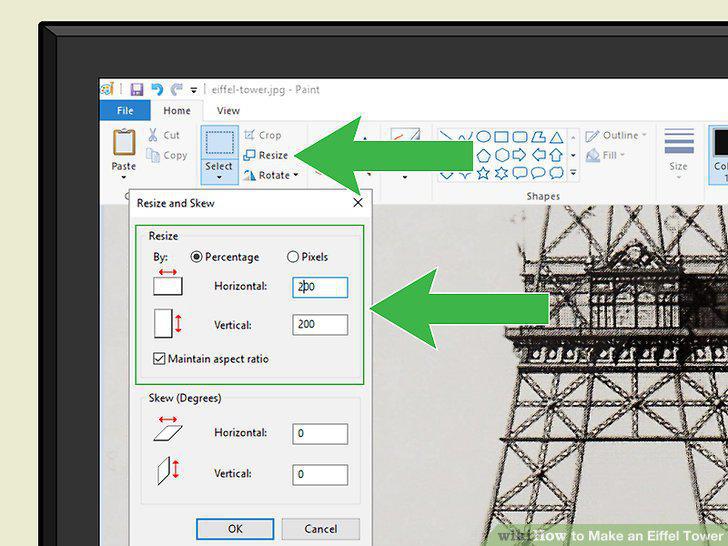
Enlarge the drawing, if necessary.
Trace, photocopy, or print the drawing.
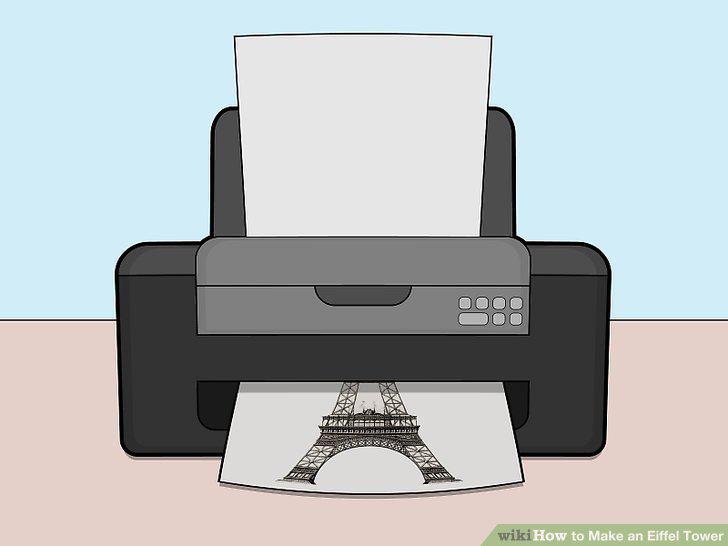
Trace, photocopy, or print the drawing.
Tape your drawing to a flat work surface.
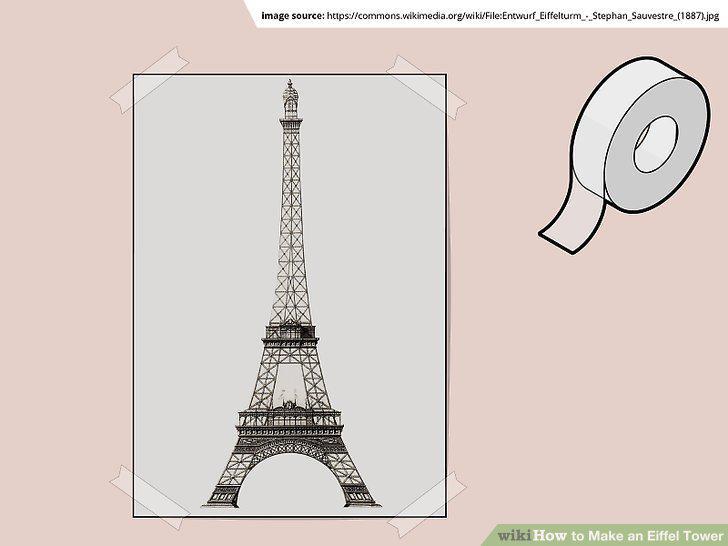
Tape your drawing to a flat work surface.
Cover your template with a piece of clear plastic.
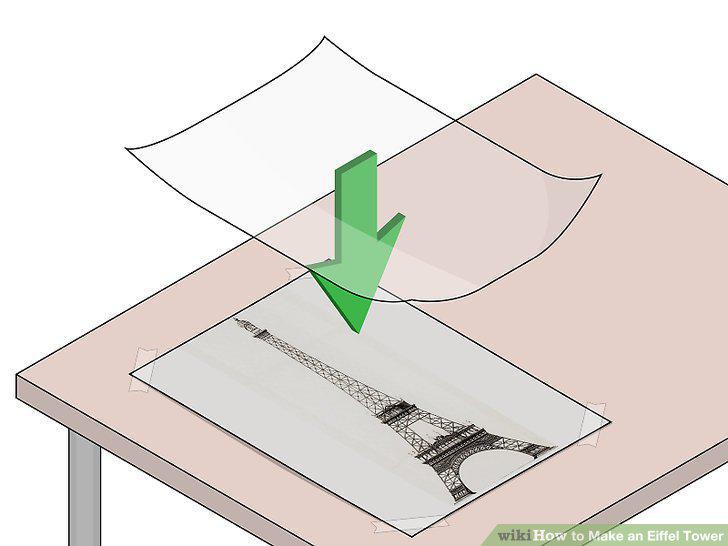
Cover your template with a piece of clear plastic.
Use wood if you want to make a traditional model.
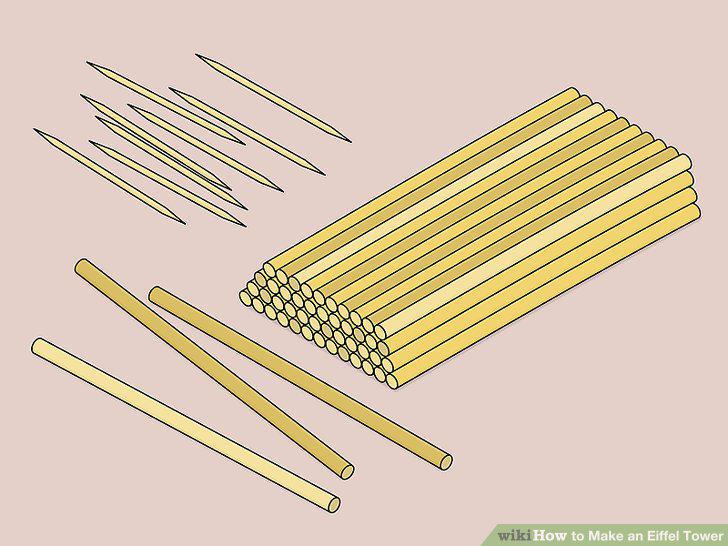
Use wood if you want to make a traditional model.
Try dried pasta and spaghetti as an alternative to wood.
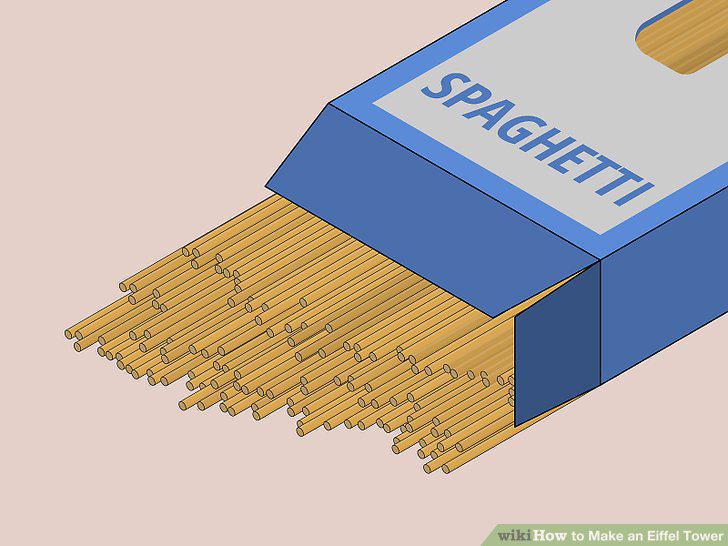
Try dried pasta and spaghetti as an alternative to wood.
Use thin cardboard if you don't want to use wood or pasta.
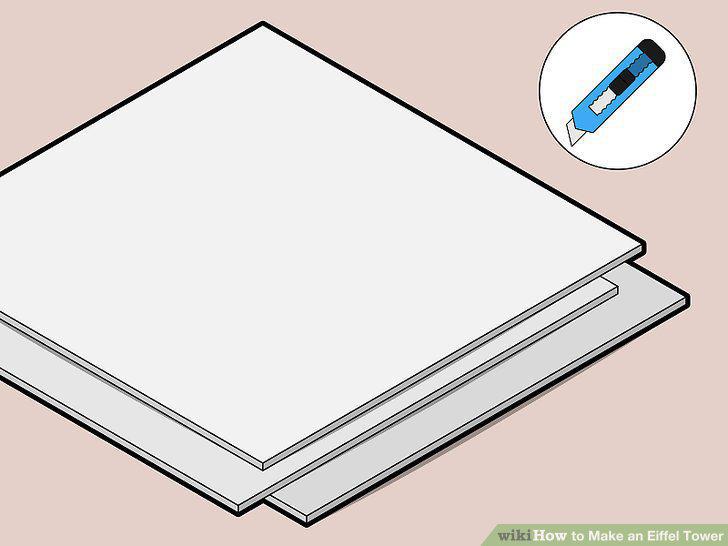
Use thin cardboard if you don't want to use wood or pasta.
Try hot glue if you are making a small model.
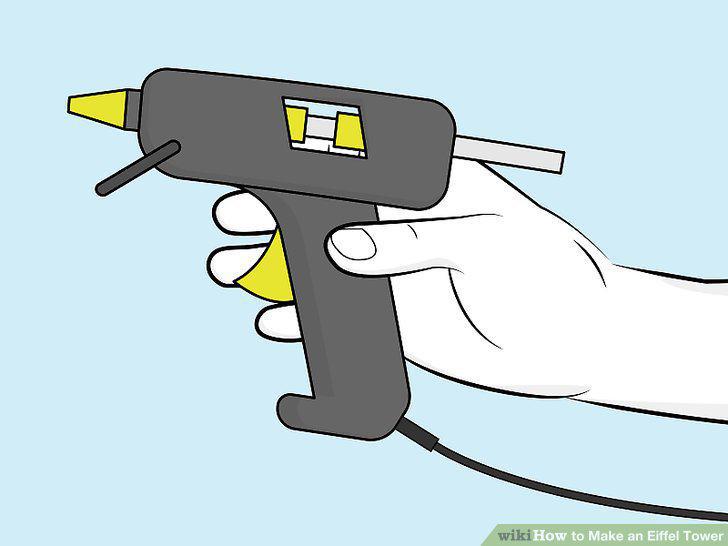
Try hot glue if you are making a small model.
Note the bottom, middle, and top sections.
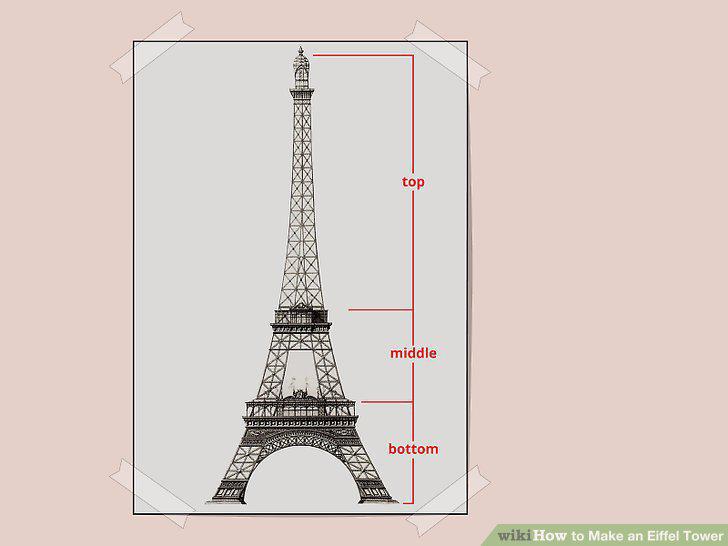
Note the bottom, middle, and top sections.
Glue the pieces to make the base's frame.
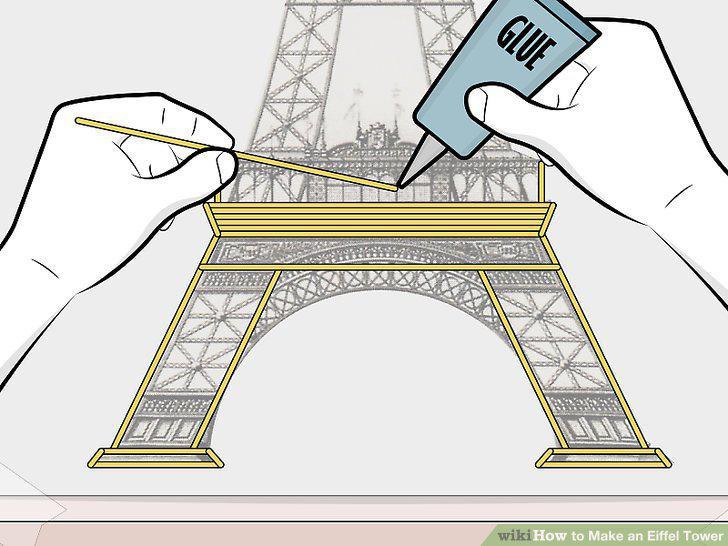
Glue the pieces to make the base's frame.
Glue the pieces for the horizontal, vertical, and crisscrossing lines.
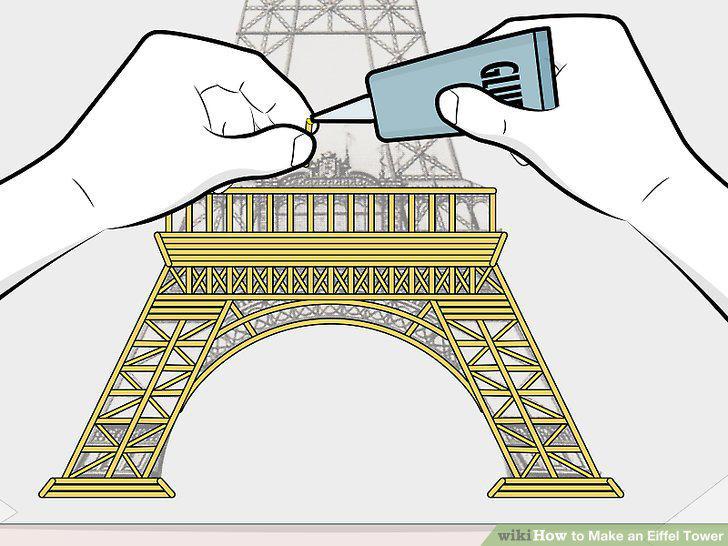
Glue the pieces for the horizontal, vertical, and crisscrossing lines.
Let the glue dry and turn clear.
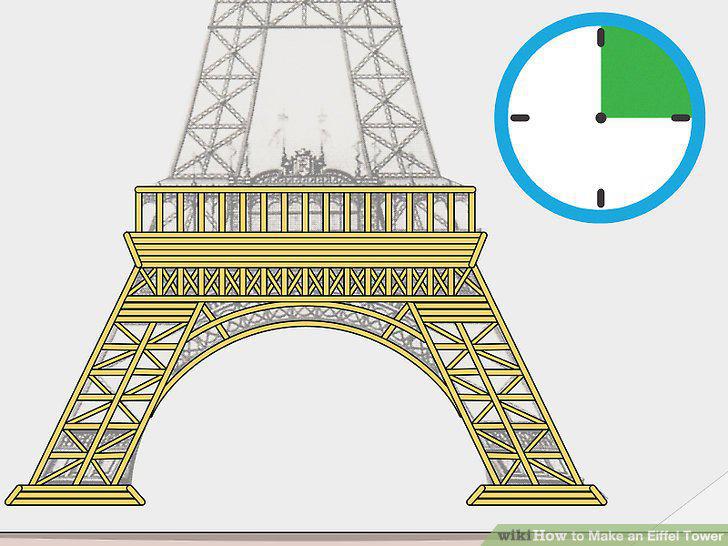
Let the glue dry and turn clear.
Slide the finished piece off of the template.
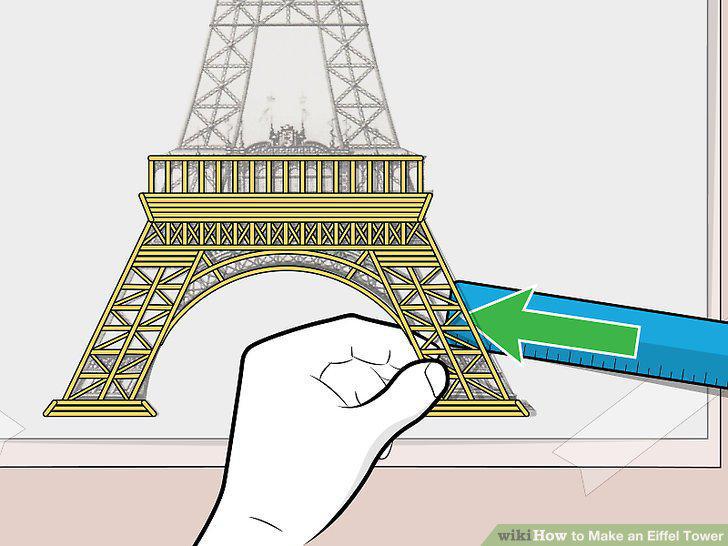
Slide the finished piece off of the template.
Repeat the process 3 more times.
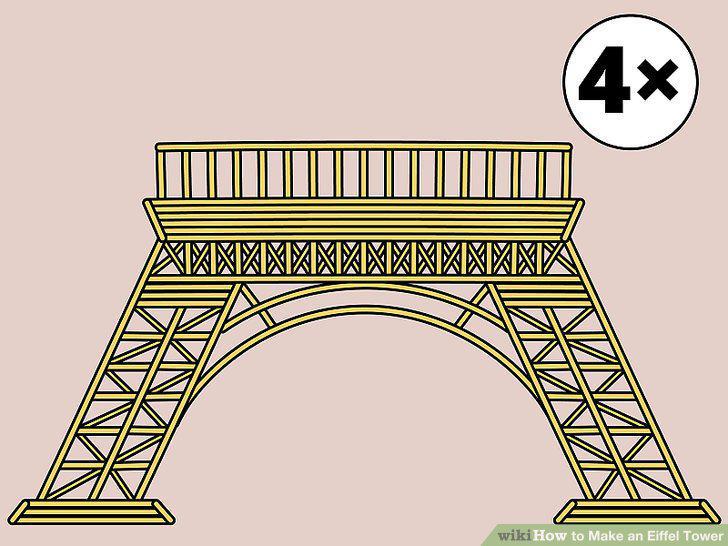
Repeat the process 3 more times.
Repeat the process to make the 4 remaining sections.
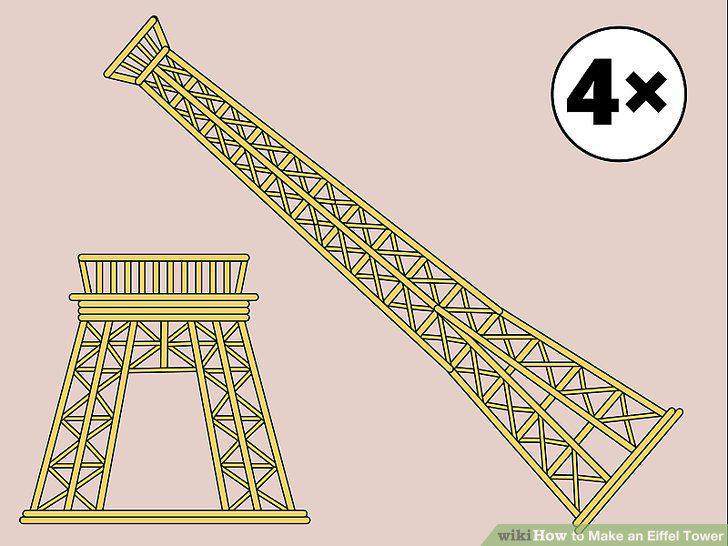
Repeat the process to make the 4 remaining sections.
Create additional pieces, such as the roof and railings, if desired.
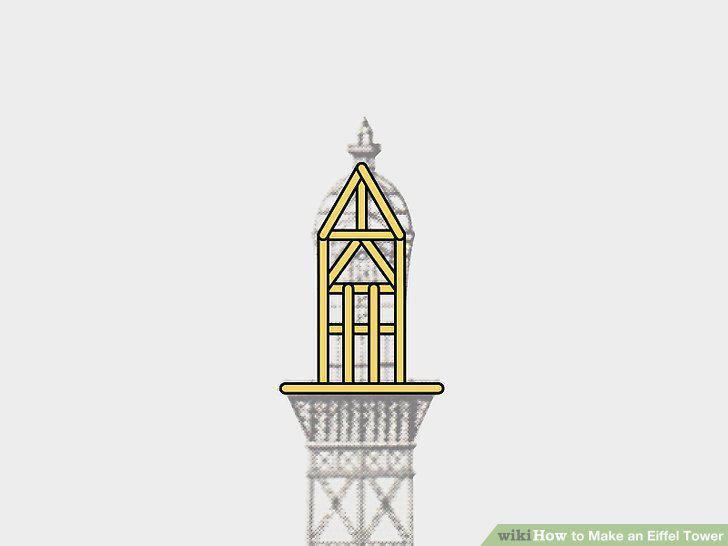
Create additional pieces, such as the roof and railings, if desired.
Glue the base pieces together to form a square.
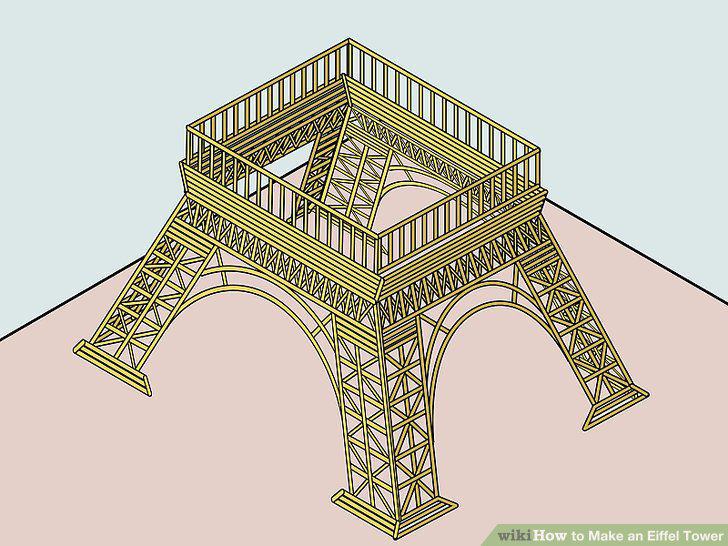
Glue the base pieces together to form a square.
Repeat the process for the middle and top sections.
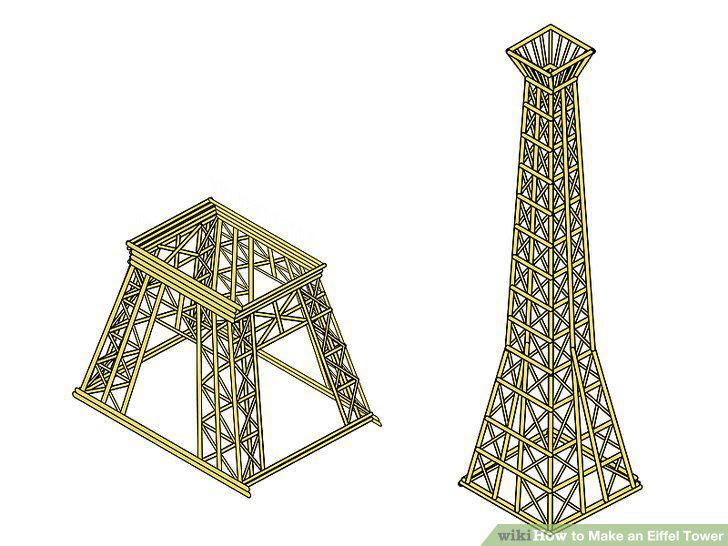
Repeat the process for the middle and top sections.
Stack and glue the 3 sections together.
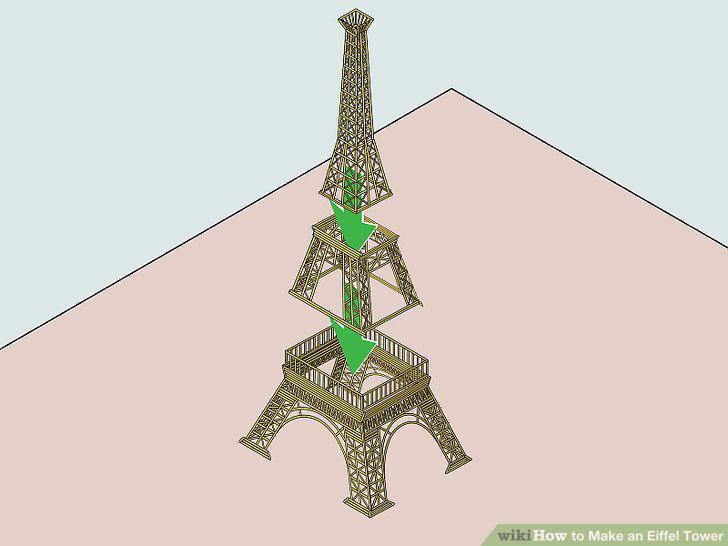
Stack and glue the 3 sections together.
Glue on any additional railings.
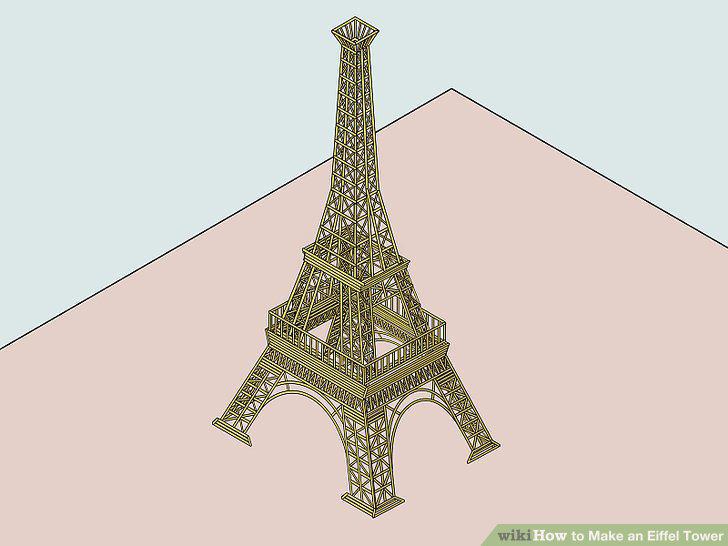
Glue on any additional railings.
Assemble the roof, if you made it.
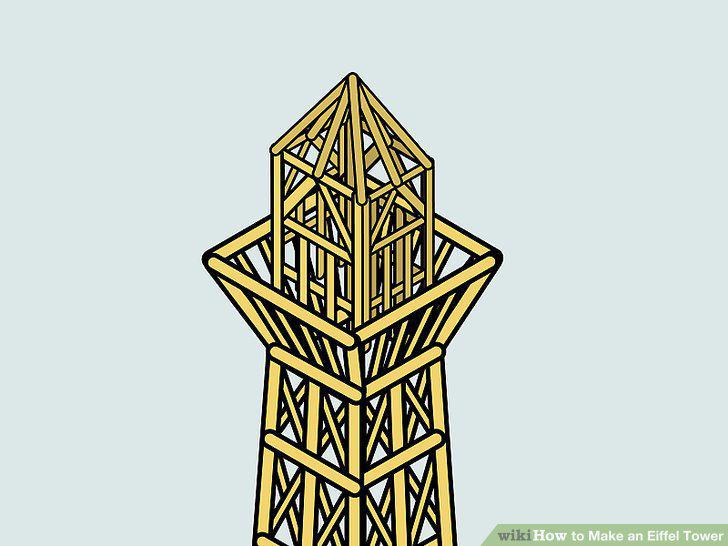
Assemble the roof, if you made it.
Add the spire to the top.
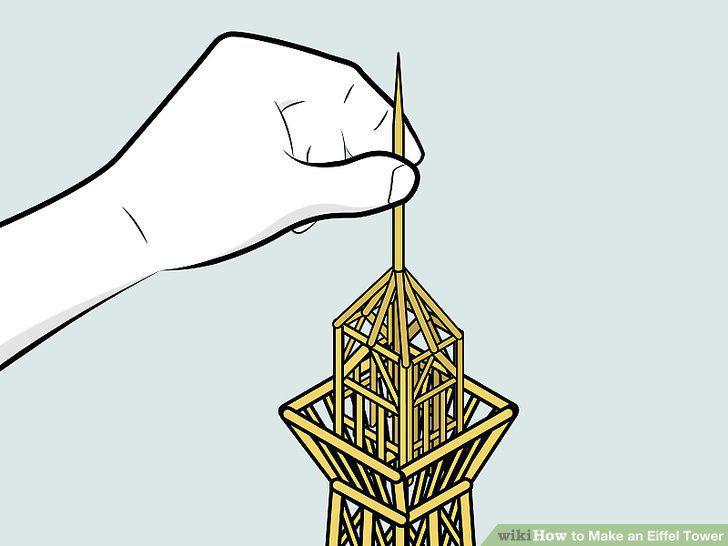
Add the spire to the top.
Comments (0)
No comments yet. Be the first to share your thoughts!