How to Take Your Own Headshot
Get a camera, preferably an SLR or another high-performance camera.. Wear simple, neutral clothes and/or makeup.. Use a simple, solid background.
Steps
Get a camera, preferably an SLR or another high-performance camera.
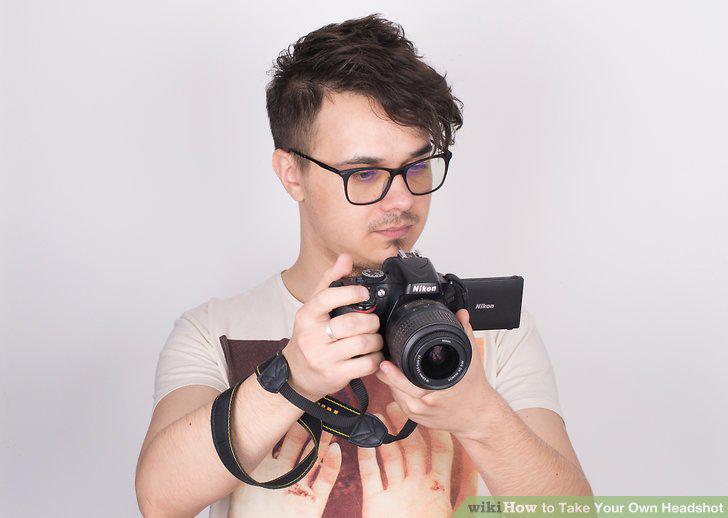
Get a camera, preferably an SLR or another high-performance camera.
Wear simple, neutral clothes and/or makeup.
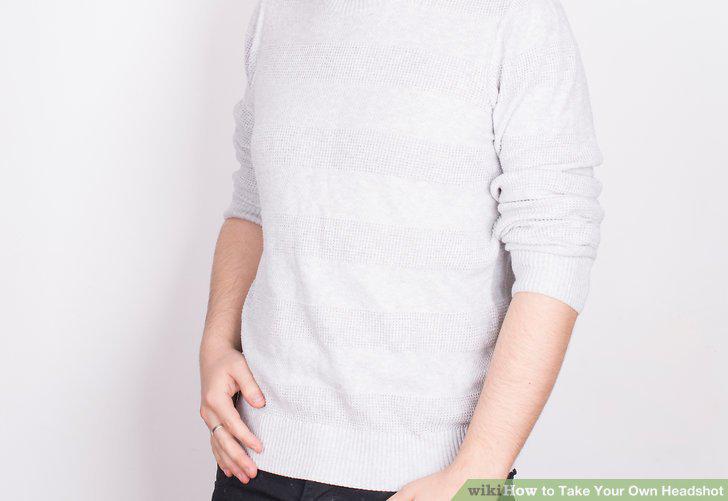
Wear simple, neutral clothes and/or makeup.
Use a simple, solid background.
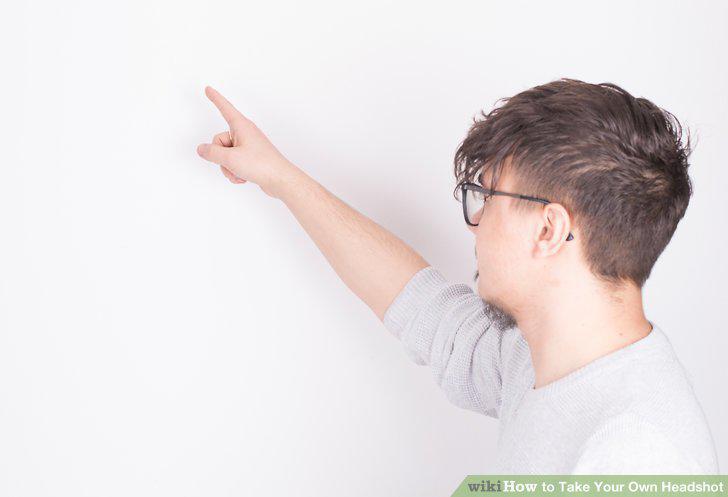
Use a simple, solid background.
Ensure you are evenly lit, taking extra attention to avoid shadows on your face.
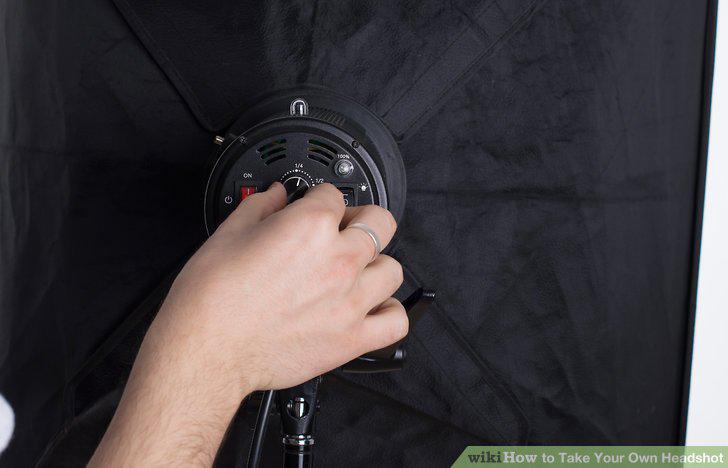
Ensure you are evenly lit, taking extra attention to avoid shadows on your face.
Set your camera up on a tripod or hand it off to a friend.
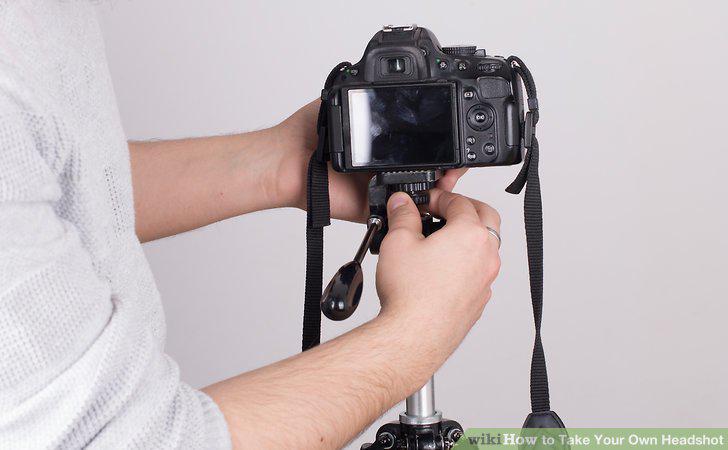
Set your camera up on a tripod or hand it off to a friend.
Make sure your entire head and upper shoulders fit in the frame.
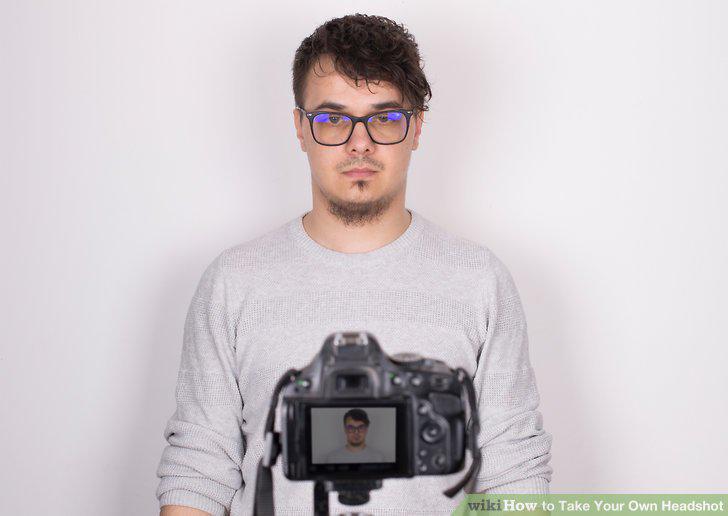
Make sure your entire head and upper shoulders fit in the frame.
Take both serious and smiling shots, taking far more than you think you need.
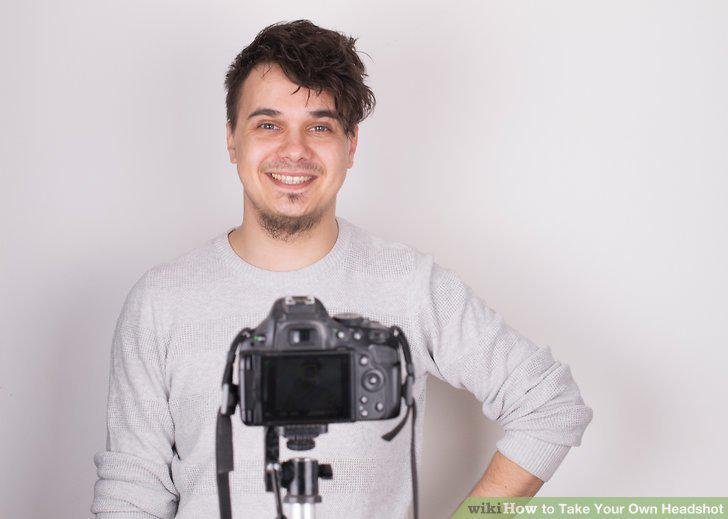
Take both serious and smiling shots, taking far more than you think you need.
Ignore the camera as much as possible, even as you look right at it.
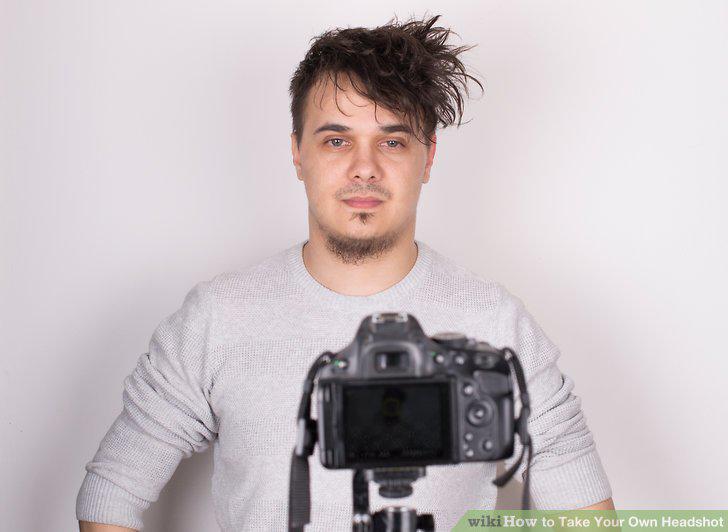
Ignore the camera as much as possible, even as you look right at it.
Think about camera angle to help determine the "mood" of the shot.
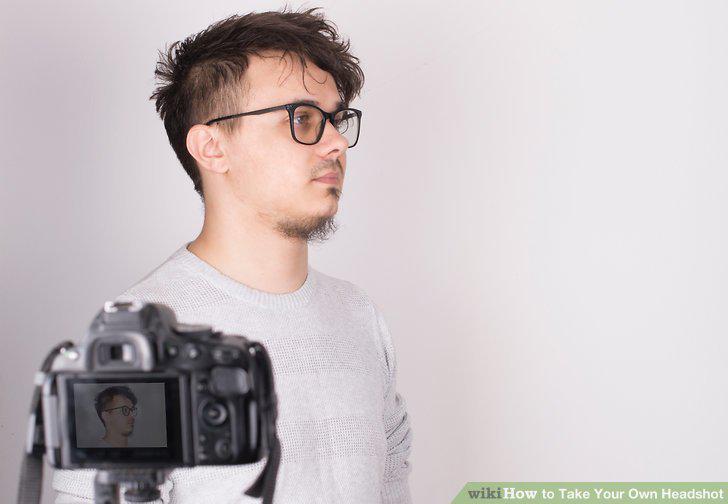
Think about camera angle to help determine the "mood" of the shot.
Review the photos periodically to find looks you like or shots you might re-take
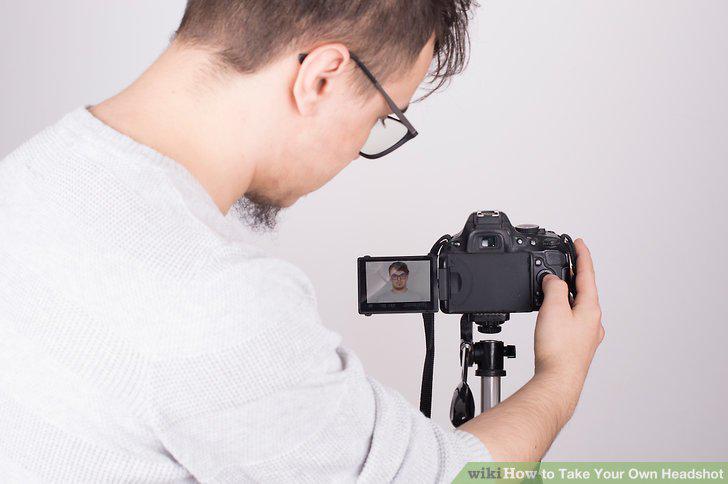
Review the photos periodically to find looks you like or shots you might re-take.
Have another set of eyes (or two) help you pick your best 4-5 shots.
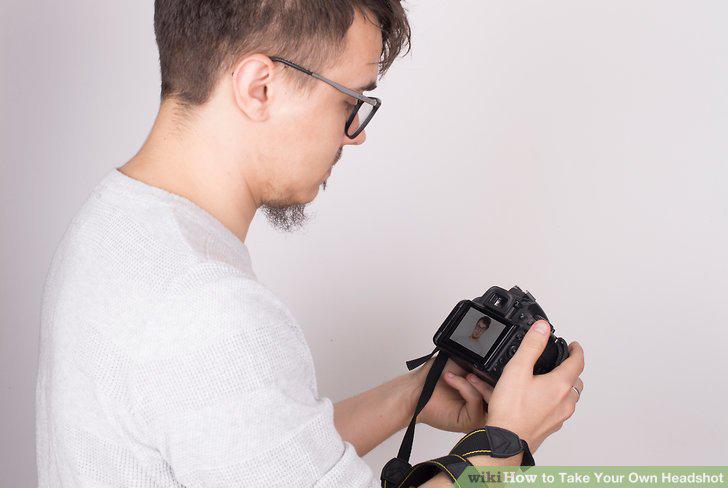
Have another set of eyes (or two) help you pick your best 4-5 shots.
Use a photo editor, like Photoshop, to dial in the brightness and contrast.
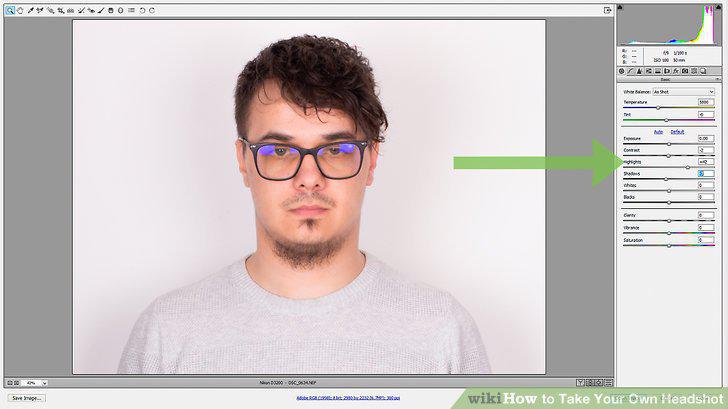
Use a photo editor, like Photoshop, to dial in the brightness and contrast.
Add a little sharpness to the shot.
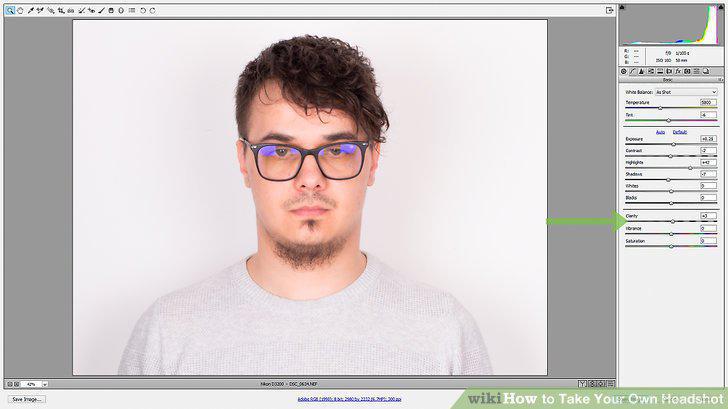
Add a little sharpness to the shot.
Very lightly up the saturation to get a slight "tan.
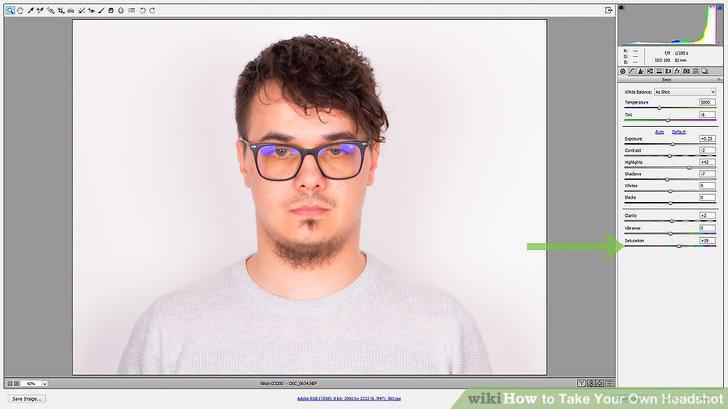
Very lightly up the saturation to get a slight "tan.
Print it in an 8x10 size if heading to modeling or acting gigs.
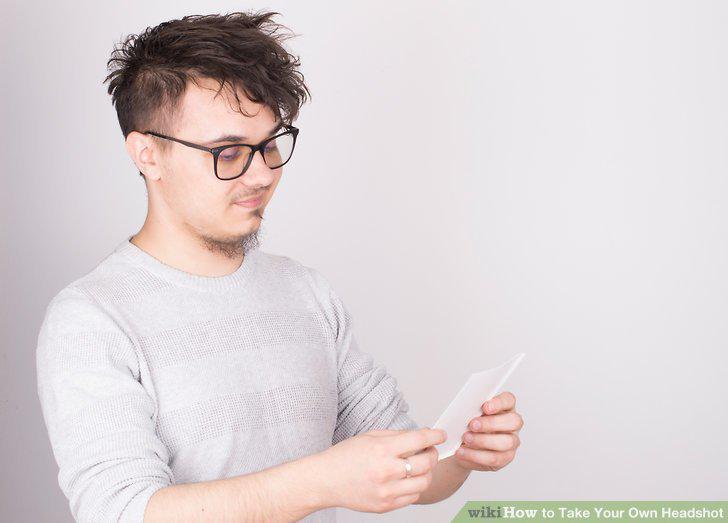
Print it in an 8x10 size if heading to modeling or acting gigs.
Comments (0)
No comments yet. Be the first to share your thoughts!