How to Hold a Pencil for Drawing
Position the pencil between your forefinger and middle finger.. Brace the opposite side of the pencil with your thumb.. Lift your wrist off of your drawing surface.
Steps
Position the pencil between your forefinger and middle finger.
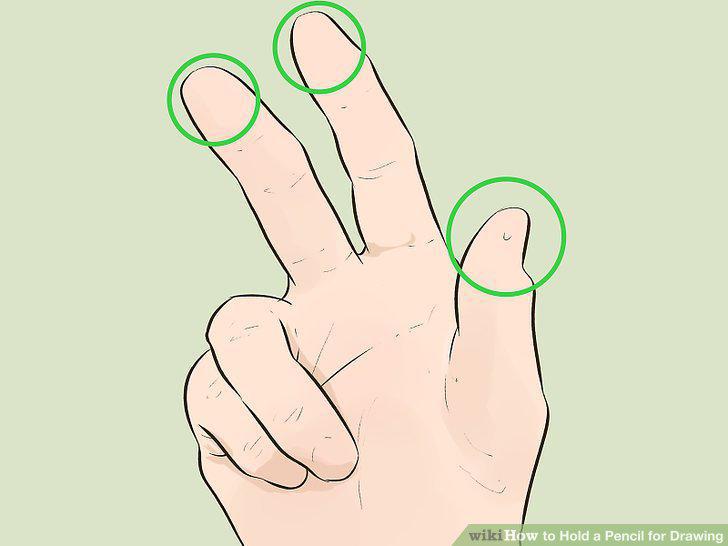
Position the pencil between your forefinger and middle finger.
Brace the opposite side of the pencil with your thumb.
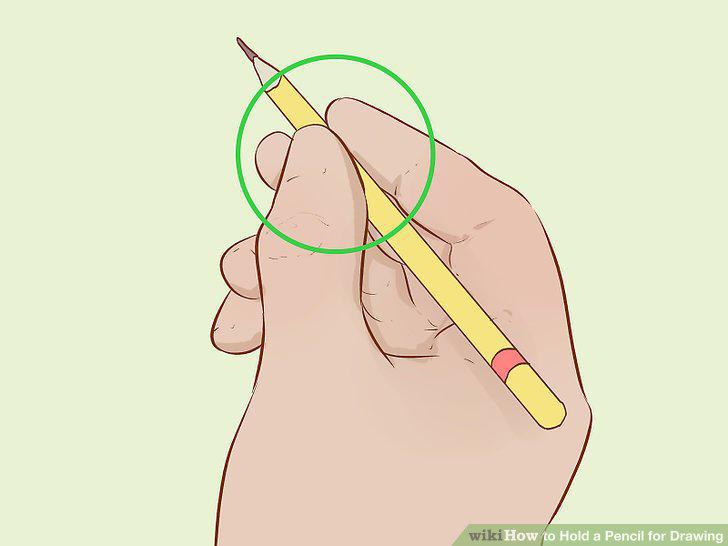
Brace the opposite side of the pencil with your thumb.
Lift your wrist off of your drawing surface.
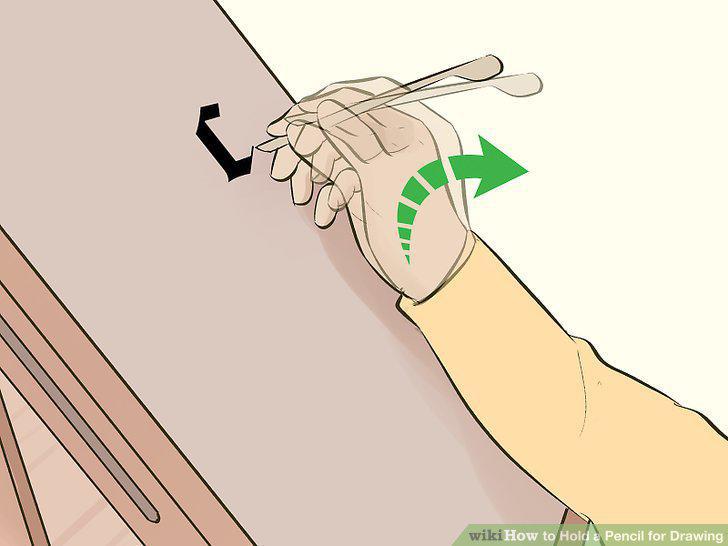
Lift your wrist off of your drawing surface.
Use both your wrist and forearm to draw.
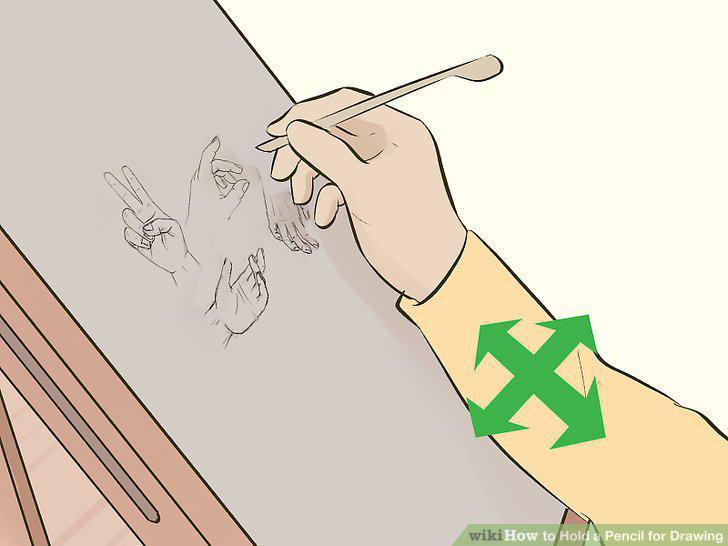
Use both your wrist and forearm to draw.
Pinch the pencil between the pads of your forefinger and thumb.
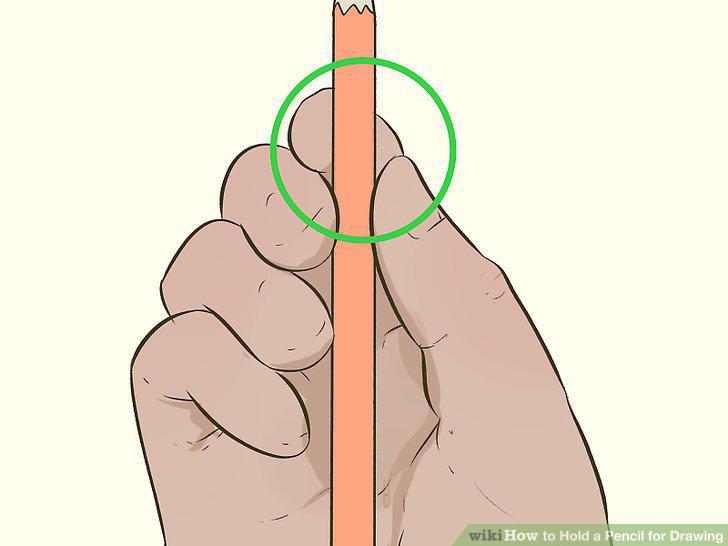
Pinch the pencil between the pads of your forefinger and thumb.
Rest your other fingers against the shaft of the pencil.
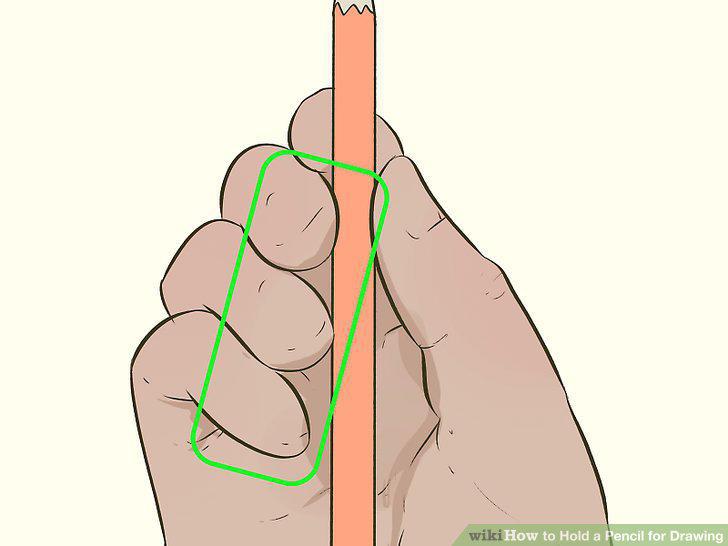
Rest your other fingers against the shaft of the pencil.
Run the tip of the pencil along the paper using your whole arm.
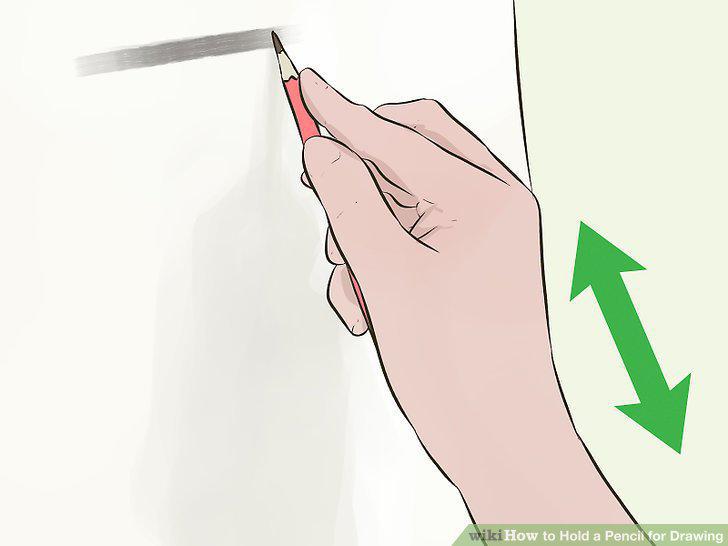
Run the tip of the pencil along the paper using your whole arm.
Turn your wrist over to switch to an overhand grip.
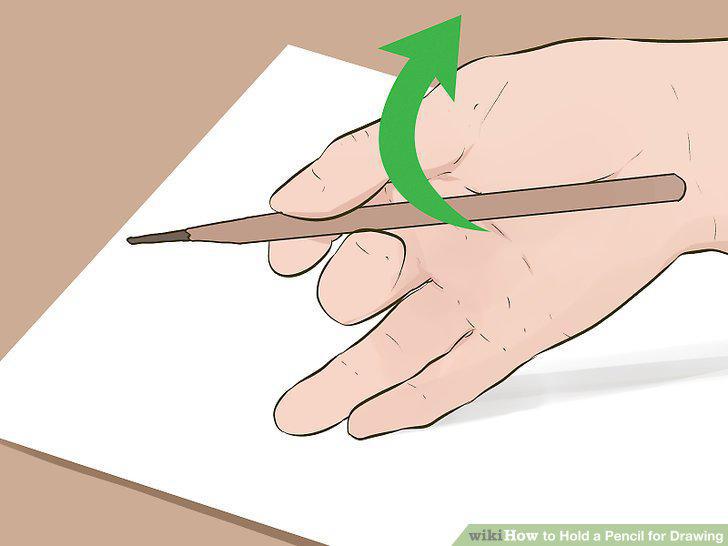
Turn your wrist over to switch to an overhand grip.
Shade broad areas with the side of your pencil.
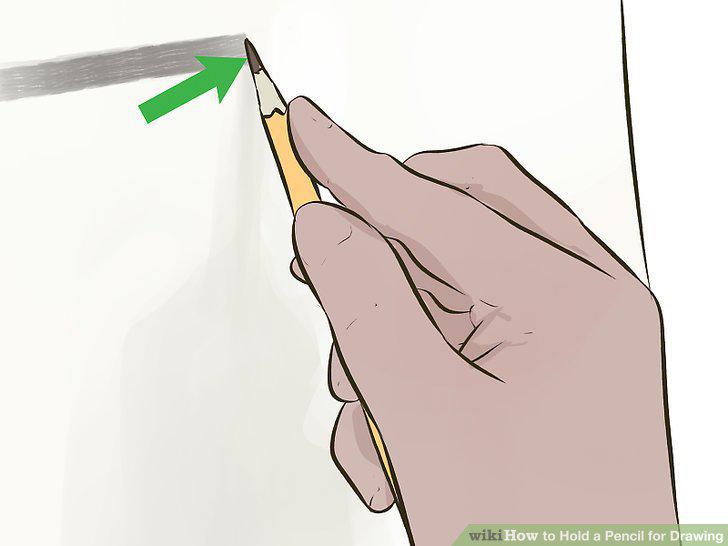
Shade broad areas with the side of your pencil.
Slide your hand back on the pencil in a tripod grip to take a brush grip.
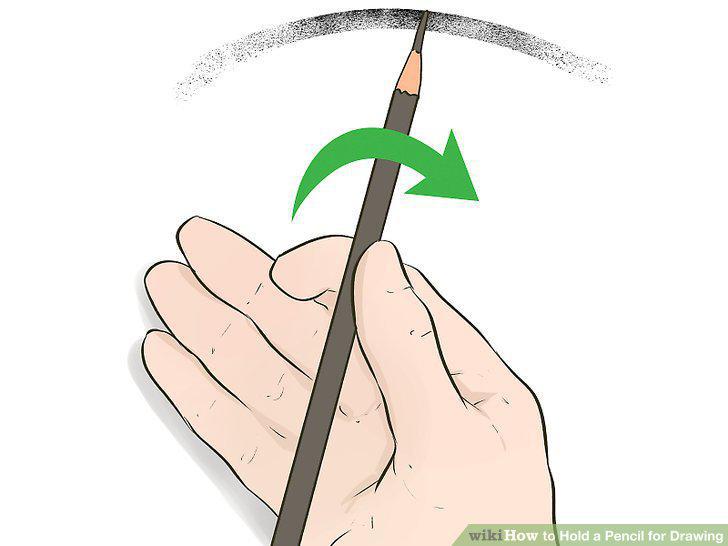
Slide your hand back on the pencil in a tripod grip to take a brush grip.
Use a "loaded" overhand grip to apply more pressure while shading.
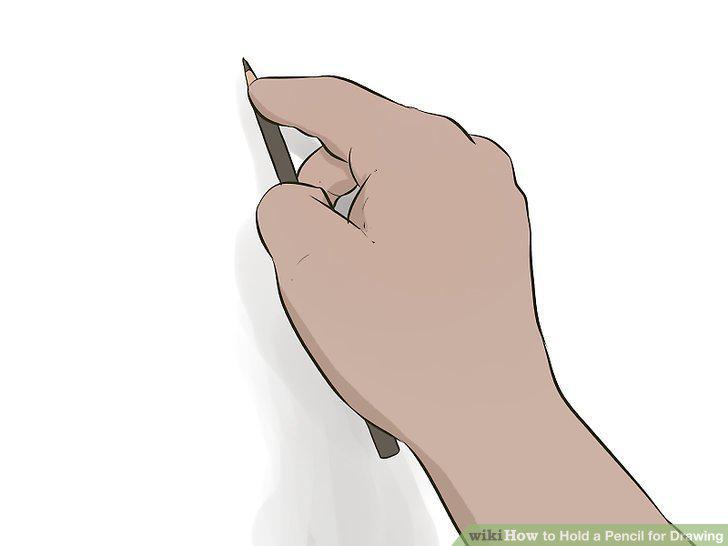
Use a "loaded" overhand grip to apply more pressure while shading.
Try out an inverted grip for maximum visibility with complex drawings.
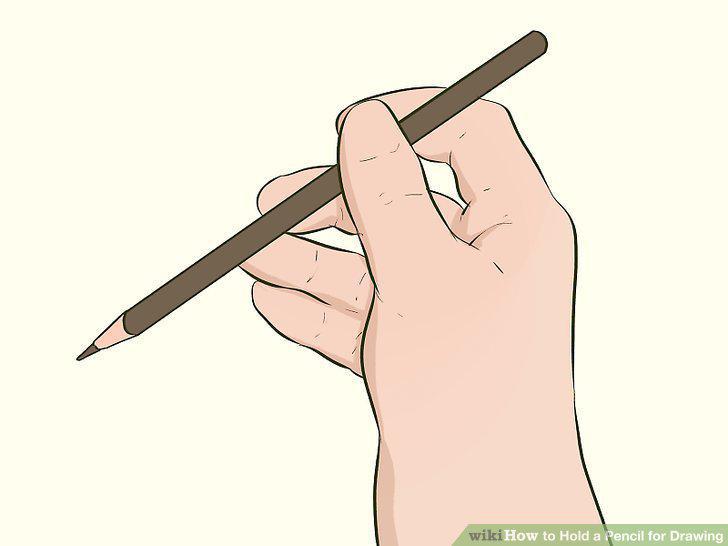
Try out an inverted grip for maximum visibility with complex drawings.
Comments (0)
No comments yet. Be the first to share your thoughts!