How to Dress Up Bobby Pins
Get some bobby pins, and slide them over the top of a sheet of paper.. Paint the top of your bobby pins using a single stroke.. Wait for the nail polish to dry, then add a second coat of nail polish, if needed.
Steps
Get some bobby pins, and slide them over the top of a sheet of paper.
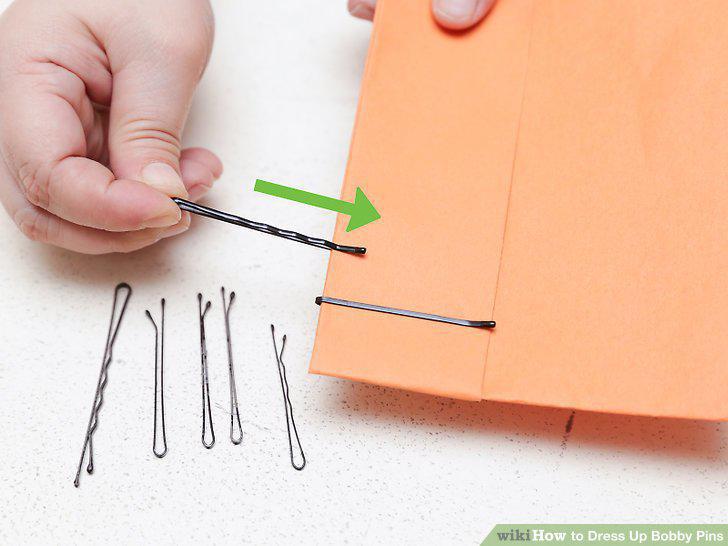
Get some bobby pins, and slide them over the top of a sheet of paper.
Paint the top of your bobby pins using a single stroke.
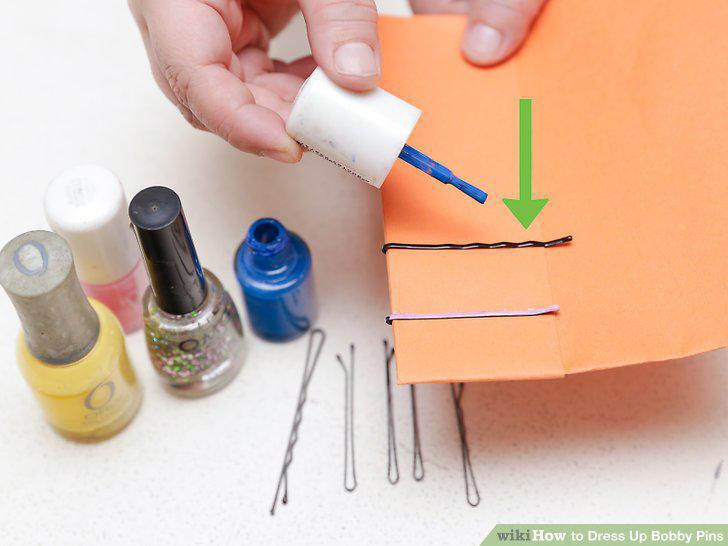
Paint the top of your bobby pins using a single stroke.
Wait for the nail polish to dry, then add a second coat of nail polish, if neede
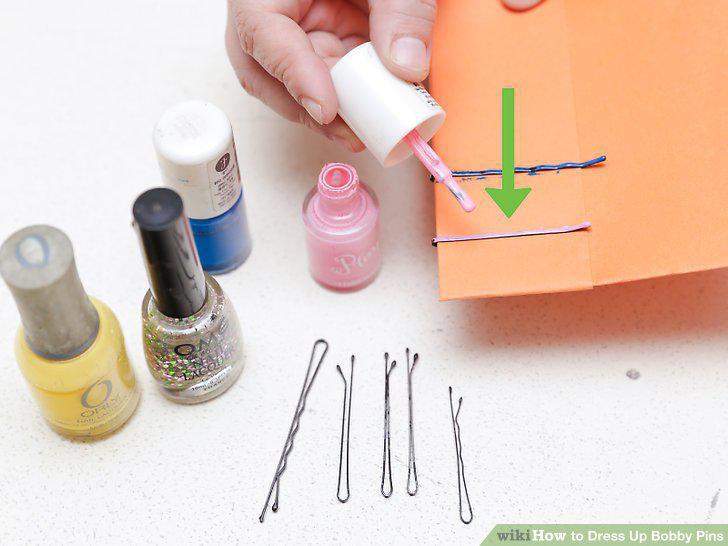
Wait for the nail polish to dry, then add a second coat of nail polish, if needed.
Add a clear top coat to protect your work, if desired.
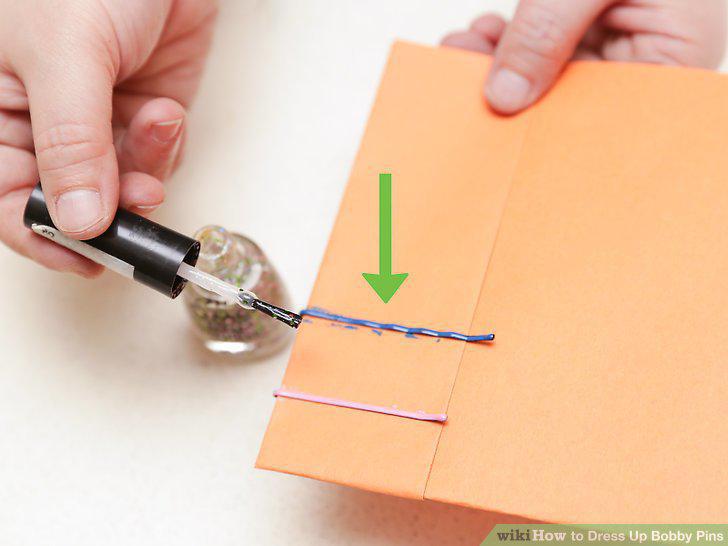
Add a clear top coat to protect your work, if desired.
Wait for the nail polish to dry overnight.
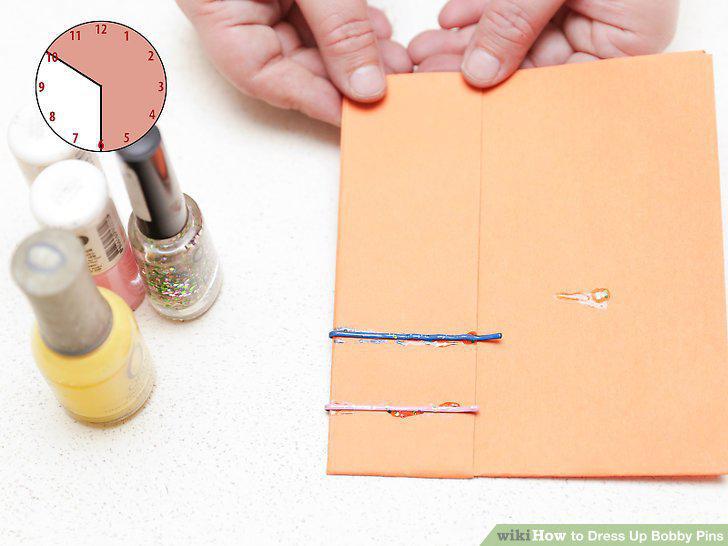
Wait for the nail polish to dry overnight.
Carefully take the bobby pins off of the paper.
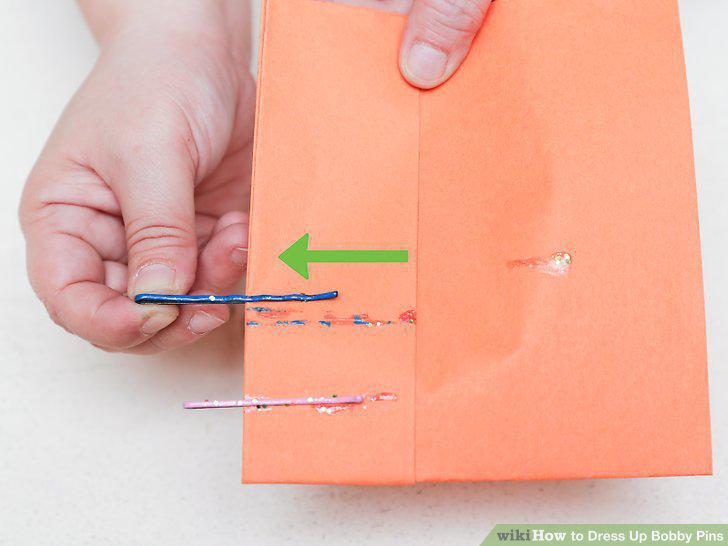
Carefully take the bobby pins off of the paper.
Get a coat button that you find pretty or interesting.
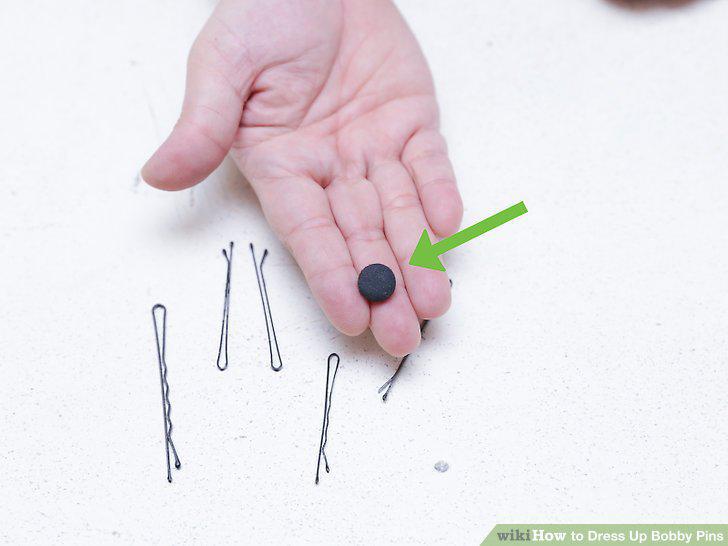
Get a coat button that you find pretty or interesting.
Turn the bobby pin over so that the side you plan on wearing outward is facing y
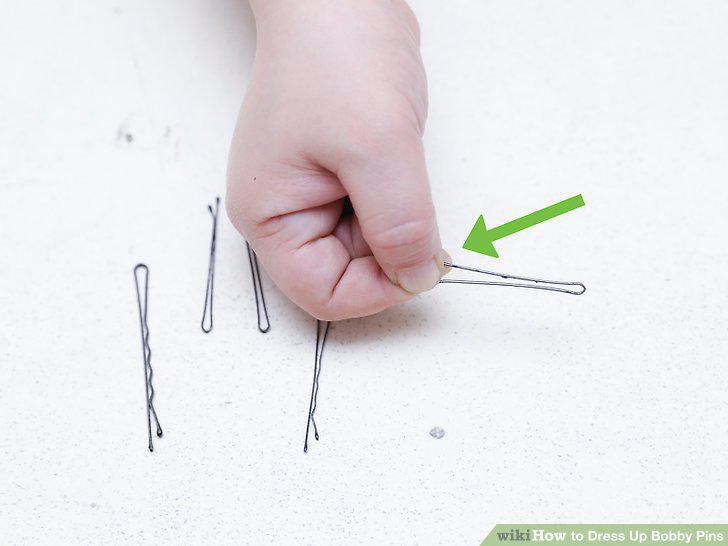
Turn the bobby pin over so that the side you plan on wearing outward is facing you.
Slip the button over the tip of the bobby pin.
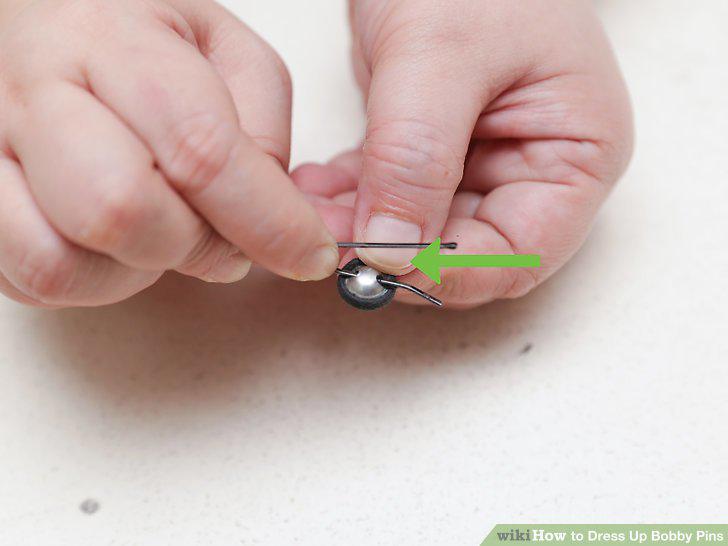
Slip the button over the tip of the bobby pin.
Slide the button all the way down to the other end of the bobby pin.
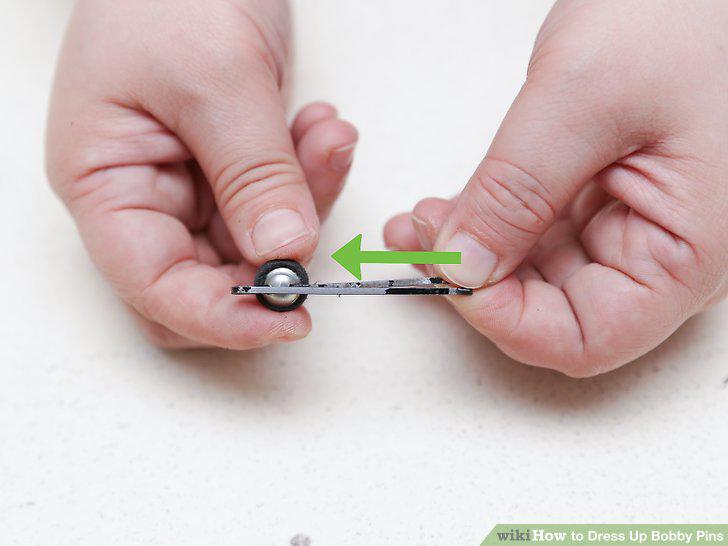
Slide the button all the way down to the other end of the bobby pin.
Secure the button with a drop or two of hot glue or super glue.
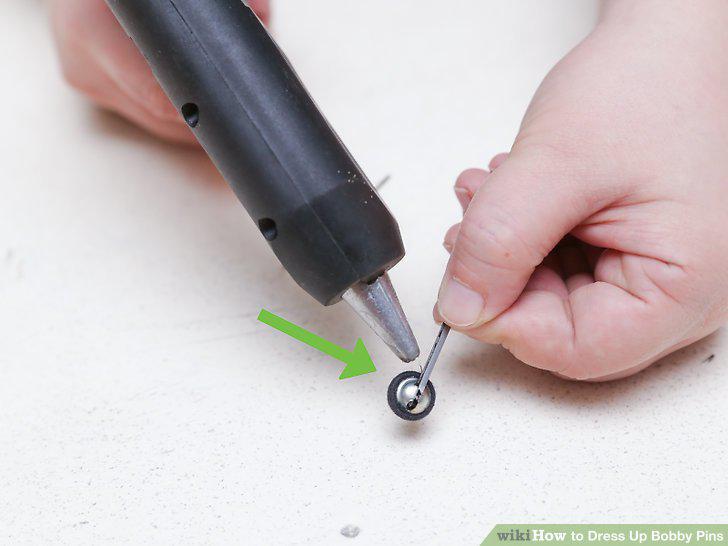
Secure the button with a drop or two of hot glue or super glue.
Let the glue dry completely before you wear the bobby pin.
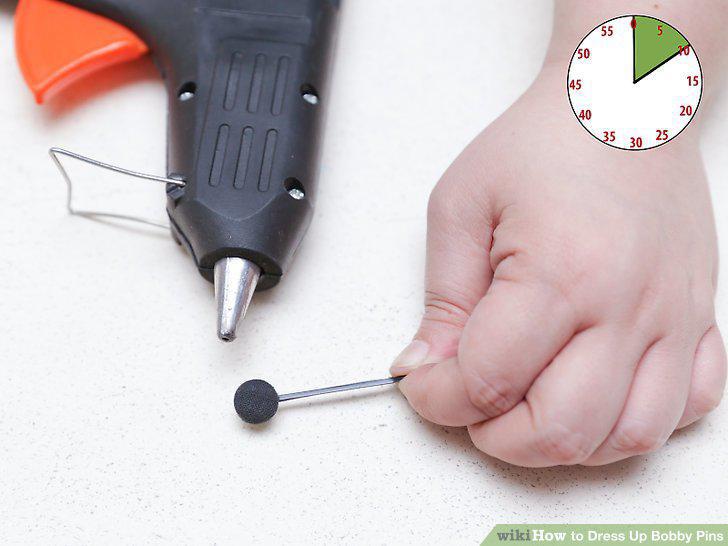
Let the glue dry completely before you wear the bobby pin.
Slid your bobby pin(s) partway onto an index card.
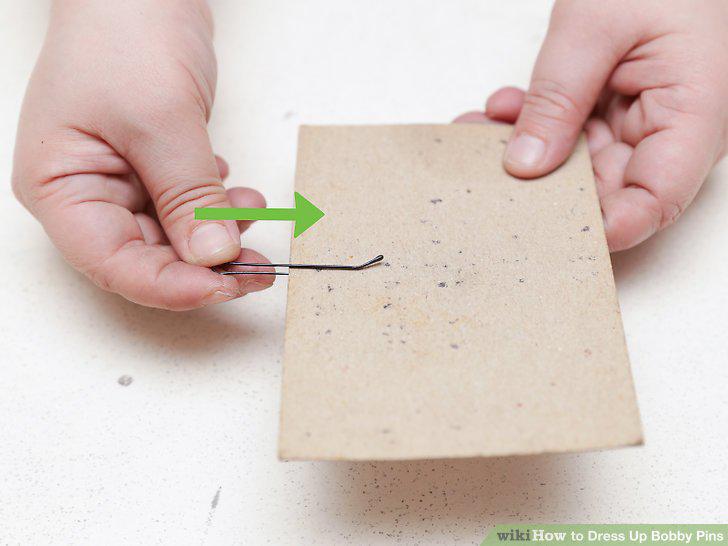
Slid your bobby pin(s) partway onto an index card.
Make sure that the side you want to decorate is facing up.
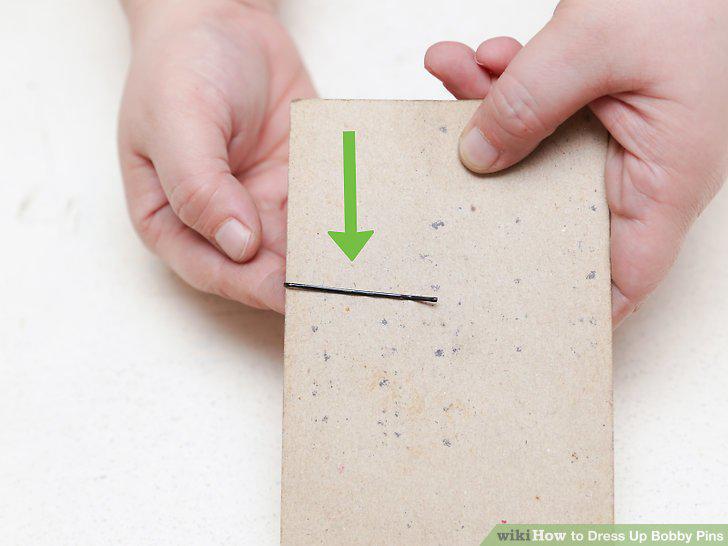
Make sure that the side you want to decorate is facing up.
Choose something to glue to your bobby pin.
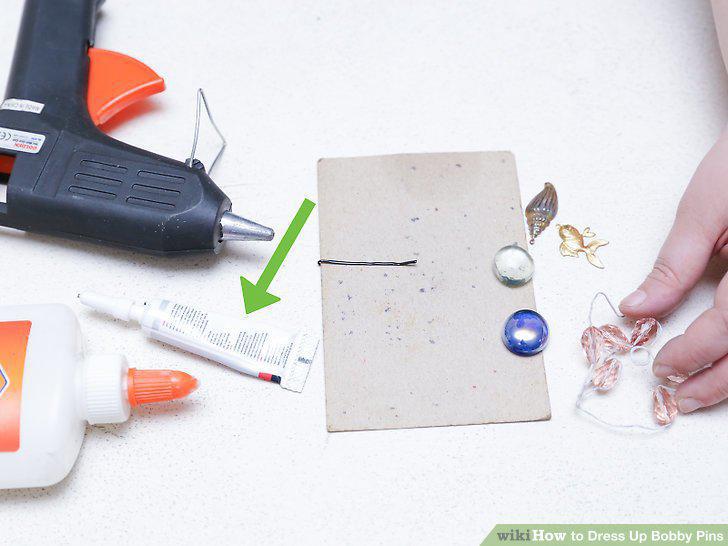
Choose something to glue to your bobby pin.
Place a drop of glue onto the back of the gem.
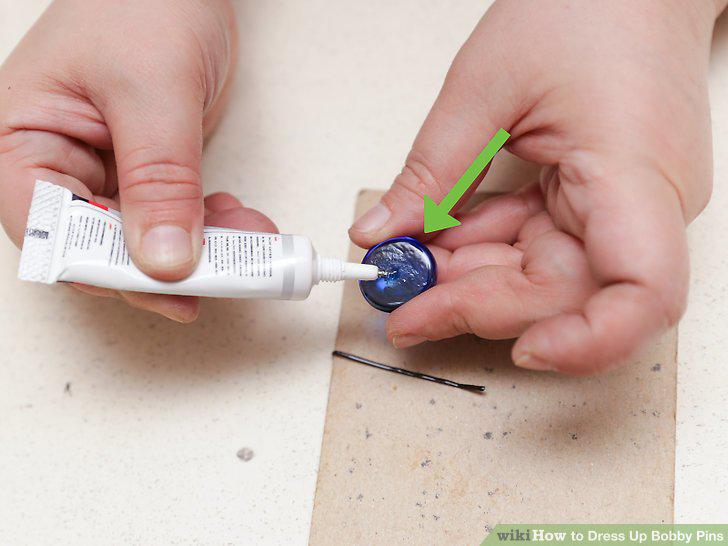
Place a drop of glue onto the back of the gem.
Press the gemstone onto the bobby pin.
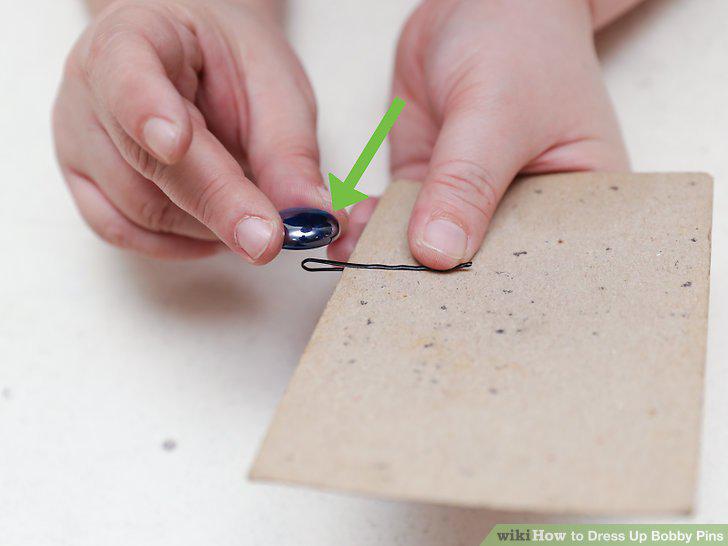
Press the gemstone onto the bobby pin.
Wait for the glue to dry.
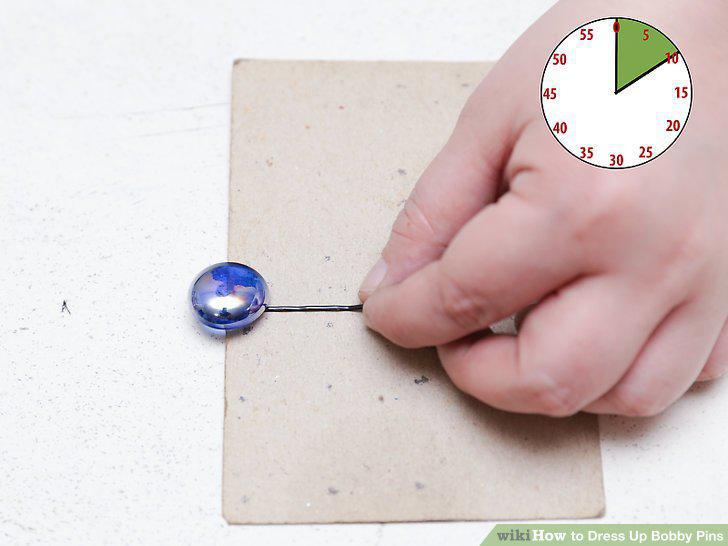
Wait for the glue to dry.
Take the bobby pin off the paper.
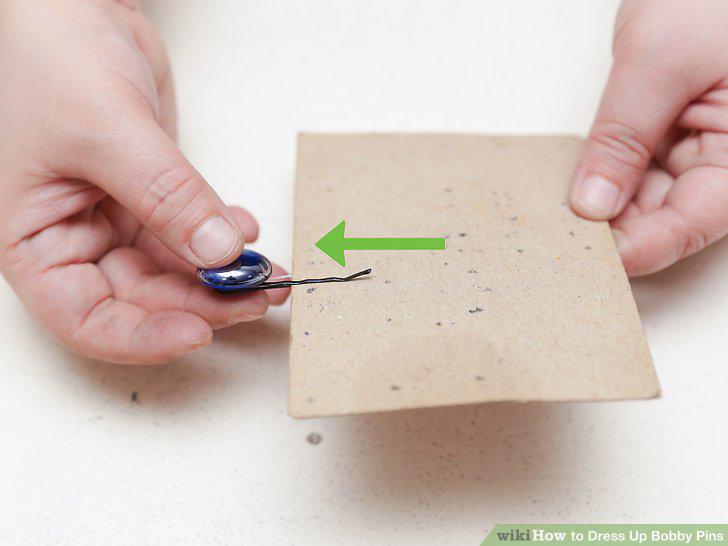
Take the bobby pin off the paper.
Cut a 10-inch (cc-centimeter) long piece of thin beading wire.
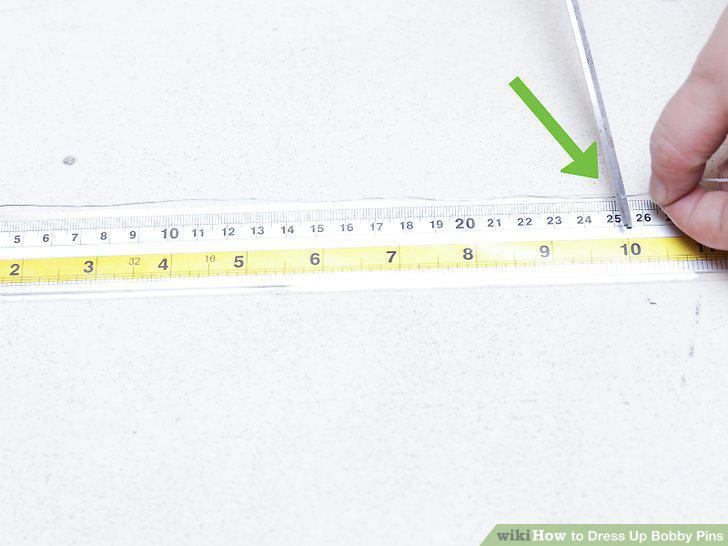
Cut a 10-inch (cc-centimeter) long piece of thin beading wire.
Slip the wire part-way through the bend in your bobby pin.
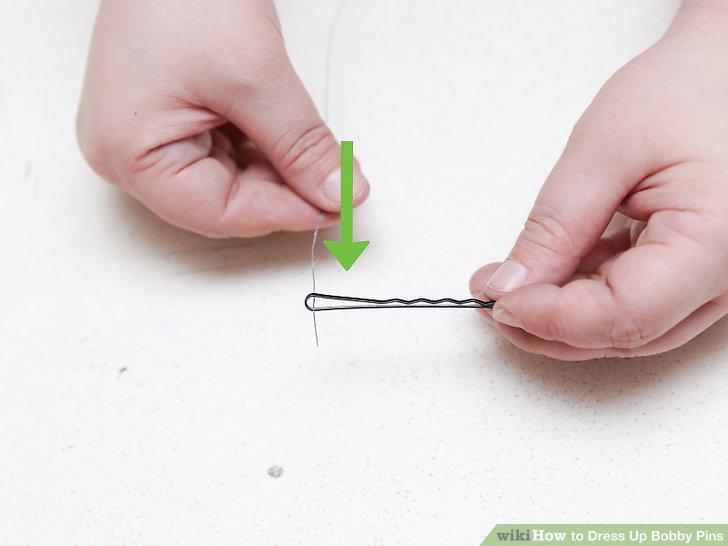
Slip the wire part-way through the bend in your bobby pin.
Twist the wire shut, then snip off the shorter piece of wire.
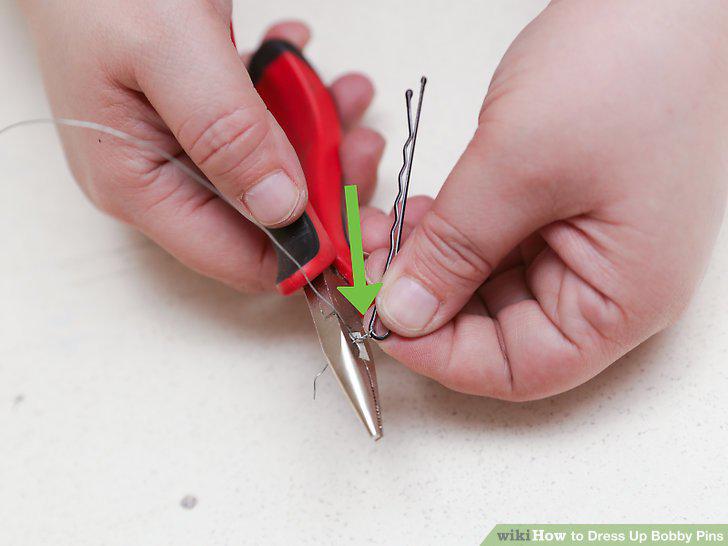
Twist the wire shut, then snip off the shorter piece of wire.
Thread the wire through your first bead.
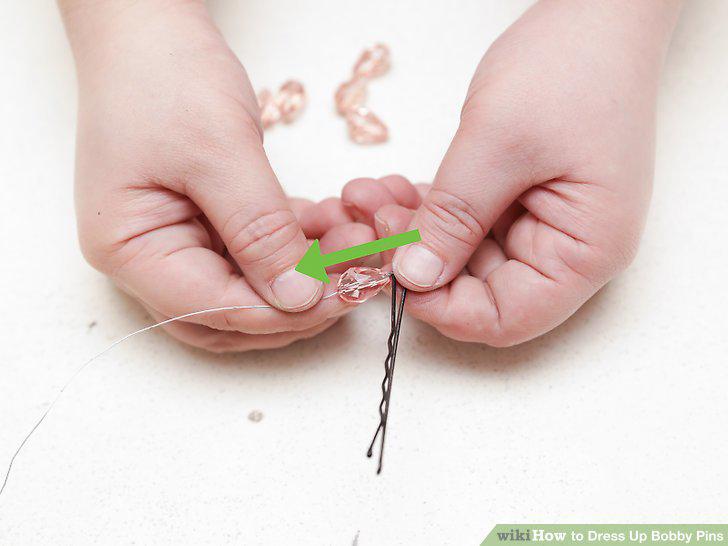
Thread the wire through your first bead.
Wrap the wire around the bumpy part of the bobby pin.
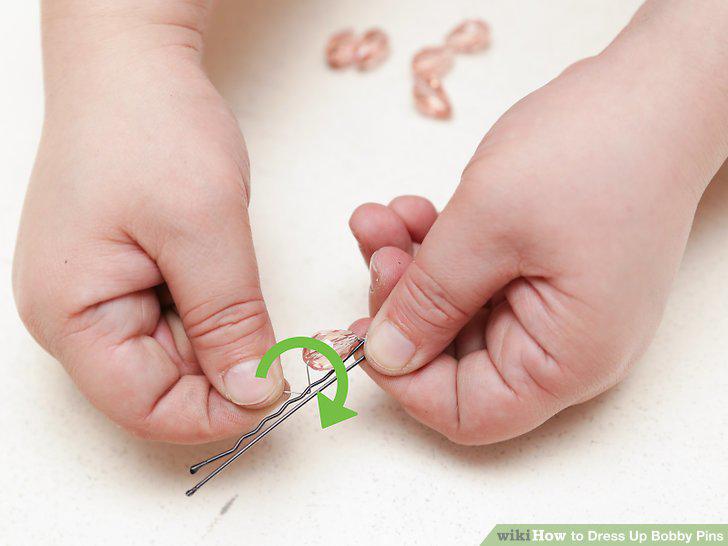
Wrap the wire around the bumpy part of the bobby pin.
Thread another bead onto the wire, and wrap it through the bobby pin again.
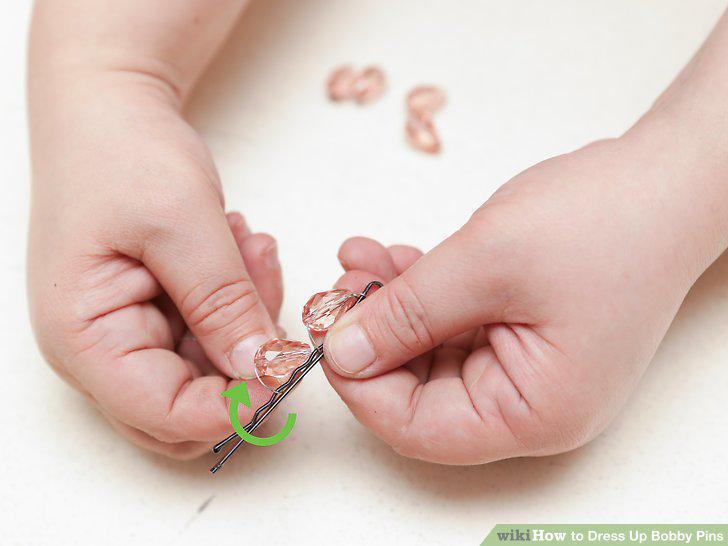
Thread another bead onto the wire, and wrap it through the bobby pin again.
Keep adding beads and wrapping the wire until you are one bead's width from the
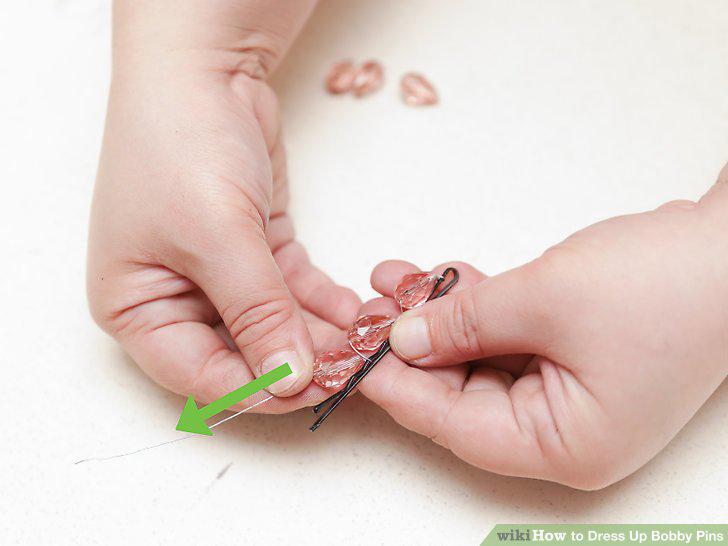
Keep adding beads and wrapping the wire until you are one bead's width from the end of the bobby in.
Wrap the wire a few times around the tip of the bobby pin without adding any bea
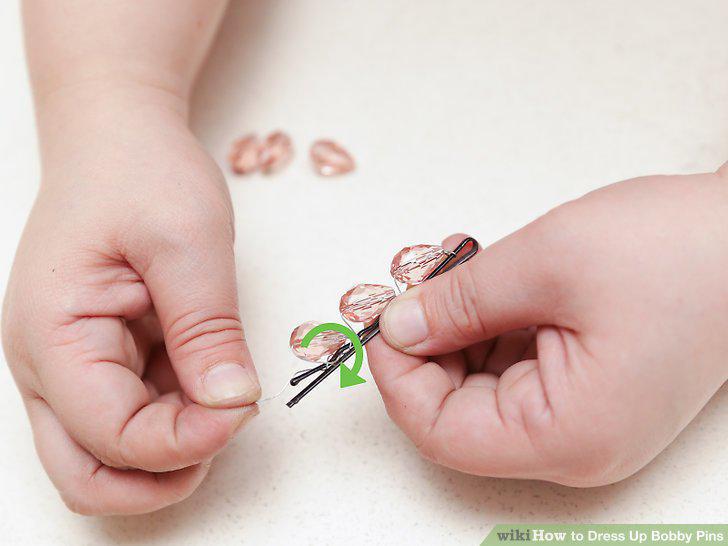
Wrap the wire a few times around the tip of the bobby pin without adding any beads.
Pass the wire back through or under 2 to 3 beads, then snip it off.
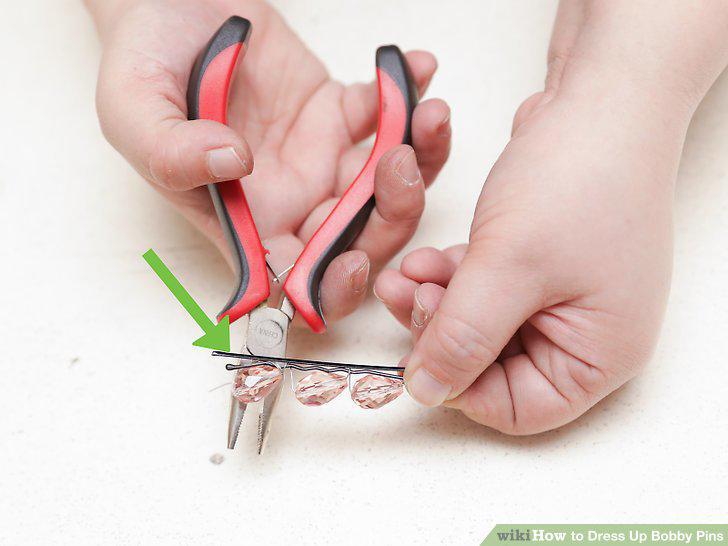
Pass the wire back through or under 2 to 3 beads, then snip it off.
Comments (0)
No comments yet. Be the first to share your thoughts!