How to Make a Polymer Clay Angel
Roll some skin-toned clay into an oval for the head.. Consider adding some details to the head.. Make a small cone, about the same size as the head.
Steps
Roll some skin-toned clay into an oval for the head.
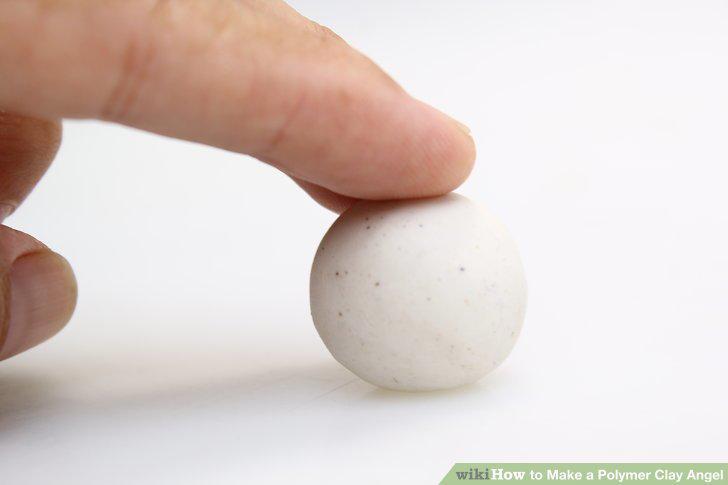
Roll some skin-toned clay into an oval for the head.
Consider adding some details to the head.
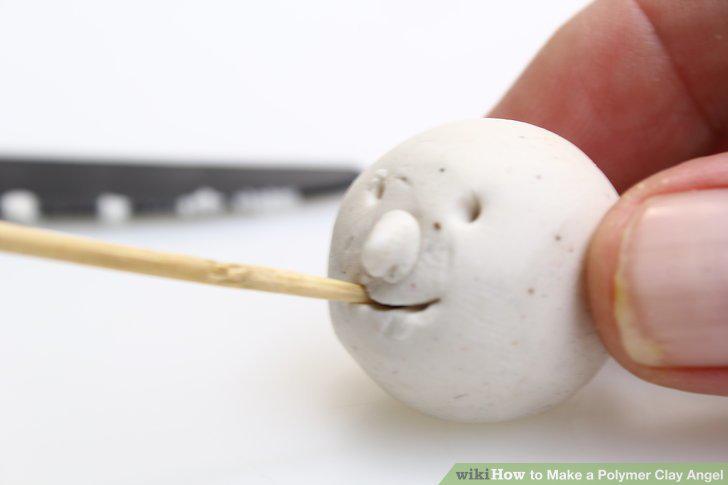
Consider adding some details to the head.
Make a small cone, about the same size as the head.
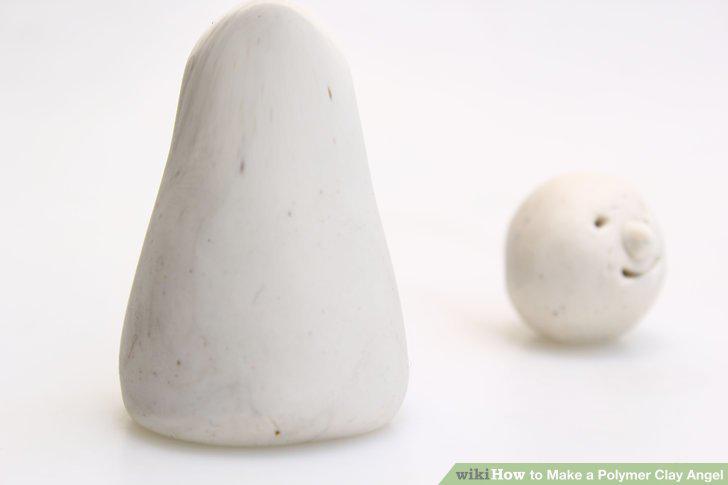
Make a small cone, about the same size as the head.
Flatten the top part of the cone.
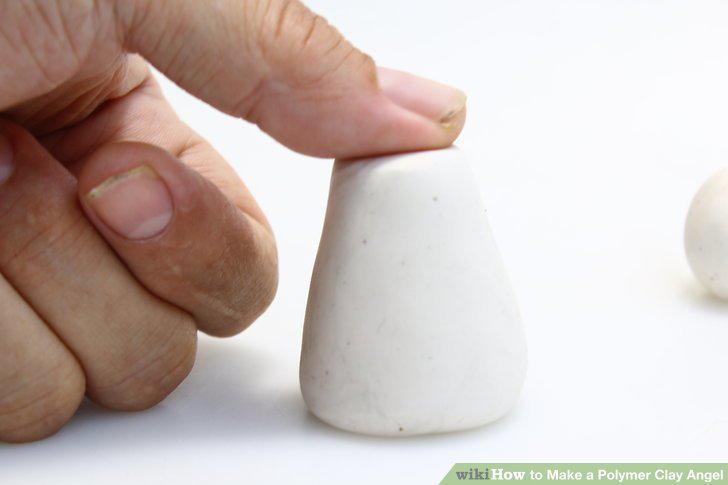
Flatten the top part of the cone.
Roll out two smaller cones for the arms.
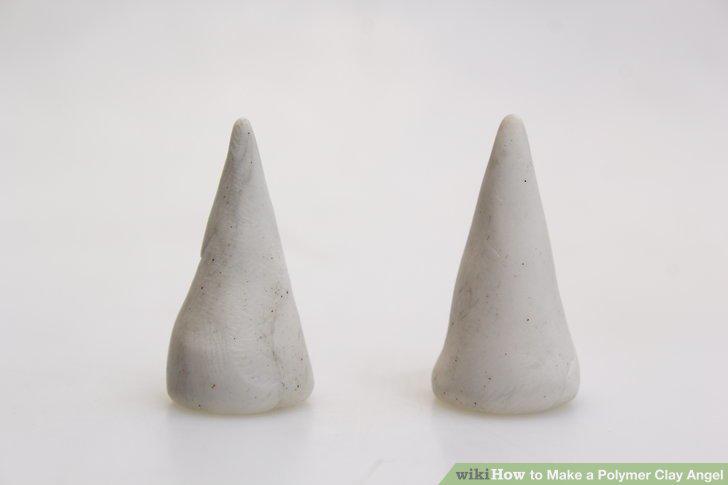
Roll out two smaller cones for the arms.
Attach the arms.
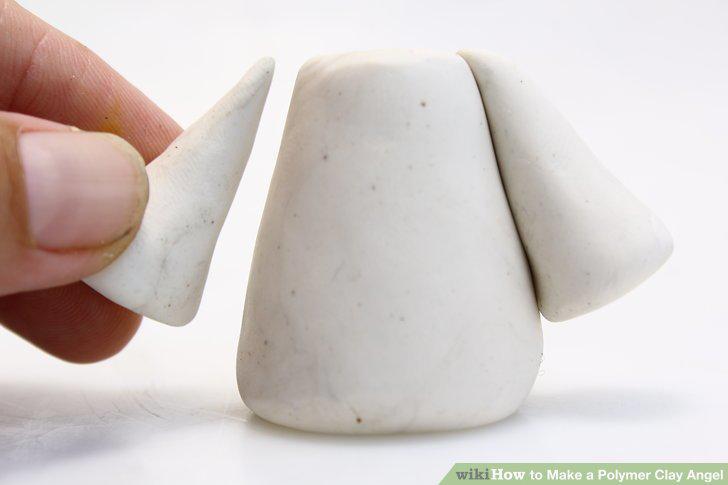
Attach the arms.
Add two small, flesh-toned balls for the hands.
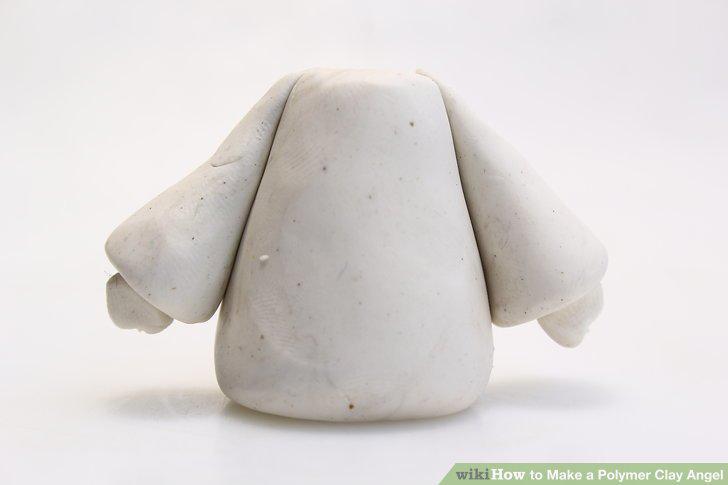
Add two small, flesh-toned balls for the hands.
Attach the head to the body.
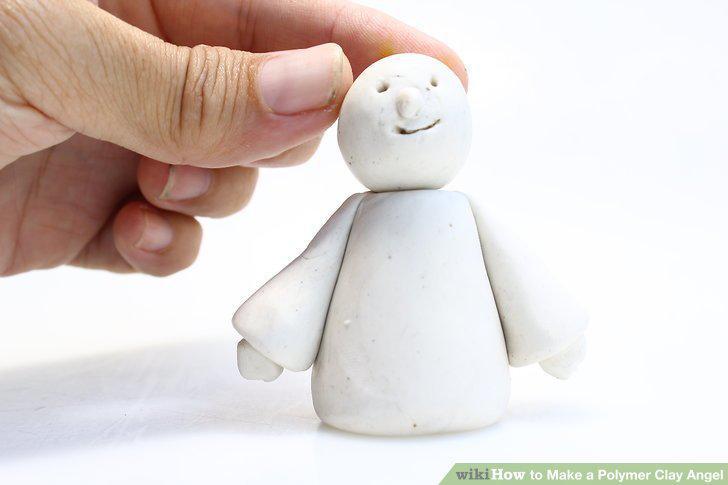
Attach the head to the body.
Bake the angel half-way, about 10 minutes.
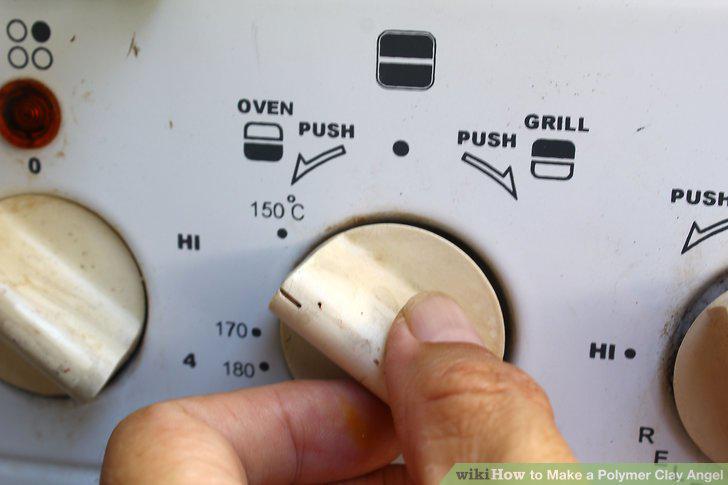
Bake the angel half-way, about 10 minutes.
Roll some white clay into a thin sheet.
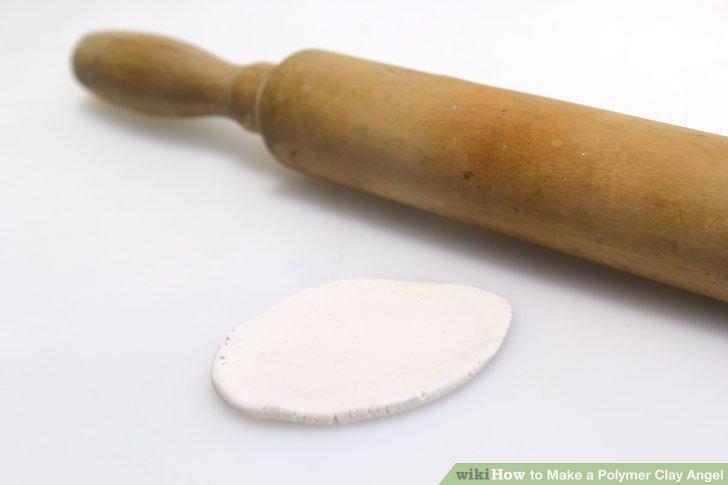
Roll some white clay into a thin sheet.
Cut the white clay sheet into wing shapes.
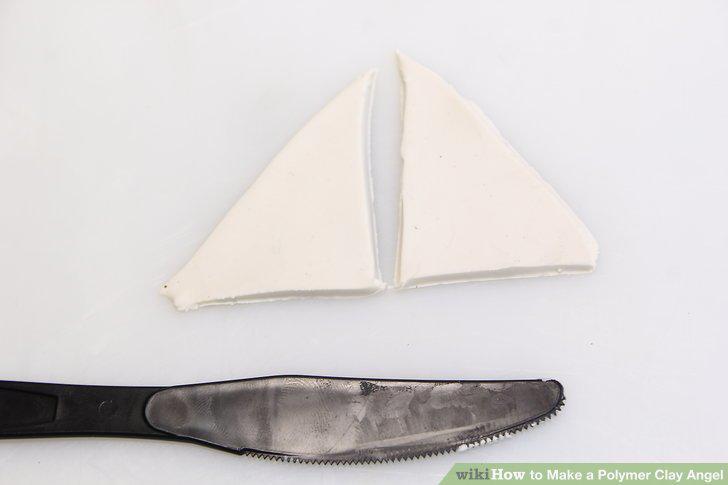
Cut the white clay sheet into wing shapes.
Add details to the wings.
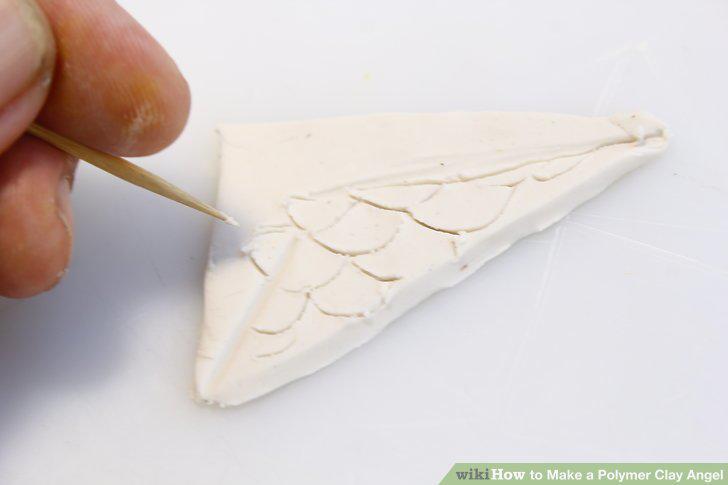
Add details to the wings.
Attach the wings to the back of your angel using liquid clay.
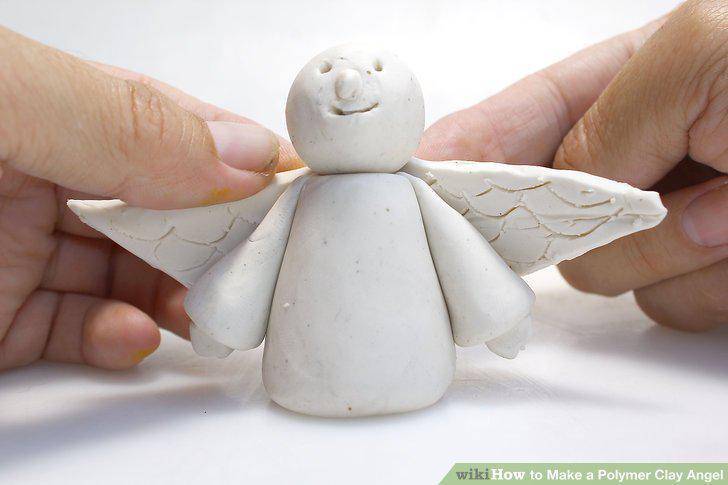
Attach the wings to the back of your angel using liquid clay.
Add small balls of skin-toned clay for the ears.
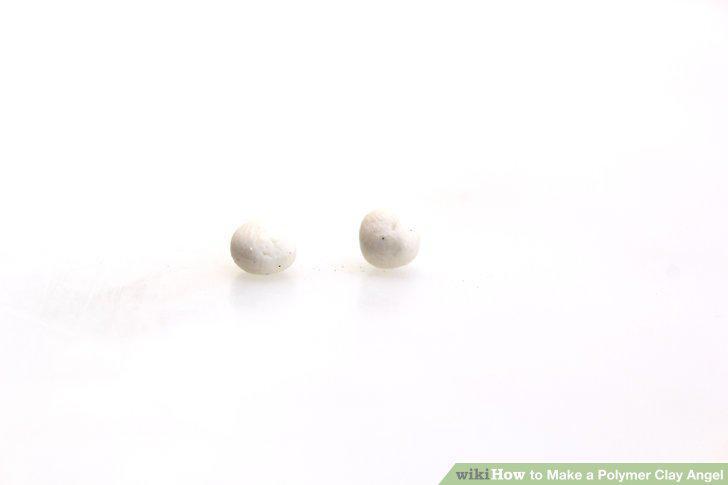
Add small balls of skin-toned clay for the ears.
Blend the front part of the ears in only.
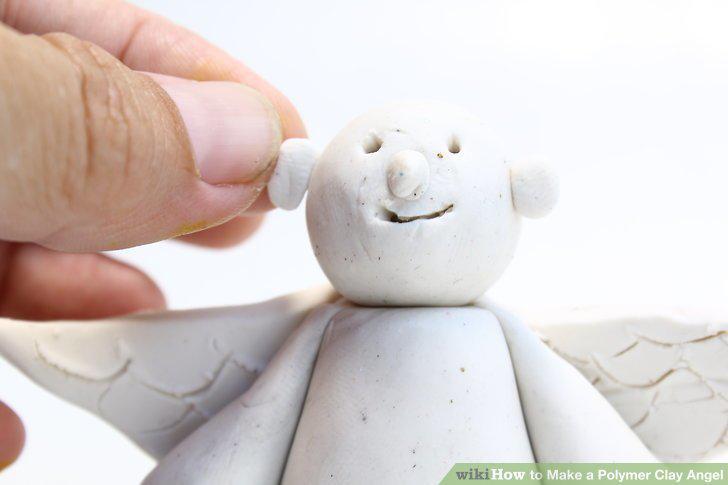
Blend the front part of the ears in only.
Roll some hair-colored clay into a sheet and add streaks into it.
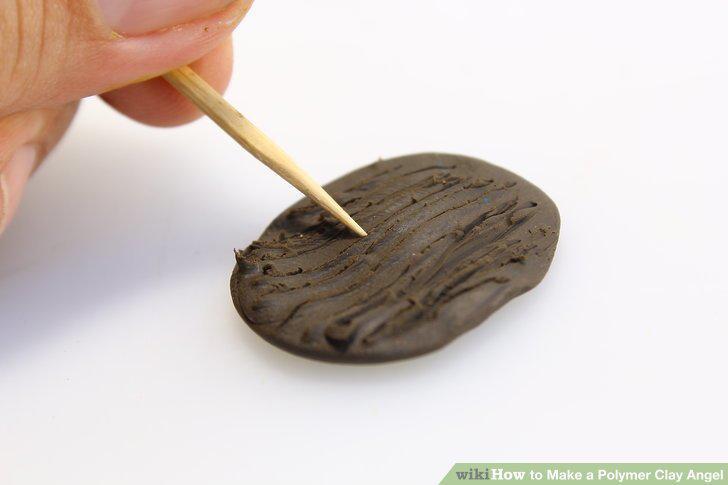
Roll some hair-colored clay into a sheet and add streaks into it.
Wrap the sheet around the angel's head to make the hair.
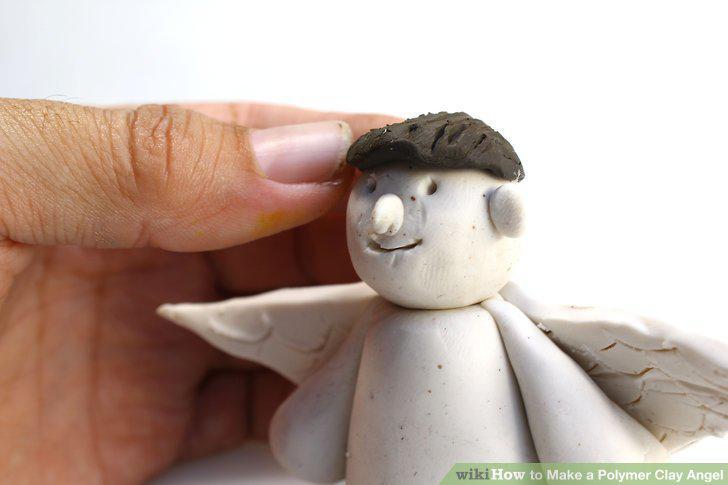
Wrap the sheet around the angel's head to make the hair.
Add smaller pieces for the bangs.
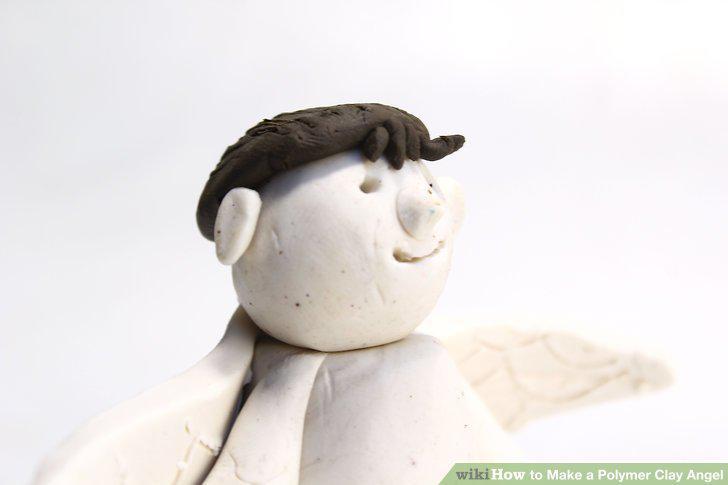
Add smaller pieces for the bangs.
Make a halo.
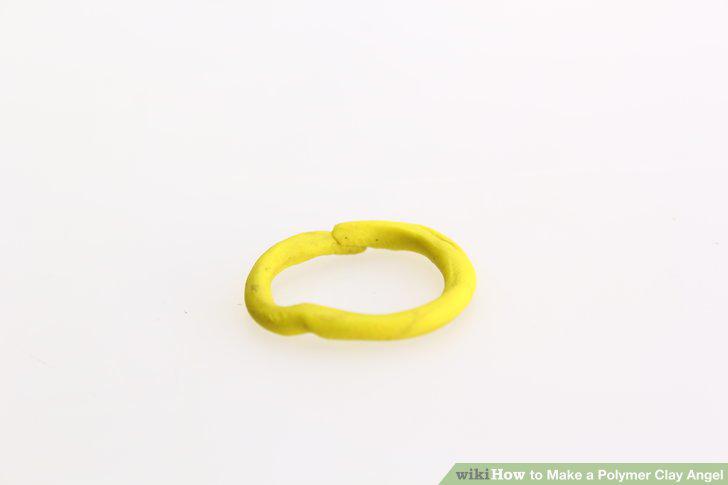
Make a halo.
Attach the halo.
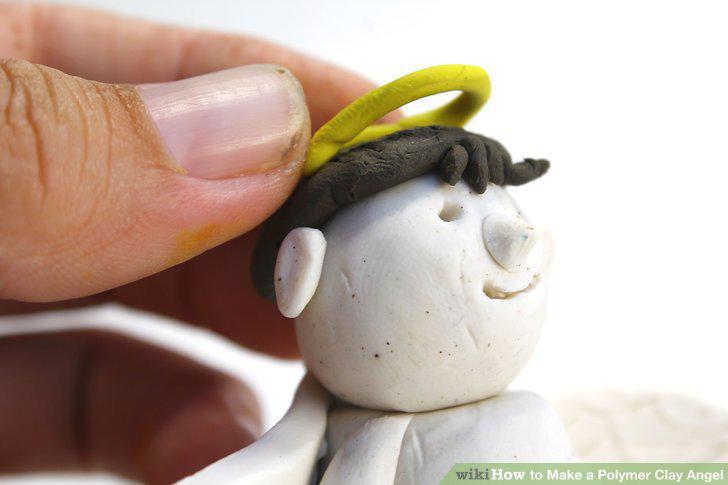
Attach the halo.
Insert an eye pin if you'd like to turn the angel into an ornament or charm.
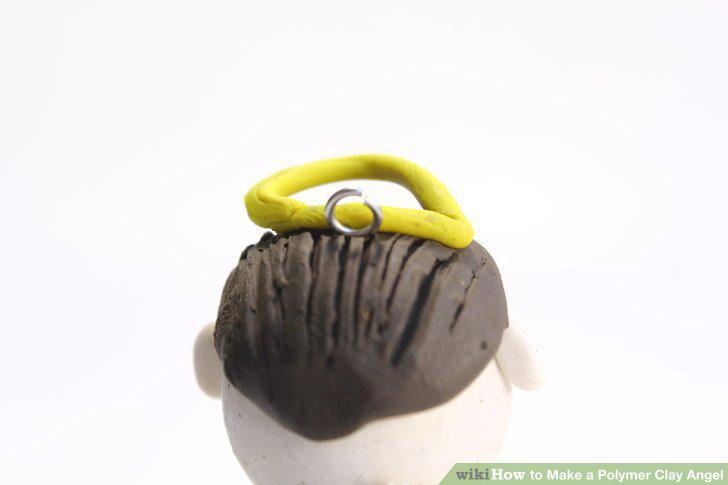
Insert an eye pin if you'd like to turn the angel into an ornament or charm.
Bake the angel the rest of the way, about 15 minutes.
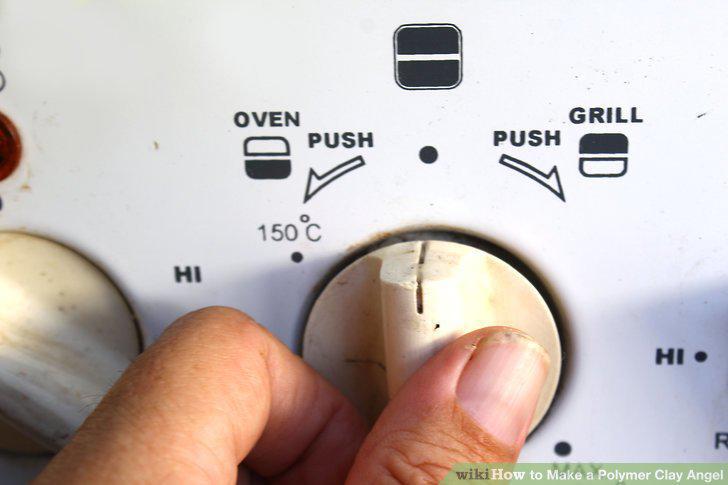
Bake the angel the rest of the way, about 15 minutes.
Add a face.
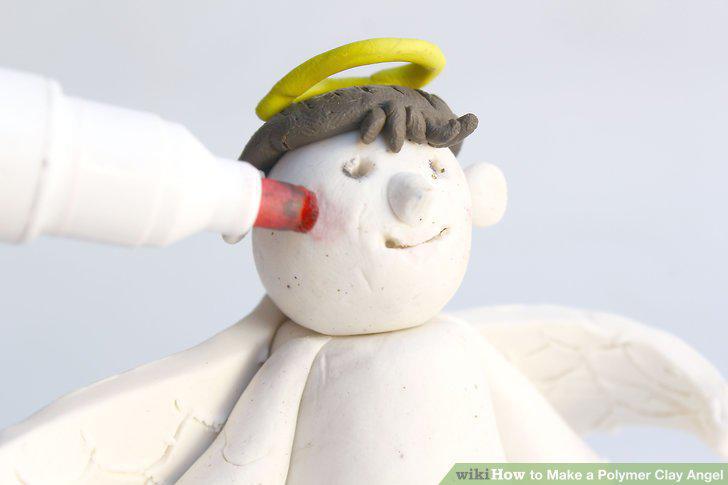
Add a face.
Glaze the angel, if desired.
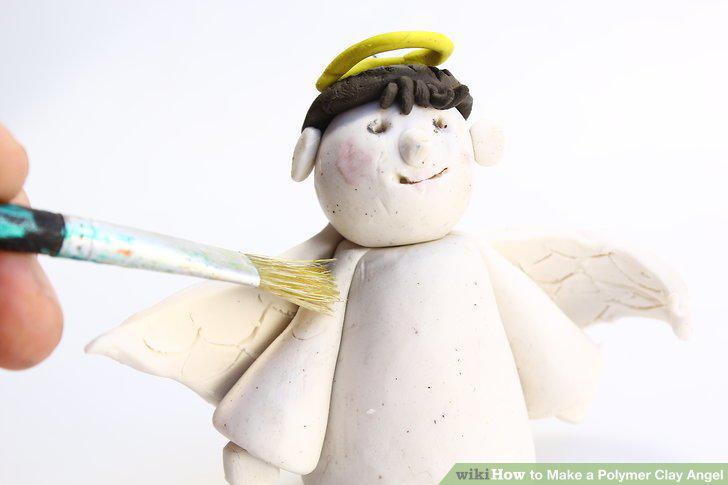
Glaze the angel, if desired.
Use the angel as a charm or ornament.
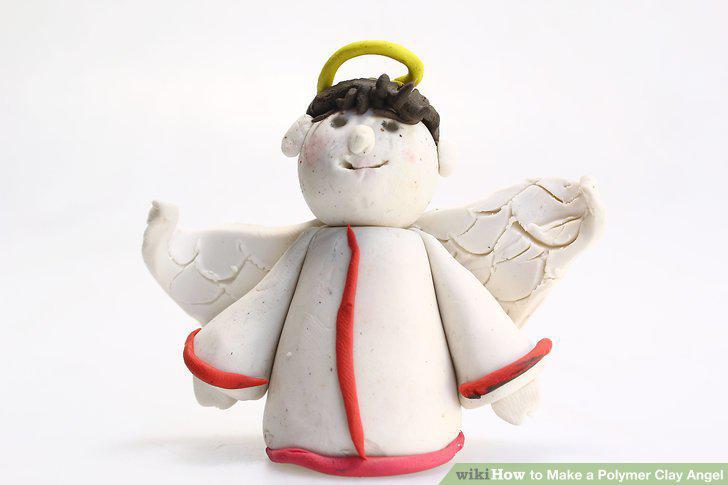
Use the angel as a charm or ornament.
Comments (0)
No comments yet. Be the first to share your thoughts!