How to Make a Drawstring Backpack
Cut two 12 by 14-inch (30.48 by 35.56-centimeter) rectangles out of durable fabric, such a canvas.. Fold and press both of the long edges and one of the short edges by ¼ inch (0.64 centimeter).. Sew the folded edges down.
Steps
Cut two 12 by 14-inch (30.48 by 35.56-centimeter) rectangles out of durable fabr
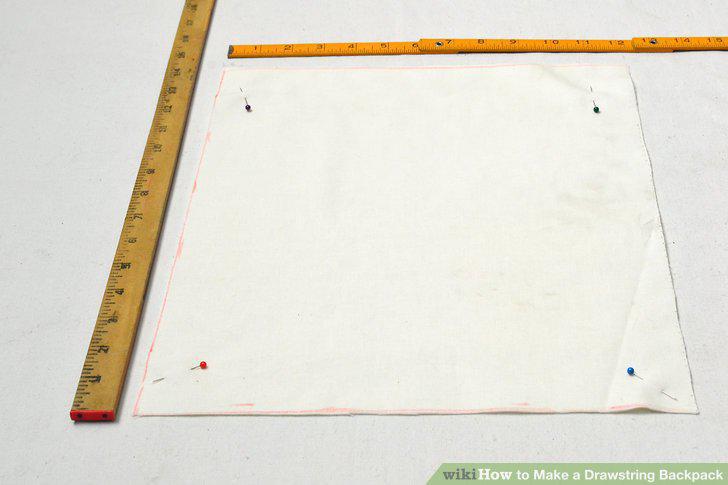
Cut two 12 by 14-inch (30.48 by 35.56-centimeter) rectangles out of durable fabric, such a canvas.
Fold and press both of the long edges and one of the short edges by ¼ inch (0.64
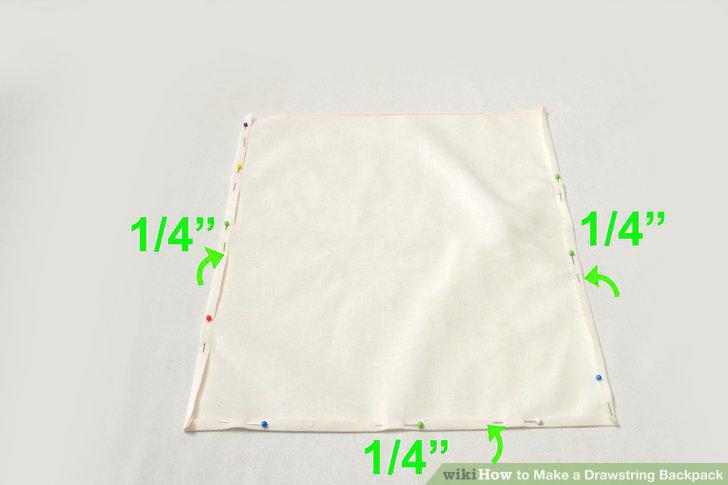
Fold and press both of the long edges and one of the short edges by ¼ inch (0.64 centimeter).
Sew the folded edges down.
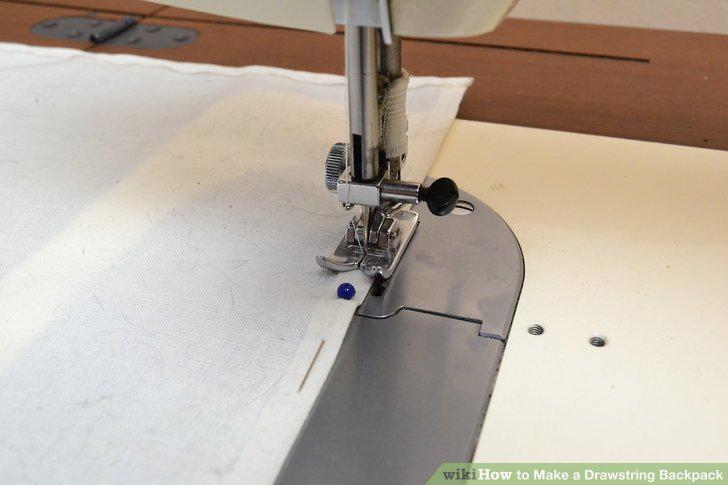
Sew the folded edges down.
Fold the top, raw edge down twice on each piece to make the casing.
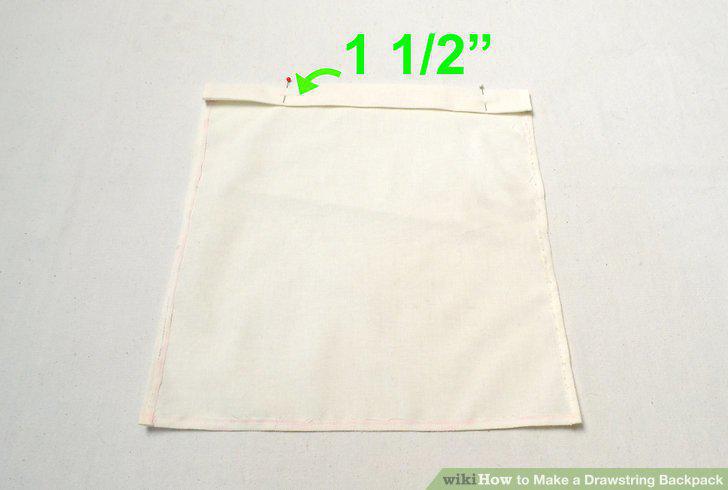
Fold the top, raw edge down twice on each piece to make the casing.
Topstitch the casing down.
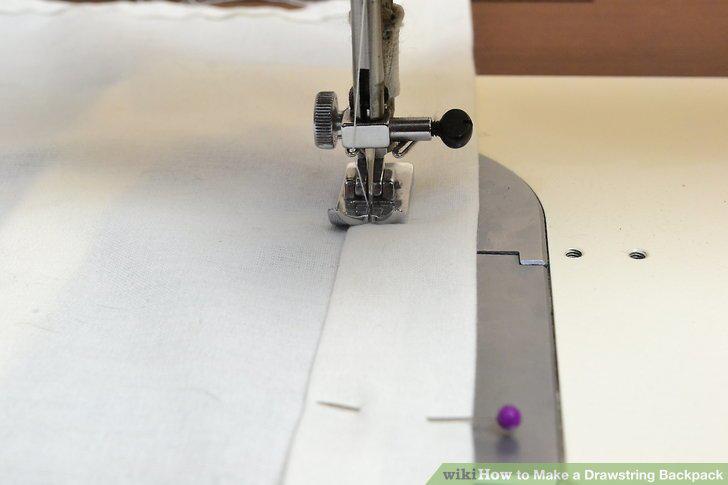
Topstitch the casing down.
Cut two 58-inch (147.32-centimeter) long cords.
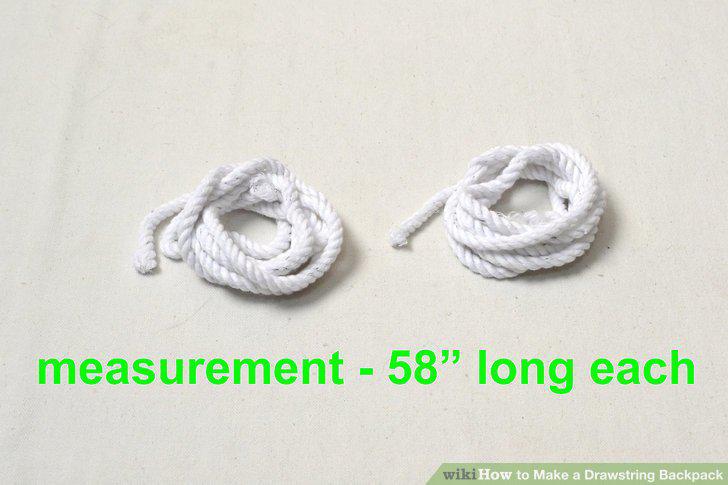
Cut two 58-inch (147.32-centimeter) long cords.
Trace your design onto the paper side of the iron-on adhesive.
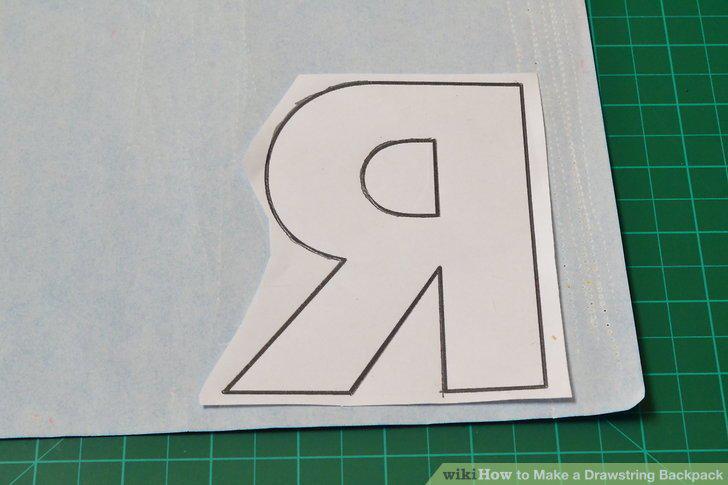
Trace your design onto the paper side of the iron-on adhesive.
Pin the iron-on adhesive to the fabric you want to use for your appliqué.
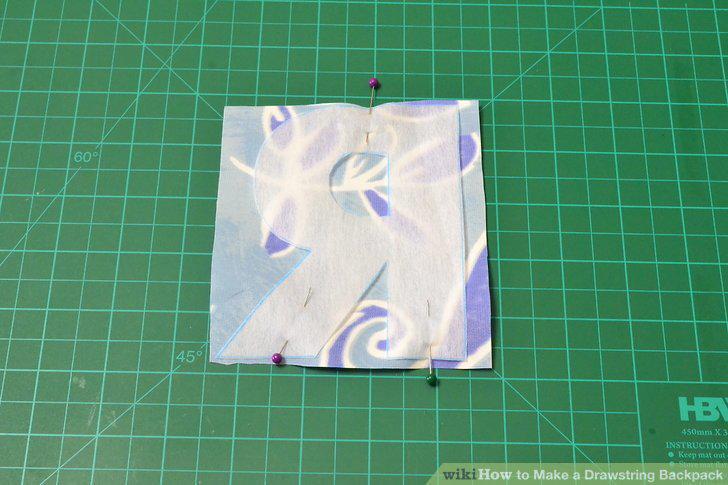
Pin the iron-on adhesive to the fabric you want to use for your appliqué.
Iron the adhesive using the recommended heat setting on the package.
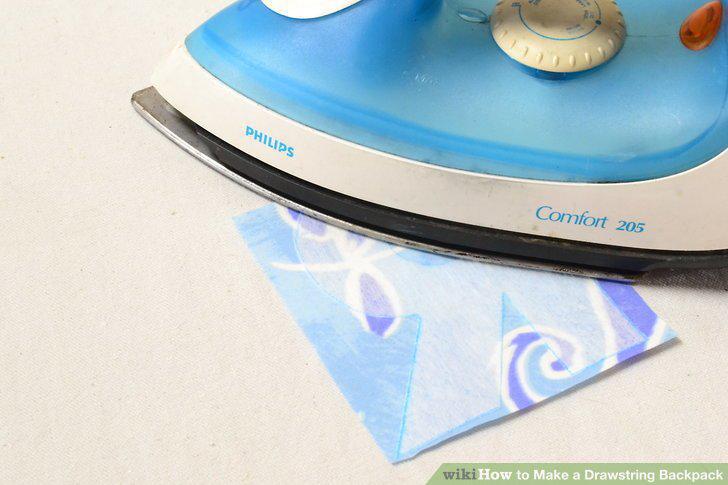
Iron the adhesive using the recommended heat setting on the package.
Let the iron-on adhesive cool, then cut the appliqué out.
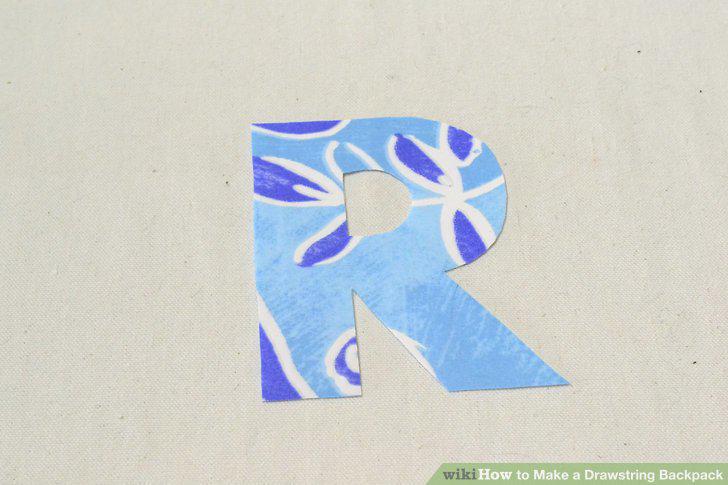
Let the iron-on adhesive cool, then cut the appliqué out.
Peel the backing off, then pin the appliqué to the front of the backpack piece.
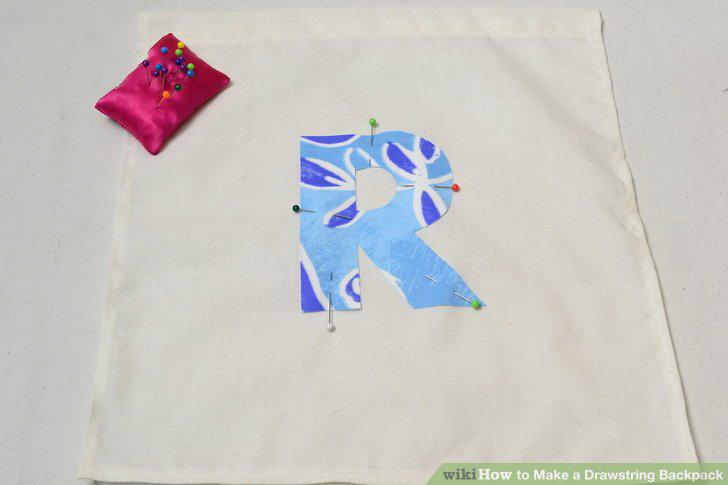
Peel the backing off, then pin the appliqué to the front of the backpack piece.
Iron the appliqué using the recommended heat setting on the package.
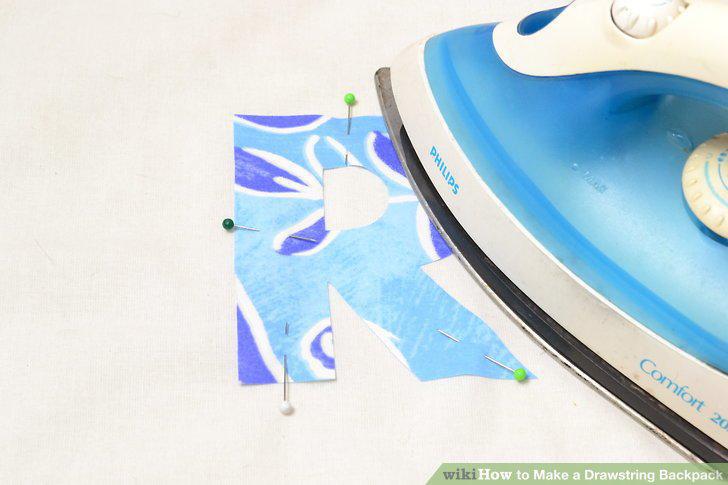
Iron the appliqué using the recommended heat setting on the package.
Topstitch the shape down.
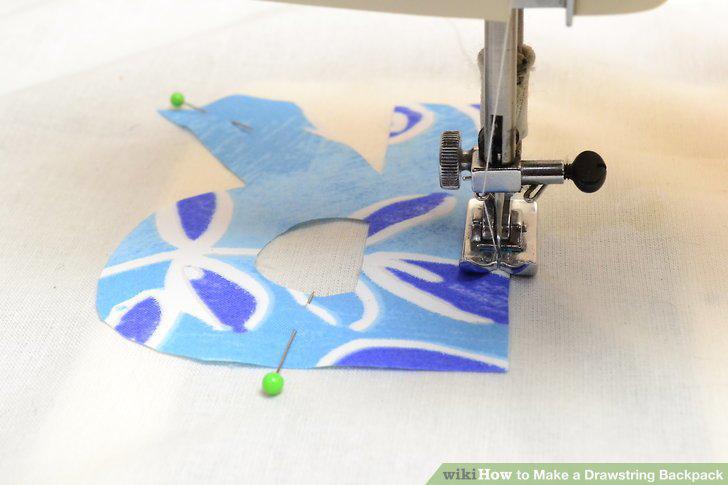
Topstitch the shape down.
Cut out your inside and/or outside pockets.
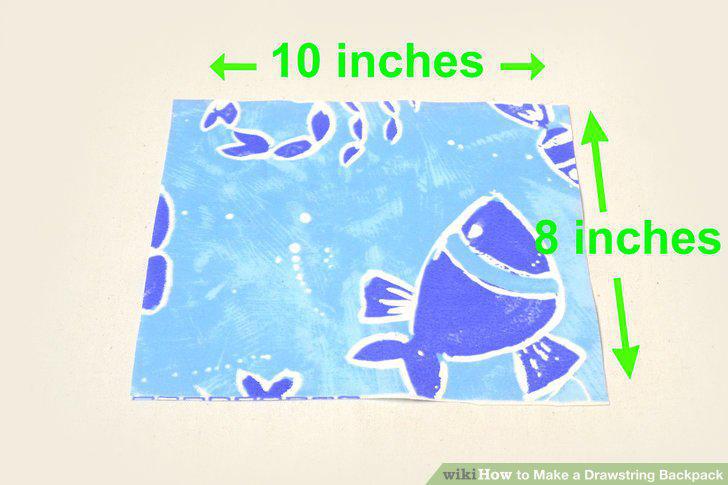
Cut out your inside and/or outside pockets.
Fold and iron both of the narrow edges and one of the long edges by ½ inch (1.27
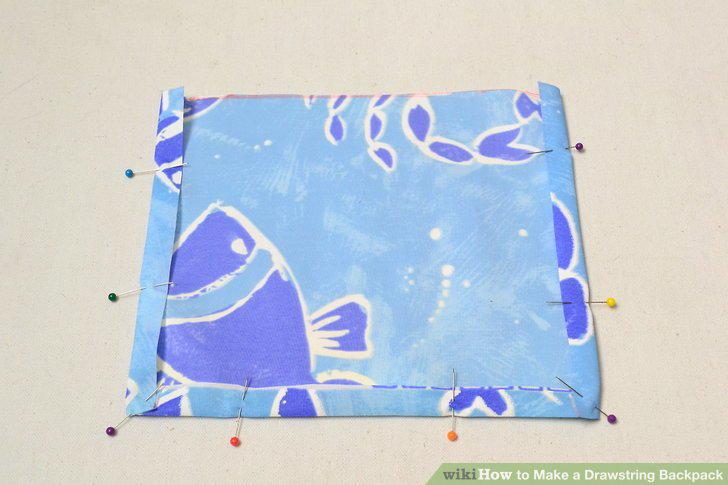
Fold and iron both of the narrow edges and one of the long edges by ½ inch (1.27 centimeters).
Fold the remaining long edge down twice.
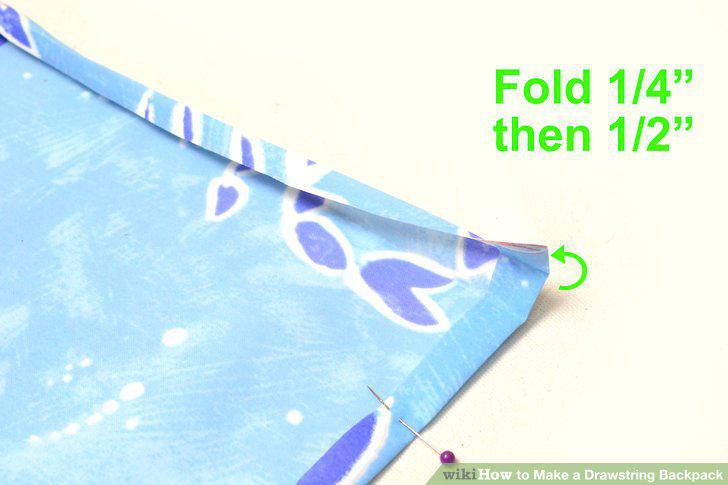
Fold the remaining long edge down twice.
Topstitch the top, folded edge down.
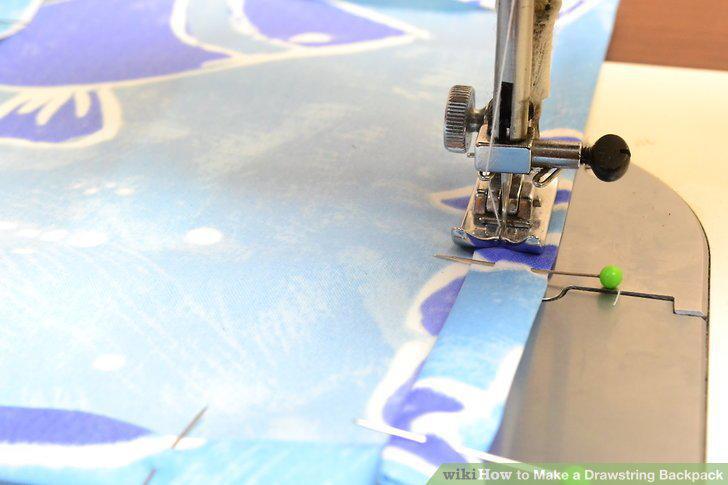
Topstitch the top, folded edge down.
Pin the pockets in place.
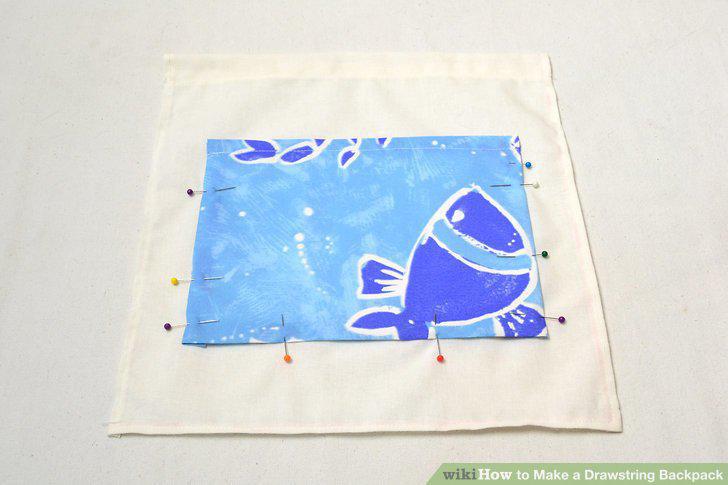
Pin the pockets in place.
Topstitch the pockets in place along the bottom edge and both of the side edges.
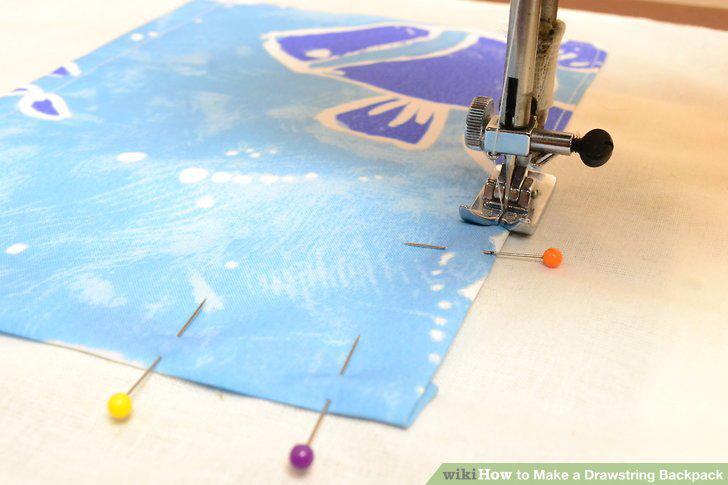
Topstitch the pockets in place along the bottom edge and both of the side edges.
Pin the two backpack pieces together, with the right sides facing in.
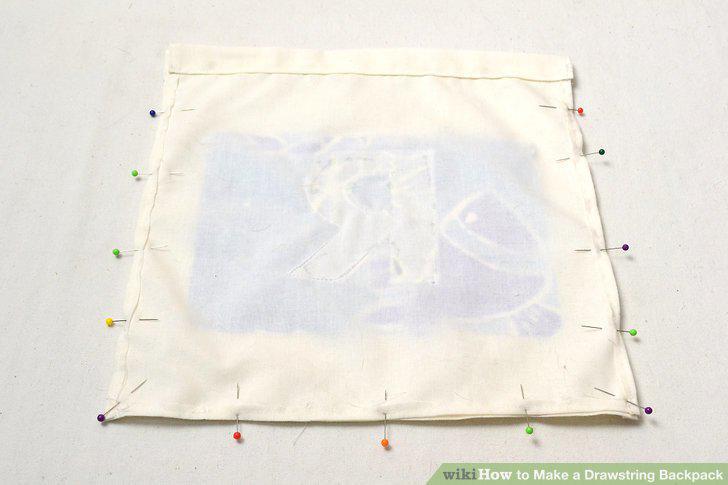
Pin the two backpack pieces together, with the right sides facing in.
Sew around the bottom edge and both of the side edges using a ⅝-inch (1.59-centi
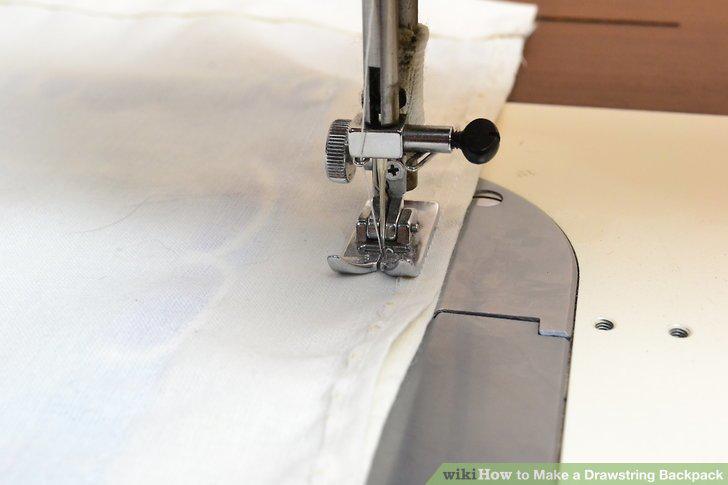
Sew around the bottom edge and both of the side edges using a ⅝-inch (1.59-centimeter) seam allowance.
Pull the cording through the casing.
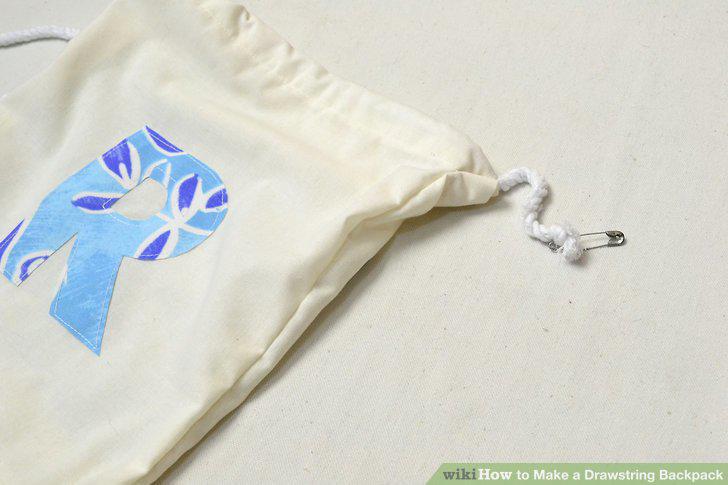
Pull the cording through the casing.
Set a grommet into the bottom corners of your bag, ½ inch (1.27 centimeters) awa
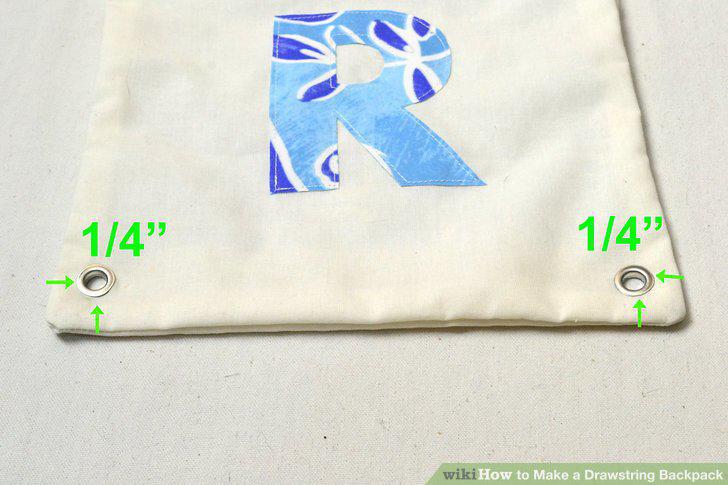
Set a grommet into the bottom corners of your bag, ½ inch (1.27 centimeters) away from the edges.
Pull the cords through the grommets, and knot the ends.
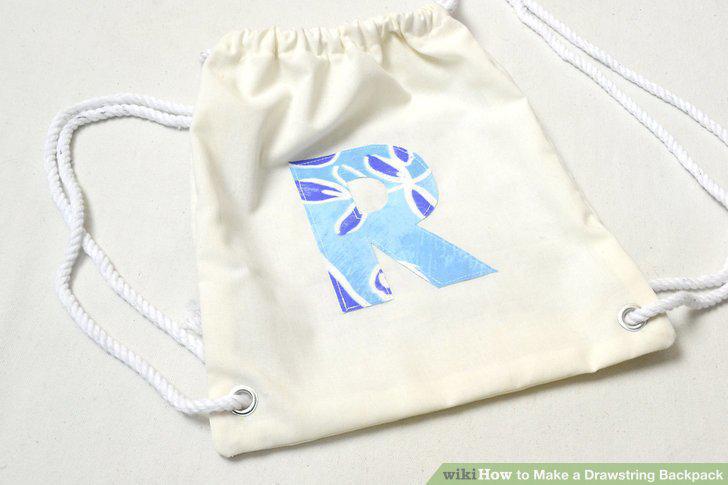
Pull the cords through the grommets, and knot the ends.
Comments (0)
No comments yet. Be the first to share your thoughts!