How to Hang String Lights from the Ceiling
Measure your room and choose how far apart to space your lights.. Hang the first hook from your ceiling near the outlet you're using.. Space the hooks along the edge of your ceiling.
Steps
Measure your room and choose how far apart to space your lights.
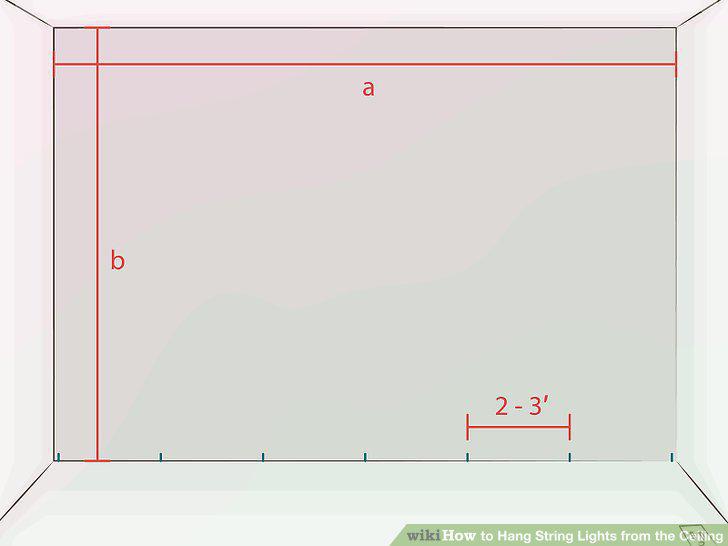
Measure your room and choose how far apart to space your lights.
Hang the first hook from your ceiling near the outlet you're using.
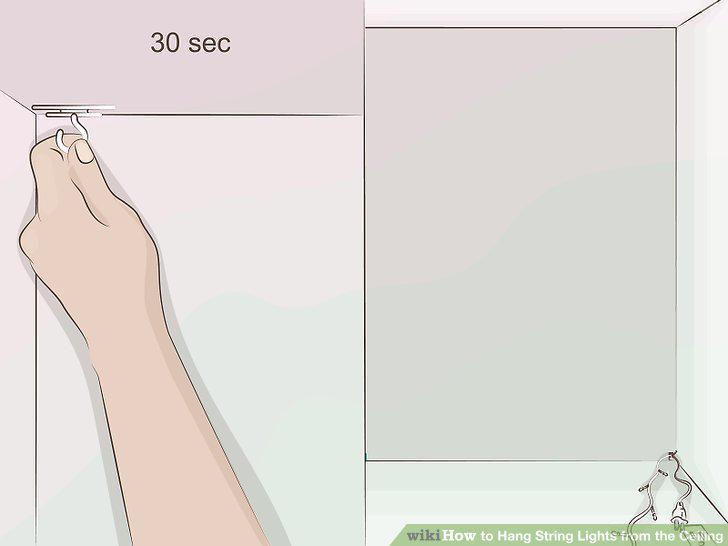
Hang the first hook from your ceiling near the outlet you're using.
Space the hooks along the edge of your ceiling.
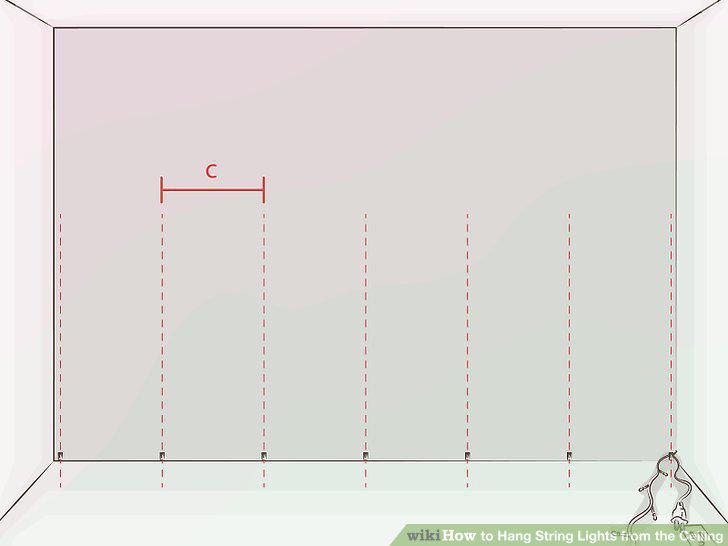
Space the hooks along the edge of your ceiling.
Offset the hooks on the other wall by half the distance between your hooks.
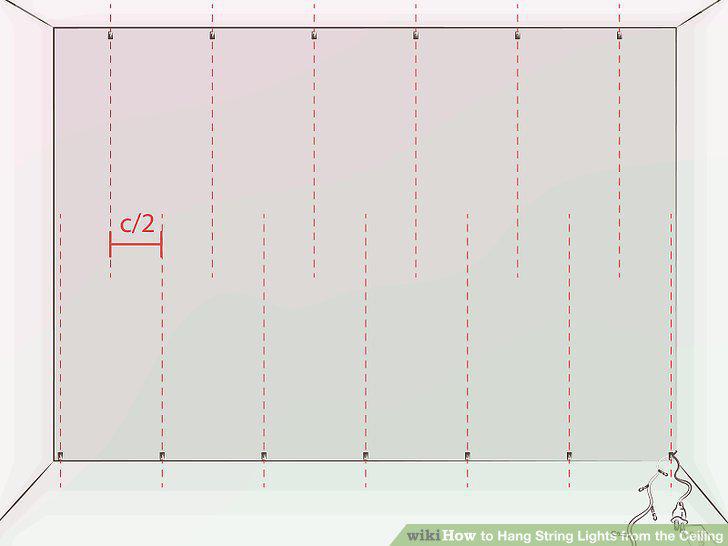
Offset the hooks on the other wall by half the distance between your hooks.
String the lights tightly between the hooks.
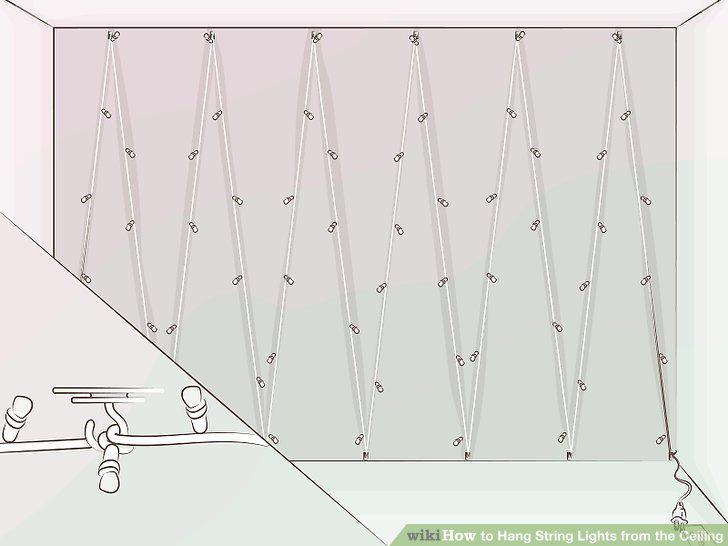
String the lights tightly between the hooks.
Place hooks around the edge of your ceiling every 2 ft (61 cm).
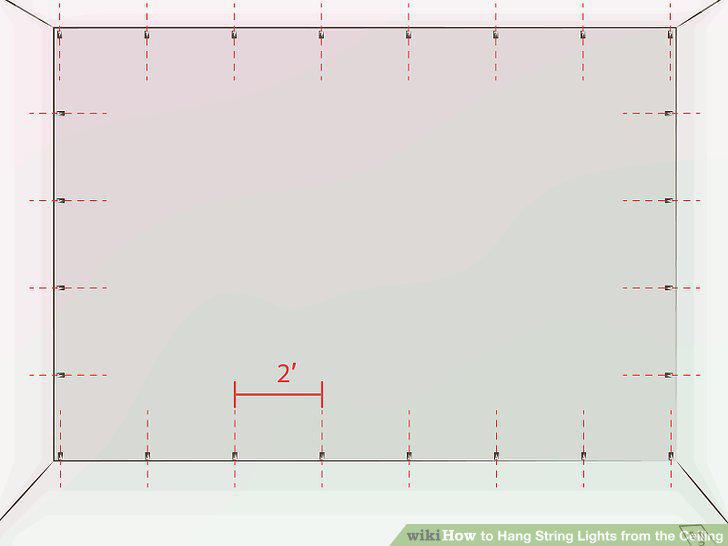
Place hooks around the edge of your ceiling every 2 ft (61 cm).
Start hanging your lights above an outlet or at a corner.
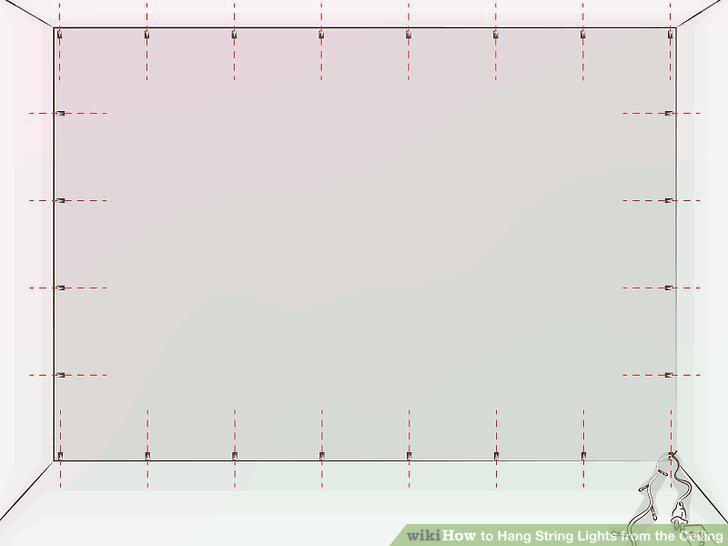
Start hanging your lights above an outlet or at a corner.
Run the lights between the hooks.
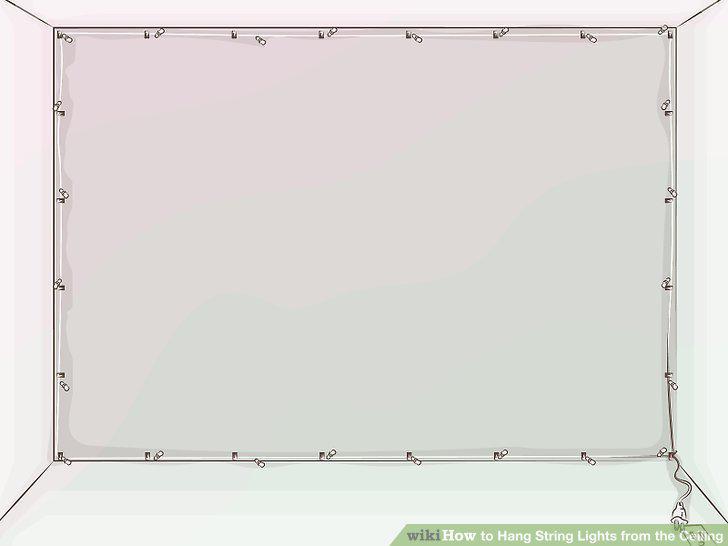
Run the lights between the hooks.
Put hooks along the edge of your ceiling every 1 ft (30 cm) behind your bed.
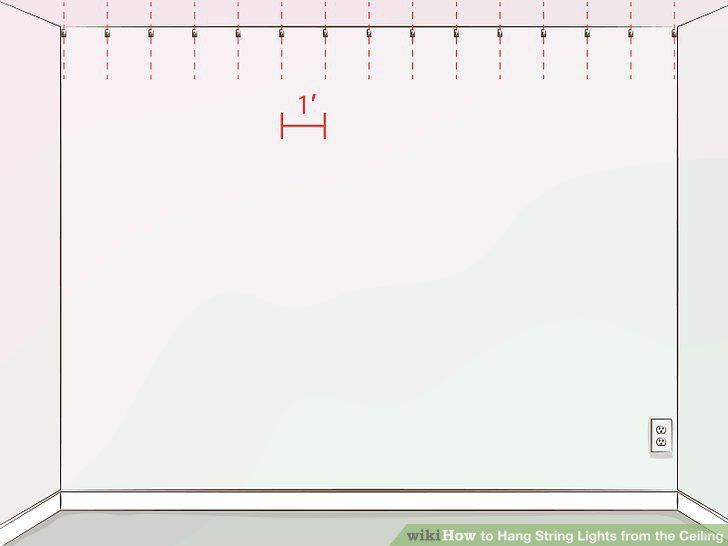
Put hooks along the edge of your ceiling every 1 ft (30 cm) behind your bed.
Place clips 5–6 ft (1.5–1.8 m) below the hooks on your ceiling.
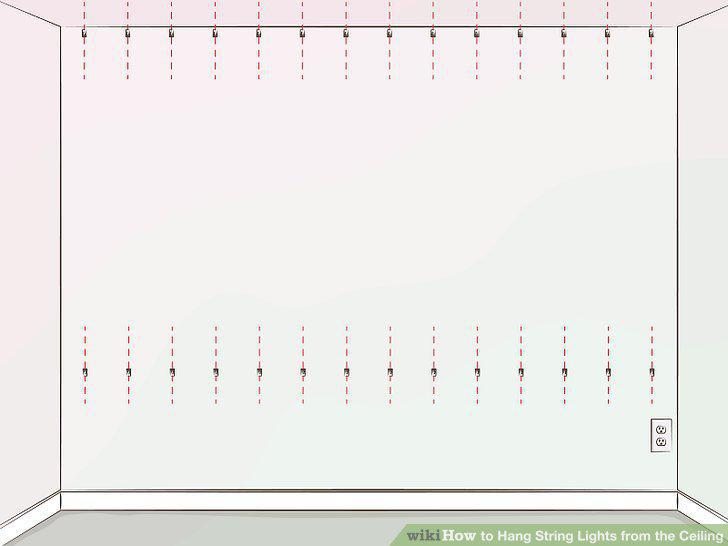
Place clips 5–6 ft (1.5–1.8 m) below the hooks on your ceiling.
Plug in the string lights and drape them over the first 2 top hooks.
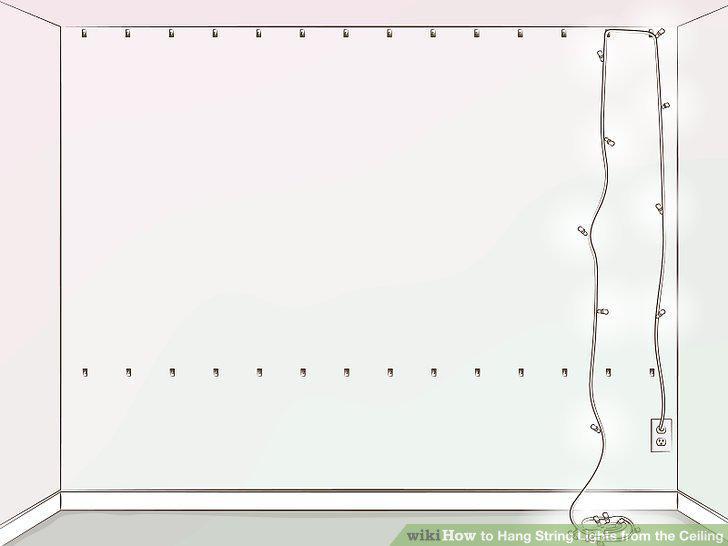
Plug in the string lights and drape them over the first 2 top hooks.
Wrap the lights around the bottom of 2 of the lower clips.
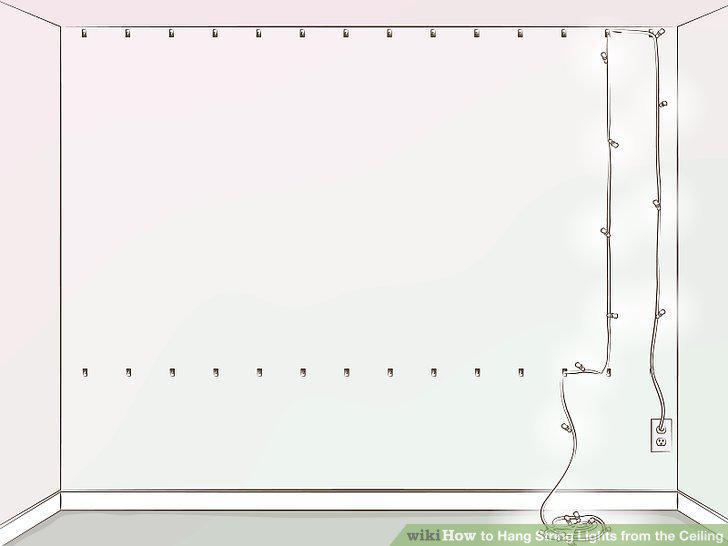
Wrap the lights around the bottom of 2 of the lower clips.
Work in an up and down pattern across your wall.
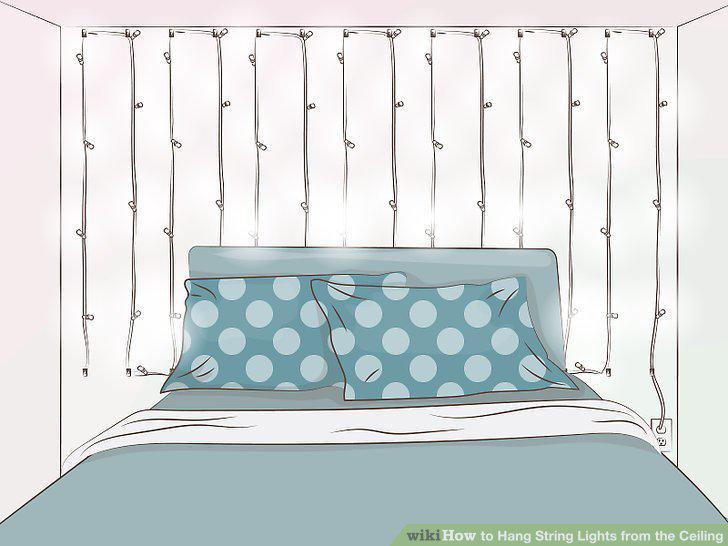
Work in an up and down pattern across your wall.
Comments (0)
No comments yet. Be the first to share your thoughts!