How to Replace Boards on a Deck
Inspect your deck to see how many boards need to be replaced.. Use a measuring tape to determine the length of your boards.. Note the width and depth of a board by using your measuring tape.
Steps
Inspect your deck to see how many boards need to be replaced.
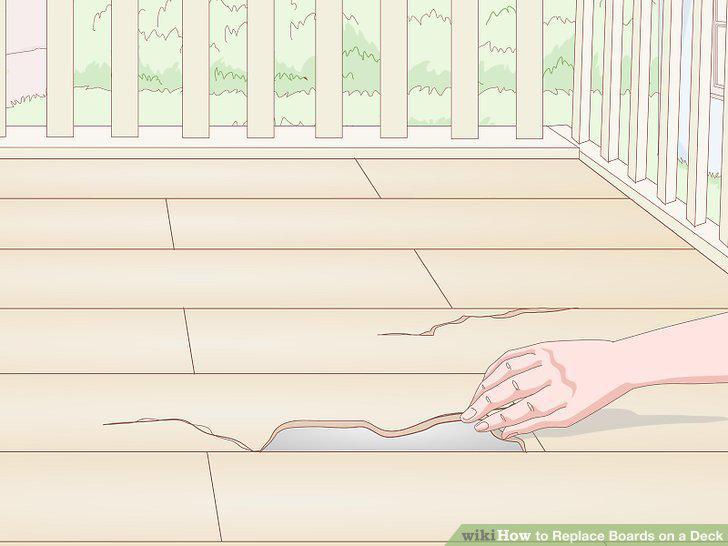
Inspect your deck to see how many boards need to be replaced.
Use a measuring tape to determine the length of your boards.
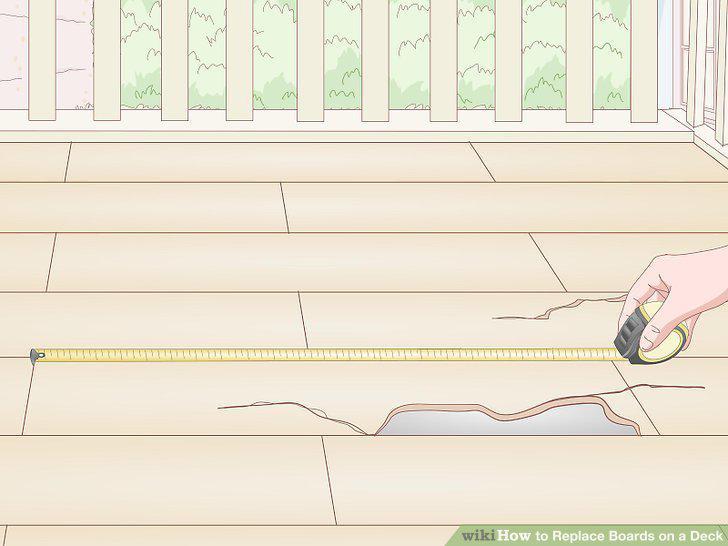
Use a measuring tape to determine the length of your boards.
Note the width and depth of a board by using your measuring tape.
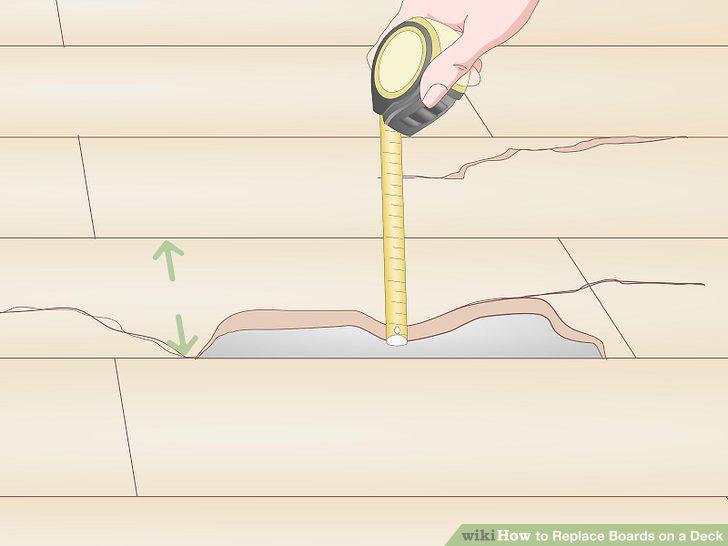
Note the width and depth of a board by using your measuring tape.
Select a wood that is the same species and color to try to match your deck.
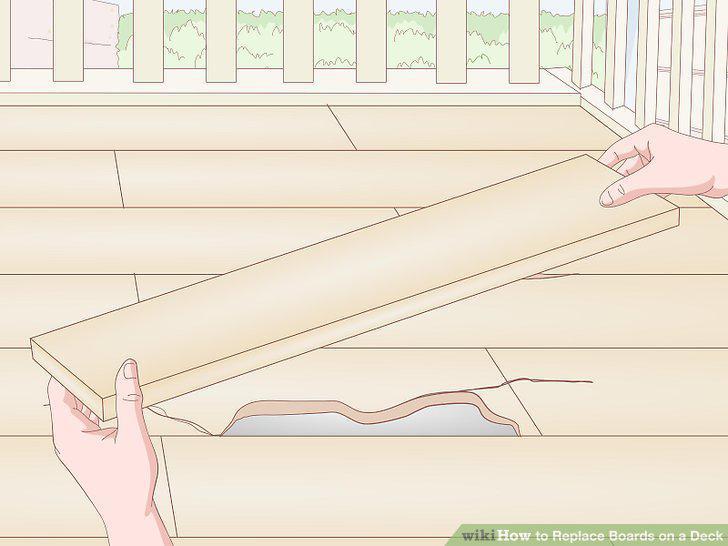
Select a wood that is the same species and color to try to match your deck.
Order your replacement lumber and pick it up or get it delivered.
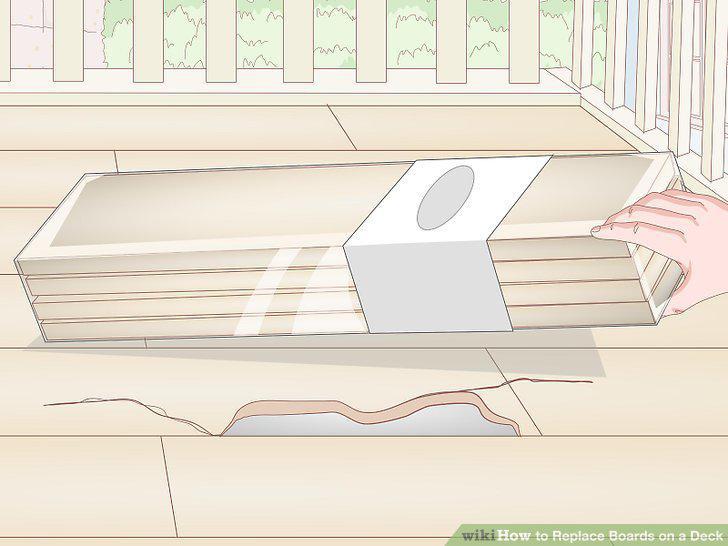
Order your replacement lumber and pick it up or get it delivered.
Pry out the nails in your old boards with a cat's paw and hammer.
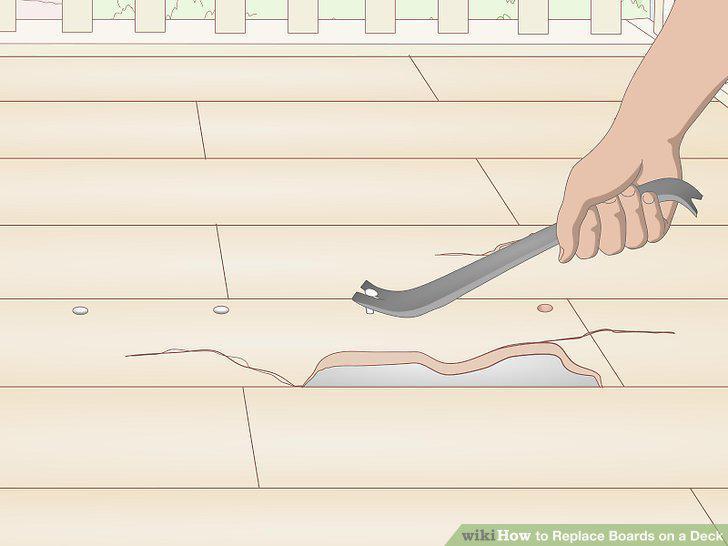
Pry out the nails in your old boards with a cat's paw and hammer.
Lift the damaged boards out of the deck and discard them.
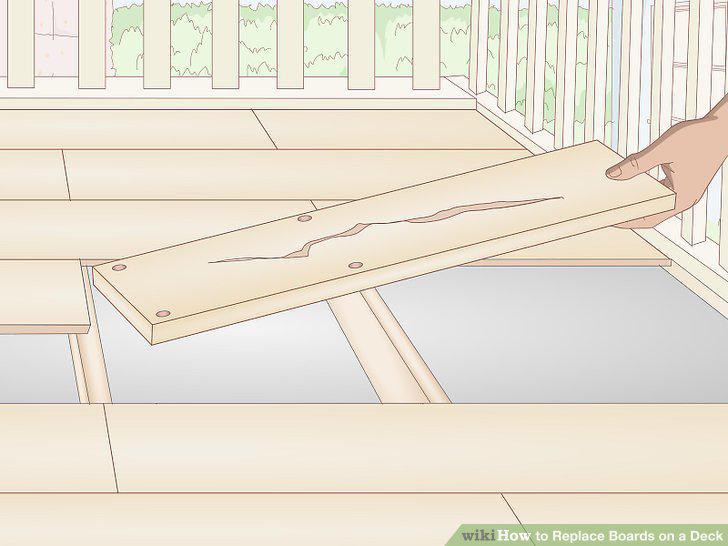
Lift the damaged boards out of the deck and discard them.
Remove any debris from your joists and inspect them for damage.
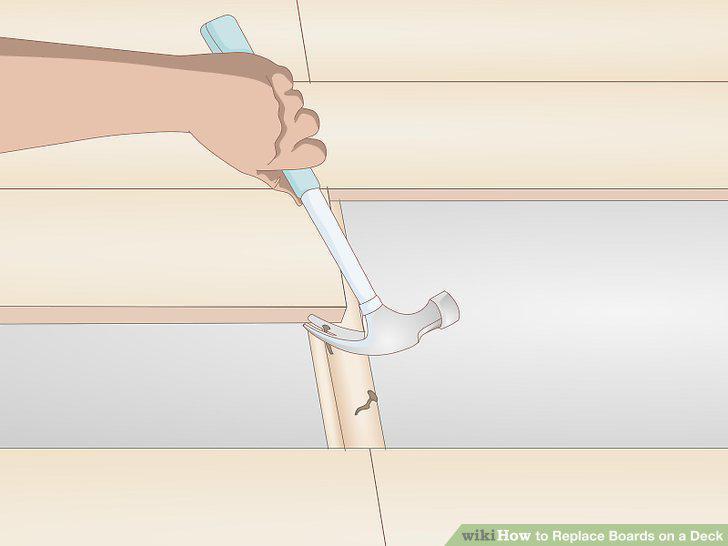
Remove any debris from your joists and inspect them for damage.
Replace any joist
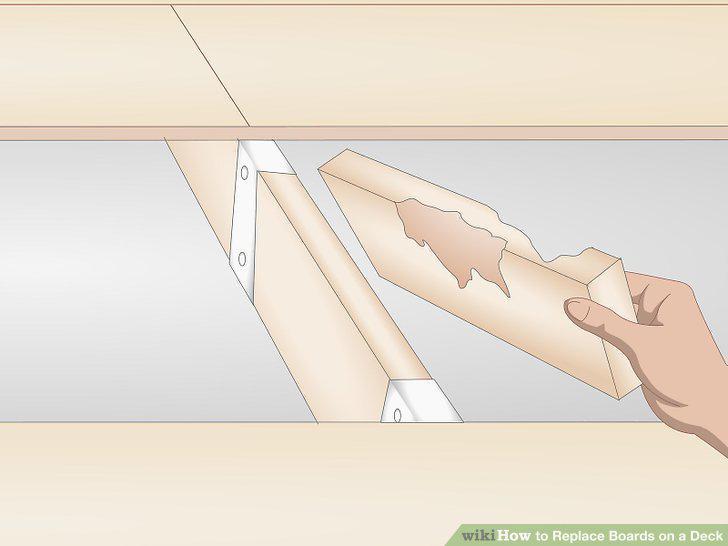
Replace any joist
Put tin flashing over any of your damaged joists.
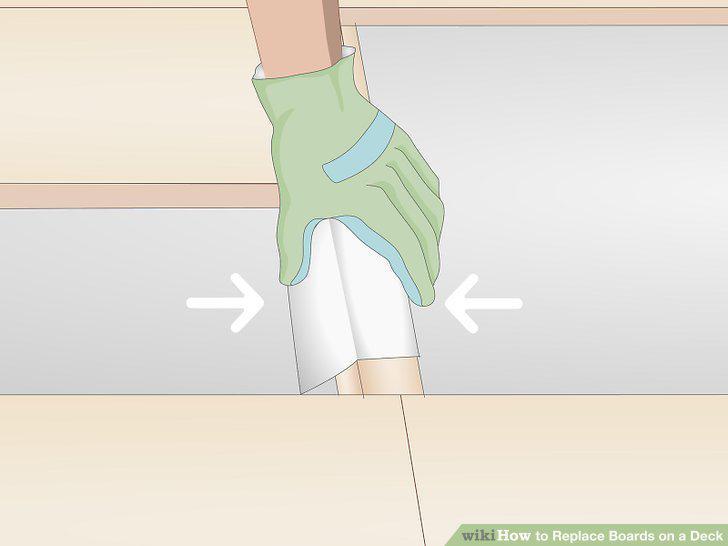
Put tin flashing over any of your damaged joists.
Drive a nail through the sides of your flashing to affix it to a joist.
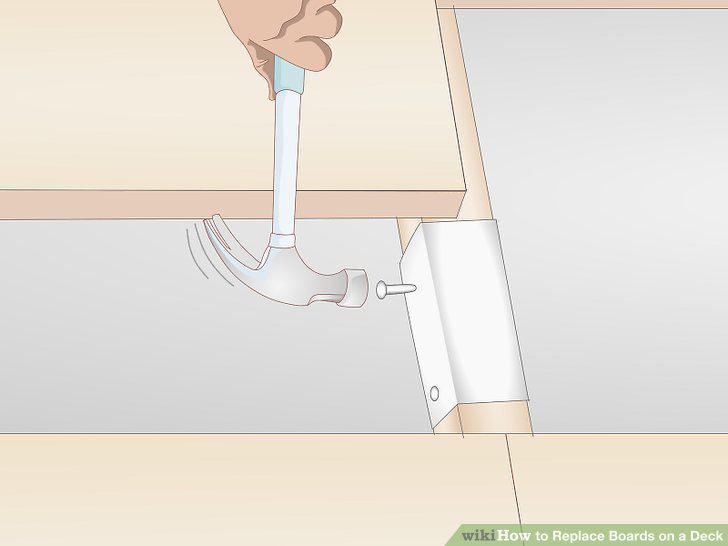
Drive a nail through the sides of your flashing to affix it to a joist.
Insert your replacement boards in the locations where they're cut to fit.
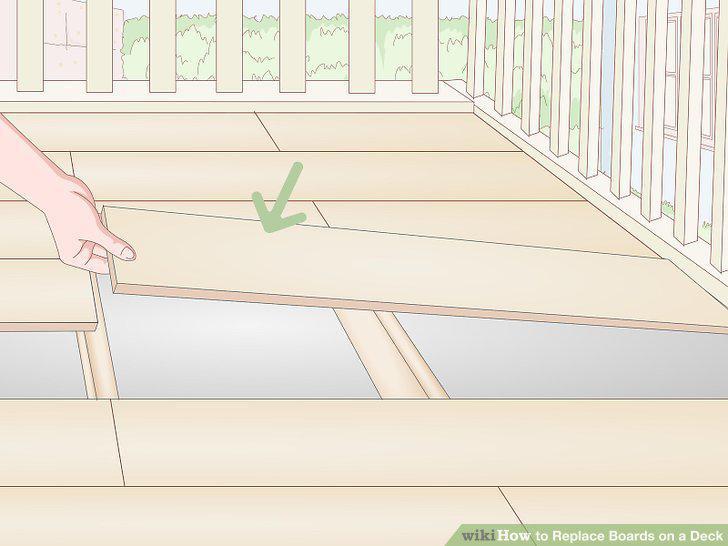
Insert your replacement boards in the locations where they're cut to fit.
Mark the location of each joist on your replacement boards with a carpentry penc
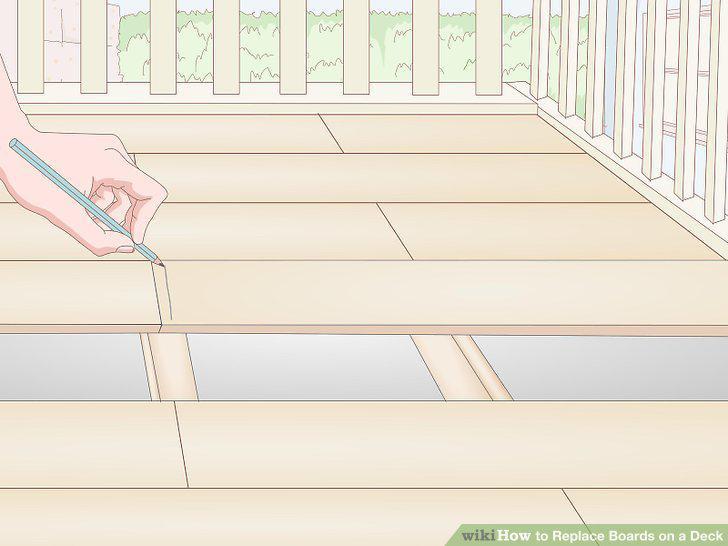
Mark the location of each joist on your replacement boards with a carpentry pencil.
Place 2 nails or screws at each location where a board meets a joist.
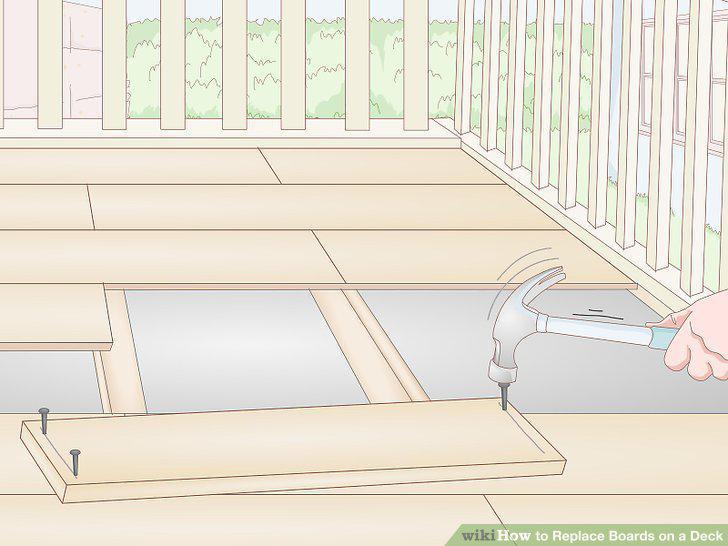
Place 2 nails or screws at each location where a board meets a joist.
Drill or hammer your screws or nails into place.
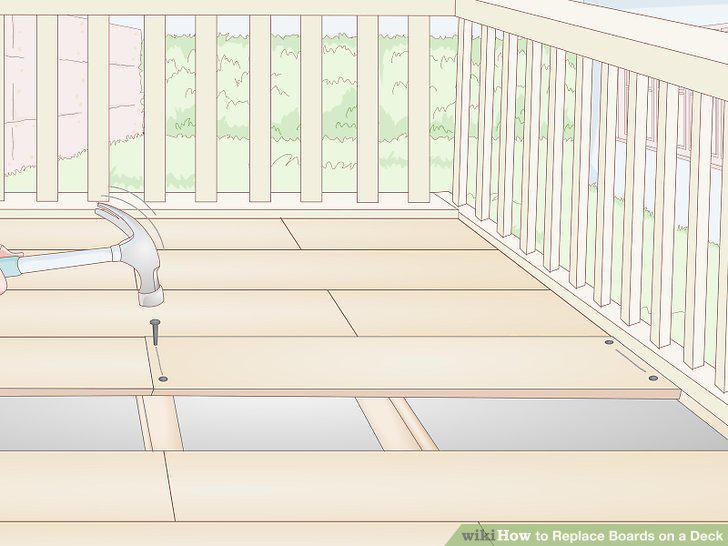
Drill or hammer your screws or nails into place.
Repeat this process on each joist for each board that you're replacing.
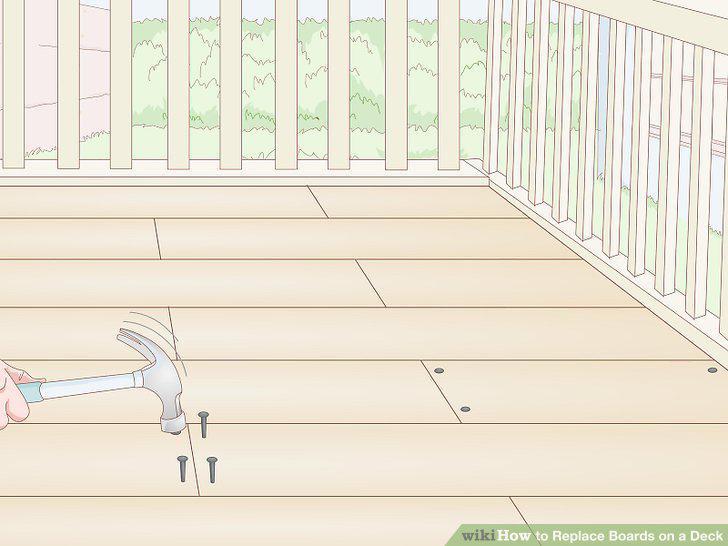
Repeat this process on each joist for each board that you're replacing.
Waterproof your boards by staining and sealing them if you'd like.
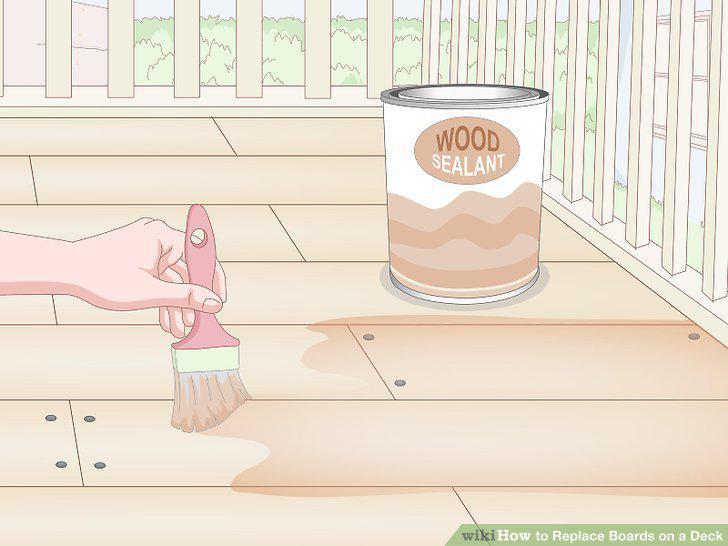
Waterproof your boards by staining and sealing them if you'd like.
Comments (0)
No comments yet. Be the first to share your thoughts!