How to Make an RV Table Sturdier
Loosen the screws on the pedestal mount around the base of the table leg.. Adjust the tabletop until by hand until it's level.. Slide shims between the pedestal mount and the floor to keep the leg in place.
Steps
Loosen the screws on the pedestal mount around the base of the table leg.
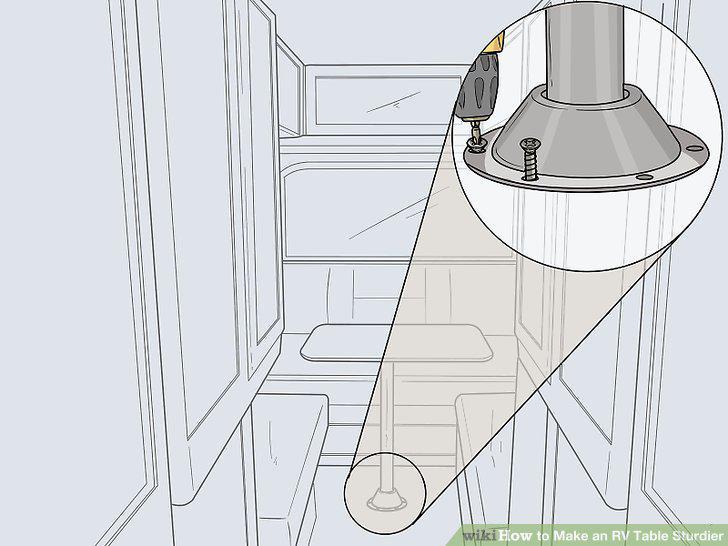
Loosen the screws on the pedestal mount around the base of the table leg.
Adjust the tabletop until by hand until it's level.
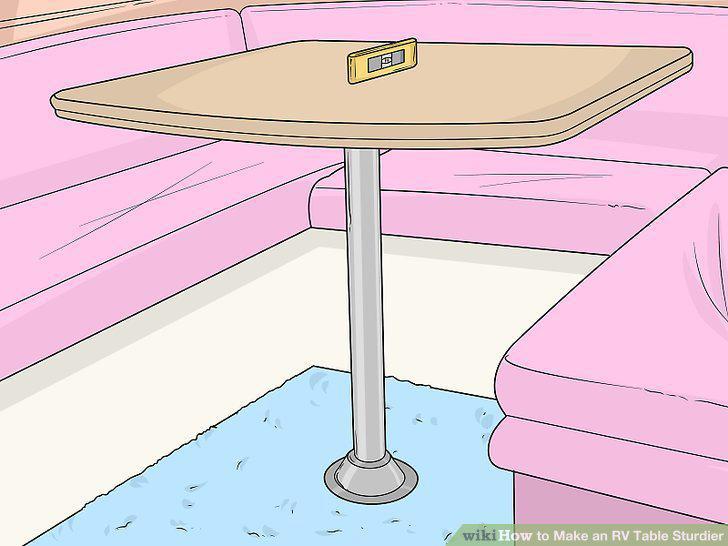
Adjust the tabletop until by hand until it's level.
Slide shims between the pedestal mount and the floor to keep the leg in place.
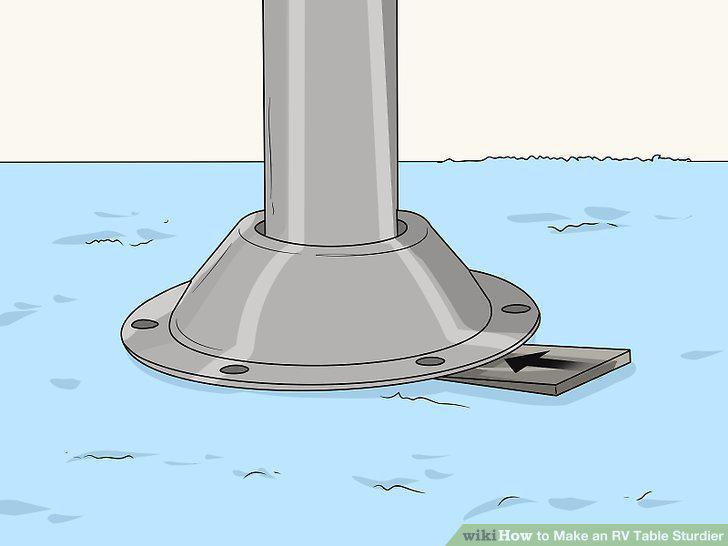
Slide shims between the pedestal mount and the floor to keep the leg in place.
Screw your wood screws back into the pedestal mount.
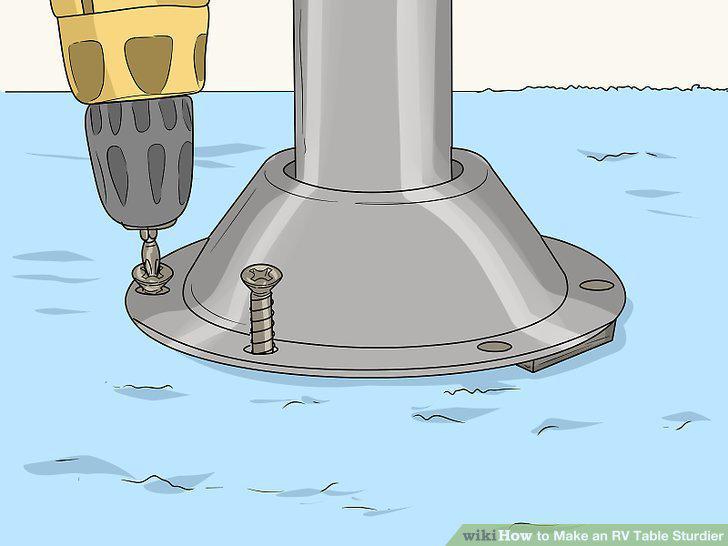
Screw your wood screws back into the pedestal mount.
Get a replacement pedestal mount from your RV manufacturer.
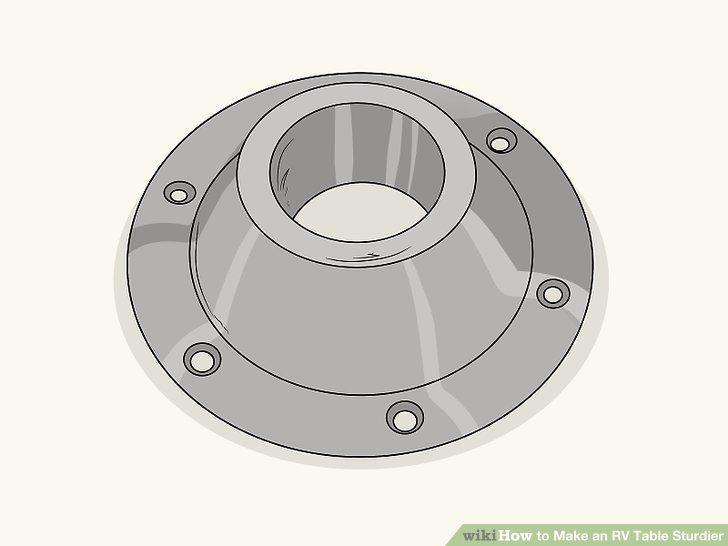
Get a replacement pedestal mount from your RV manufacturer.
Sand the inside of the replacement mount with 200-grit sandpaper.
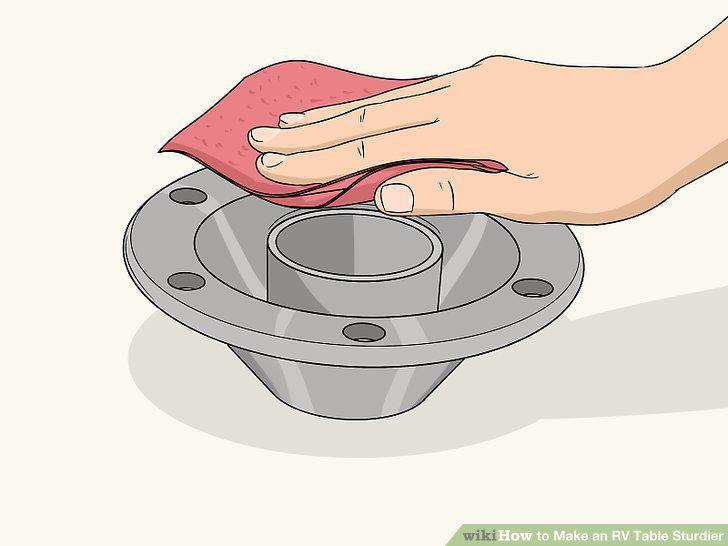
Sand the inside of the replacement mount with 200-grit sandpaper.
Mix a cold weld compound together with a mixing stick or straight edge.
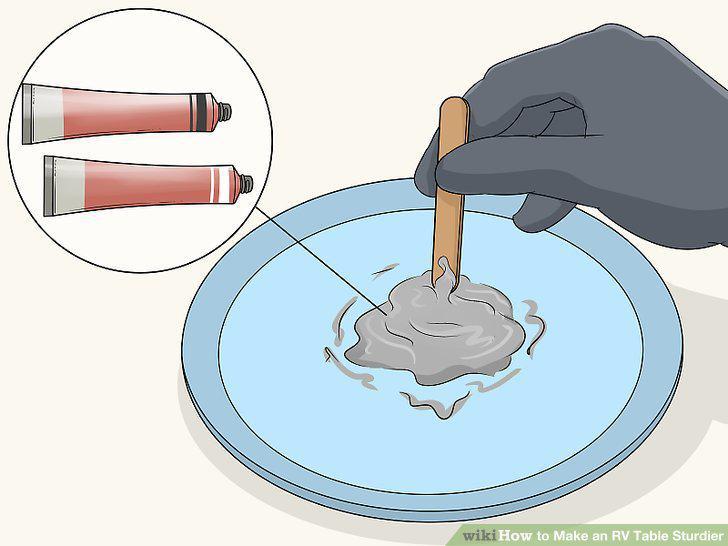
Mix a cold weld compound together with a mixing stick or straight edge.
Fill the interior of the pedestal mount with loose wood screws.
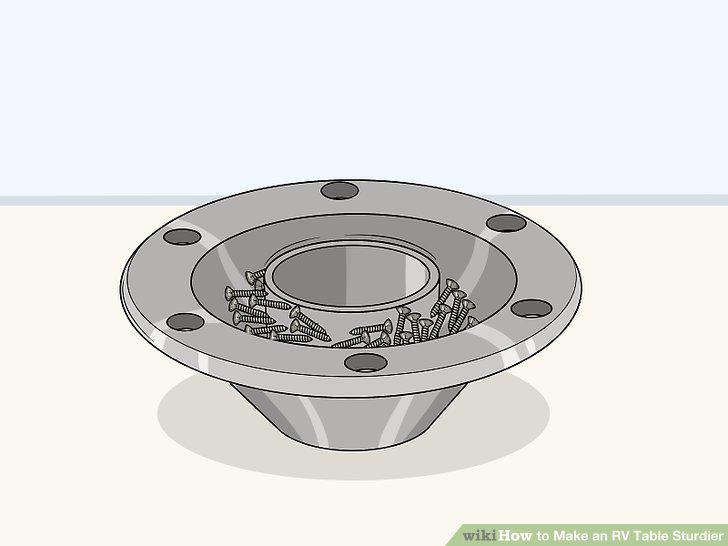
Fill the interior of the pedestal mount with loose wood screws.
Pour your cold weld compound into the pedestal mount.
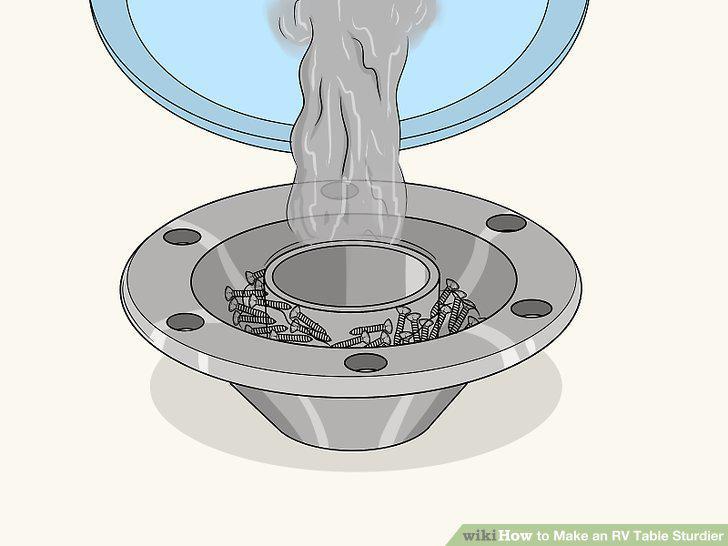
Pour your cold weld compound into the pedestal mount.
Let the compound dry for at least 24 hours.
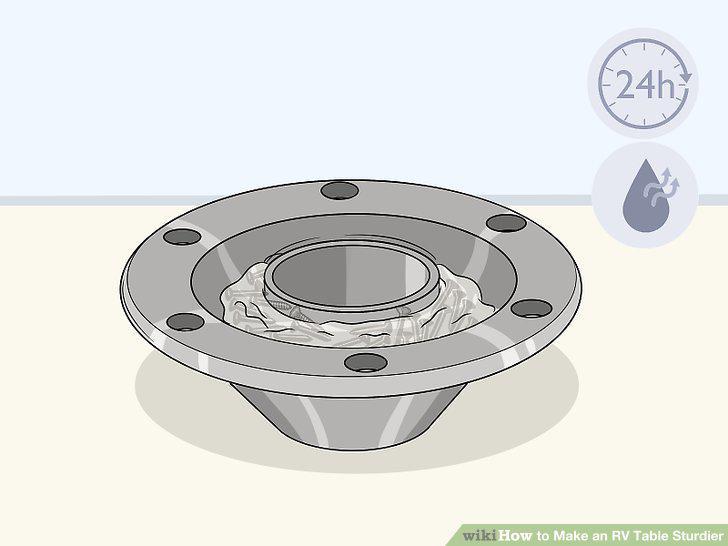
Let the compound dry for at least 24 hours.
Remove the old pedestal mount and lift your table out.
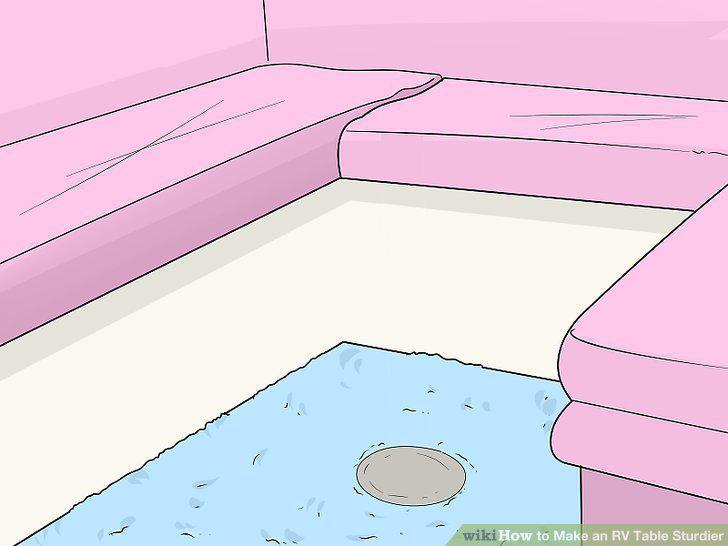
Remove the old pedestal mount and lift your table out.
Drill your new pedestal mount into the floor and reinstall your table.
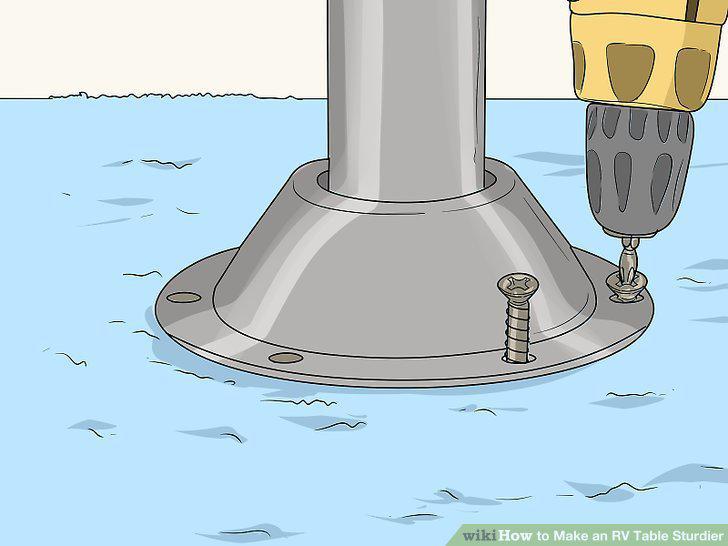
Drill your new pedestal mount into the floor and reinstall your table.
Get a length of 2 by 2 in (5.1 by 5.1 cm) hard wood and 4 L-brackets.
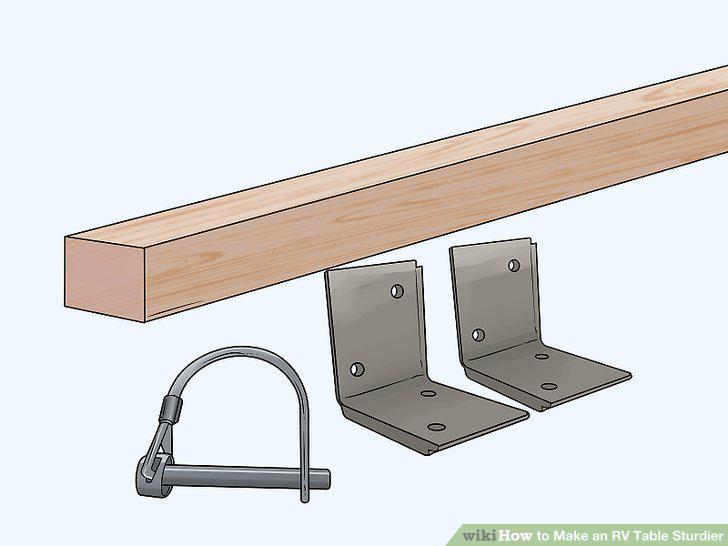
Get a length of 2 by 2 in (5.1 by 5.1 cm) hard wood and 4 L-brackets.
Measure from the center of the table's underside to the corner of the wall.
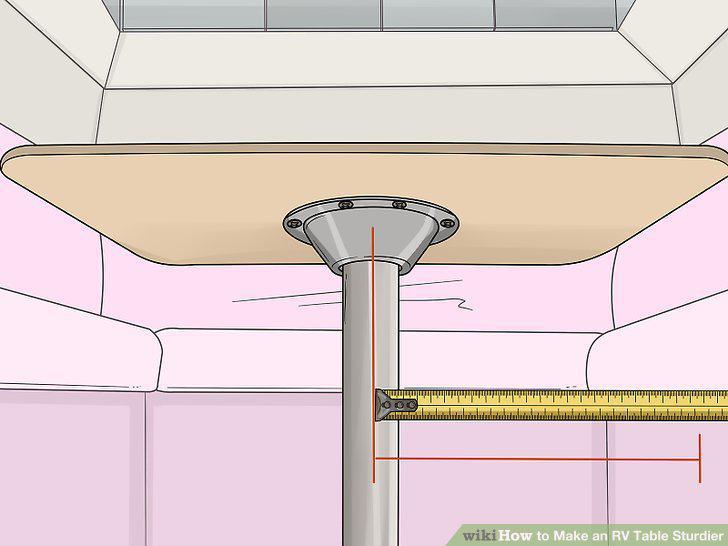
Measure from the center of the table's underside to the corner of the wall.
Cut your wood to size with a 45-degree cut on each end.
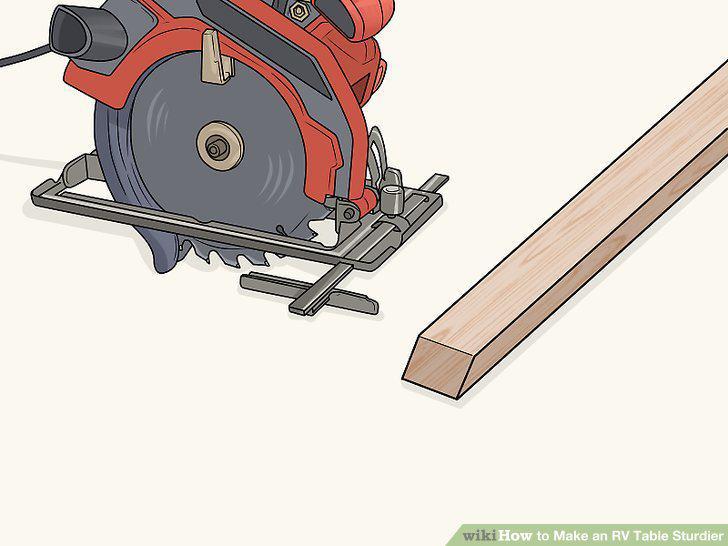
Cut your wood to size with a 45-degree cut on each end.
Drill 2 L-brackets into the top piece of your wood.
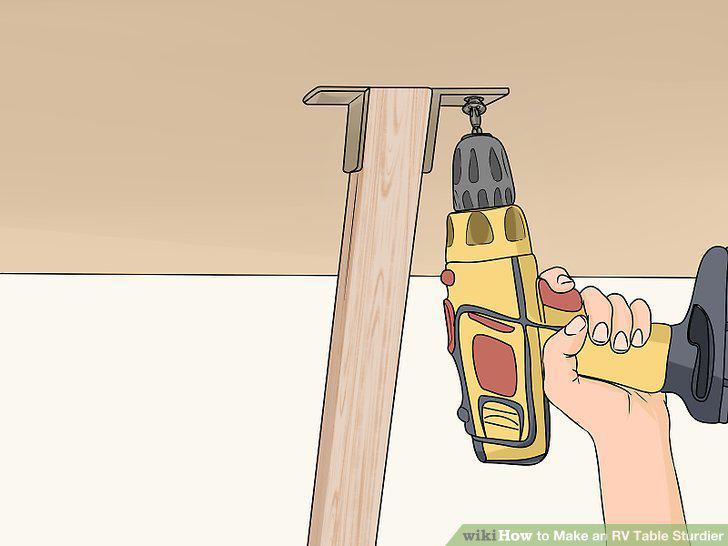
Drill 2 L-brackets into the top piece of your wood.
Add 2 additional brackets at the base of the support beam.
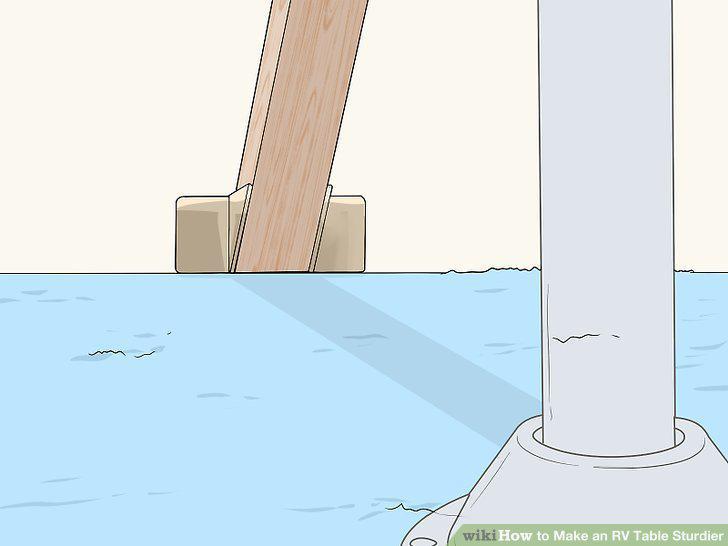
Add 2 additional brackets at the base of the support beam.
Drill wood screws through the top bracket into the bottom of the table.
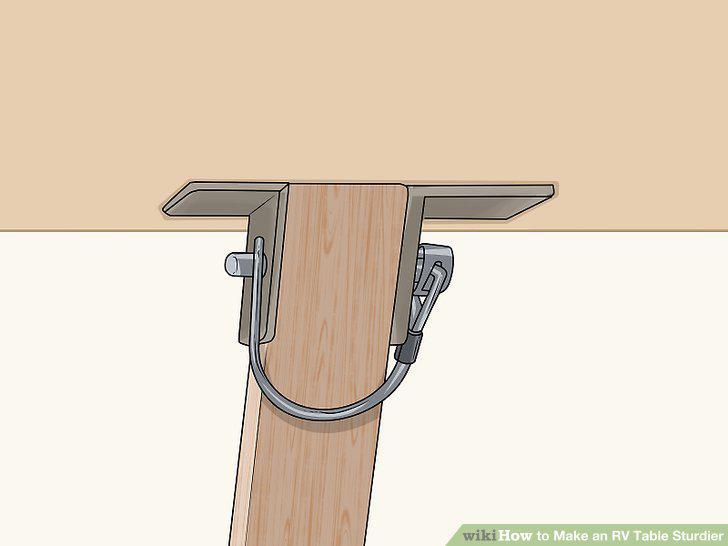
Drill wood screws through the top bracket into the bottom of the table.
Secure the brackets near the wall by drilling them into the floor.
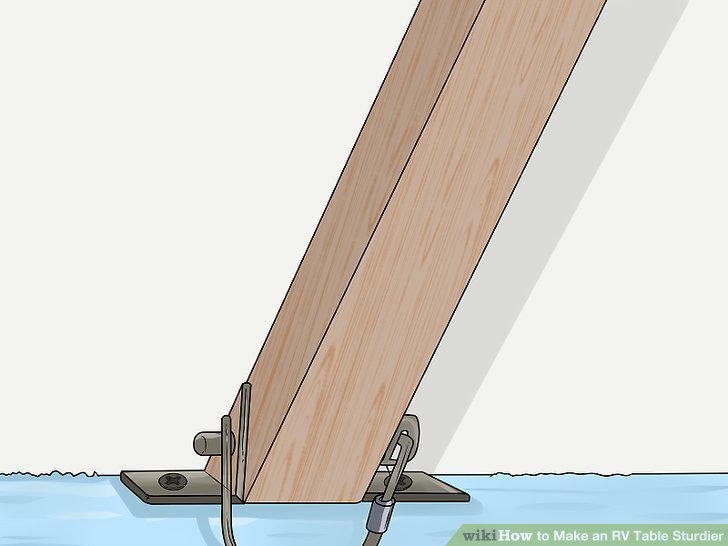
Secure the brackets near the wall by drilling them into the floor.
Comments (0)
No comments yet. Be the first to share your thoughts!