How to Add a Column in a Pivot Table
Open the Excel file with the pivot table you want to edit.. Click any cell on the pivot table.. Click the Pivot Table Analyze tab at the top.
Steps
Open the Excel file with the pivot table you want to edit.
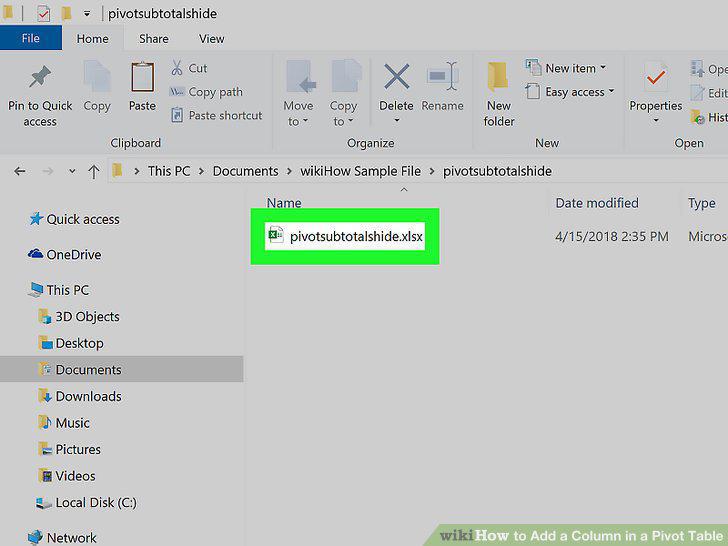
Open the Excel file with the pivot table you want to edit.
Click any cell on the pivot table.
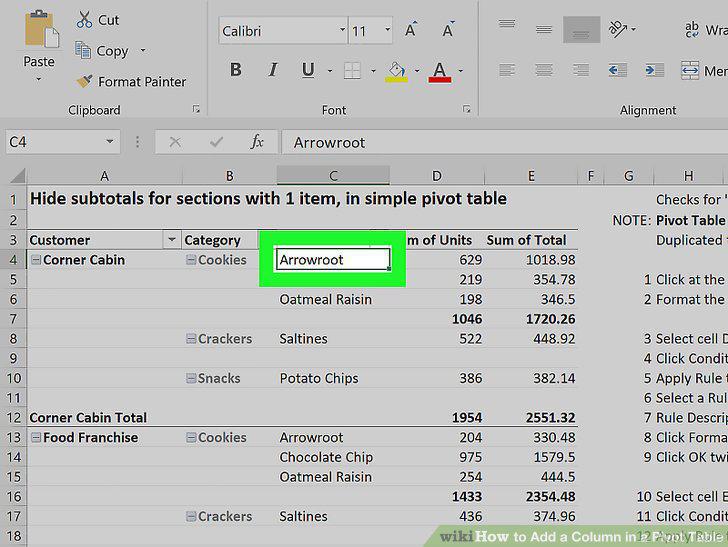
Click any cell on the pivot table.
Click the Pivot Table Analyze tab at the top.
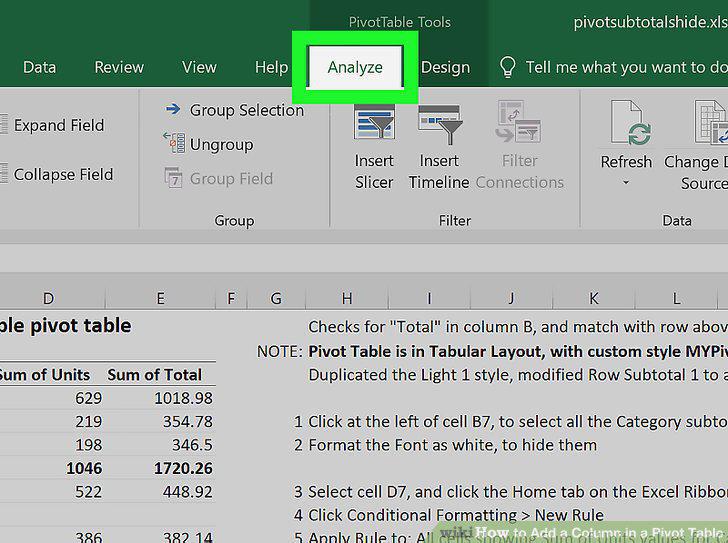
Click the Pivot Table Analyze tab at the top.
Click the Field List button on the toolbar ribbon.
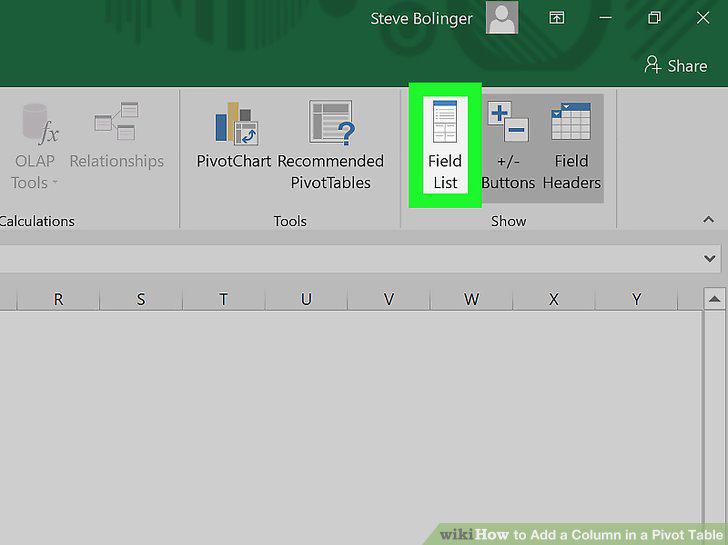
Click the Field List button on the toolbar ribbon.
Check the box next to any item on the FIELD NAME list.
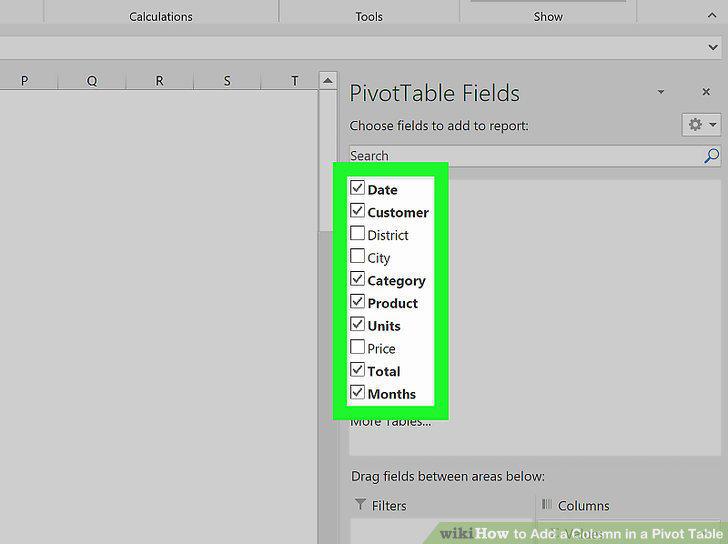
Check the box next to any item on the FIELD NAME list.
Drag and drop any field, row or value item to the "Columns" section.
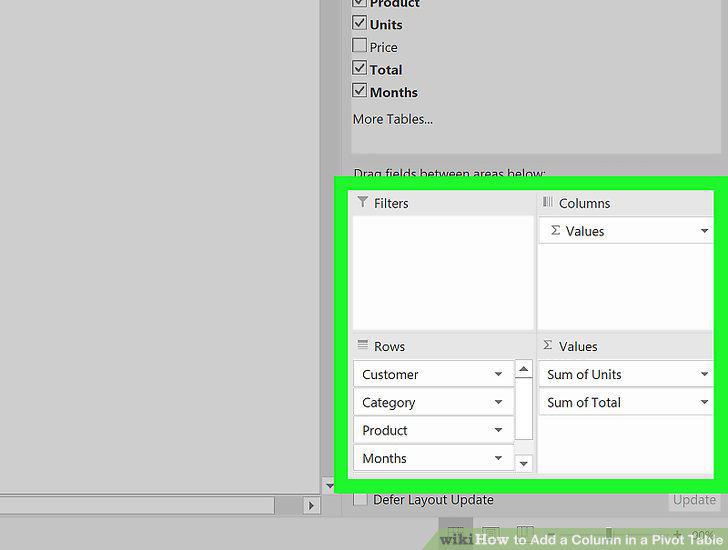
Drag and drop any field, row or value item to the "Columns" section.
Open the Excel document you want to edit.
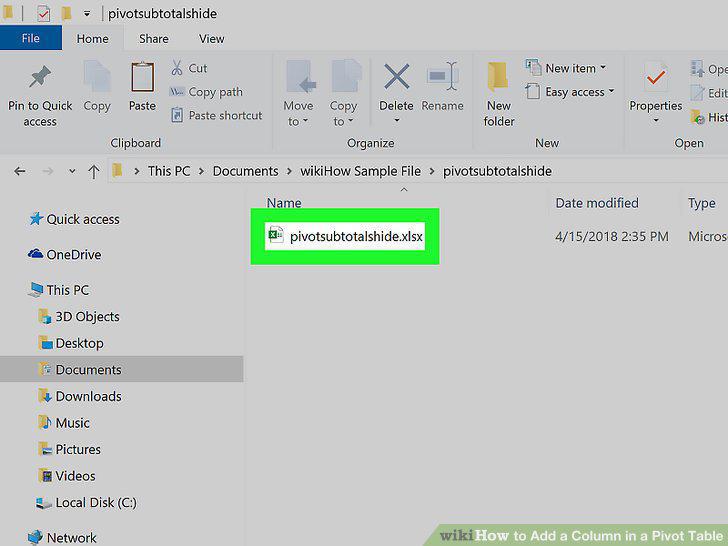
Open the Excel document you want to edit.
Select the pivot table you want to edit.
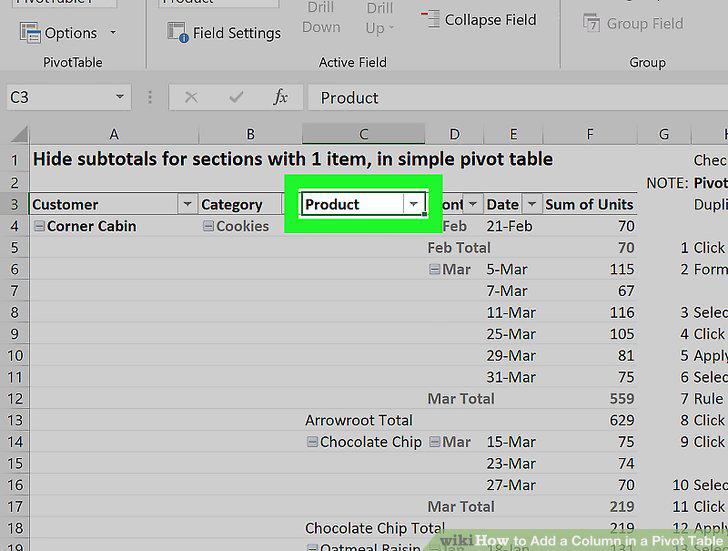
Select the pivot table you want to edit.
Click the Pivot Table Analyze tab.
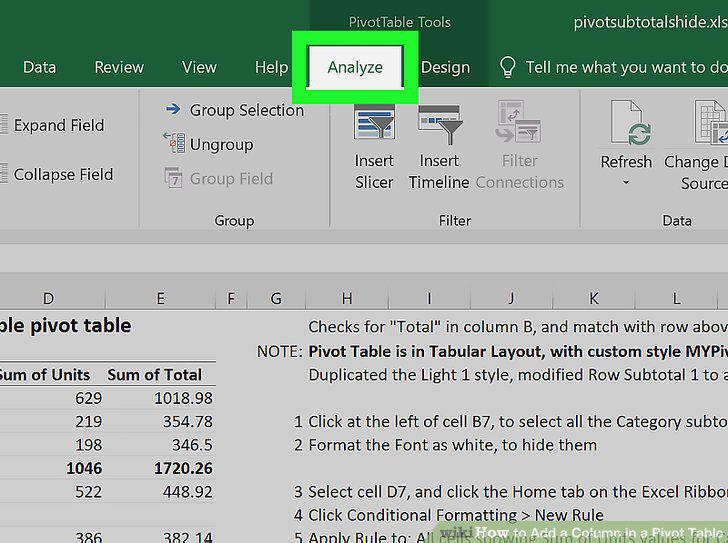
Click the Pivot Table Analyze tab.
Click the Fields, Items, & Sets button on the toolbar ribbon.
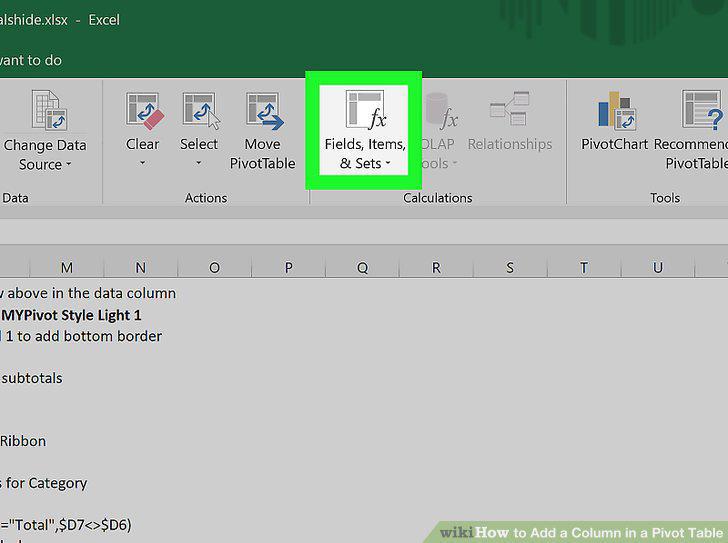
Click the Fields, Items, & Sets button on the toolbar ribbon.
Click Calculated Field on the drop-down menu.
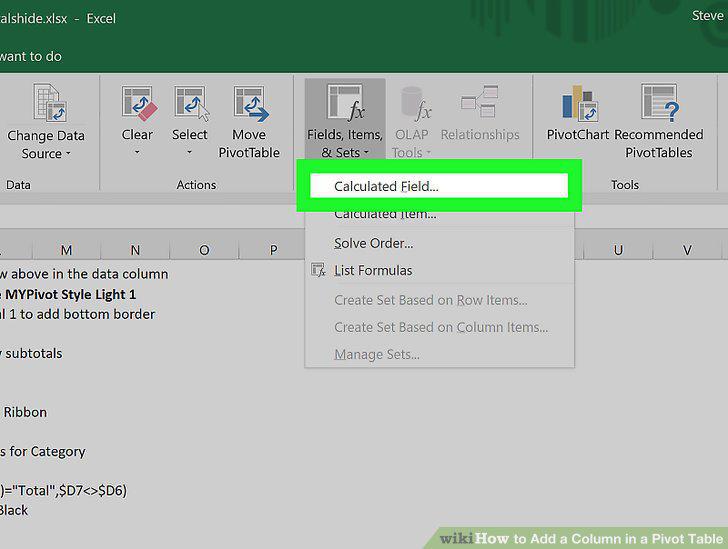
Click Calculated Field on the drop-down menu.
Enter a name for your column in the "Name" field .
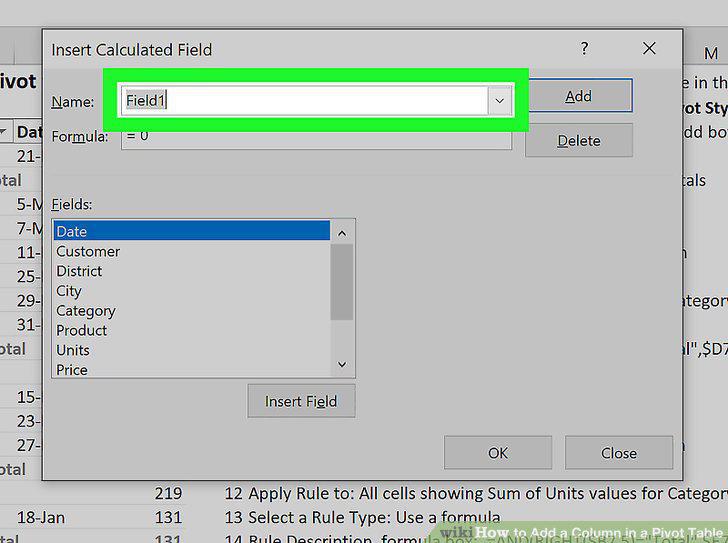
Enter a name for your column in the "Name" field .
Enter a formula for your new column in the "Formula" field.
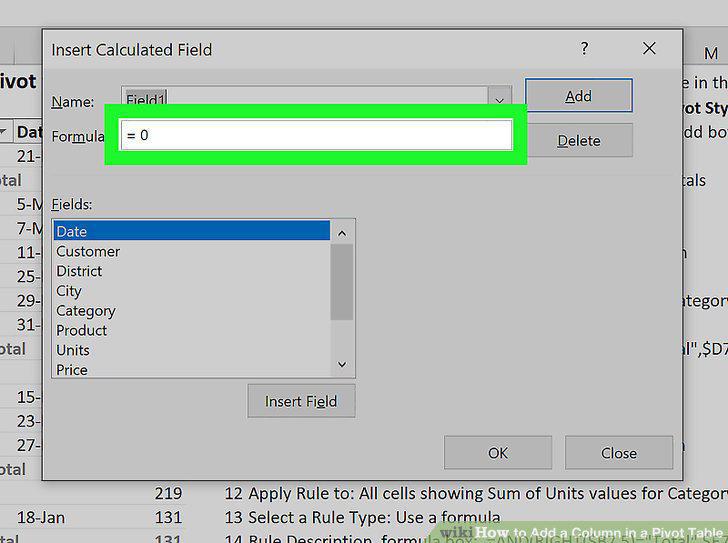
Enter a formula for your new column in the "Formula" field.
Click OK.
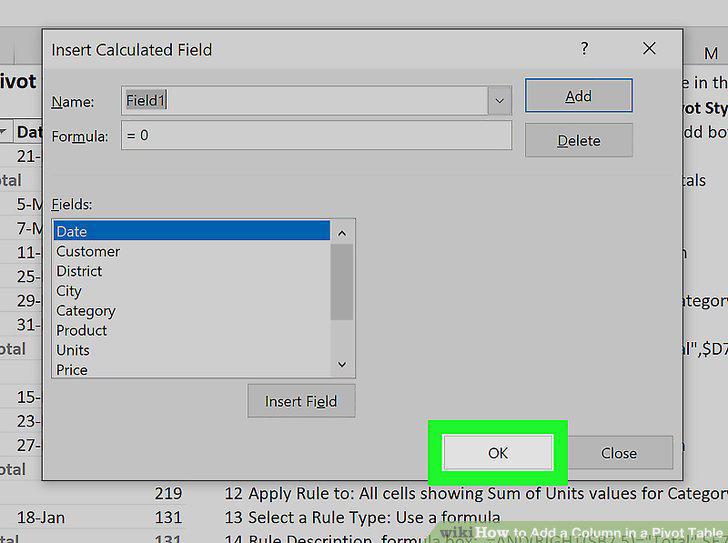
Click OK.
Comments (0)
No comments yet. Be the first to share your thoughts!