How to Decorate a Project File
Review the project guidelines.. Match the project file to the theme of the project.. Outline your ideas before you begin decorating.
Steps
Review the project guidelines.
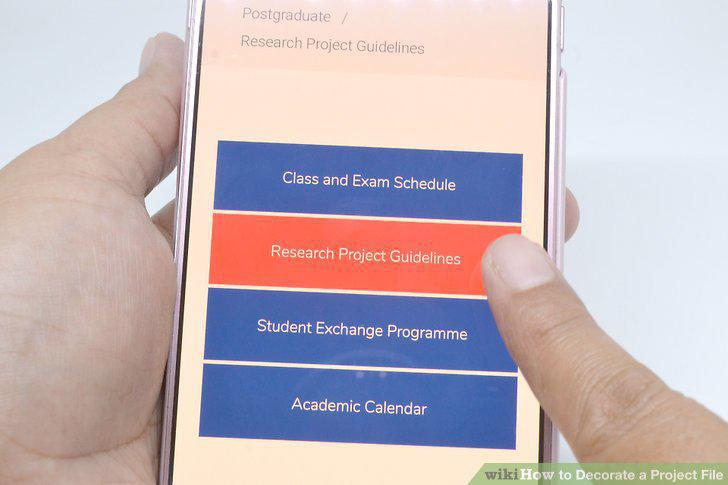
Review the project guidelines.
Match the project file to the theme of the project.
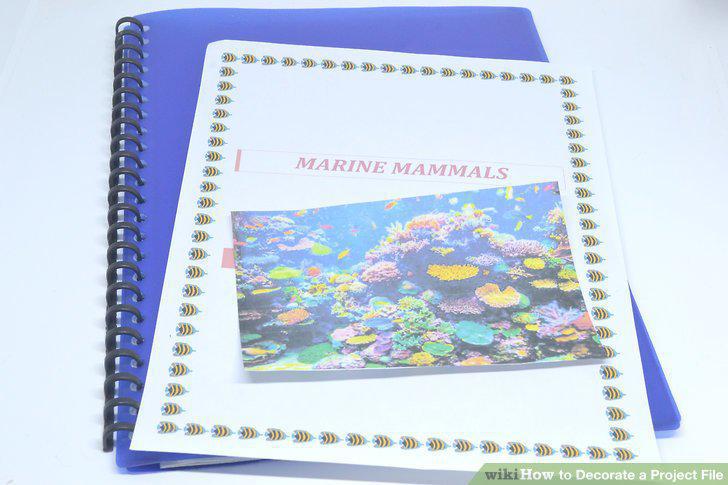
Match the project file to the theme of the project.
Outline your ideas before you begin decorating.
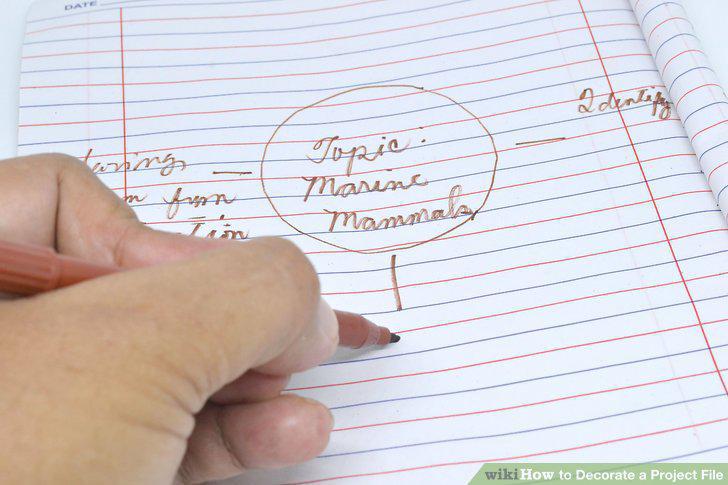
Outline your ideas before you begin decorating.
Don't make the project file too busy.
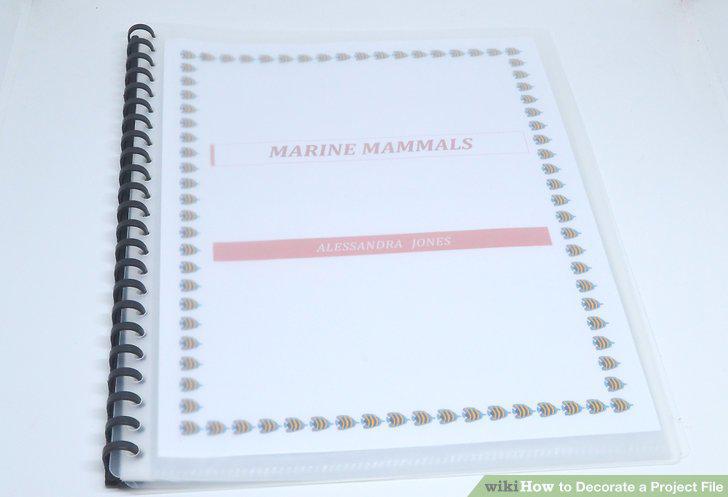
Don't make the project file too busy.
Keep your work as neat as possible.
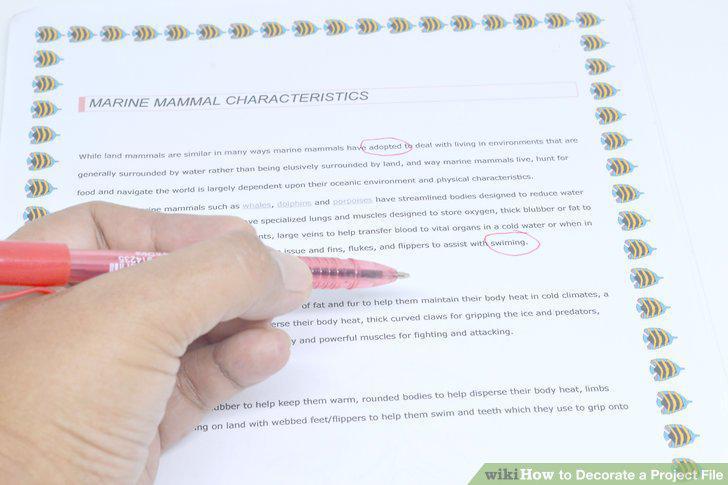
Keep your work as neat as possible.
Make an outdoor scene for nature-themed projects.
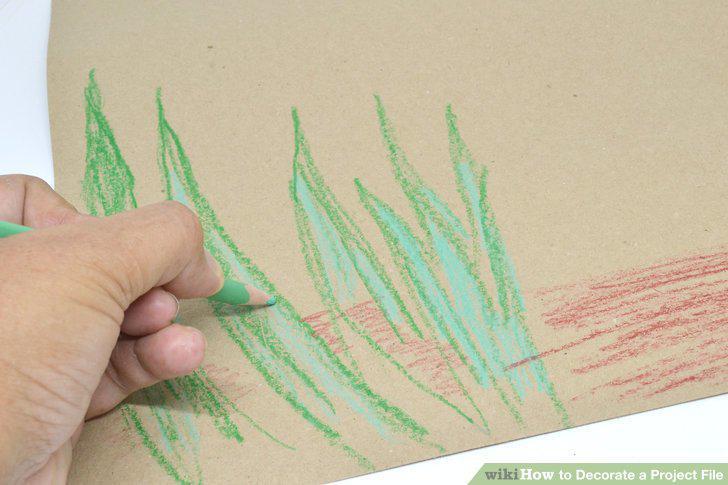
Make an outdoor scene for nature-themed projects.
Include lots of images for an art project.
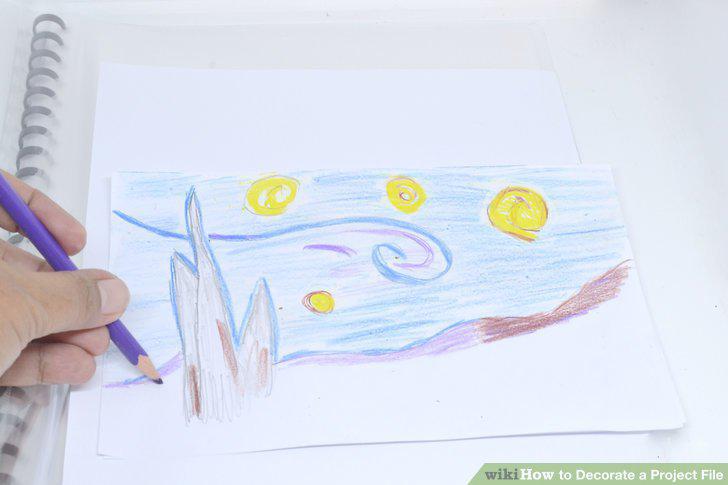
Include lots of images for an art project.
or numbers for a math project.
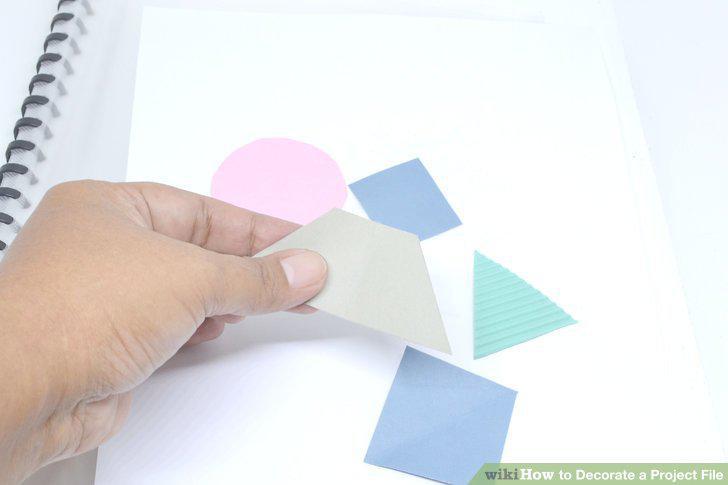
or numbers for a math project.
Cover the file in letters, symbols, or characters for an English project.
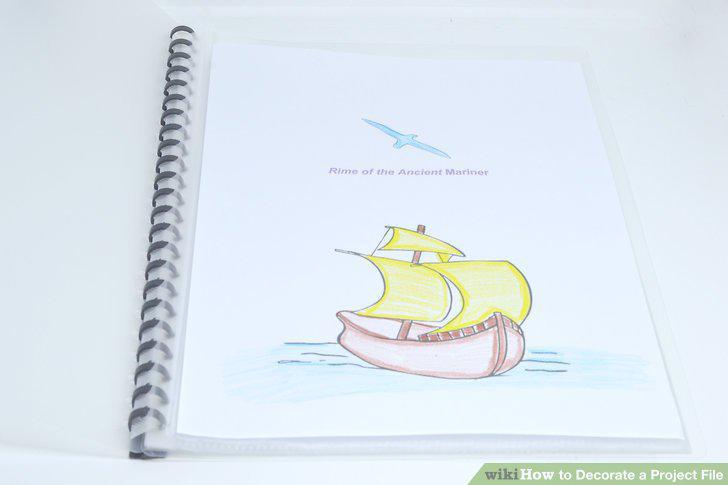
Cover the file in letters, symbols, or characters for an English project.
Create a map
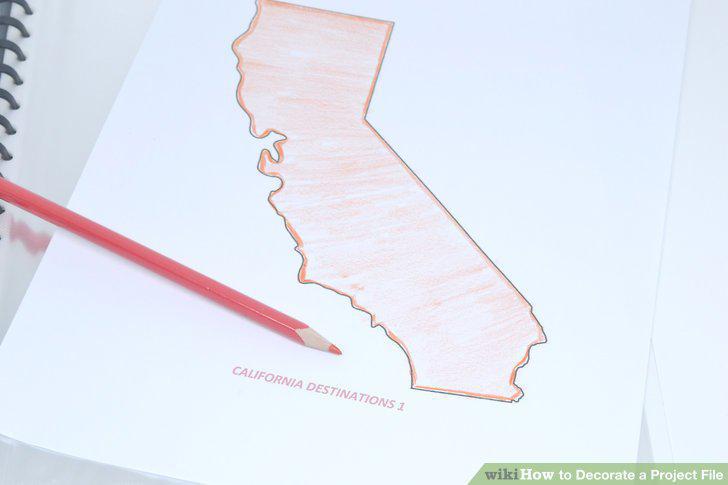
Create a map
Add a staff and music notes for a music project.
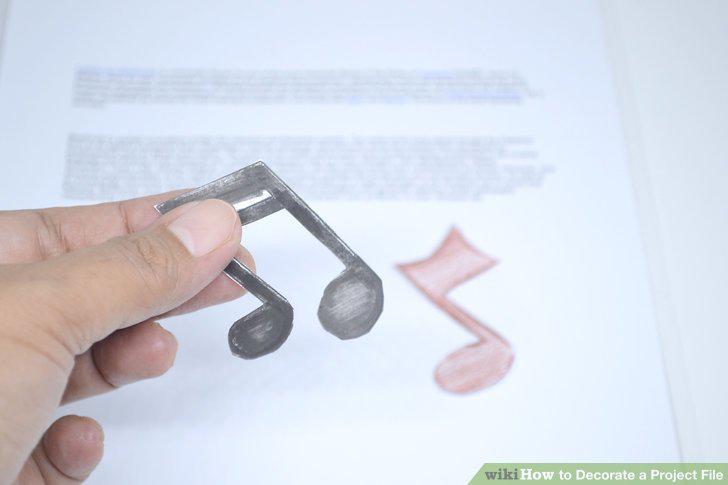
Add a staff and music notes for a music project.
Include important figures or props for a history project.
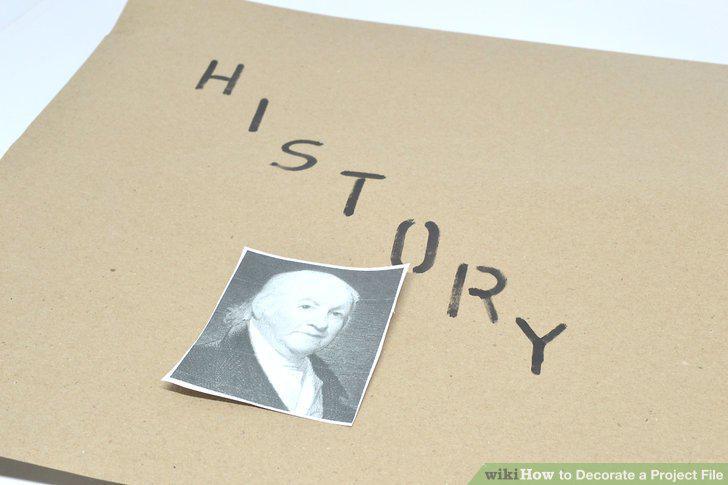
Include important figures or props for a history project.
Decorate a science project file with relevant symbols.
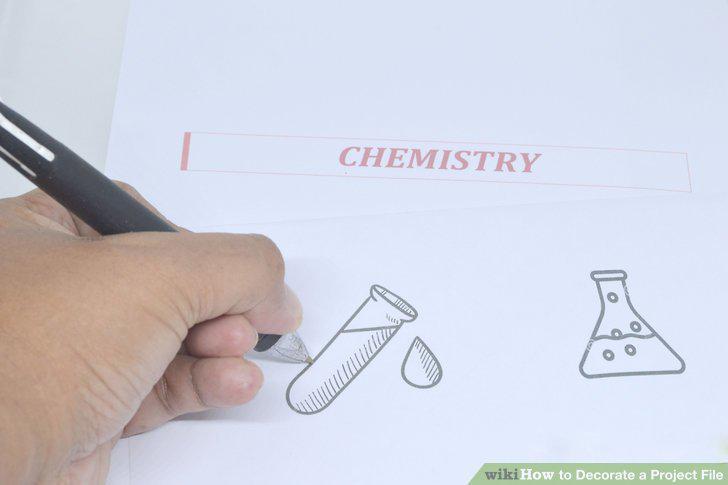
Decorate a science project file with relevant symbols.
Cover the front of the file with a new sheet of paper, if necessary.
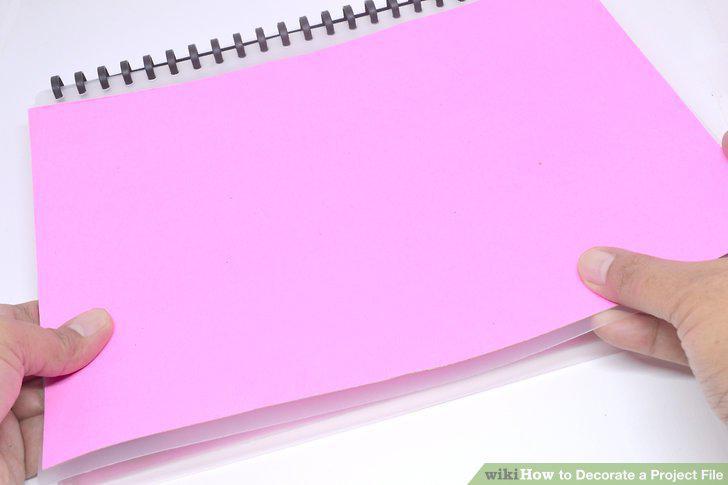
Cover the front of the file with a new sheet of paper, if necessary.
Add washi tape or ribbon to make a border.
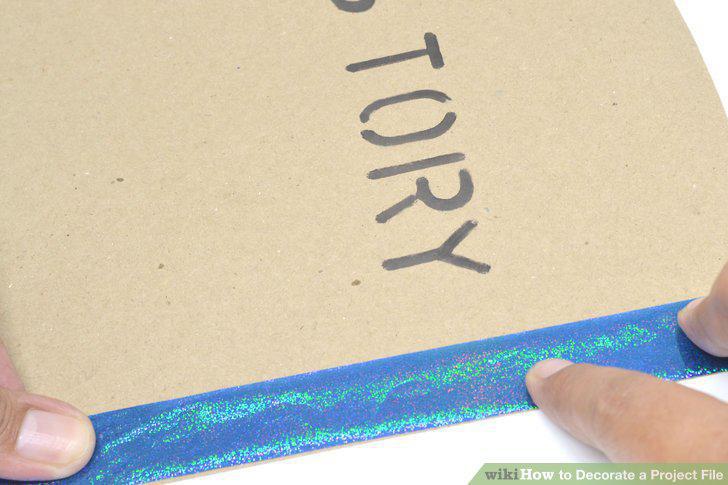
Add washi tape or ribbon to make a border.
Draw the border by hand if you prefer.
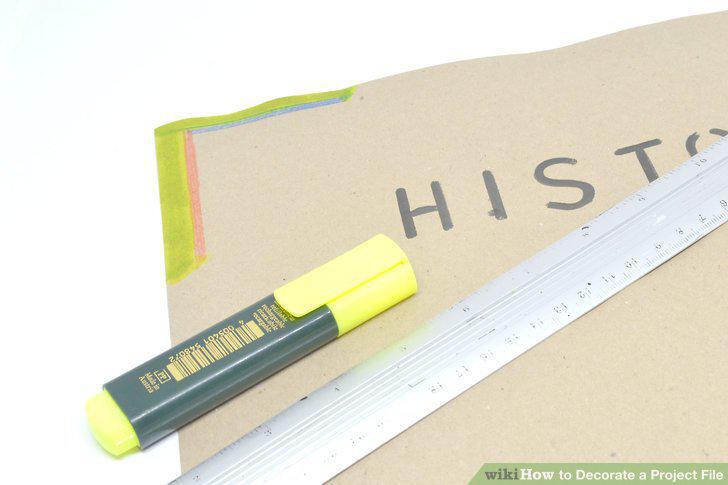
Draw the border by hand if you prefer.
Use stencils or stickers to add text for a professional look.
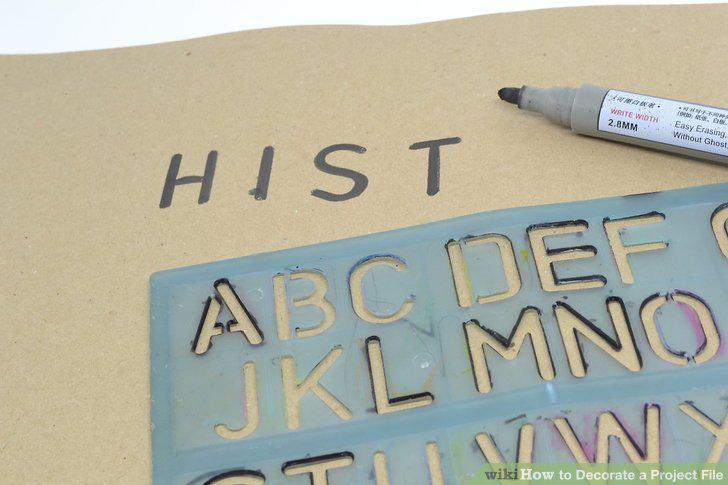
Use stencils or stickers to add text for a professional look.
Include pictures that reflect the theme of the project.
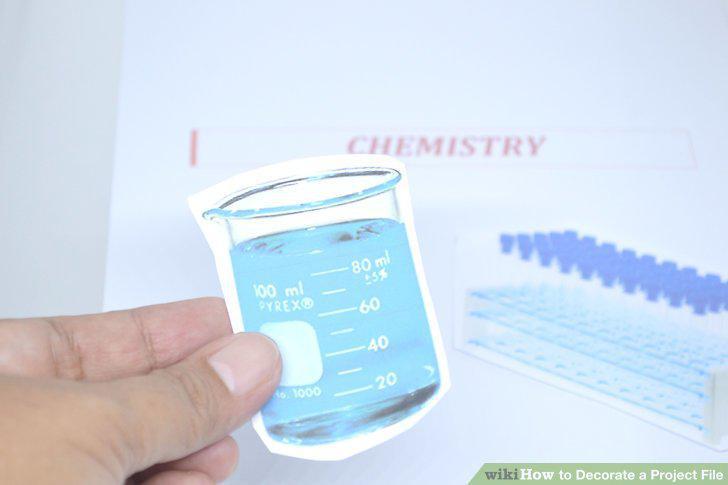
Include pictures that reflect the theme of the project.
Add extra detail with cutouts.
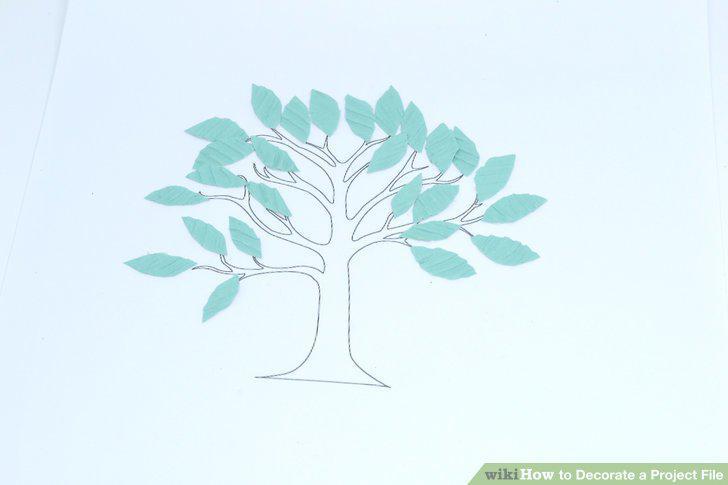
Add extra detail with cutouts.
Make the file stand out by using glitter or shiny paper.
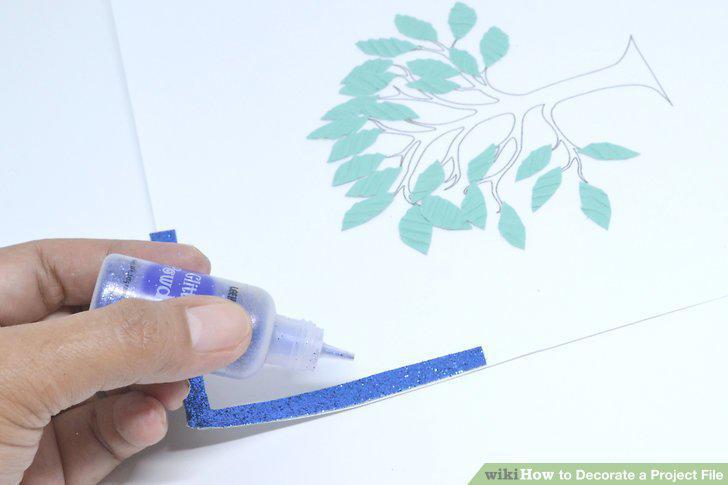
Make the file stand out by using glitter or shiny paper.
Comments (0)
No comments yet. Be the first to share your thoughts!