How to Fix a Bathroom Faucet
Switch off the water valve under the sink.. Cover the sink drain with a rag to prevent parts from getting lost.. Wrap the jaws of your wrench in duct tape to protect the metal faucet.
Steps
Switch off the water valve under the sink.
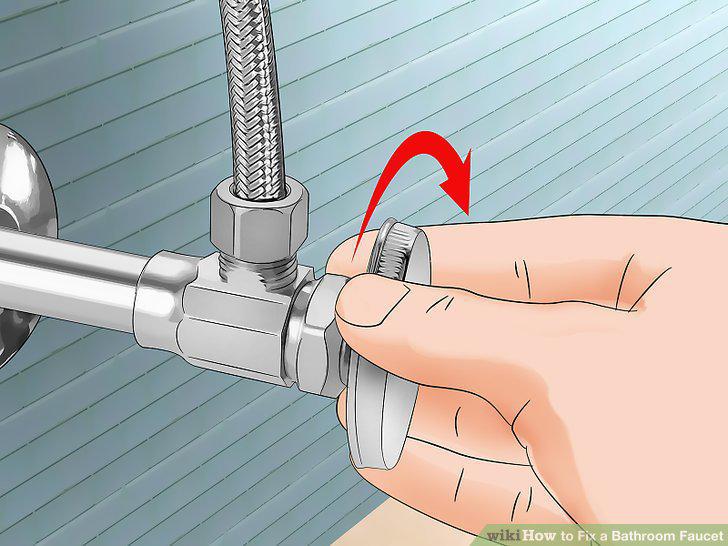
Switch off the water valve under the sink.
Cover the sink drain with a rag to prevent parts from getting lost.
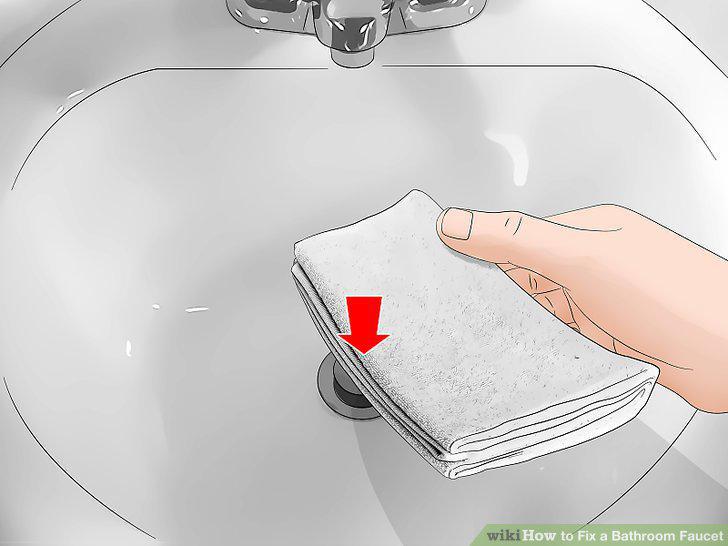
Cover the sink drain with a rag to prevent parts from getting lost.
Wrap the jaws of your wrench in duct tape to protect the metal faucet.
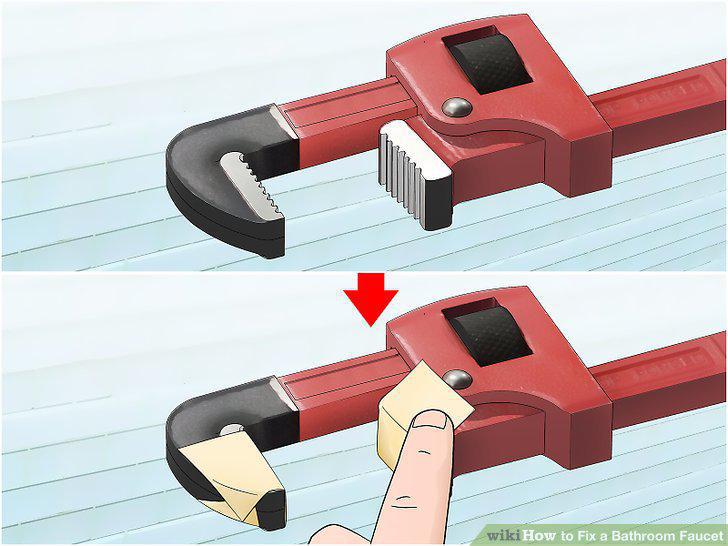
Wrap the jaws of your wrench in duct tape to protect the metal faucet.
Pry off the caps from the sink handle with a screwdriver.
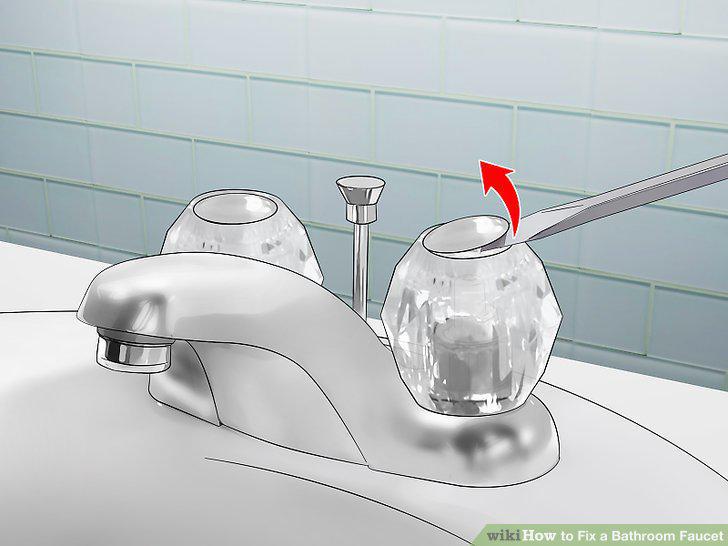
Pry off the caps from the sink handle with a screwdriver.
Remove the screws that hold the faucet handles on to the faucet base.
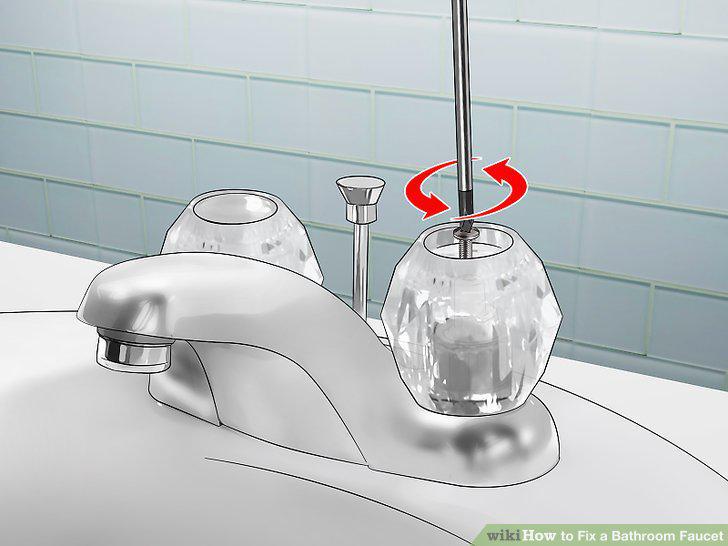
Remove the screws that hold the faucet handles on to the faucet base.
Lift off the faucet handle to access the cartridges.
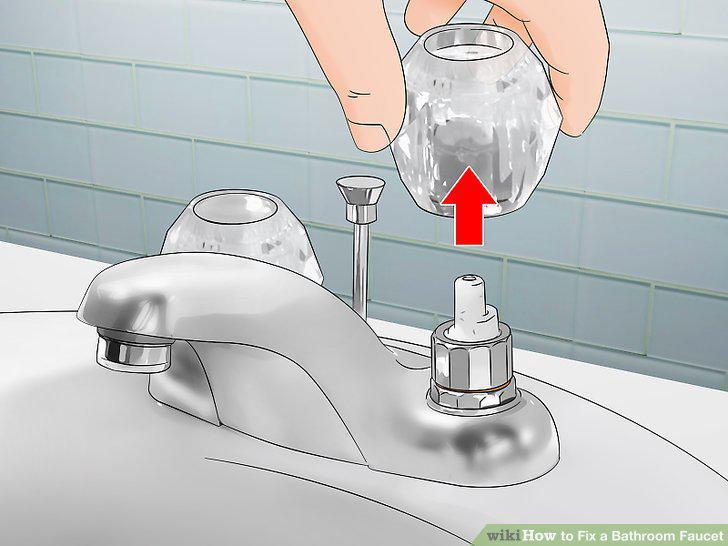
Lift off the faucet handle to access the cartridges.
Unscrew the nut holding the cartridges in place.
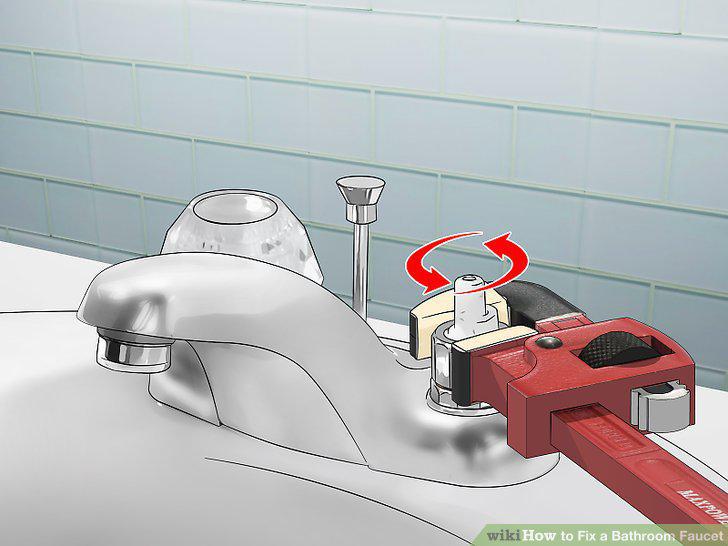
Unscrew the nut holding the cartridges in place.
Grasp the cartridge stem with needle-nose pliers and pull straight up.
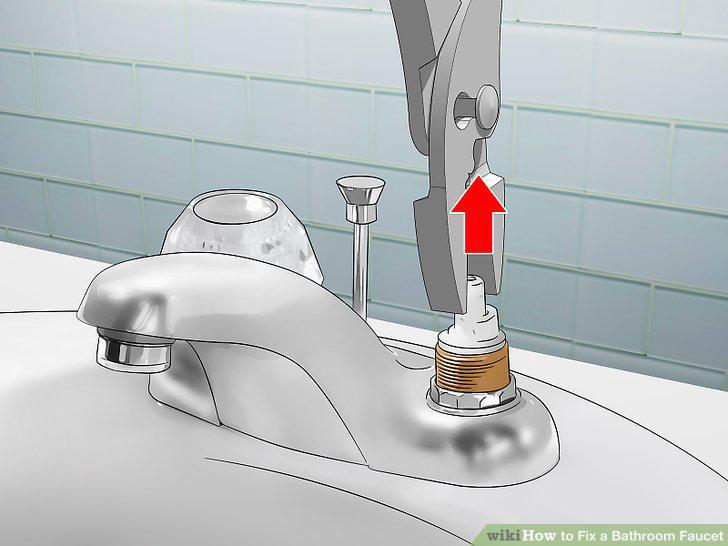
Grasp the cartridge stem with needle-nose pliers and pull straight up.
Pry a damaged washer out of the sink handle with a screwdriver.
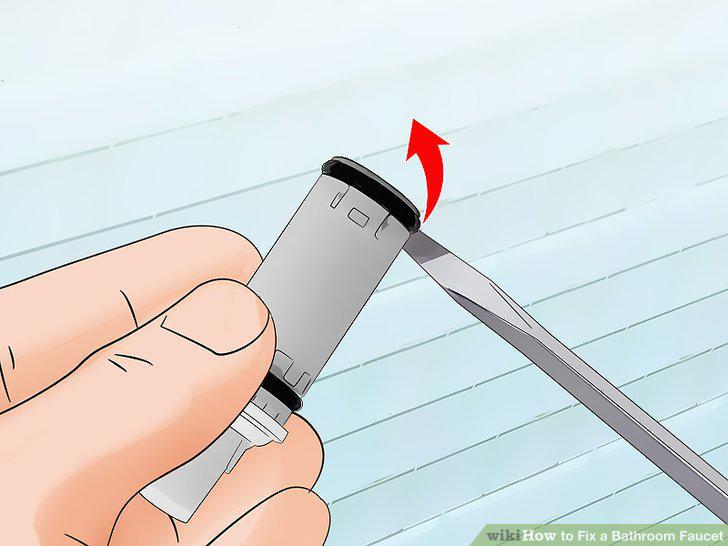
Pry a damaged washer out of the sink handle with a screwdriver.
Replace the seat washer with a new washer.
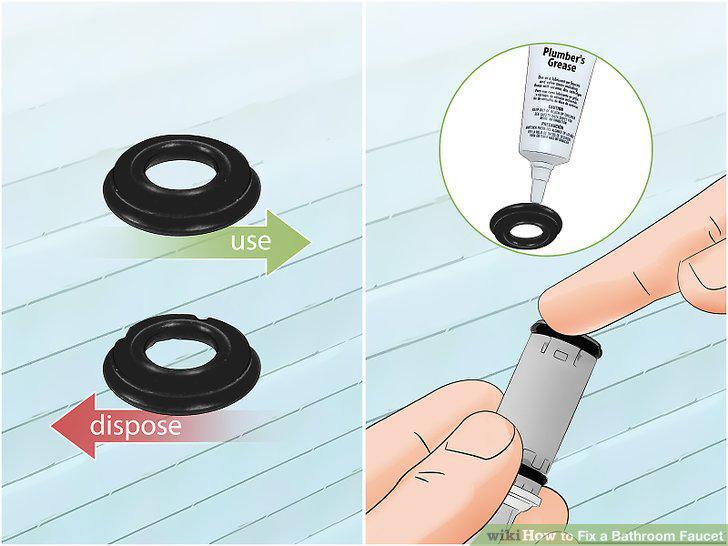
Replace the seat washer with a new washer.
Throw away an old, leaking cartridge and replace it with a new one.
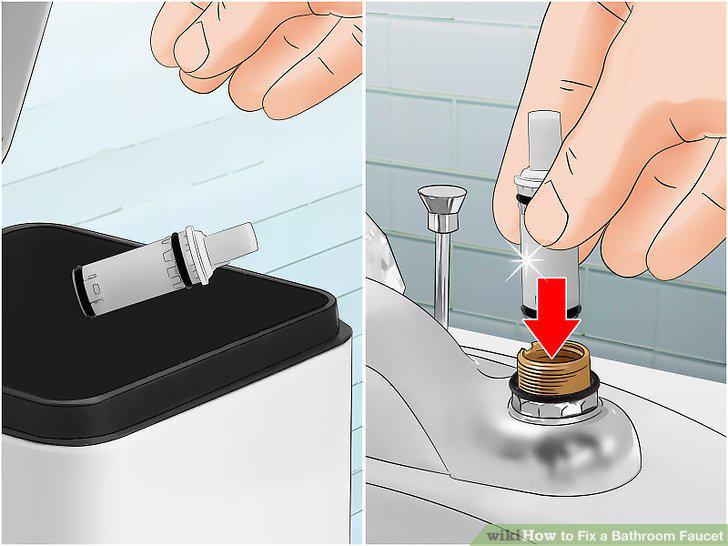
Throw away an old, leaking cartridge and replace it with a new one.
Remove the old O-ring if your faucet is leaking around the base.
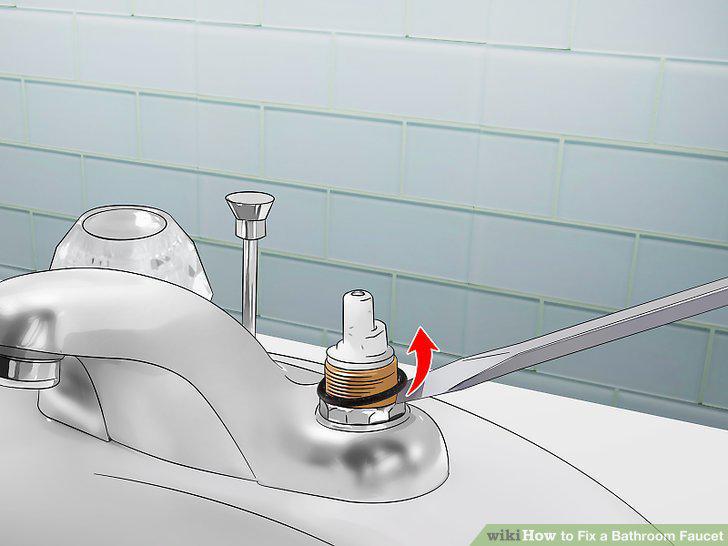
Remove the old O-ring if your faucet is leaking around the base.
Coat the new O-ring with grease and install it in the faucet base.
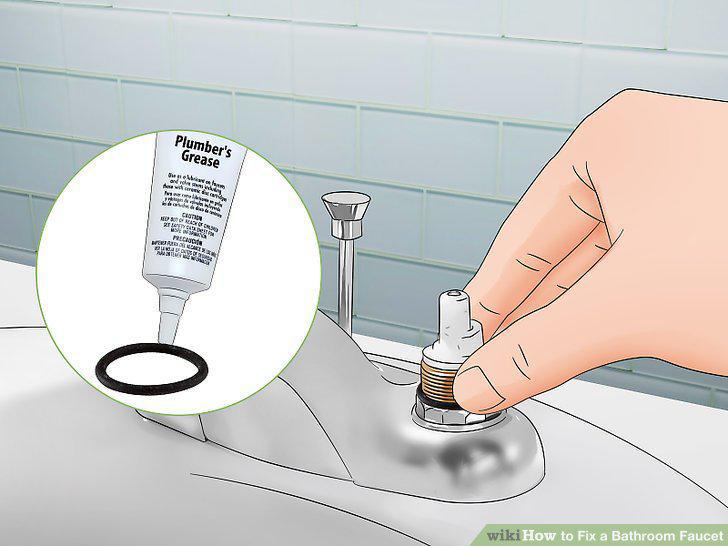
Coat the new O-ring with grease and install it in the faucet base.
Reassemble the faucet and test it for any lingering leaks.
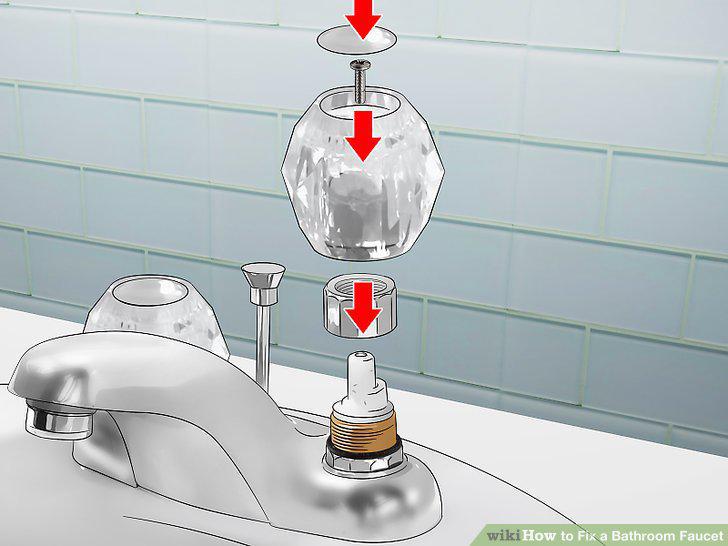
Reassemble the faucet and test it for any lingering leaks.
Comments (0)
No comments yet. Be the first to share your thoughts!