How to Delete Autofill on Chrome on iPhone or iPad
Open the Google Chrome app on your iPhone or iPad.. Tap the three vertical dots icon.. Tap Settings on the drop-down menu.
Steps
1
Open the Google Chrome app on your iPhone or iPad.
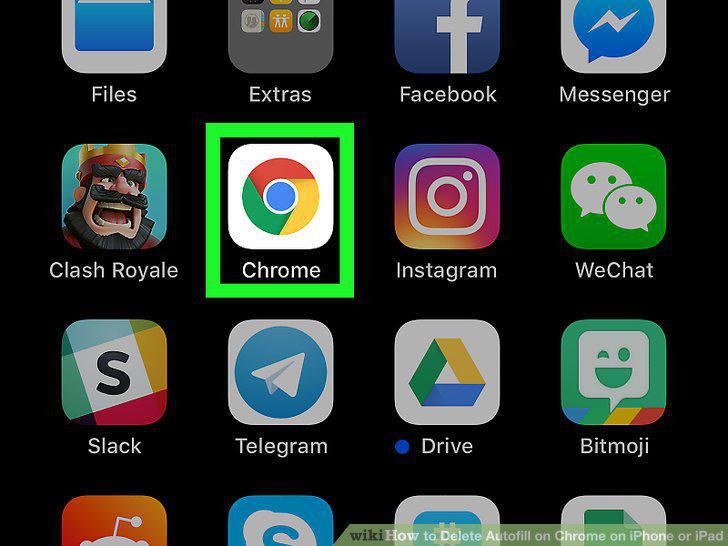
Open the Google Chrome app on your iPhone or iPad.
2
Tap the three vertical dots icon.
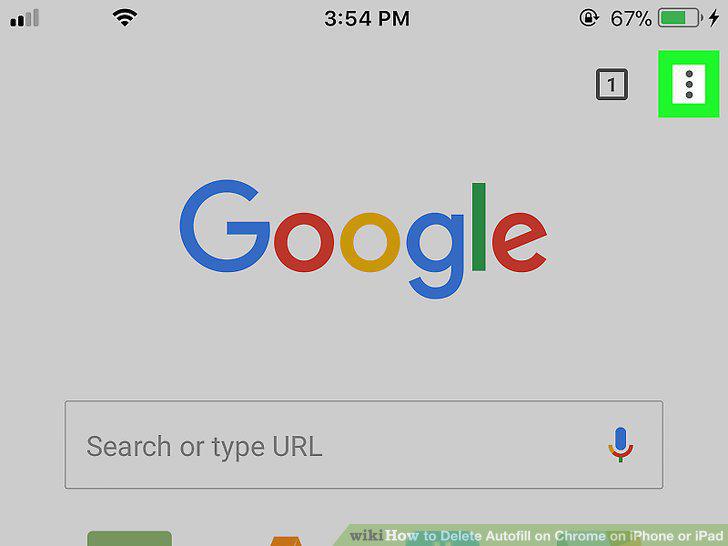
Tap the three vertical dots icon.
3
Tap Settings on the drop-down menu.
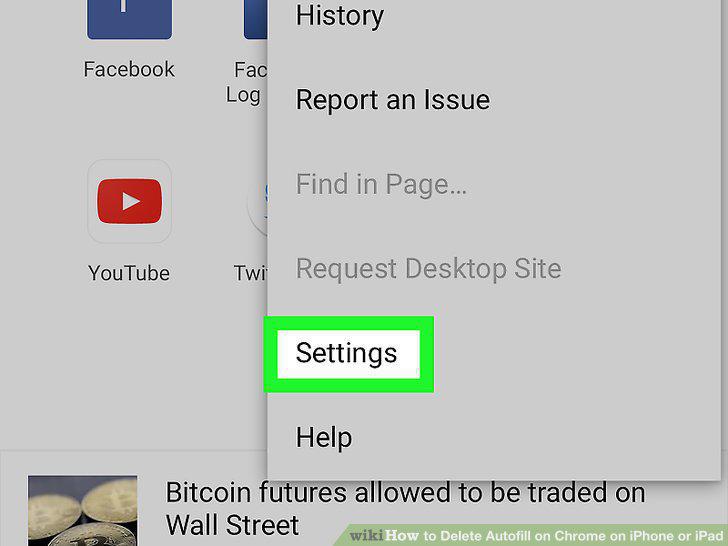
Tap Settings on the drop-down menu.
4
Tap Autofill Forms on the Settings page.
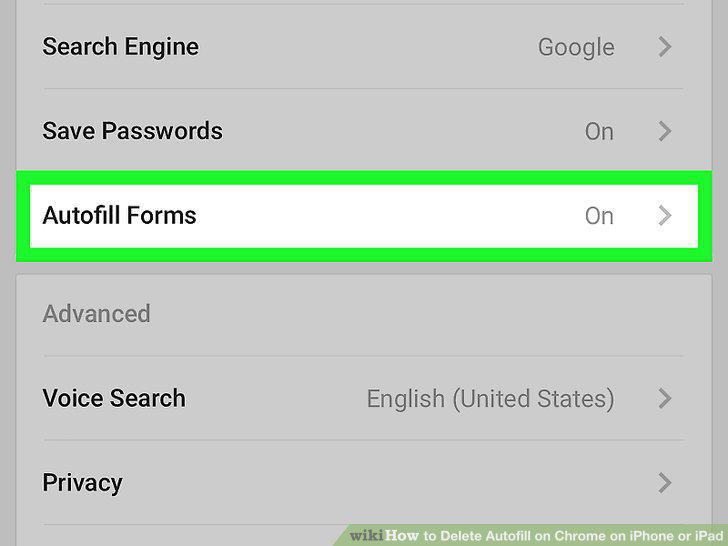
Tap Autofill Forms on the Settings page.
5
Tap the EDIT button.
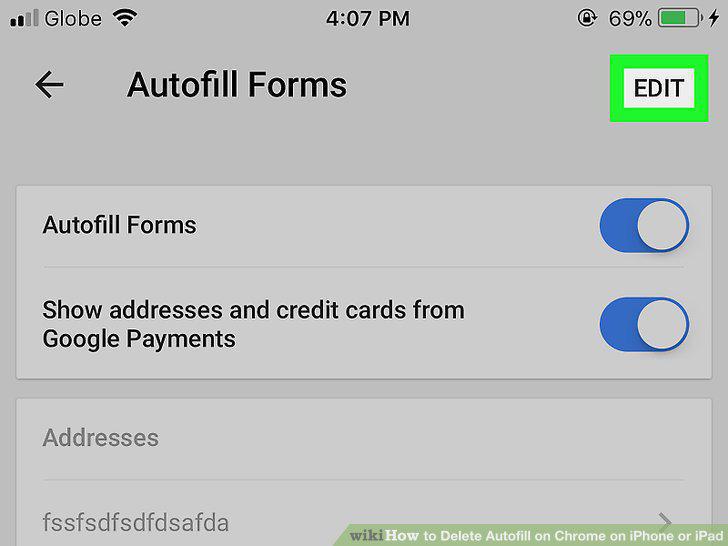
Tap the EDIT button.
6
Tap a name, address, or credit card on the list.
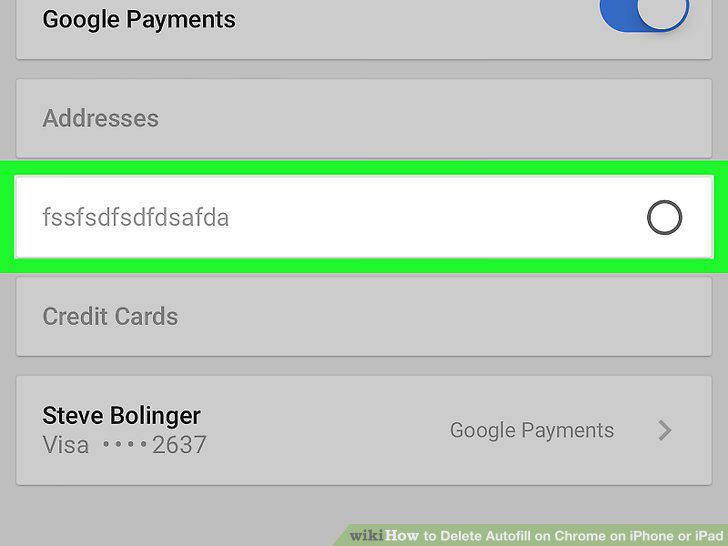
Tap a name, address, or credit card on the list.
7
Tap Delete.
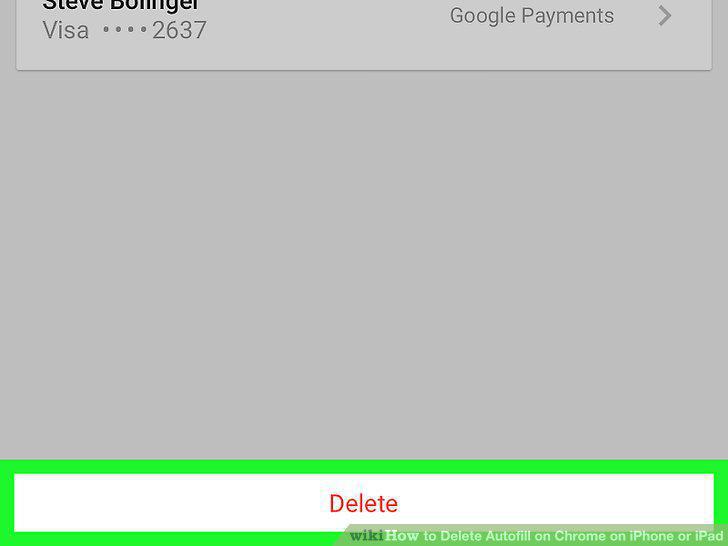
Tap Delete.
8
Tap the DONE button.
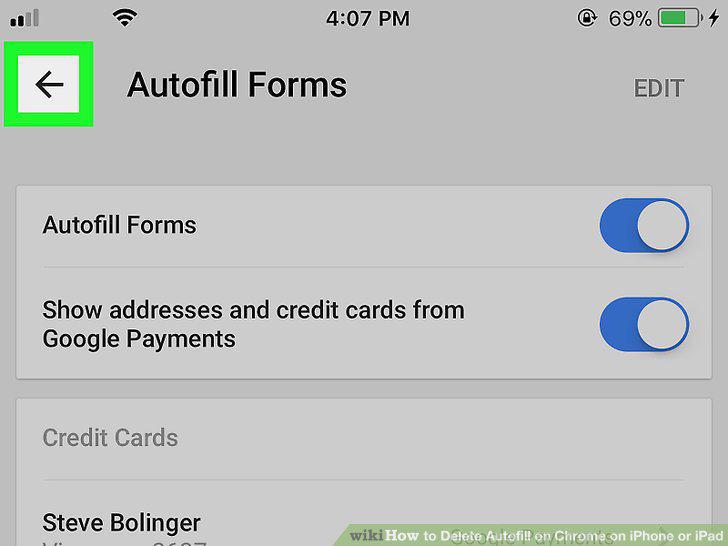
Tap the DONE button.
9
Open the Google Chrome app on your iPhone or iPad.
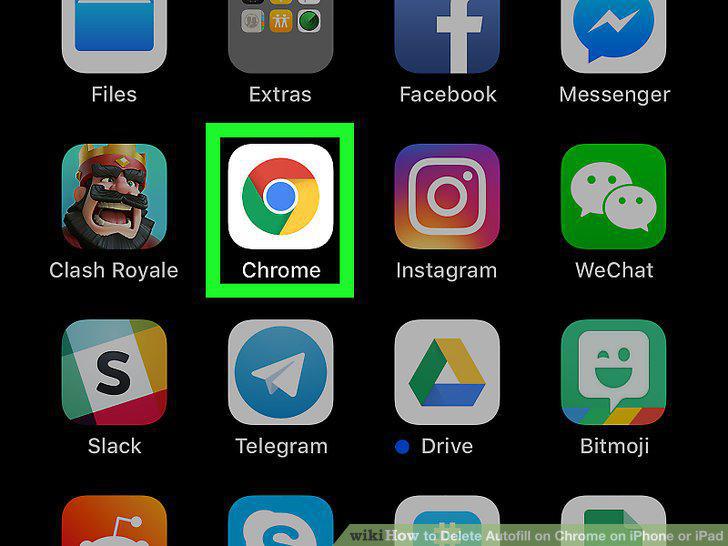
Open the Google Chrome app on your iPhone or iPad.
10
Tap the three vertical dots icon.
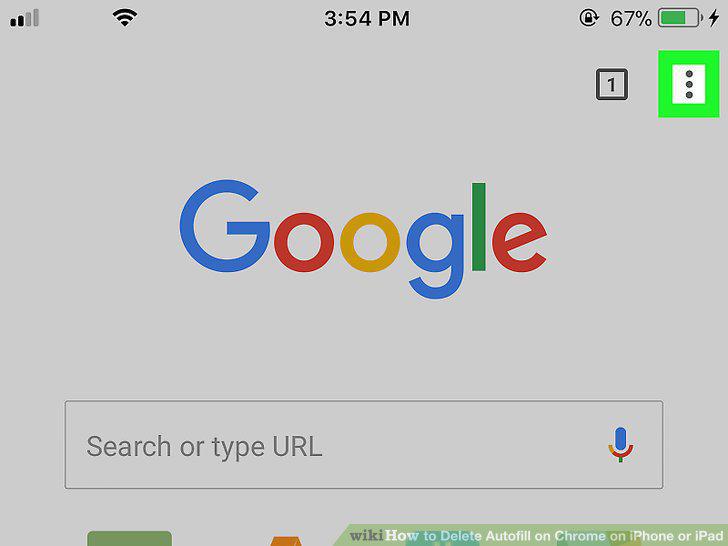
Tap the three vertical dots icon.
11
Tap History on the drop-down menu.
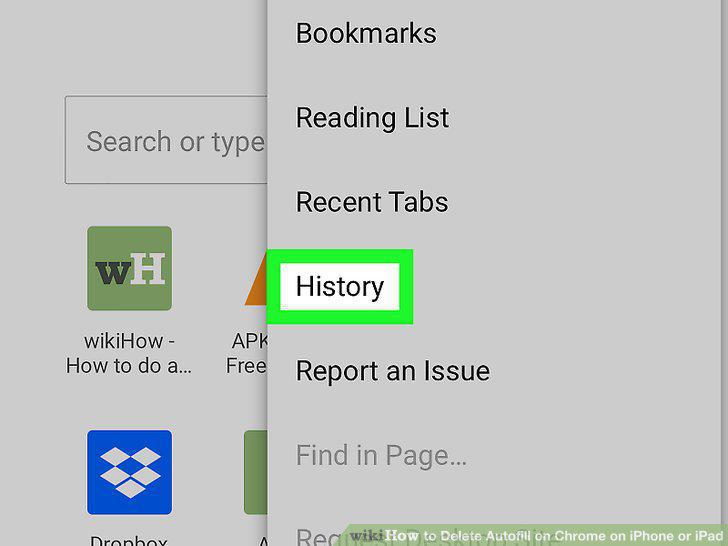
Tap History on the drop-down menu.
12
Tap the Clear Browsing Data button.
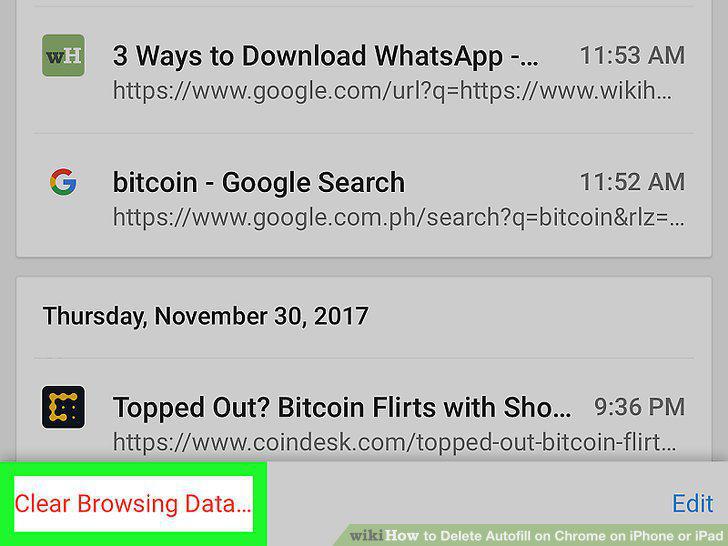
Tap the Clear Browsing Data button.
13
Make sure Autofill Data is checked on the list.
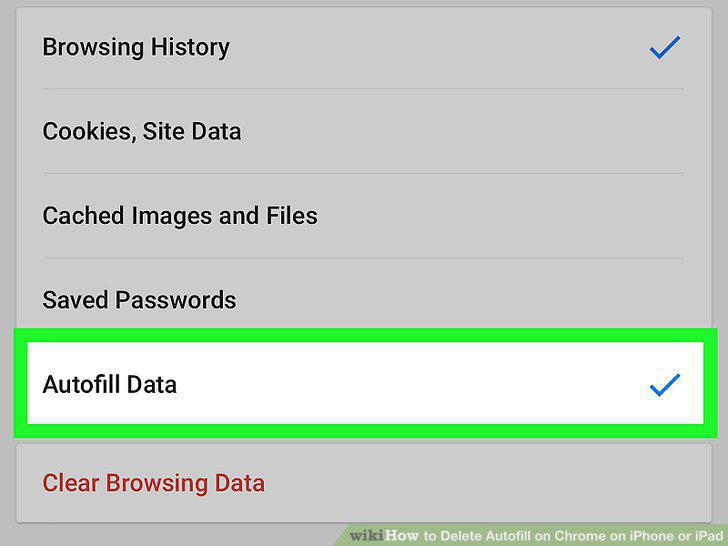
Make sure Autofill Data is checked on the list.
14
Tap the Clear Browsing Data button.
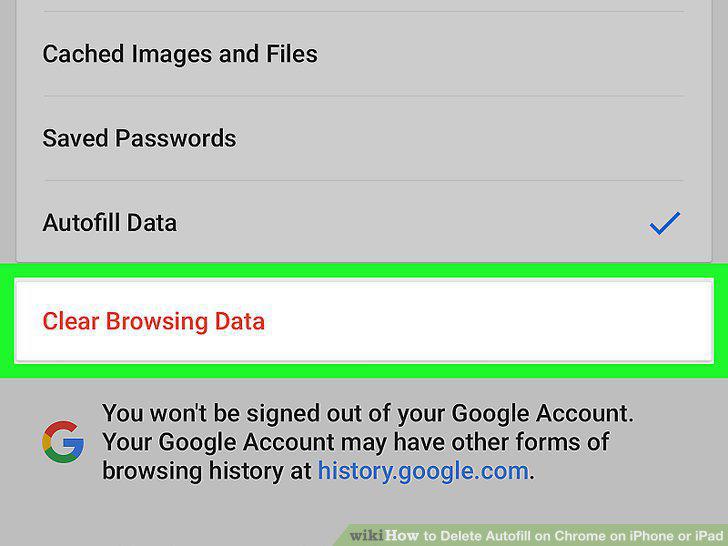
Tap the Clear Browsing Data button.
15
Tap Clear Browsing Data to confirm.
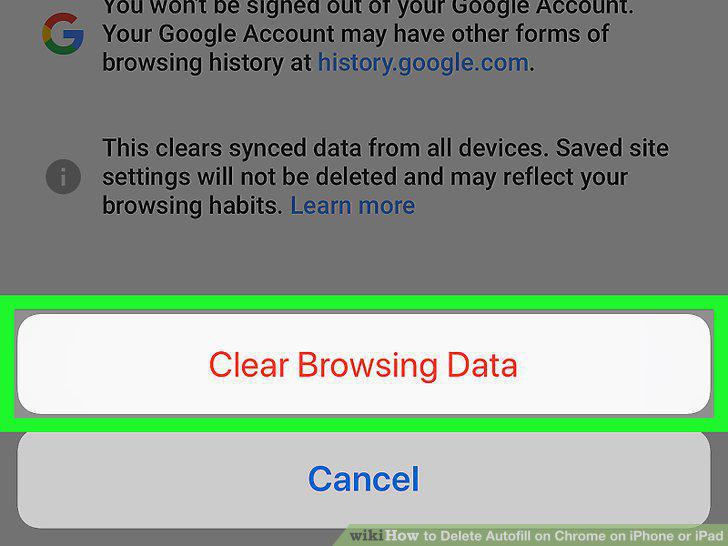
Tap Clear Browsing Data to confirm.
Comments (0)
No comments yet. Be the first to share your thoughts!