How to Restore Furniture Veneer
Scrape off the dry glue underneath the veneer with a file or paperclip.. Spread wood glue onto the surface under the veneer using a palette knife.. Press the veneer down and wipe away excess glue with a damp shop cloth.
Steps
Scrape off the dry glue underneath the veneer with a file or paperclip.
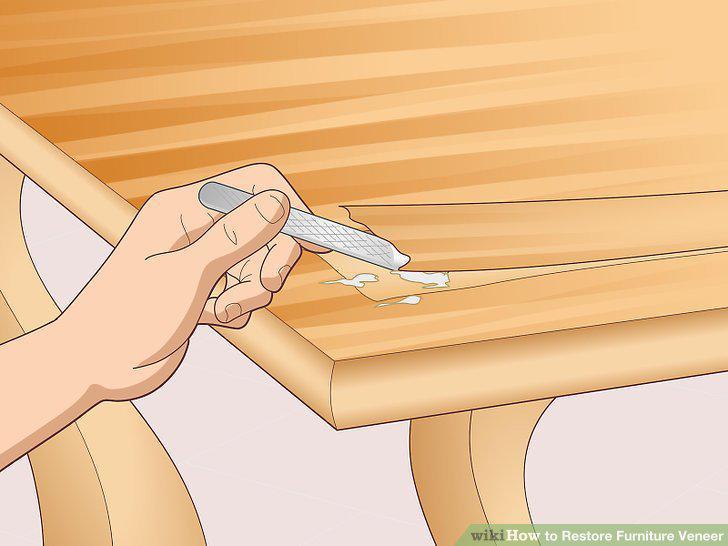
Scrape off the dry glue underneath the veneer with a file or paperclip.
Spread wood glue onto the surface under the veneer using a palette knife.
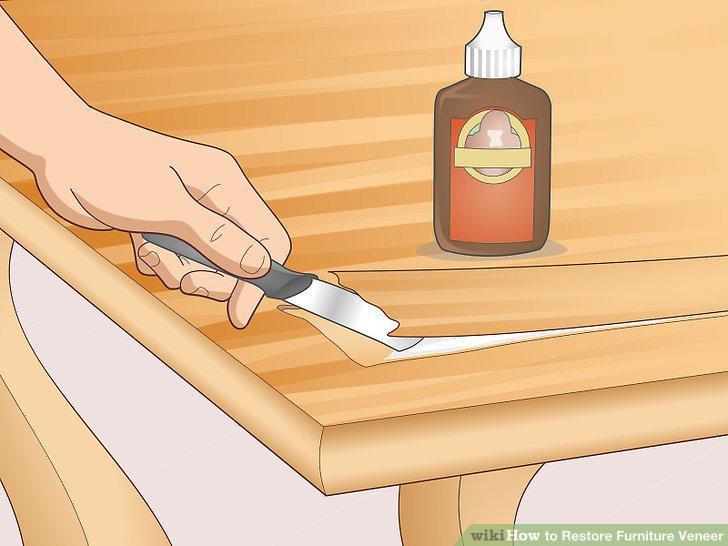
Spread wood glue onto the surface under the veneer using a palette knife.
Press the veneer down and wipe away excess glue with a damp shop cloth.
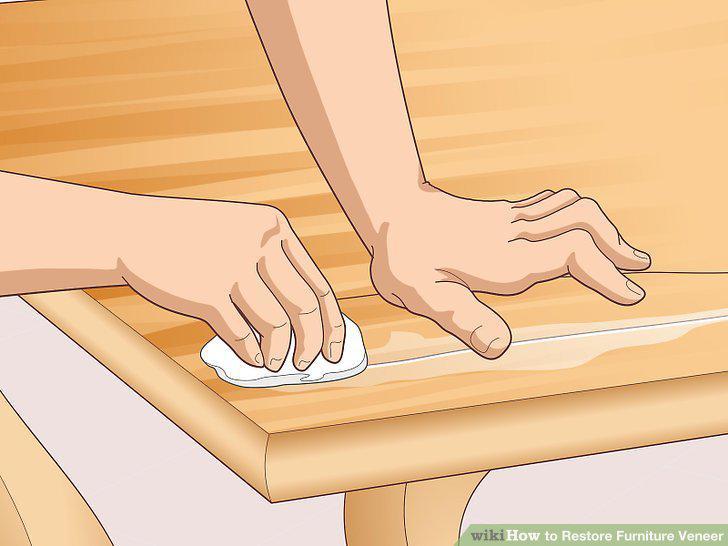
Press the veneer down and wipe away excess glue with a damp shop cloth.
Lay a piece of wax paper on the veneer.
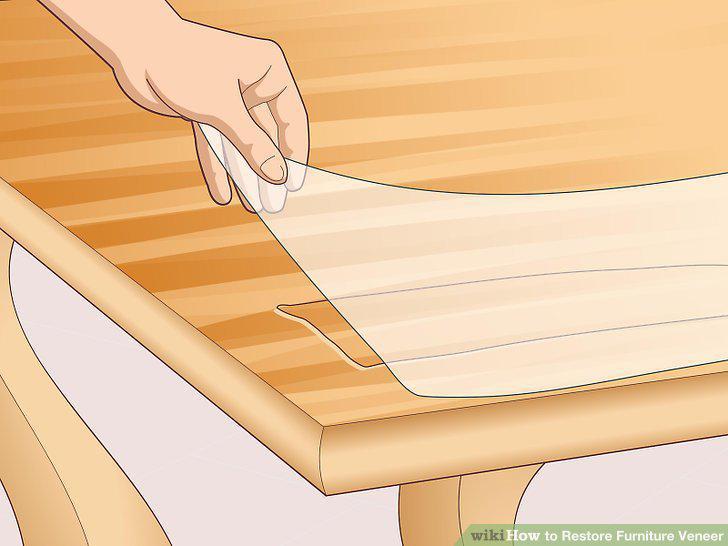
Lay a piece of wax paper on the veneer.
Clamp a flat piece of wood on top of the wax paper and leave it overnight.
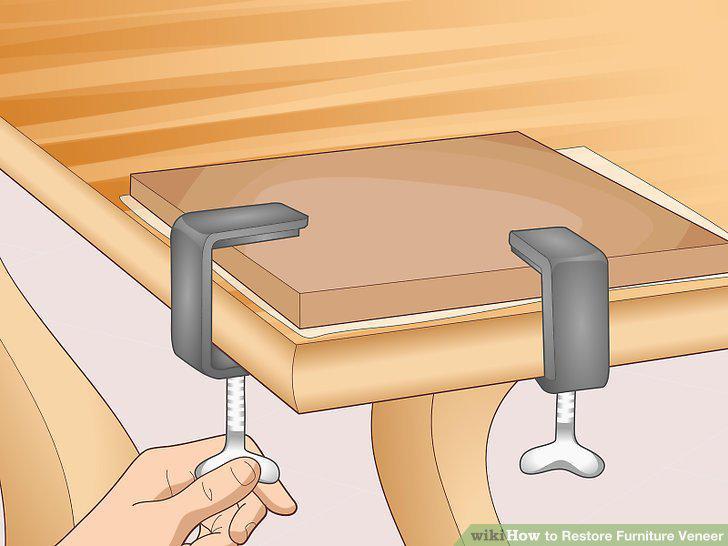
Clamp a flat piece of wood on top of the wax paper and leave it overnight.
Clean off any dried glue with a damp shop cloth or abrasive pad.
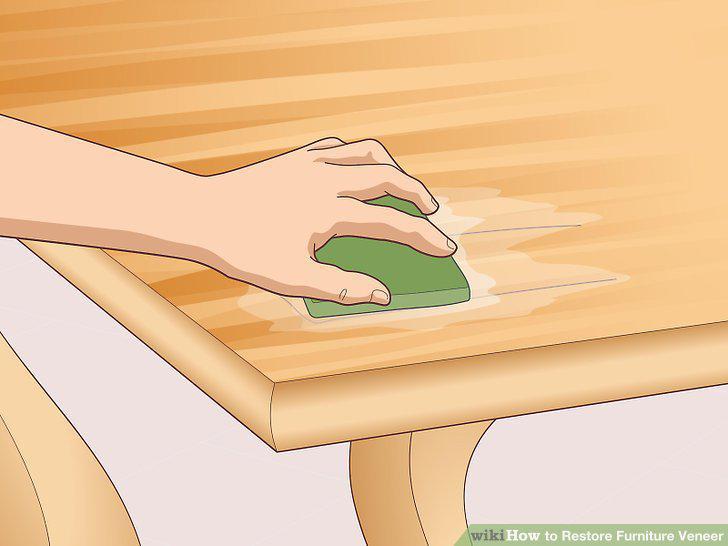
Clean off any dried glue with a damp shop cloth or abrasive pad.
Cut a slit in the middle of the blister with a utility knife to drain out the ai
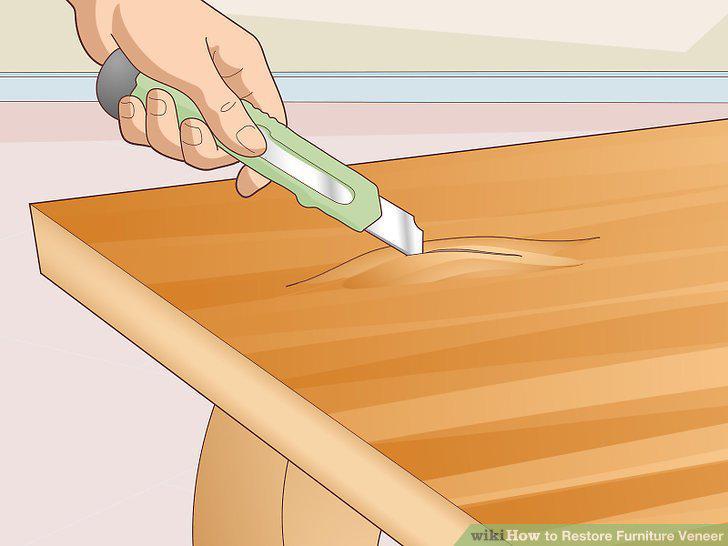
Cut a slit in the middle of the blister with a utility knife to drain out the air.
Apply wood glue on the surface inside the blister with a syringe.
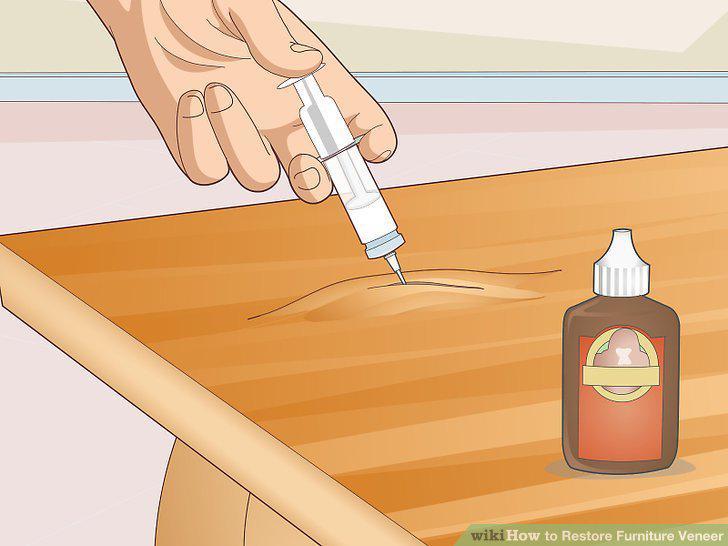
Apply wood glue on the surface inside the blister with a syringe.
Press down on the blistered veneer to spread the glue.
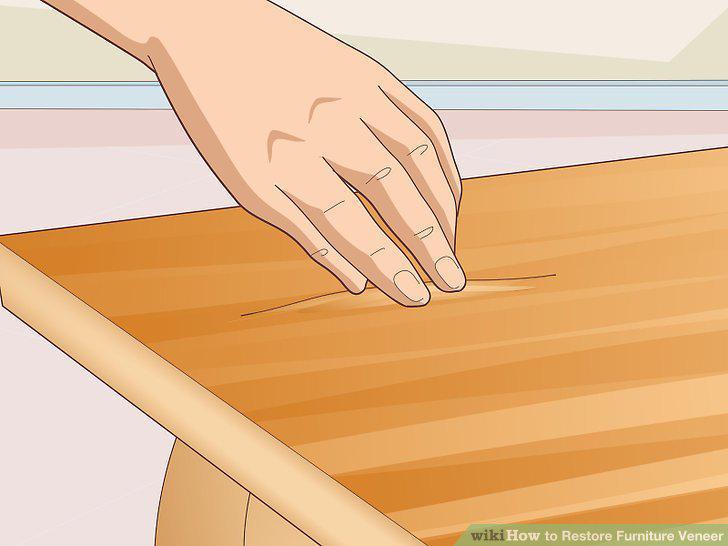
Press down on the blistered veneer to spread the glue.
Set wax paper over the blistered veneer.
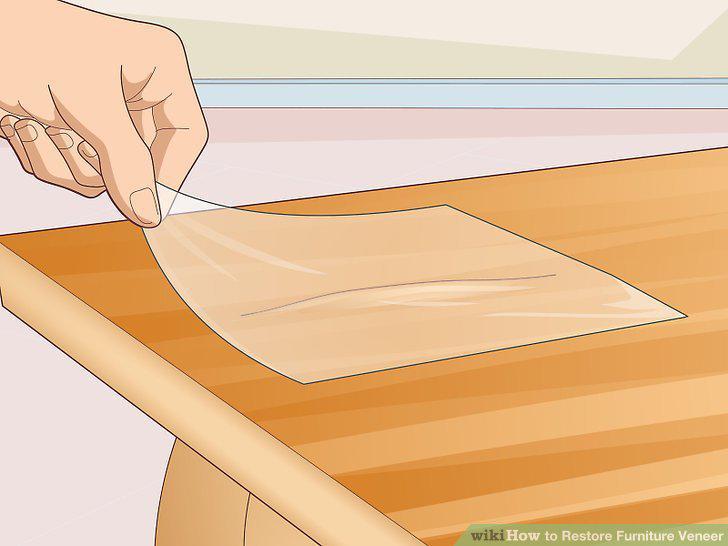
Set wax paper over the blistered veneer.
Clamp a flat piece of wood over the veneer and leave it overnight.
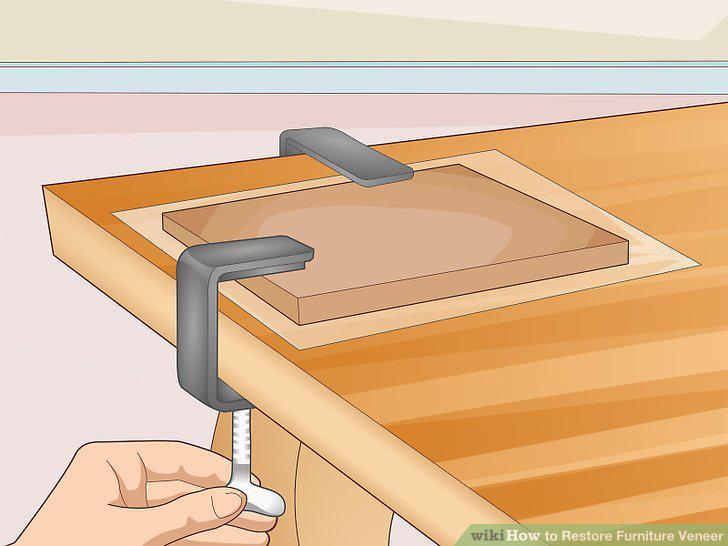
Clamp a flat piece of wood over the veneer and leave it overnight.
Sand the dried glue on top of the veneer with 180-grit sandpaper.
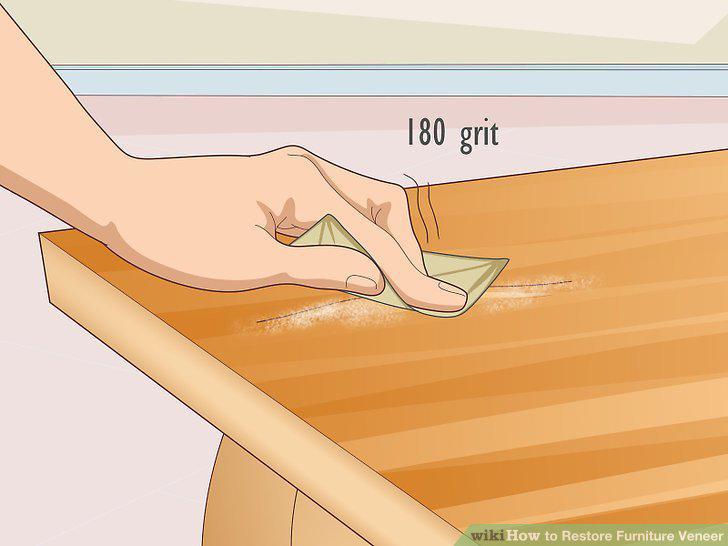
Sand the dried glue on top of the veneer with 180-grit sandpaper.
Tape around the chipped area if it's along the edge of the veneer.
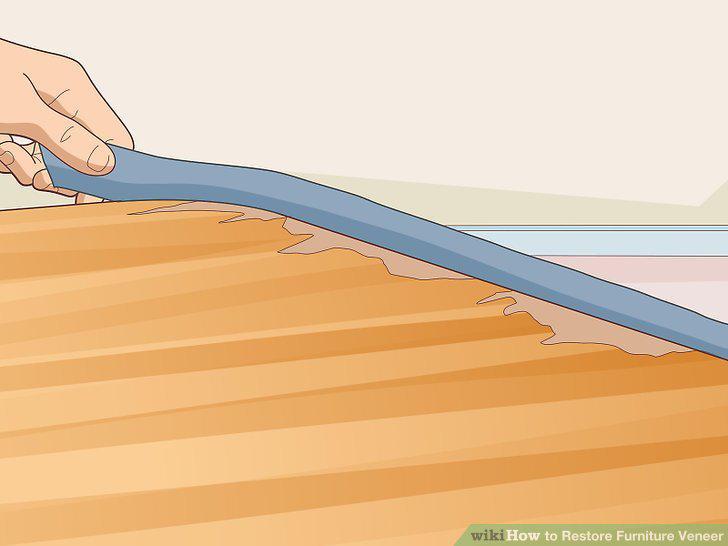
Tape around the chipped area if it's along the edge of the veneer.
Combine wood filler and hardener on a paper plate.
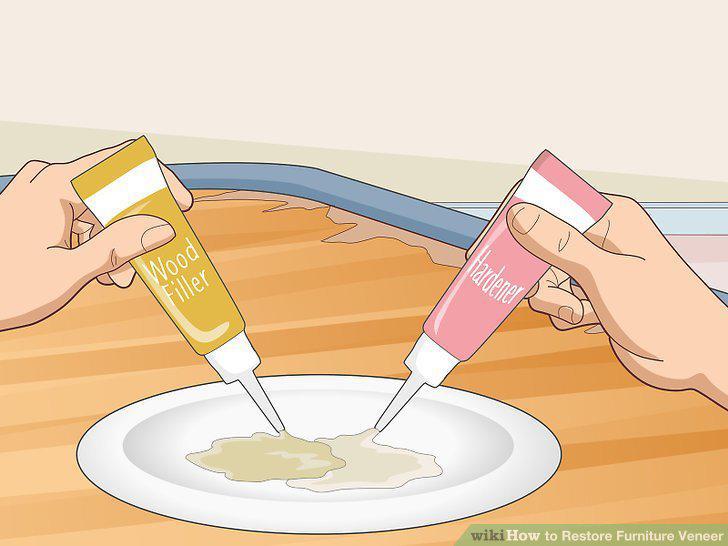
Combine wood filler and hardener on a paper plate.
Press the wood filler into the damaged sections with a plastic scraper.
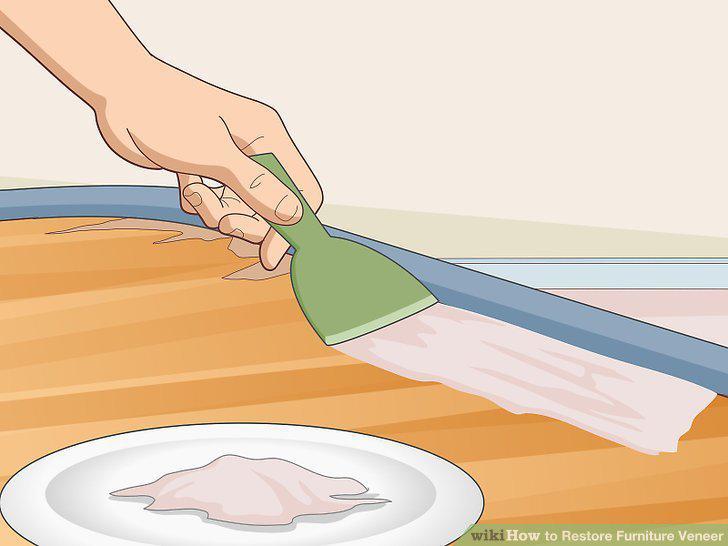
Press the wood filler into the damaged sections with a plastic scraper.
Allow the filler to dry for about 15–20 minutes.
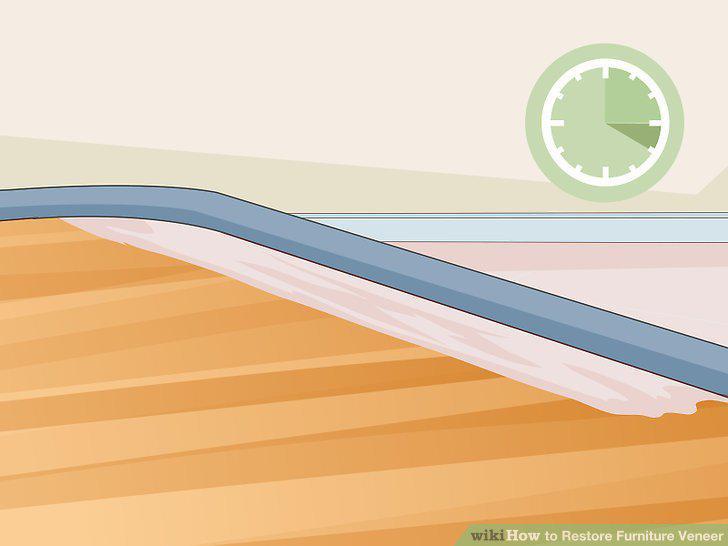
Allow the filler to dry for about 15–20 minutes.
Sand the wood filler with 140-grit sandpaper so it's flush with the veneer.
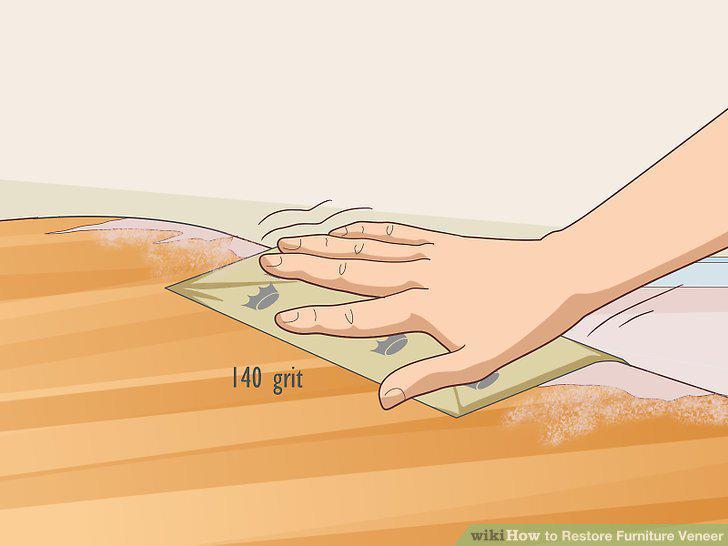
Sand the wood filler with 140-grit sandpaper so it's flush with the veneer.
Apply stain to the wood filler so it matches the veneer.
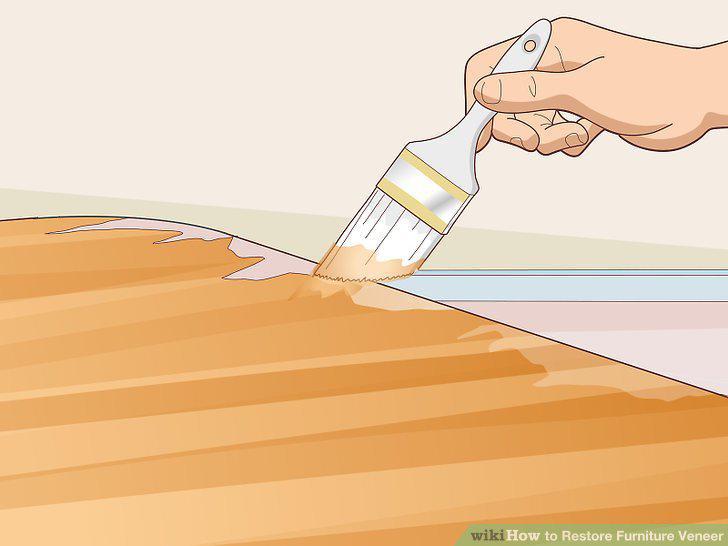
Apply stain to the wood filler so it matches the veneer.
Stain a piece of replacement veneer to the same color as the original.
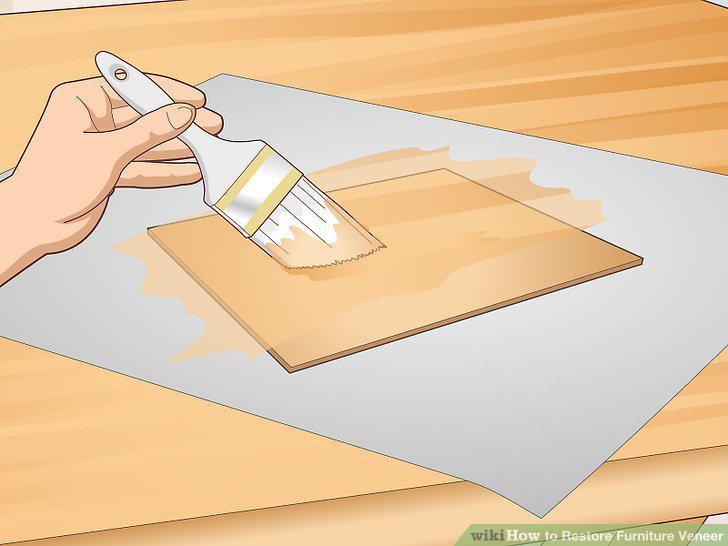
Stain a piece of replacement veneer to the same color as the original.
Cut a diamond-shaped patch from the replacement veneer.
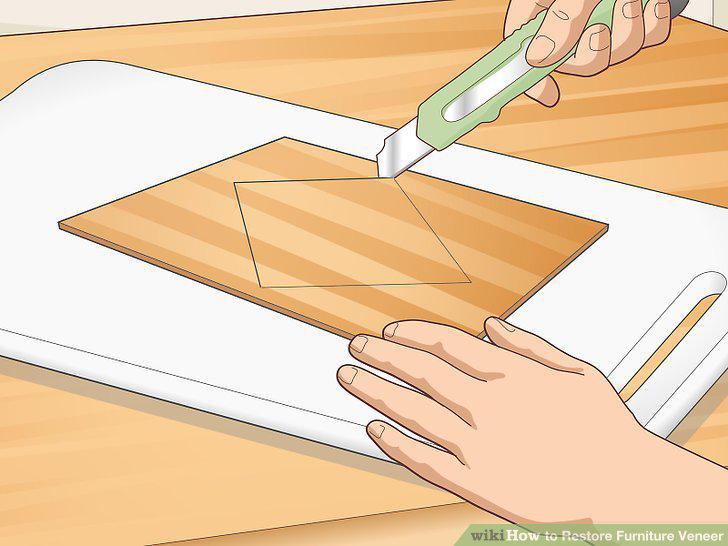
Cut a diamond-shaped patch from the replacement veneer.
Trace the outline of the patch around the damaged veneer.
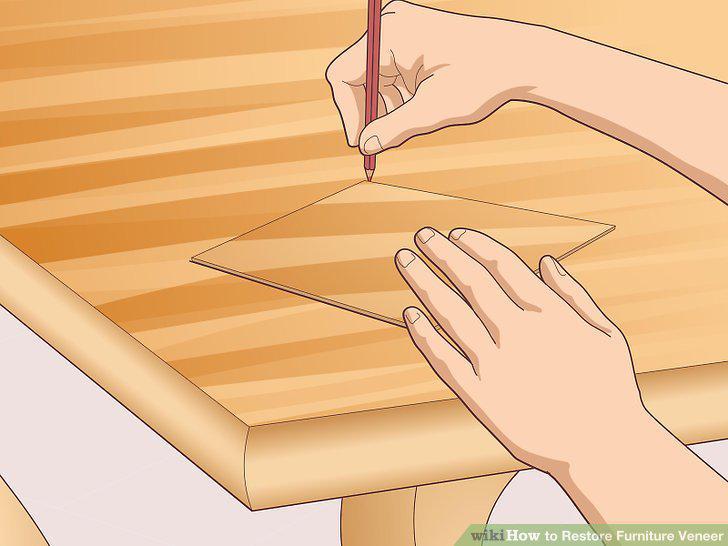
Trace the outline of the patch around the damaged veneer.
Slice through the veneer along the outline using a utility knife.
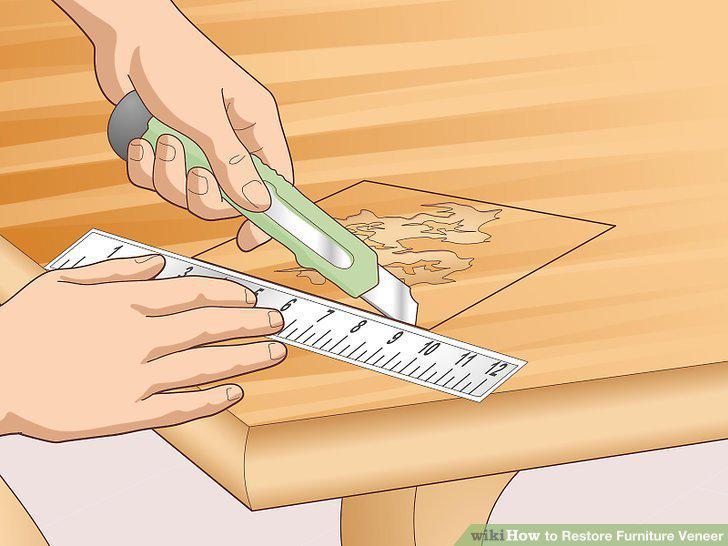
Slice through the veneer along the outline using a utility knife.
Chisel off the old veneer and glue from the damaged area.
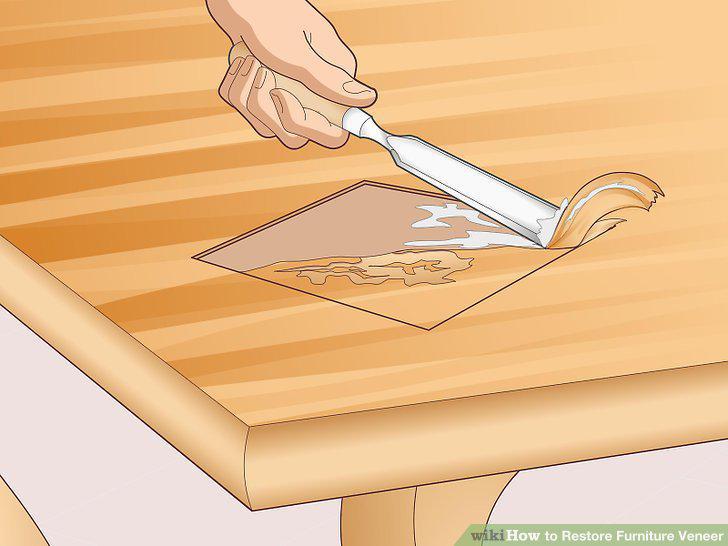
Chisel off the old veneer and glue from the damaged area.
Apply hide glue to the chiseled furniture surface.
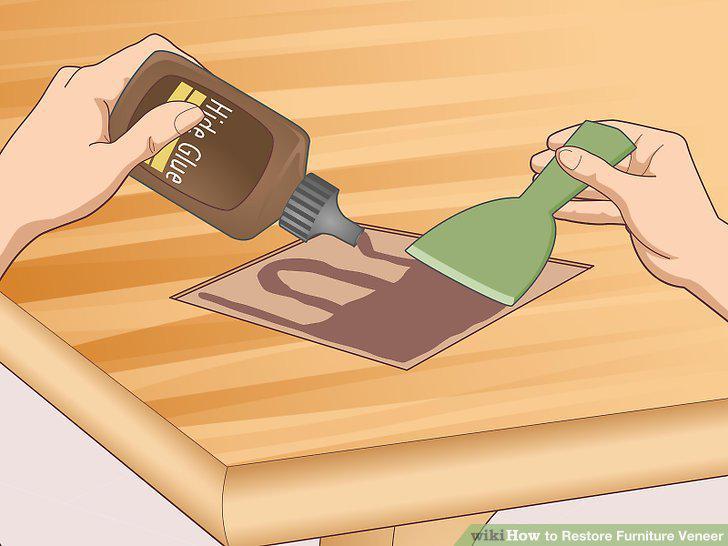
Apply hide glue to the chiseled furniture surface.
Set the veneer patch and a sheet of wax paper onto the glued surface.
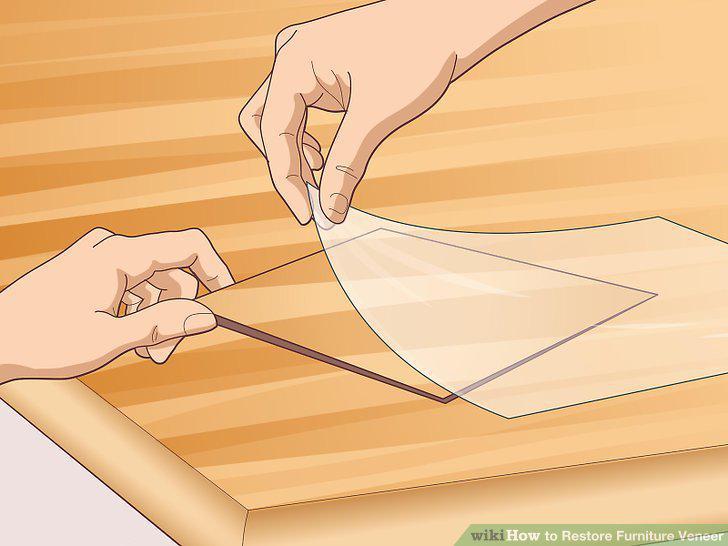
Set the veneer patch and a sheet of wax paper onto the glued surface.
Clamp a flat piece of wood over the patch until the glue dries.
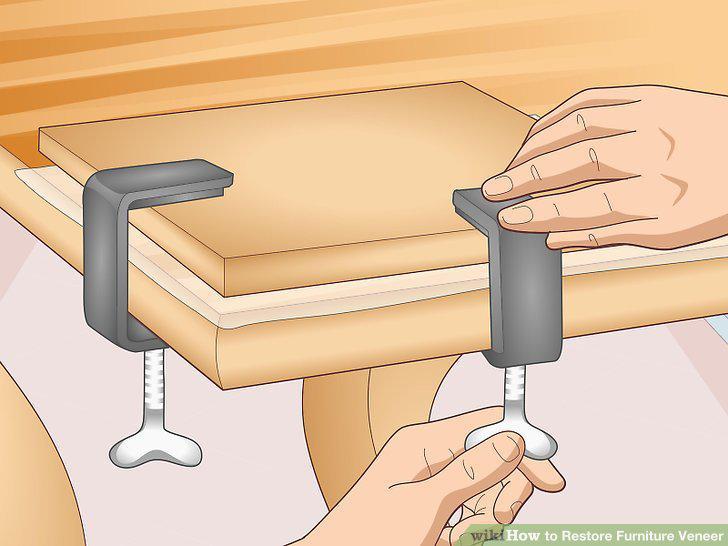
Clamp a flat piece of wood over the patch until the glue dries.
Sand the surface with 180-grit sandpaper to remove residual glue.
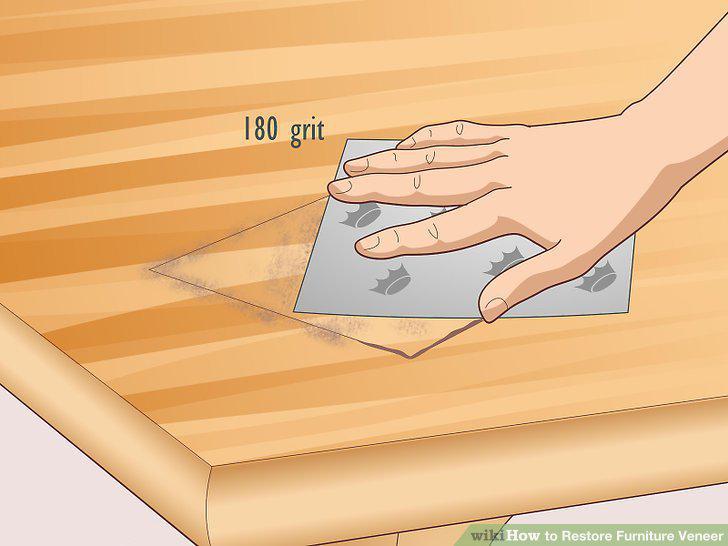
Sand the surface with 180-grit sandpaper to remove residual glue.
Comments (0)
No comments yet. Be the first to share your thoughts!