How to Create Custom Lists in Excel
Open Microsoft Excel on your computer.. Launch Excel's Custom Lists editor.. Select NEW LIST in the "Custom lists" box.
Steps
1
Open Microsoft Excel on your computer.
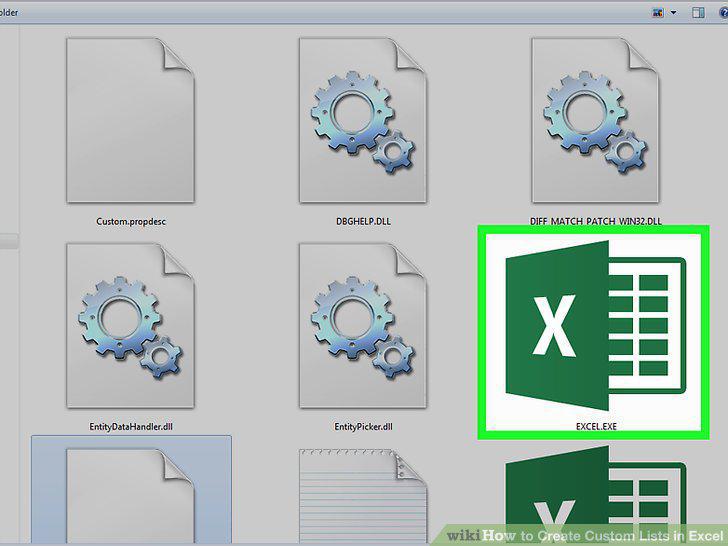
Open Microsoft Excel on your computer.
2
Launch Excel's Custom Lists editor.
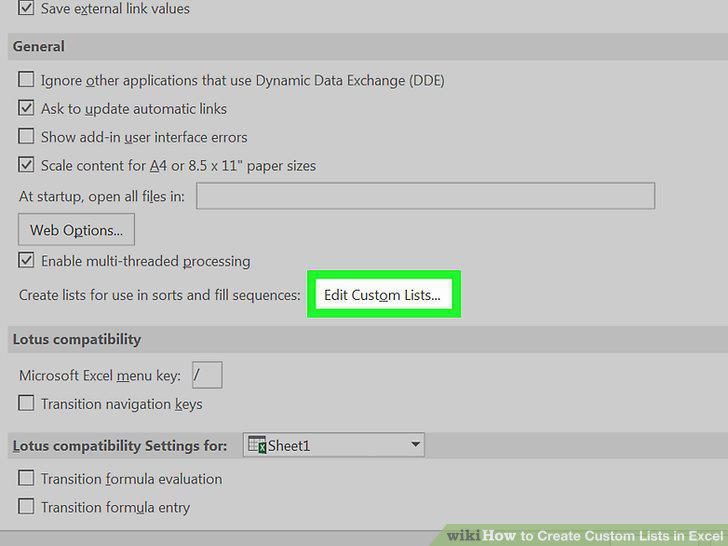
Launch Excel's Custom Lists editor.
3
Select NEW LIST in the "Custom lists" box.
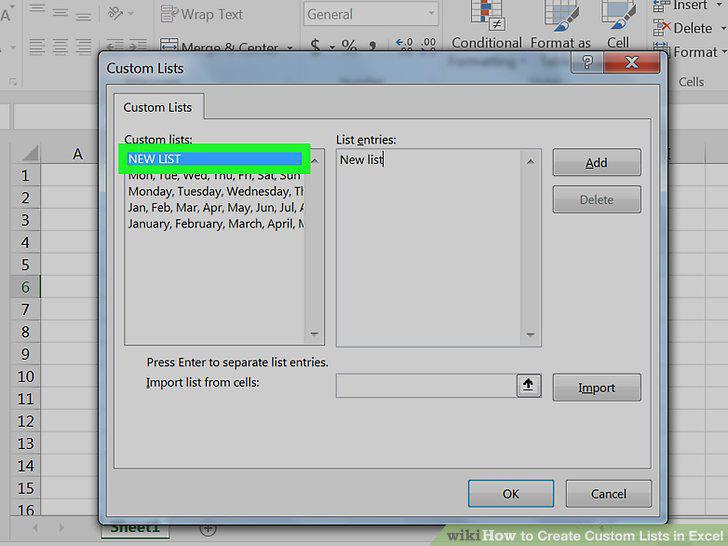
Select NEW LIST in the "Custom lists" box.
4
Click on the "List entries" box.
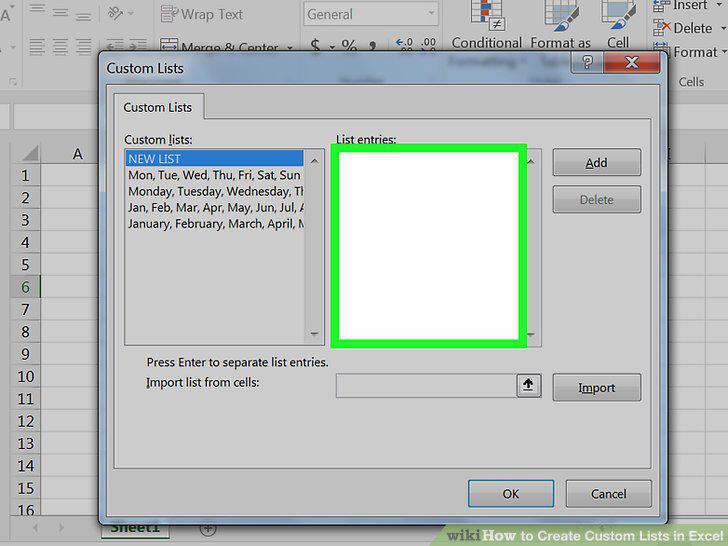
Click on the "List entries" box.
5
Type in entries for your new list.
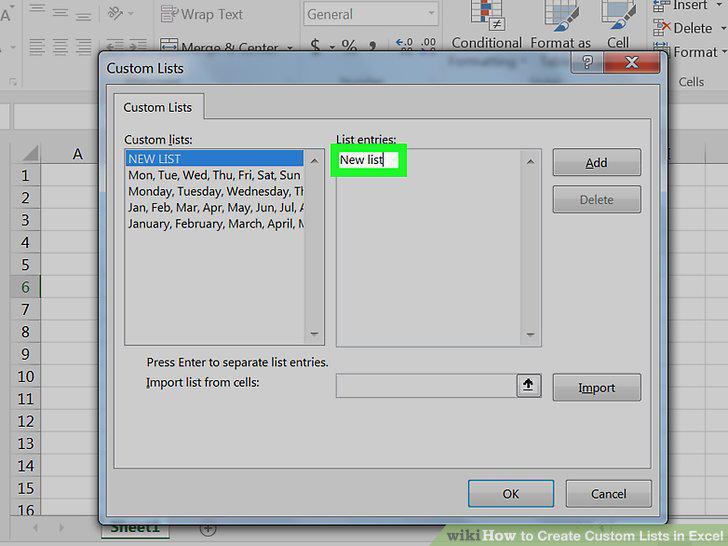
Type in entries for your new list.
6
Click the cell selector icon next to the Import button.
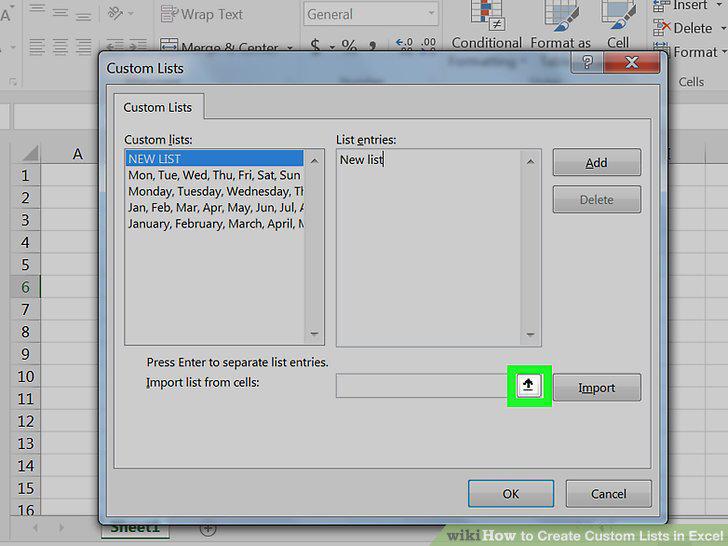
Click the cell selector icon next to the Import button.
7
Click Import.
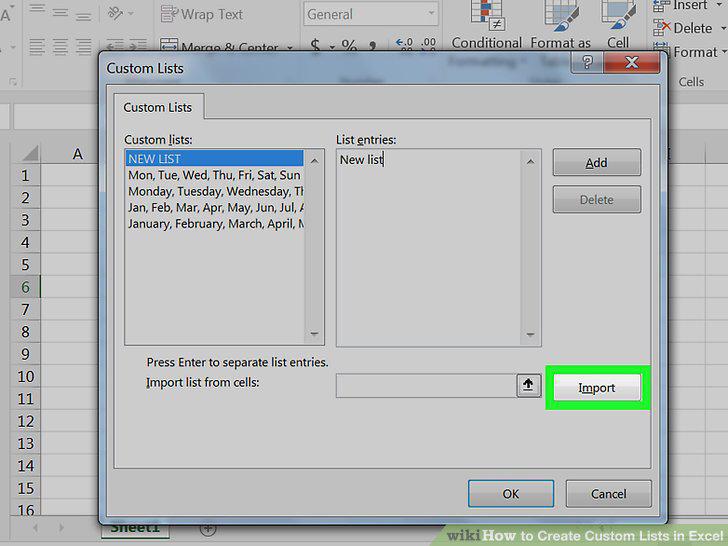
Click Import.
8
Click Add.
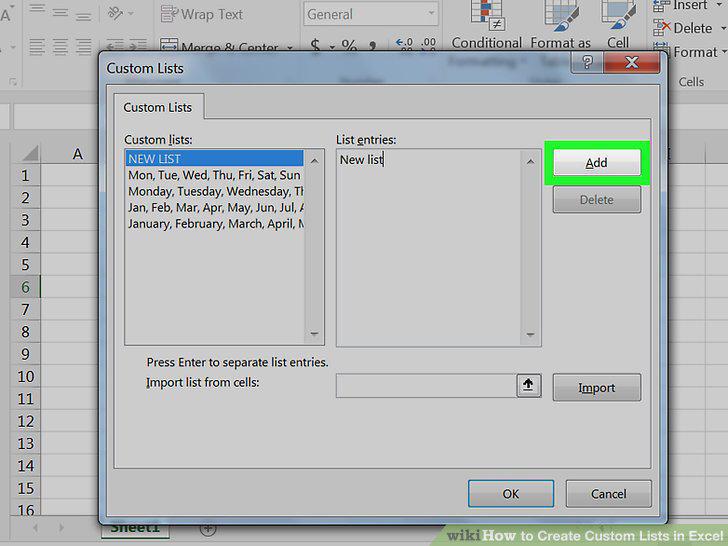
Click Add.
9
Click OK.
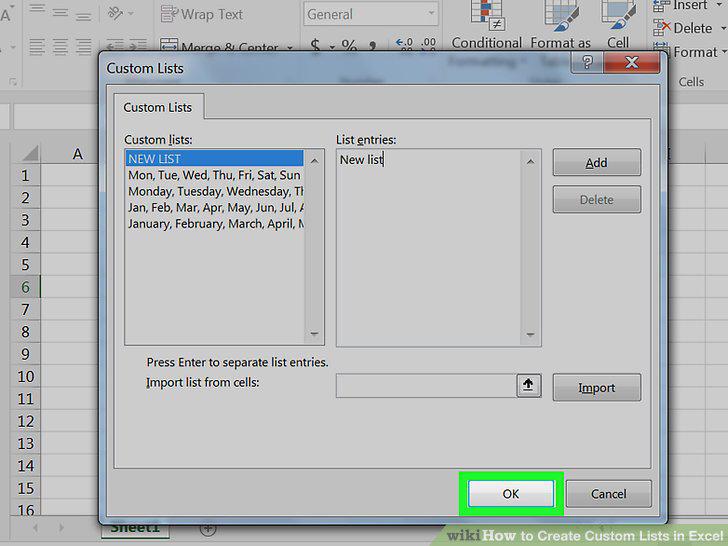
Click OK.
10
Type in one of your custom list entries in a cell.
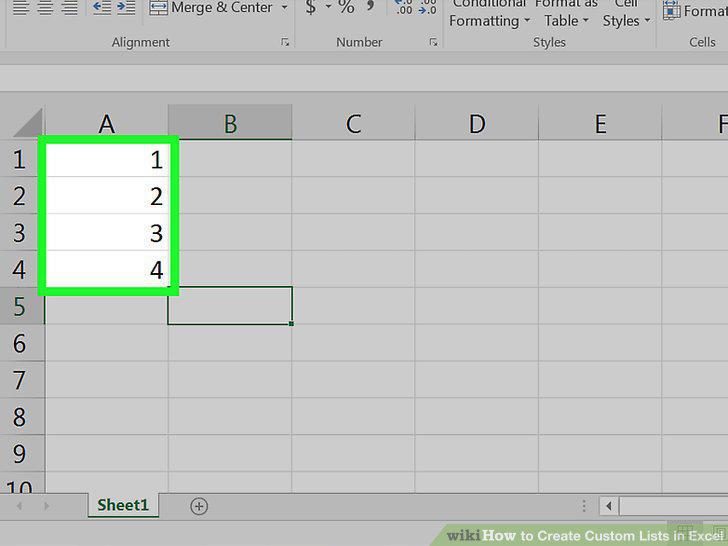
Type in one of your custom list entries in a cell.
11
Press Enter on your keyboard.
Press Enter on your keyboard.
12
Click on the cell.
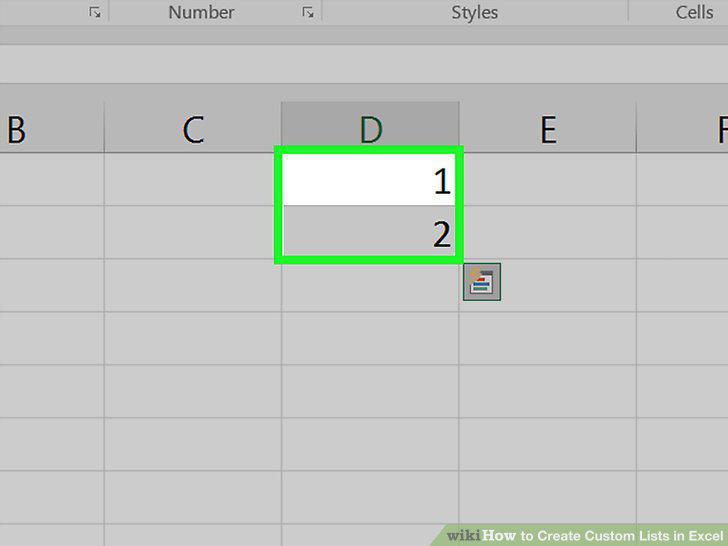
Click on the cell.
13
Click and drag the AutoFill handle in any direction.
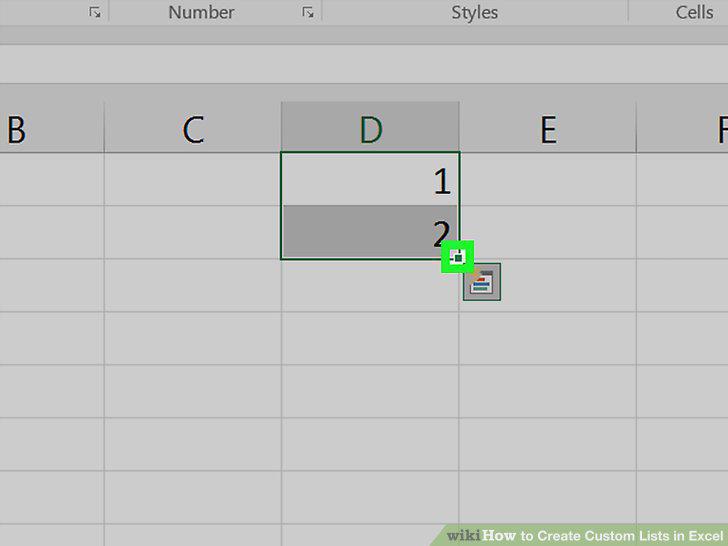
Click and drag the AutoFill handle in any direction.
Comments (0)
No comments yet. Be the first to share your thoughts!