How to Erase a DVD
Click the Launchpad icon on the bottom of the screen.. Click the disk utility icon.. Insert the DVD into your computer's DVD drive.
Steps
Click the Launchpad icon on the bottom of the screen.
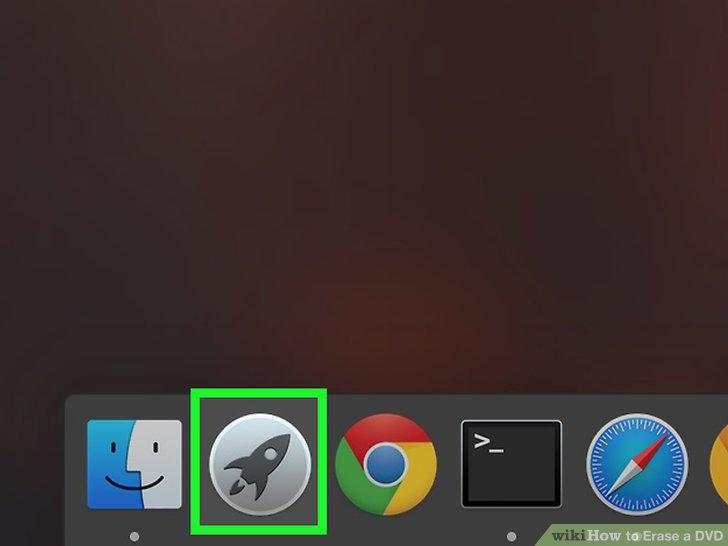
Click the Launchpad icon on the bottom of the screen.
Click the disk utility icon.
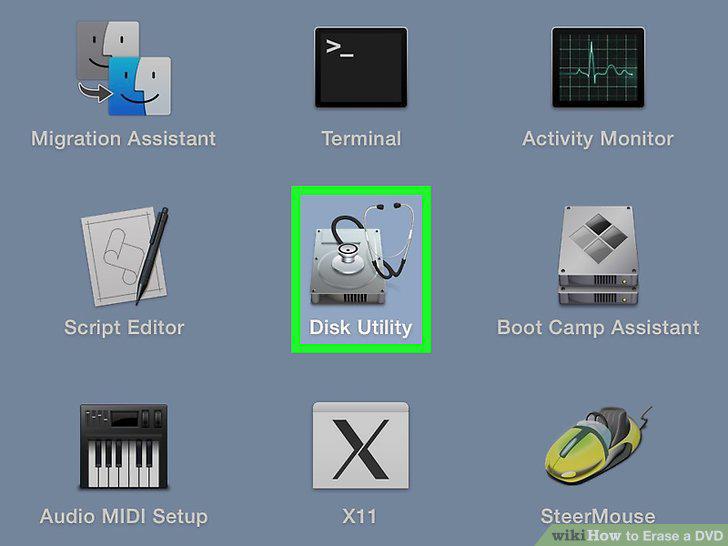
Click the disk utility icon.
Insert the DVD into your computer's DVD drive.
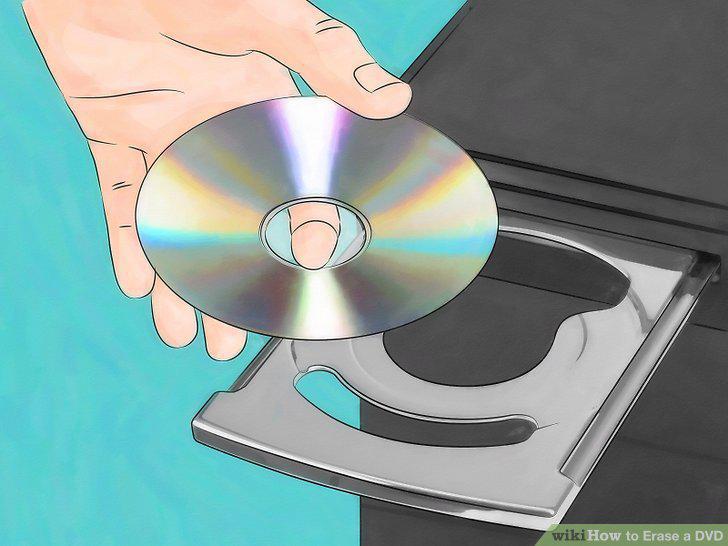
Insert the DVD into your computer's DVD drive.
Click the DVD icon.
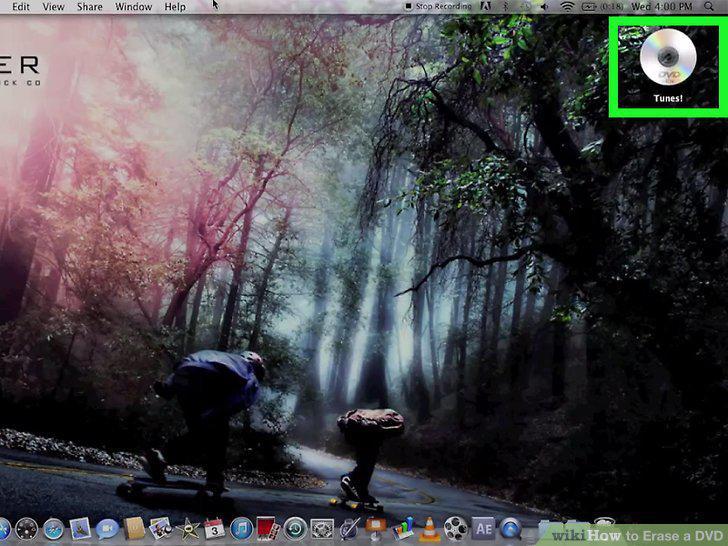
Click the DVD icon.
Select either the "quickly" or "completely" options.
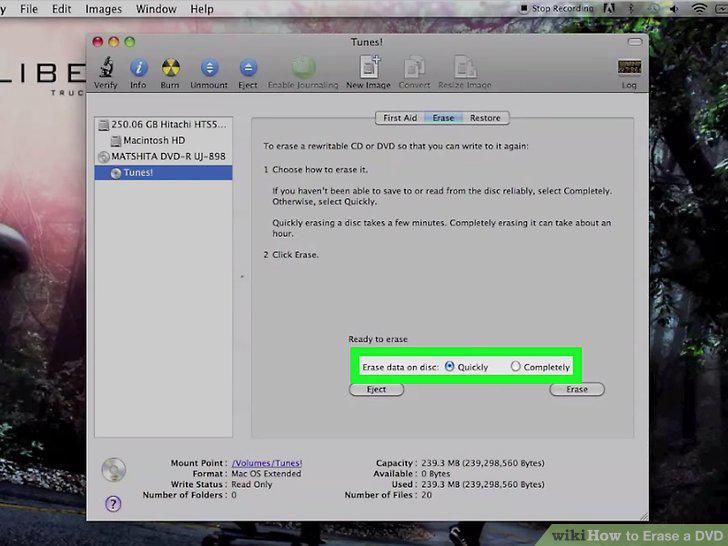
Select either the "quickly" or "completely" options.
Click the "Erase" button.
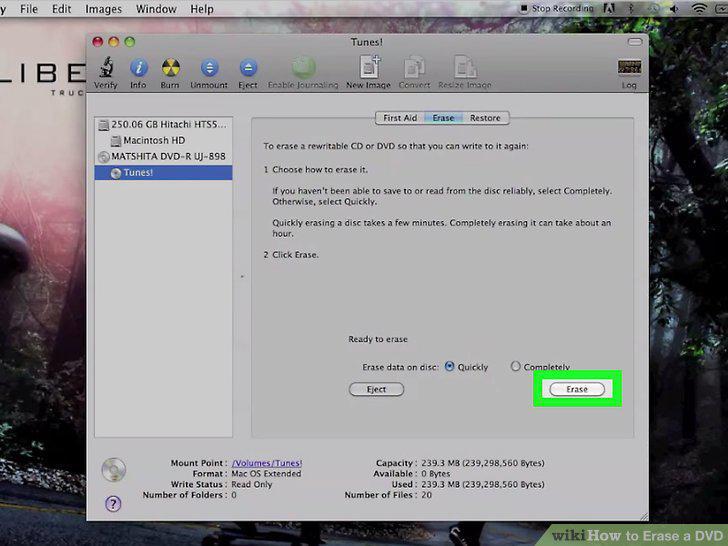
Click the "Erase" button.
Bring up Windows File Explorer.
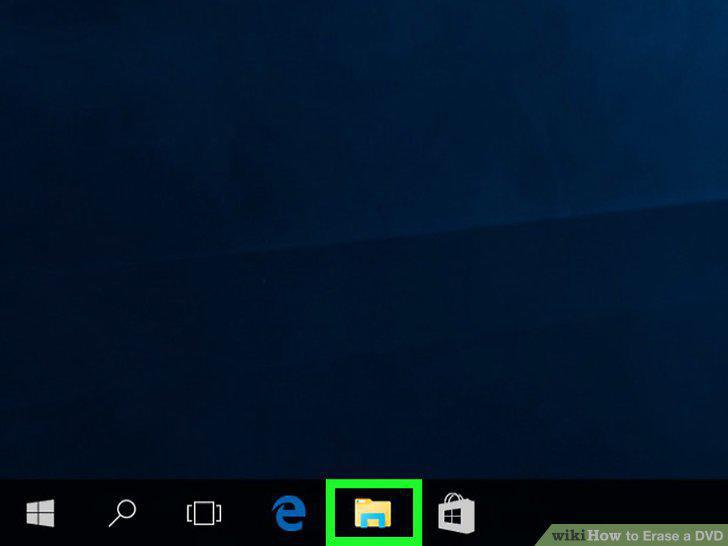
Bring up Windows File Explorer.
Click "This PC" on the left-hand side of the File Explorer.
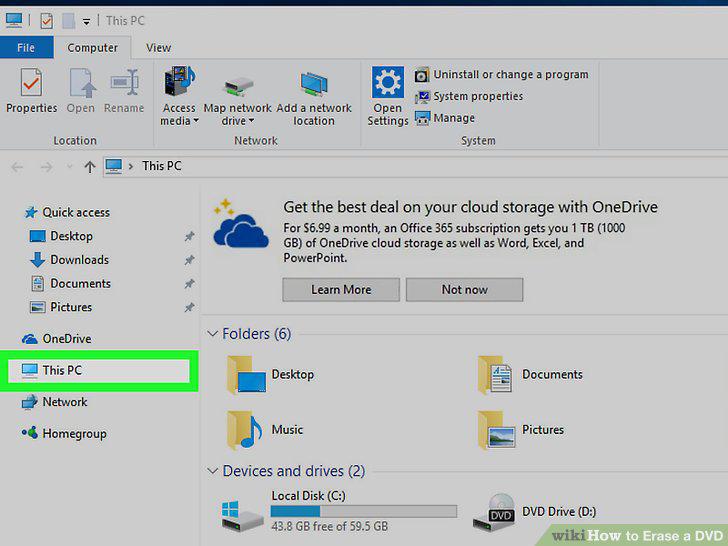
Click "This PC" on the left-hand side of the File Explorer.
Double click on the DVD icon.
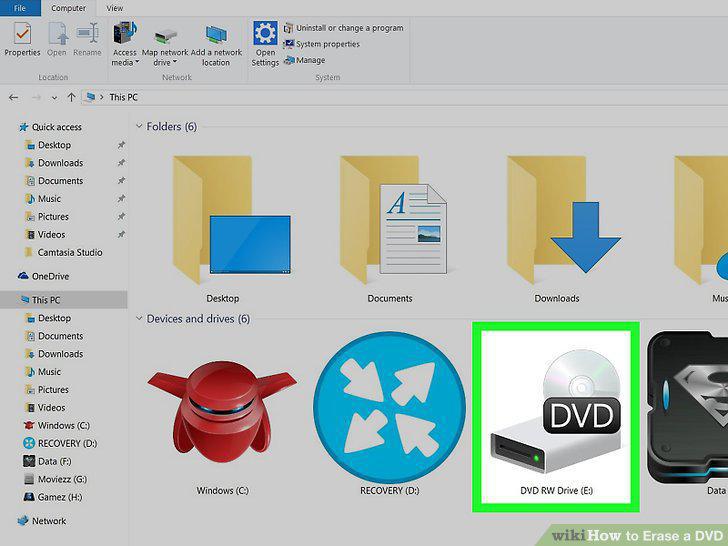
Double click on the DVD icon.
Select the files you want to delete.
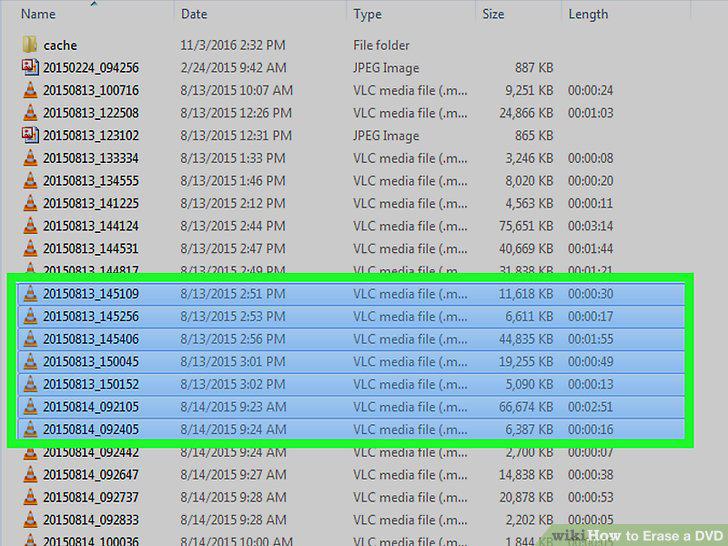
Select the files you want to delete.
Hit the "Delete" key.
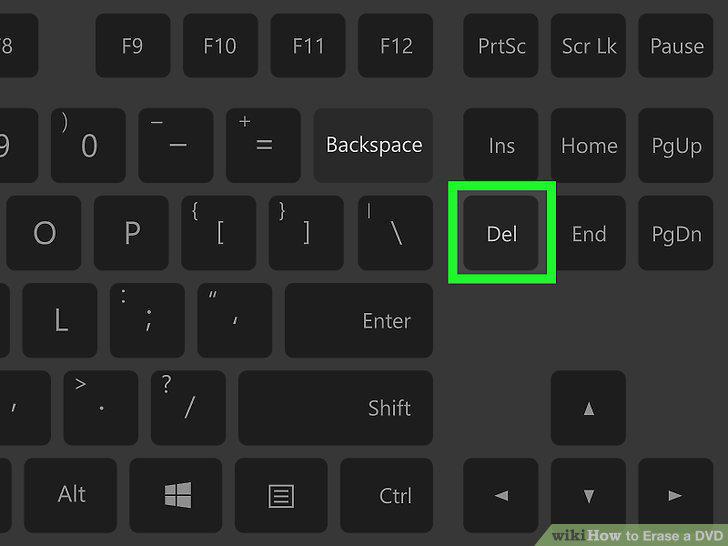
Hit the "Delete" key.
Click the "My Computer" icon.
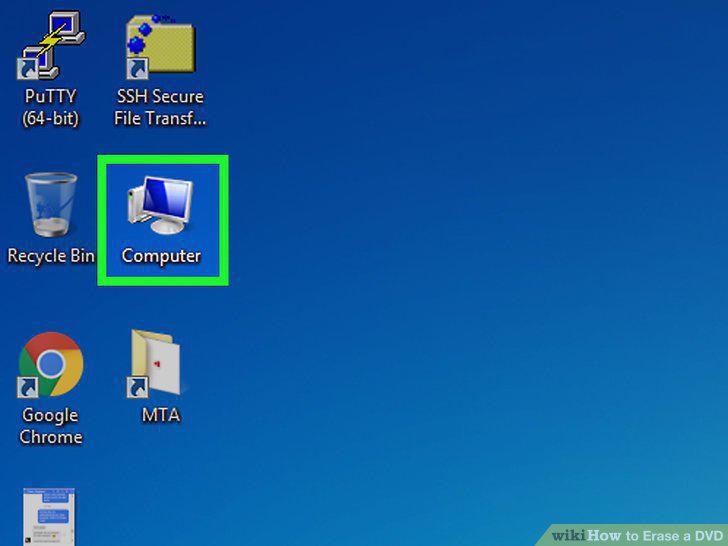
Click the "My Computer" icon.
Insert the DVD into the drive.
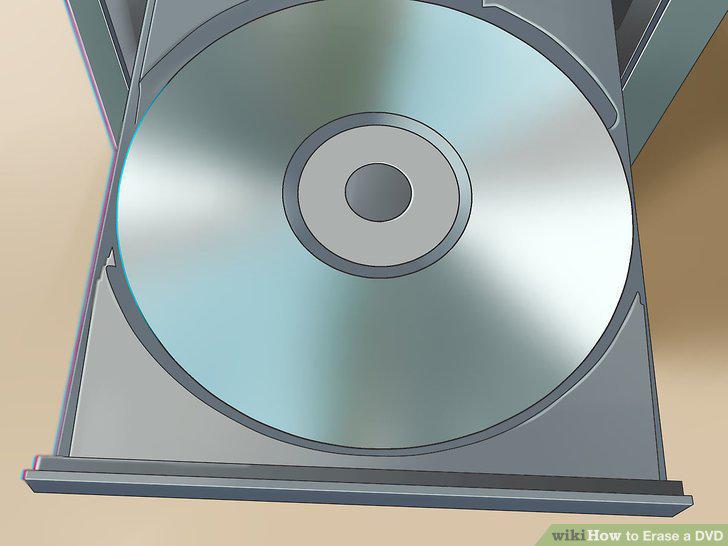
Insert the DVD into the drive.
Right-click the DVD-RW and left-click the "Erase this disc" text.
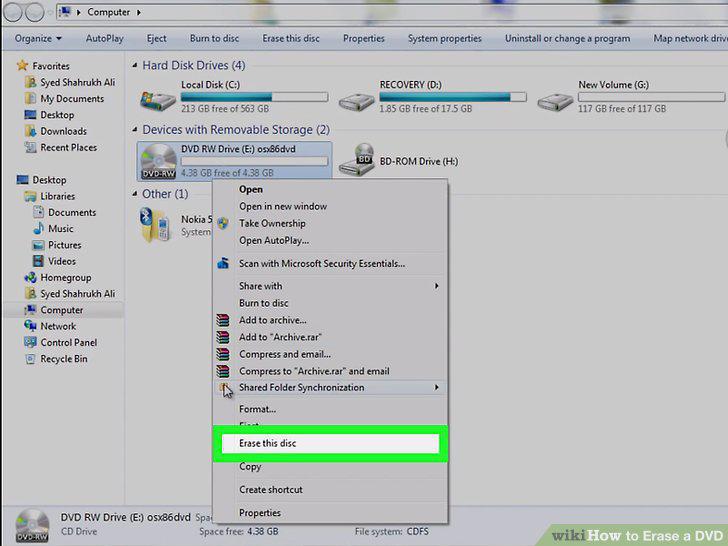
Right-click the DVD-RW and left-click the "Erase this disc" text.
Click the "Next" button.
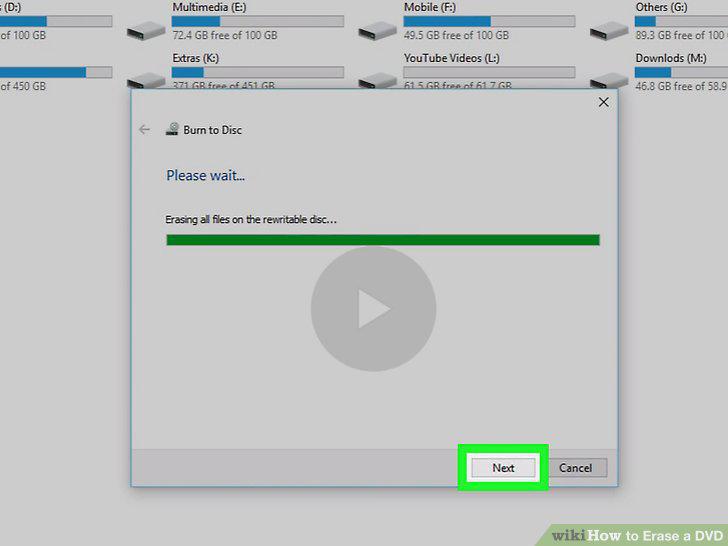
Click the "Next" button.
Backup the files that you want to save on your hard drive.
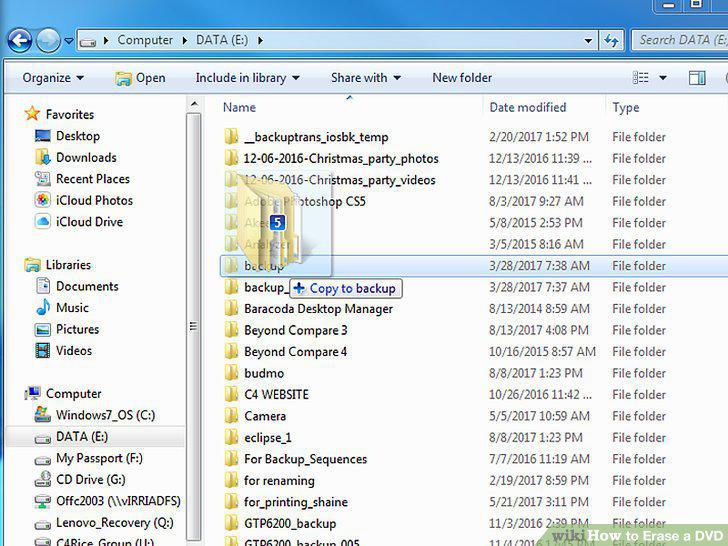
Backup the files that you want to save on your hard drive.
Destroy the old DVD-R disc.
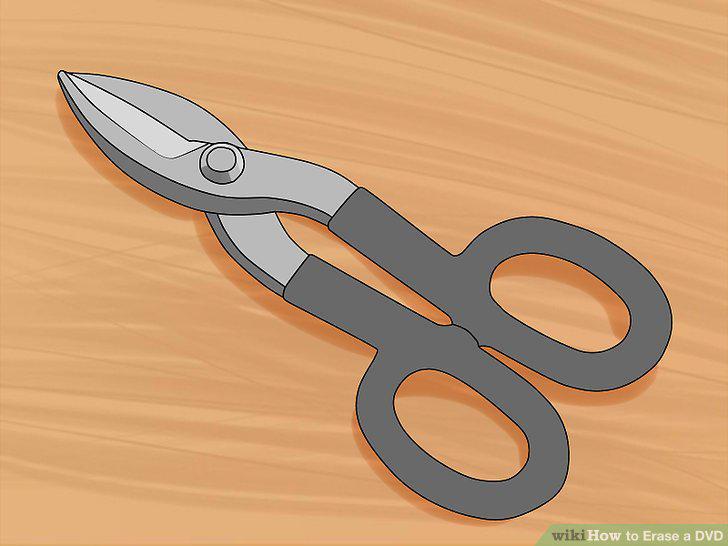
Destroy the old DVD-R disc.
Transfer the files that you want onto a new disc.
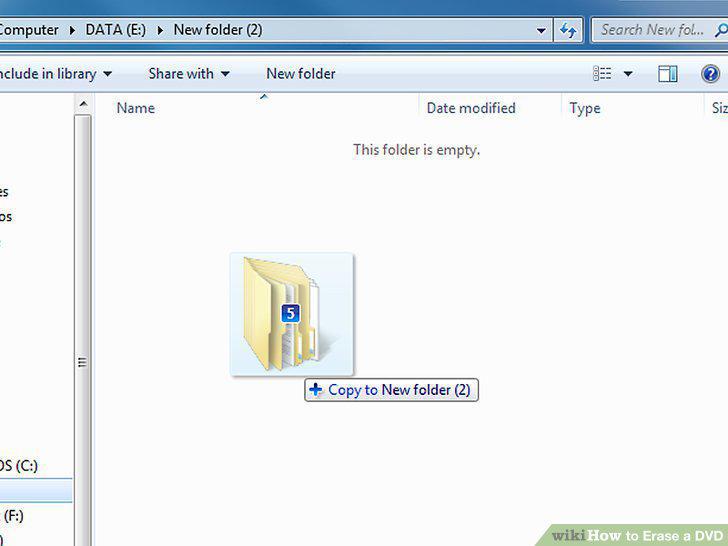
Transfer the files that you want onto a new disc.
Comments (0)
No comments yet. Be the first to share your thoughts!