How to Remove Quarter Round Trim
Work slowly and carefully to prevent damaging the walls or baseboards.. Wear safety gear to protect you from hazards in the area.. Purchase a small putty knife or prybar.
Steps
1
Work slowly and carefully to prevent damaging the walls or baseboards.
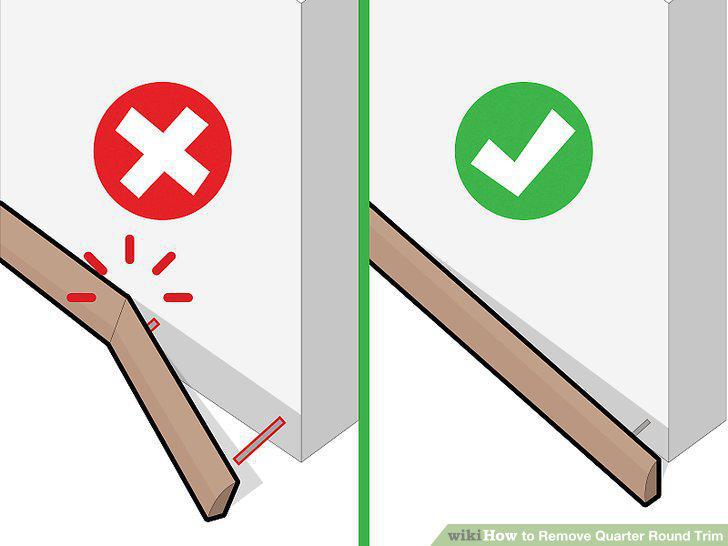
Work slowly and carefully to prevent damaging the walls or baseboards.
2
Wear safety gear to protect you from hazards in the area.
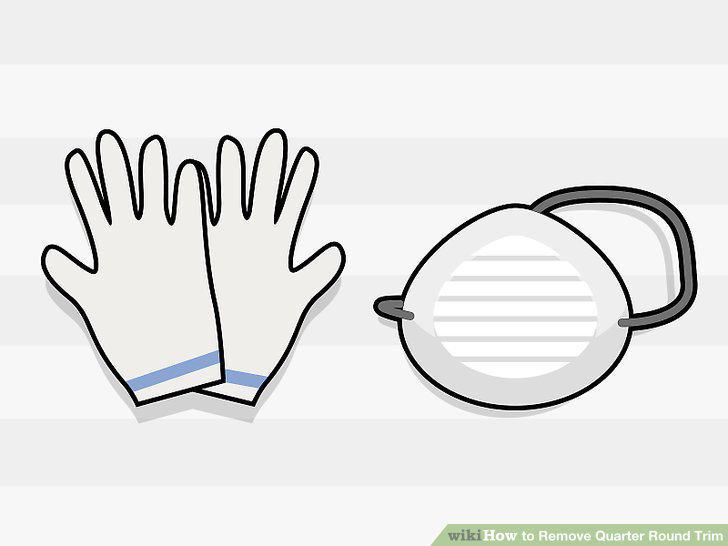
Wear safety gear to protect you from hazards in the area.
3
Purchase a small putty knife or prybar.
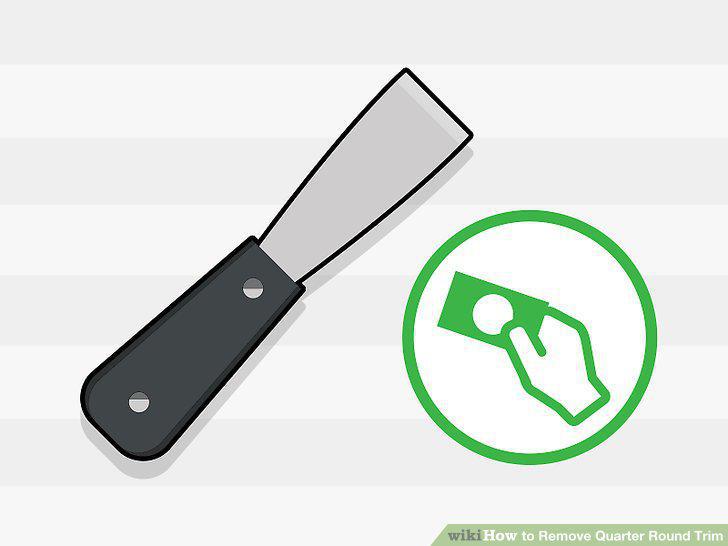
Purchase a small putty knife or prybar.
4
Locate any gaps between the trim, the wall, and the baseboard.
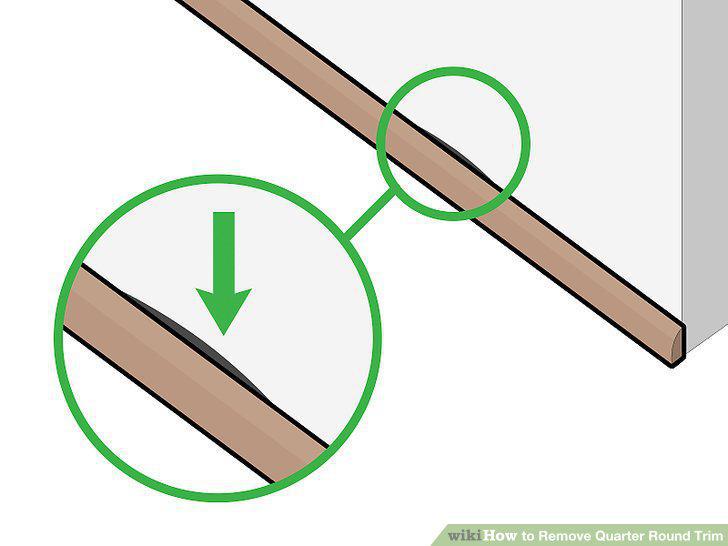
Locate any gaps between the trim, the wall, and the baseboard.
5
Slide the putty knife carefully into a gap.
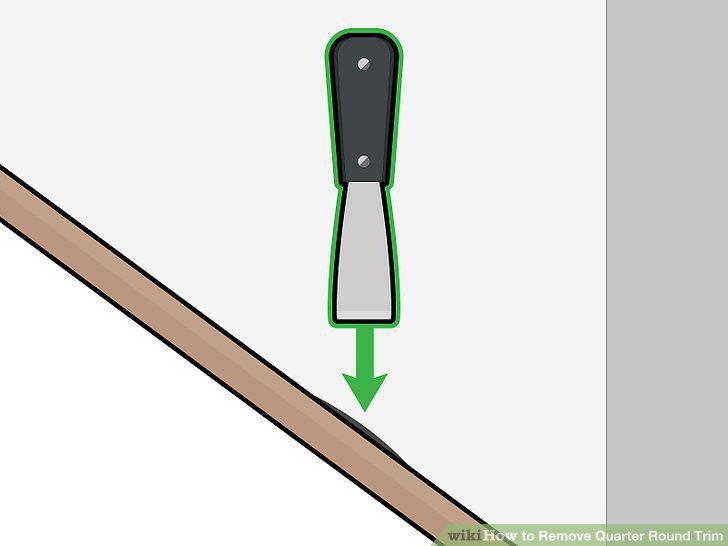
Slide the putty knife carefully into a gap.
6
Wiggle the knife back and forth once inserted to loosen the trim.
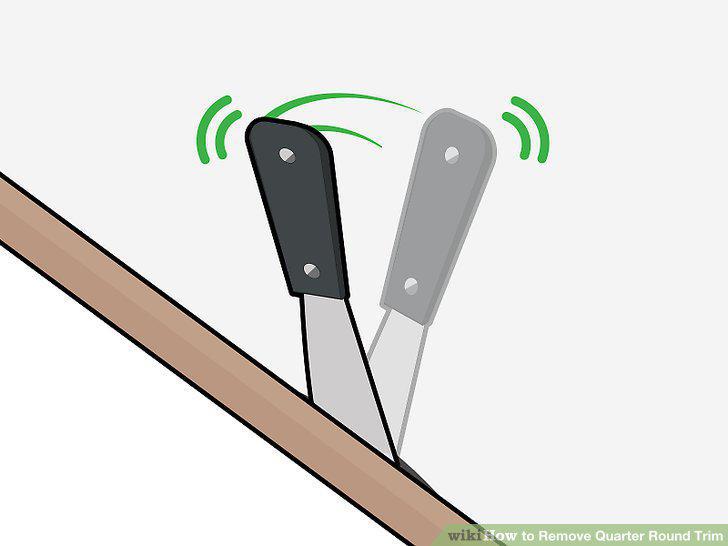
Wiggle the knife back and forth once inserted to loosen the trim.
7
Look for the nails in the trim as it begins separating from the wall.
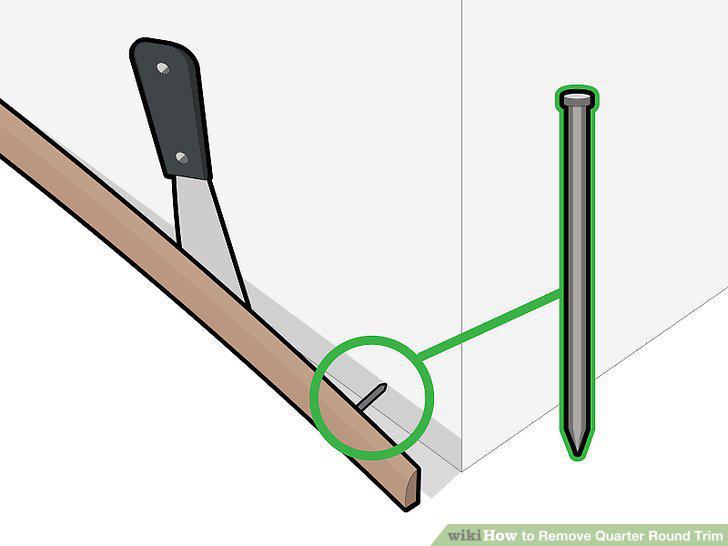
Look for the nails in the trim as it begins separating from the wall.
8
Pry the trim from the wall with the nails still attached.
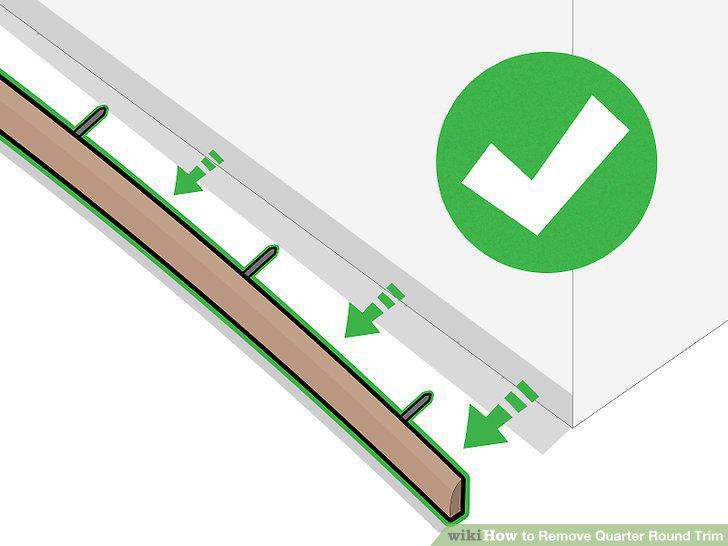
Pry the trim from the wall with the nails still attached.
Comments (0)
No comments yet. Be the first to share your thoughts!