How to Make Plates
Throw a 4 by 4 in (10 by 10 cm) piece of clay on the table to thin it out.. Place wooden strips on the table to help create an even layer of clay.. Roll the clay out with the rolling pin.
Steps
Throw a 4 by 4 in (10 by 10 cm) piece of clay on the table to thin it out.
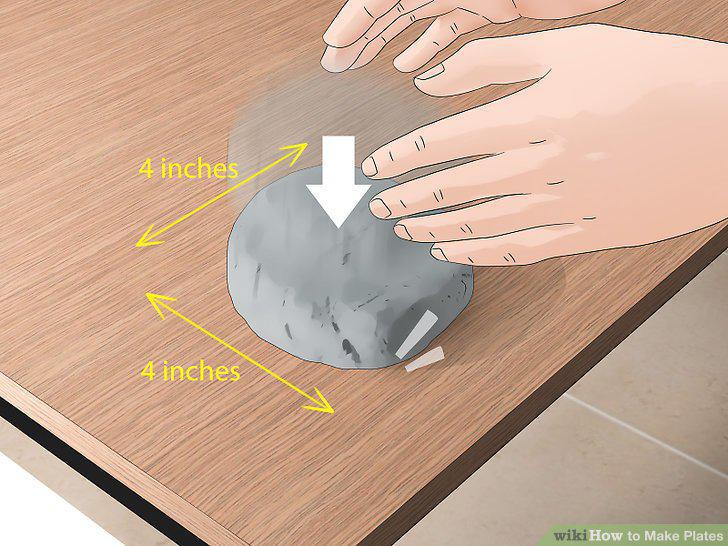
Throw a 4 by 4 in (10 by 10 cm) piece of clay on the table to thin it out.
Place wooden strips on the table to help create an even layer of clay.
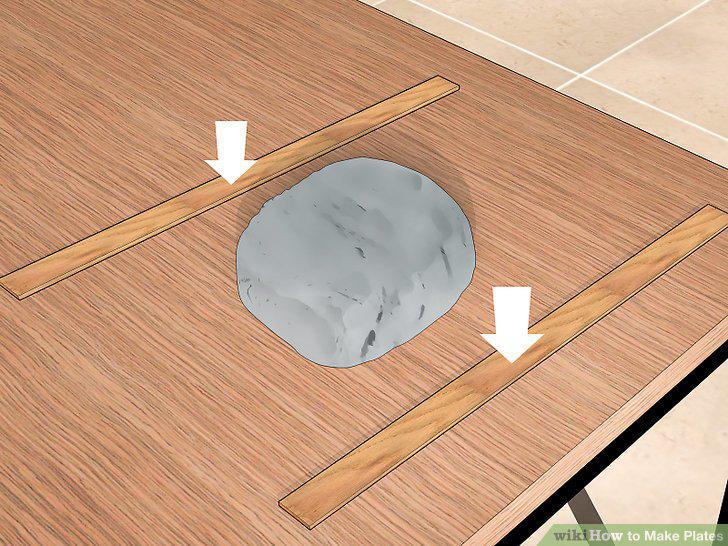
Place wooden strips on the table to help create an even layer of clay.
Roll the clay out with the rolling pin.
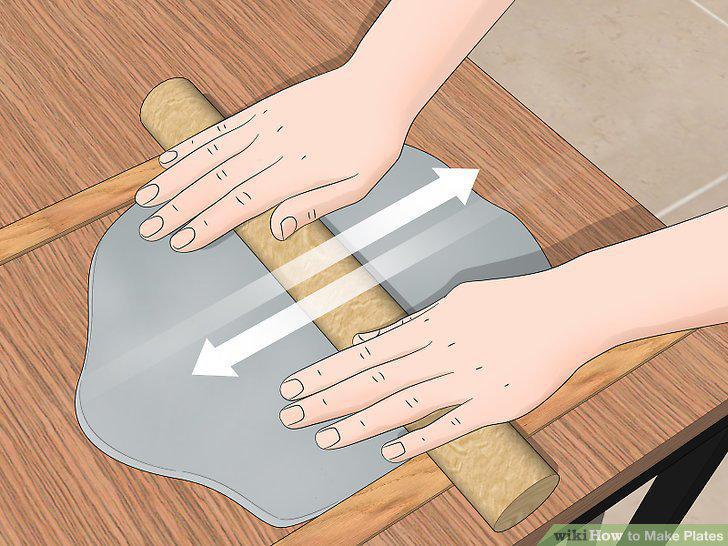
Roll the clay out with the rolling pin.
Create a smooth surface on the clay with a plastic card.
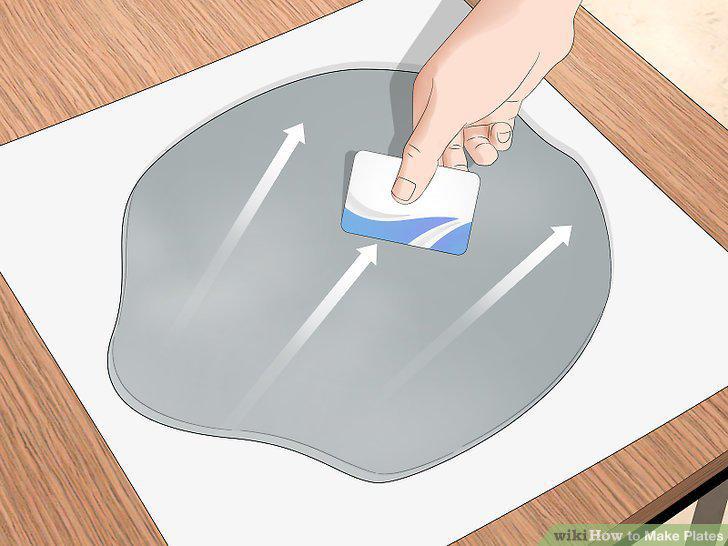
Create a smooth surface on the clay with a plastic card.
Trace around an uncoated paper plate.
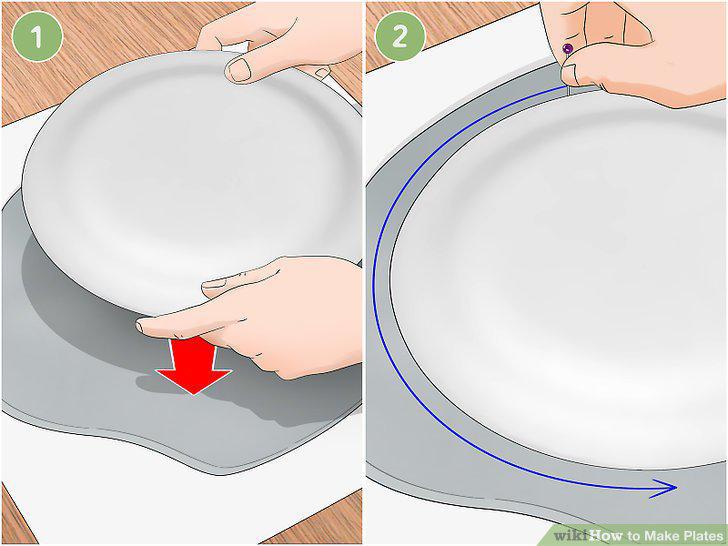
Trace around an uncoated paper plate.
Remove the extra clay with your hands.
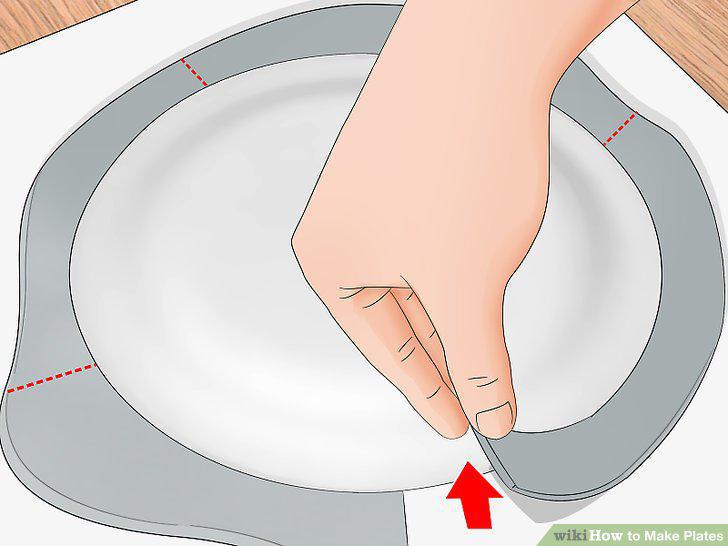
Remove the extra clay with your hands.
Leave the plate to dry in a mold.
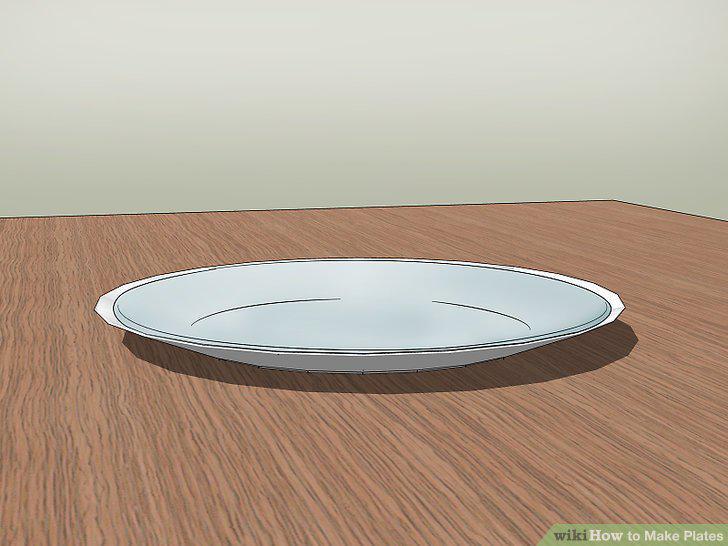
Leave the plate to dry in a mold.
Wedge the clay by throwing it against a canvased table.
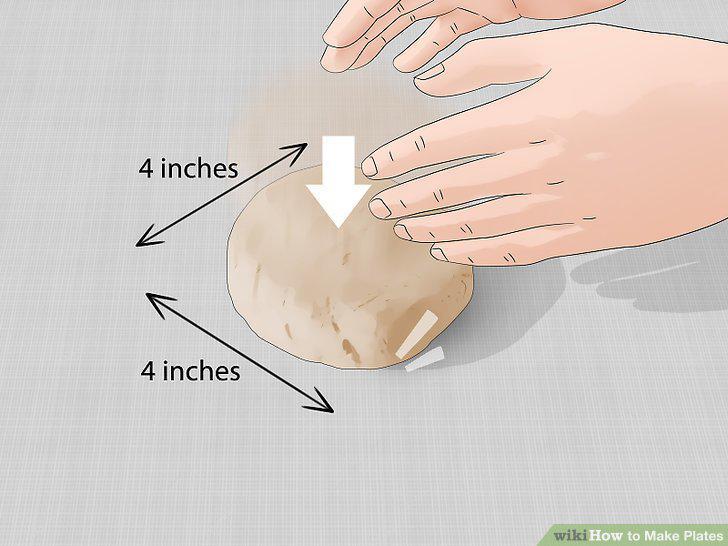
Wedge the clay by throwing it against a canvased table.
Center the clay on the wheel.
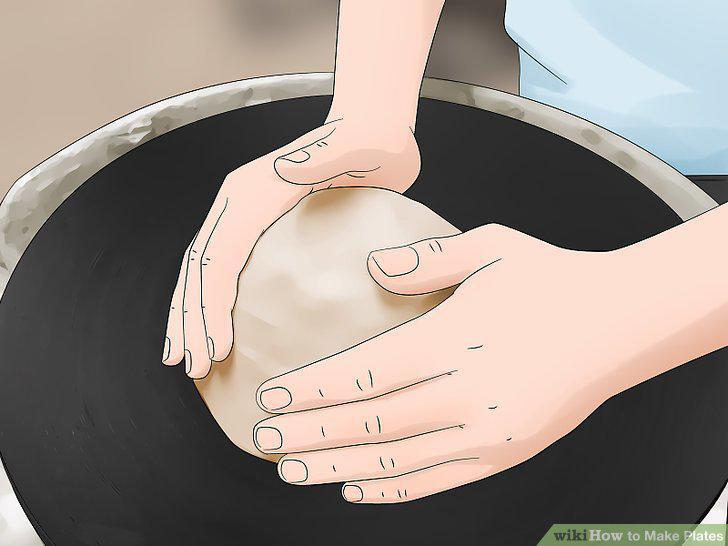
Center the clay on the wheel.
Use your fist to press down in the center and widen the plate.
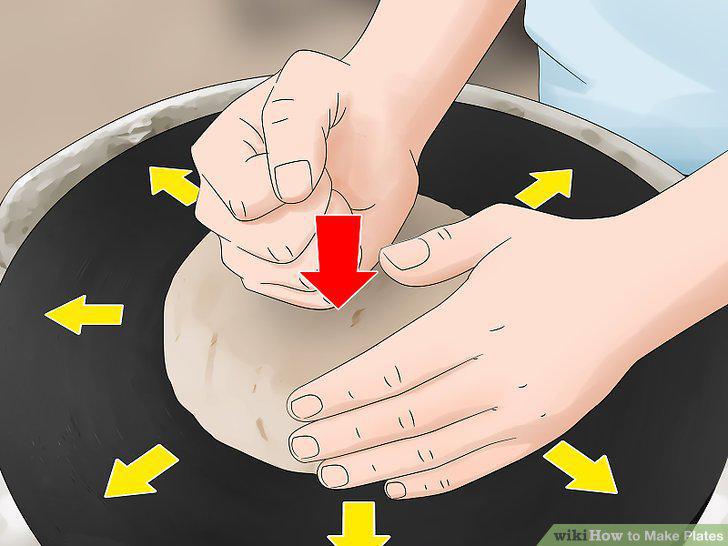
Use your fist to press down in the center and widen the plate.
Shape the edge of the plate with your fingers.
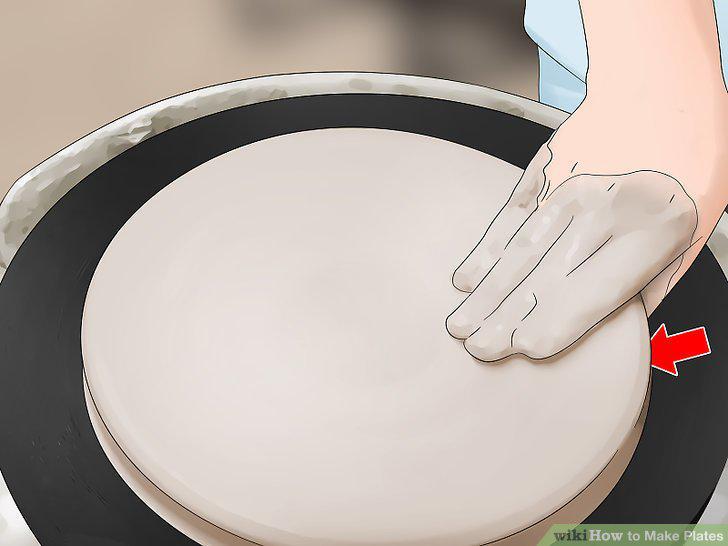
Shape the edge of the plate with your fingers.
Finish shaping the plate by adding a rim or ribbing.
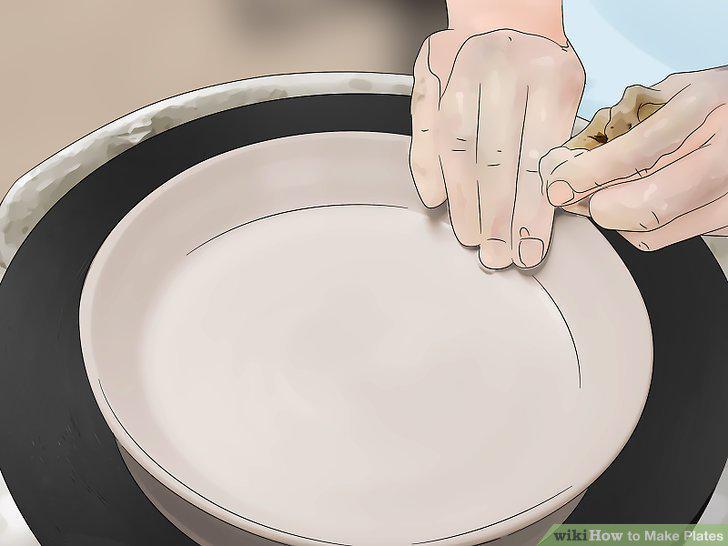
Finish shaping the plate by adding a rim or ribbing.
Cut the plate off the wheel with a wire tool.
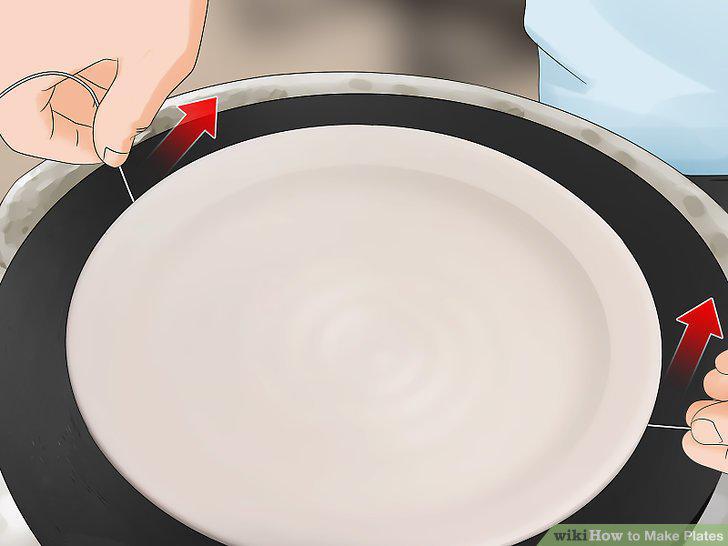
Cut the plate off the wheel with a wire tool.
Trim your plate as needed once it's at least leather-hard.
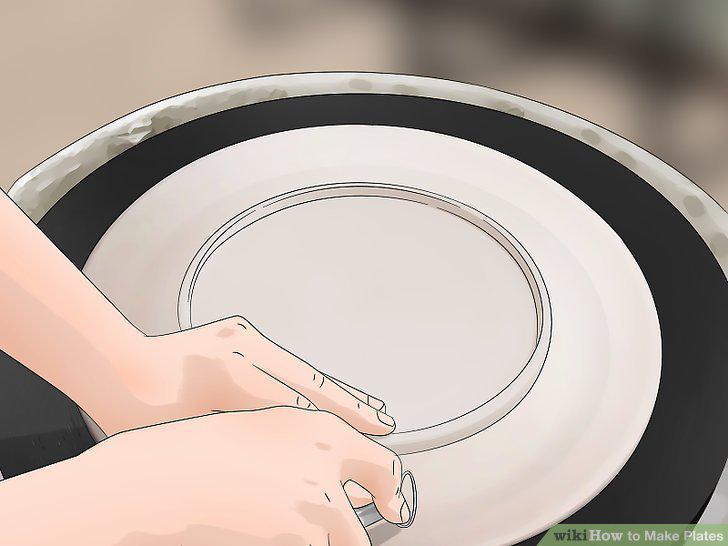
Trim your plate as needed once it's at least leather-hard.
Fire the plate in a kiln
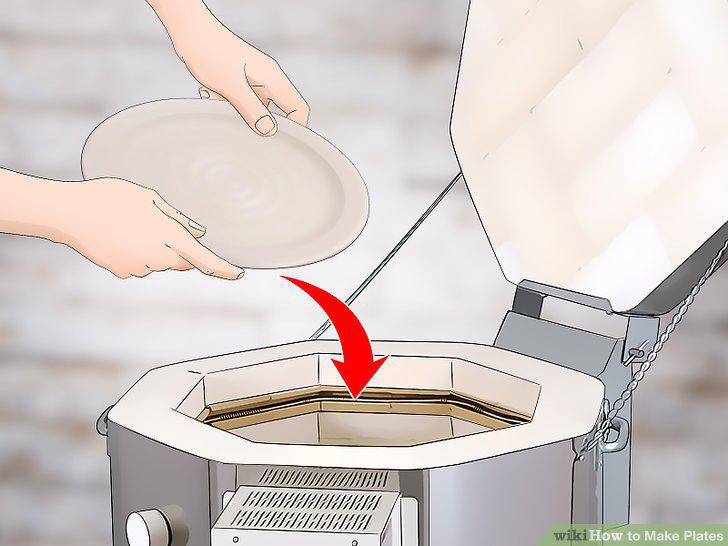
Fire the plate in a kiln
Add glazing
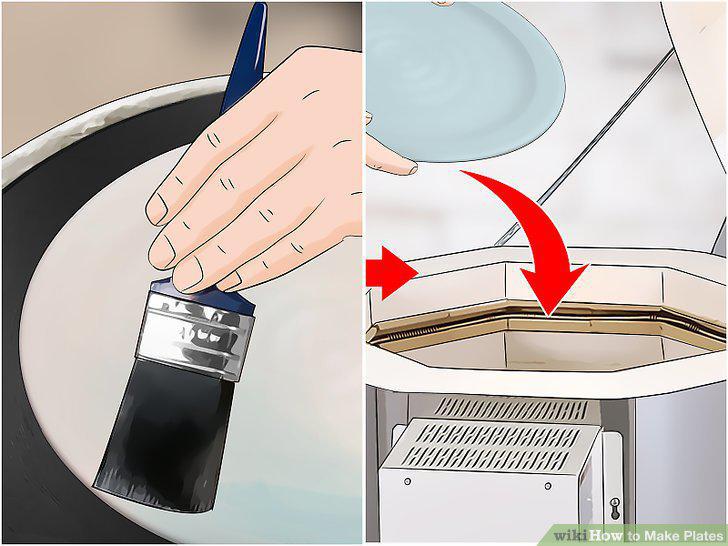
Add glazing
Find food-safe paint for your plates.
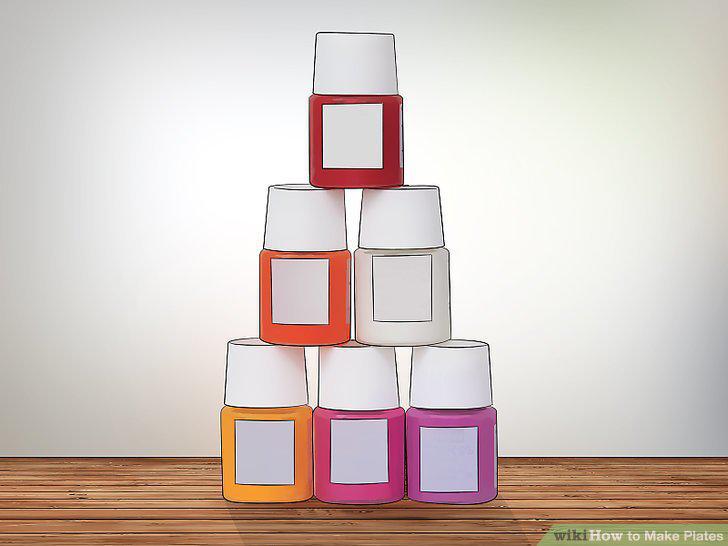
Find food-safe paint for your plates.
Wipe down clean plates with rubbing alcohol.
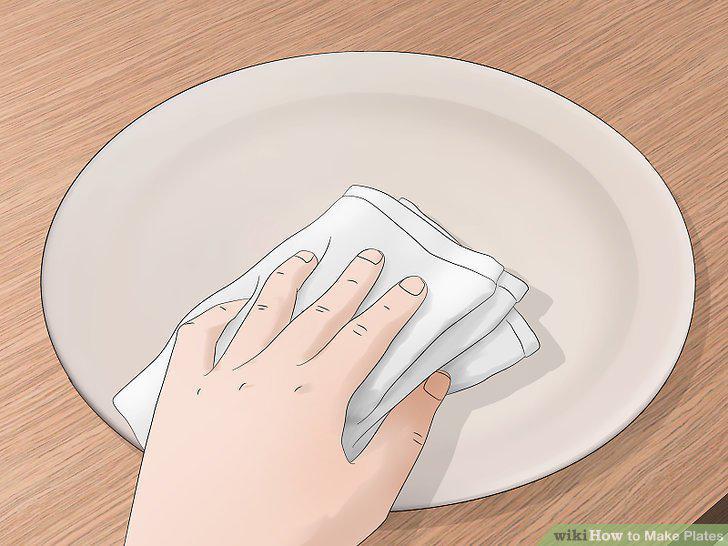
Wipe down clean plates with rubbing alcohol.
Paint or draw a design on your plate.
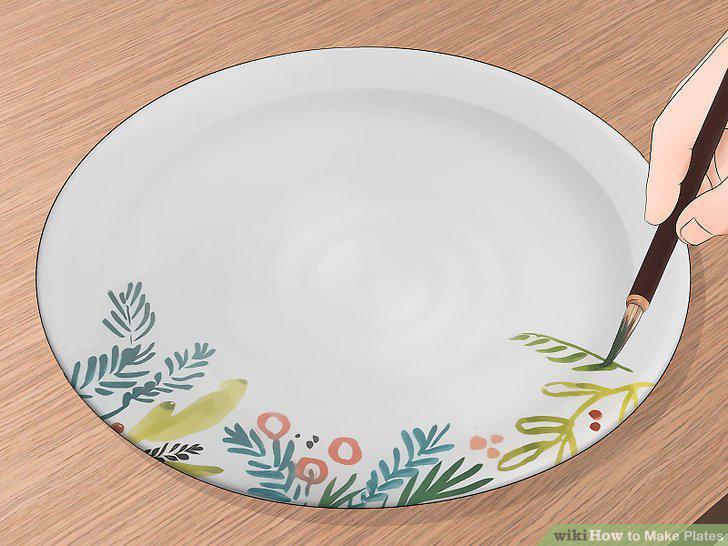
Paint or draw a design on your plate.
Let the paint dry overnight as needed.
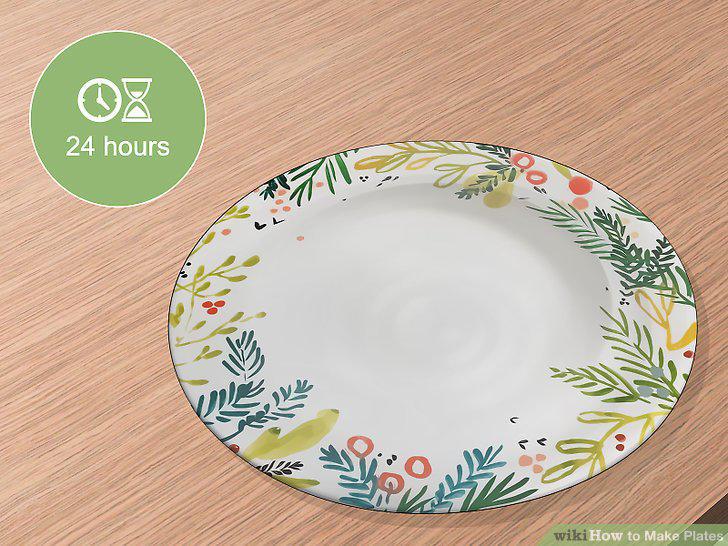
Let the paint dry overnight as needed.
Bake the plates according to the paint's directions.
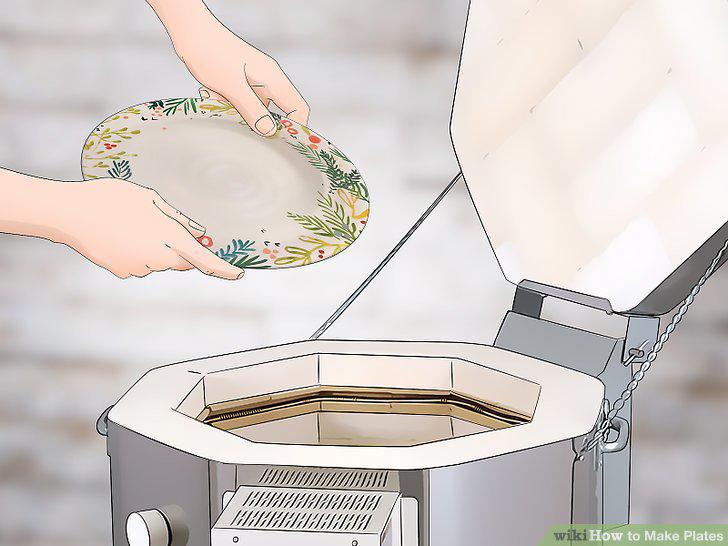
Bake the plates according to the paint's directions.
Comments (0)
No comments yet. Be the first to share your thoughts!