How to Hang Tools on a Pegboard
Match the thickness of the pegboard to the weight of your tools.. Cut the pegboard smaller, if needed, but leave a border around it.. Use a jigsaw or a circular saw to cut the board.
Steps
Match the thickness of the pegboard to the weight of your tools.
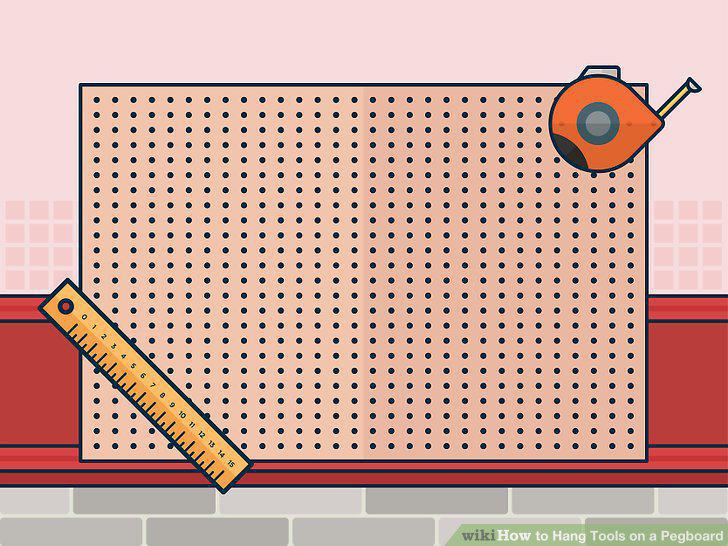
Match the thickness of the pegboard to the weight of your tools.
Cut the pegboard smaller, if needed, but leave a border around it.
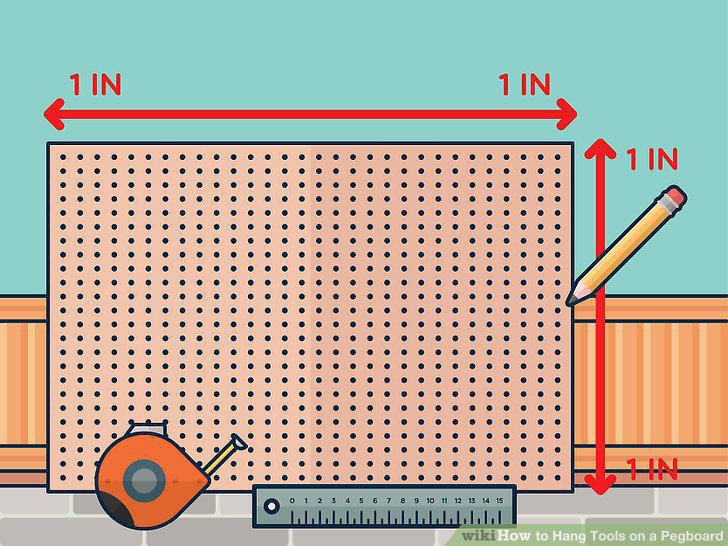
Cut the pegboard smaller, if needed, but leave a border around it.
Use a jigsaw or a circular saw to cut the board.
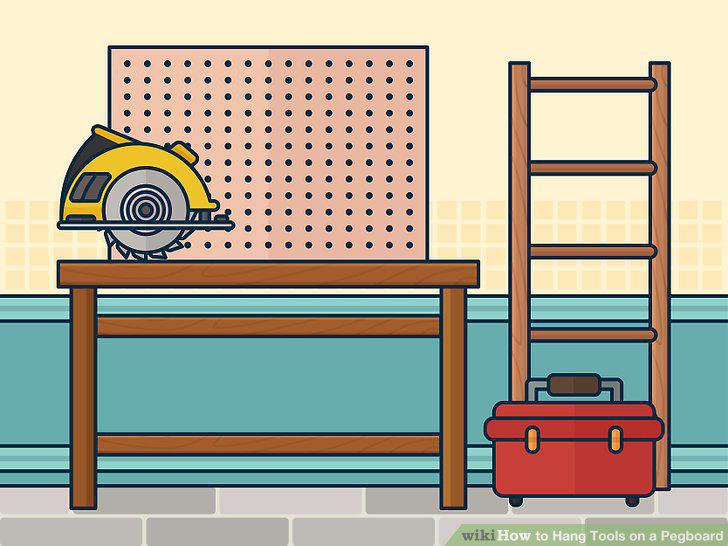
Use a jigsaw or a circular saw to cut the board.
Paint the pegboard if you want to change its color.
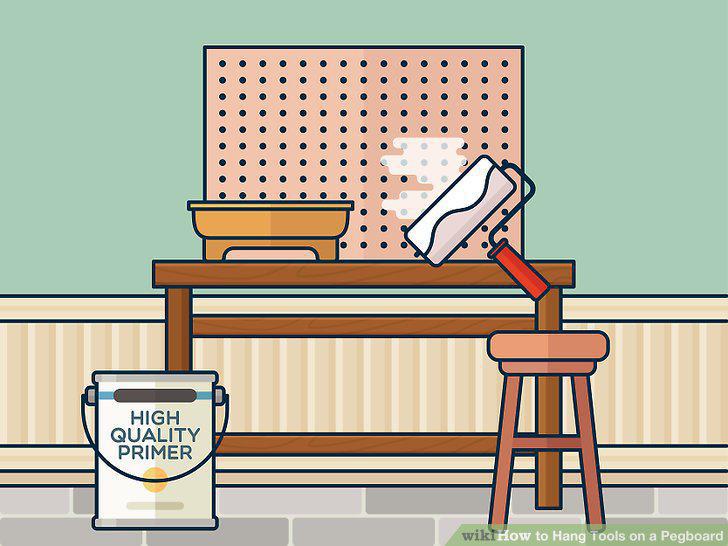
Paint the pegboard if you want to change its color.
Seal the pegboard with clear polyurethane if you want to keep its color.
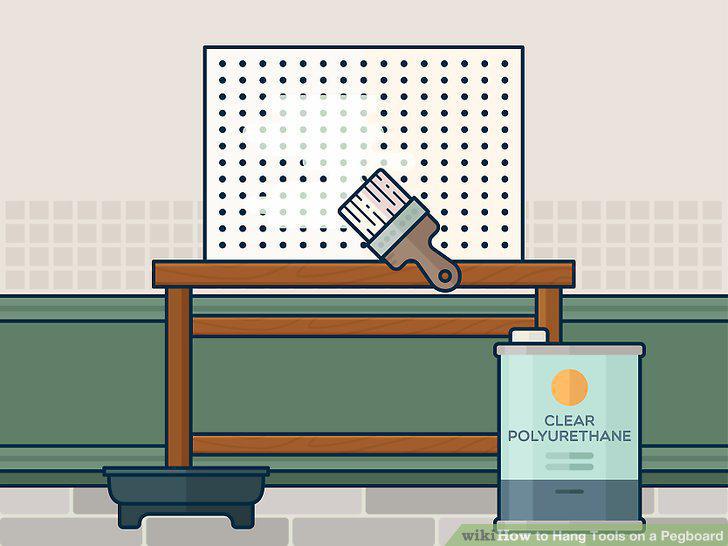
Seal the pegboard with clear polyurethane if you want to keep its color.
Allow the pegboard to dry and cure completely.
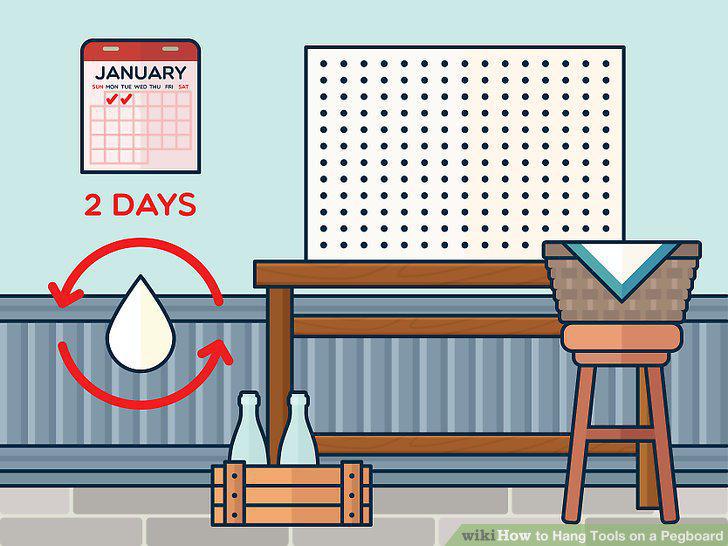
Allow the pegboard to dry and cure completely.
Cut 2 1 by 2 in (2.5 by 5.1 cm) planks to the height of your board.
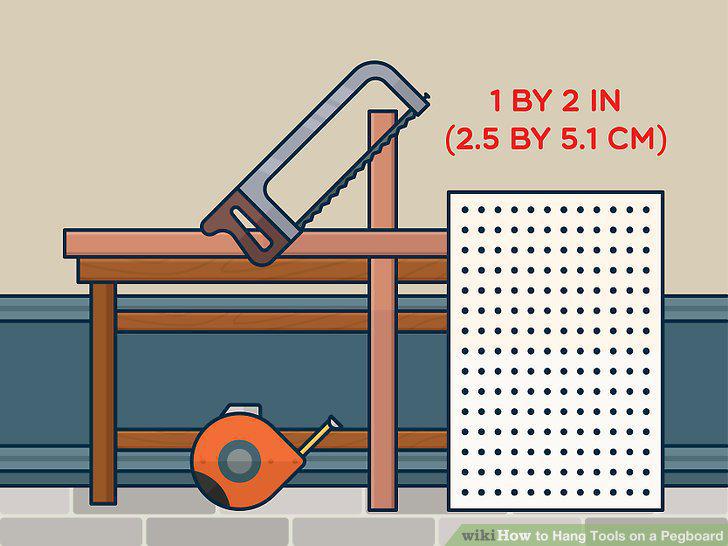
Cut 2 1 by 2 in (2.5 by 5.1 cm) planks to the height of your board.
Cut additional planks for the top and bottom, if desired.
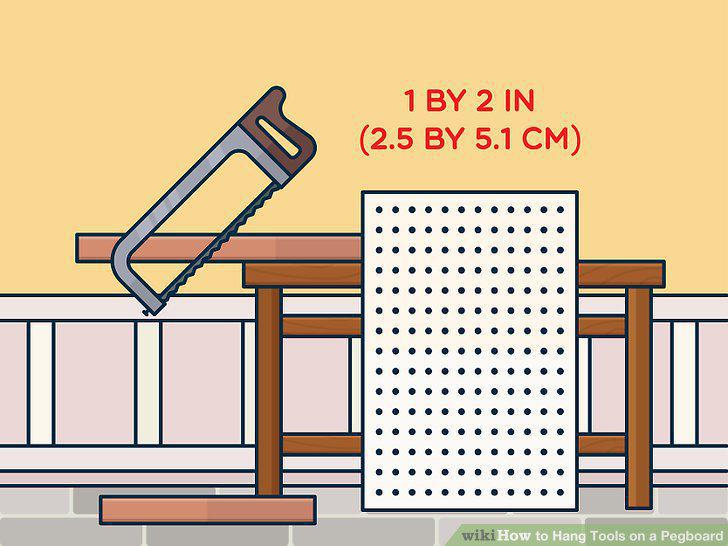
Cut additional planks for the top and bottom, if desired.
Cut a plank for the middle if your board is bigger than 2 feet (61 cm).
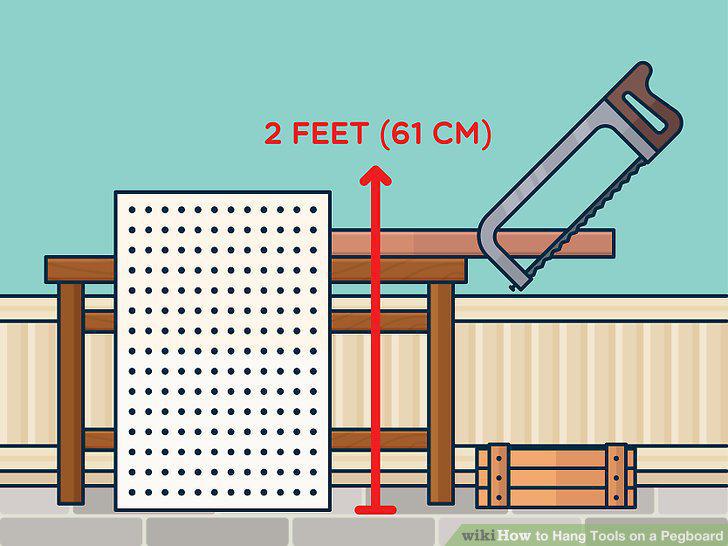
Cut a plank for the middle if your board is bigger than 2 feet (61 cm).
Screw the vertical side planks to the back of the board.
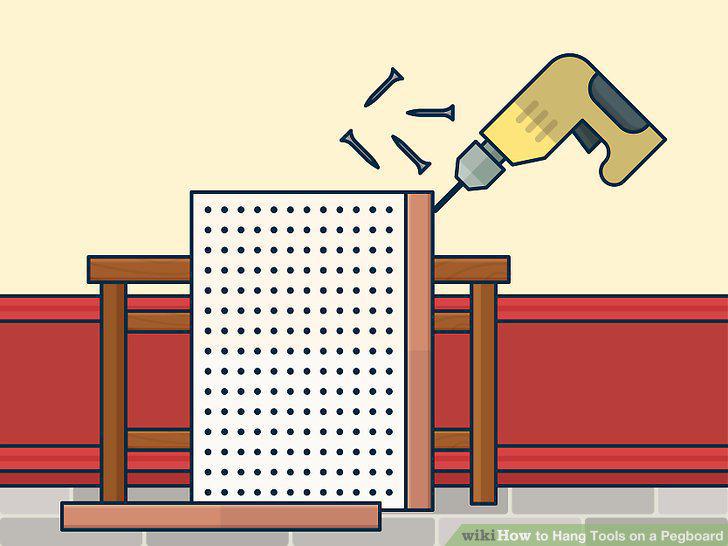
Screw the vertical side planks to the back of the board.
Glue the horizontal planks to the top and bottom edges of the board.
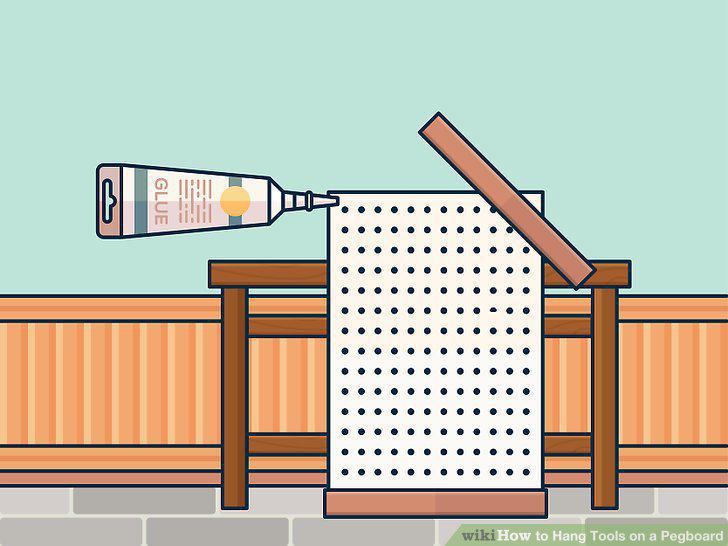
Glue the horizontal planks to the top and bottom edges of the board.
Decide where to hang the board and locate the wall studs, if needed.
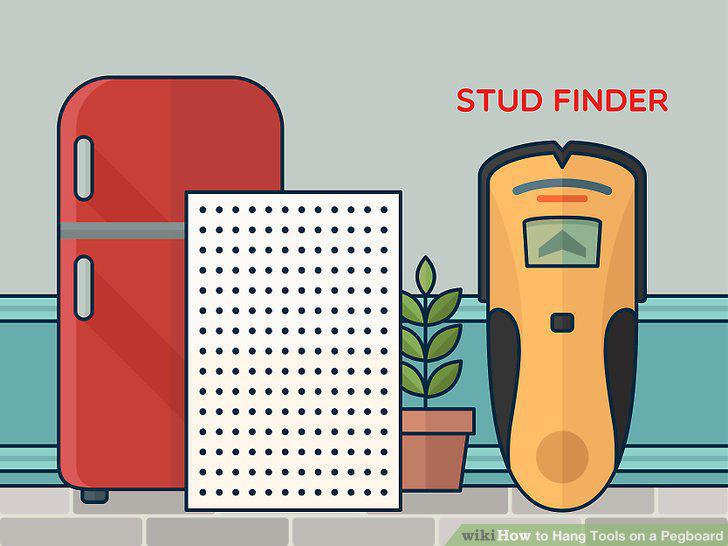
Decide where to hang the board and locate the wall studs, if needed.
Drill a hole through each of the board's corners.
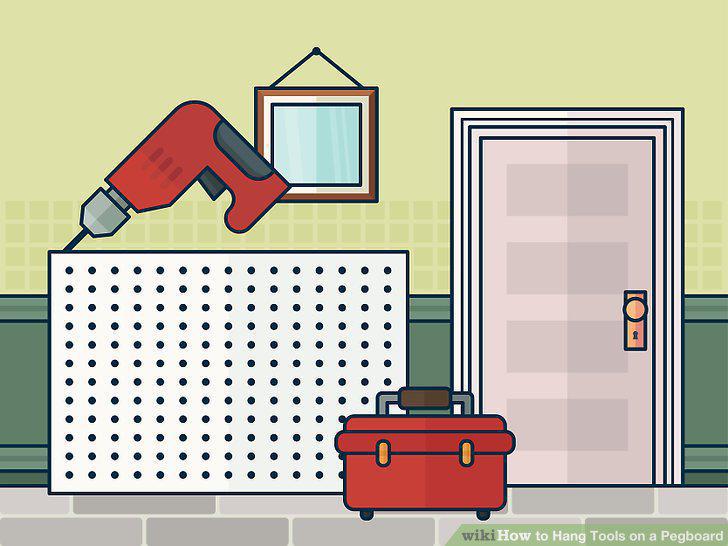
Drill a hole through each of the board's corners.
Place the board against the wall, then mark the holes with a pencil.
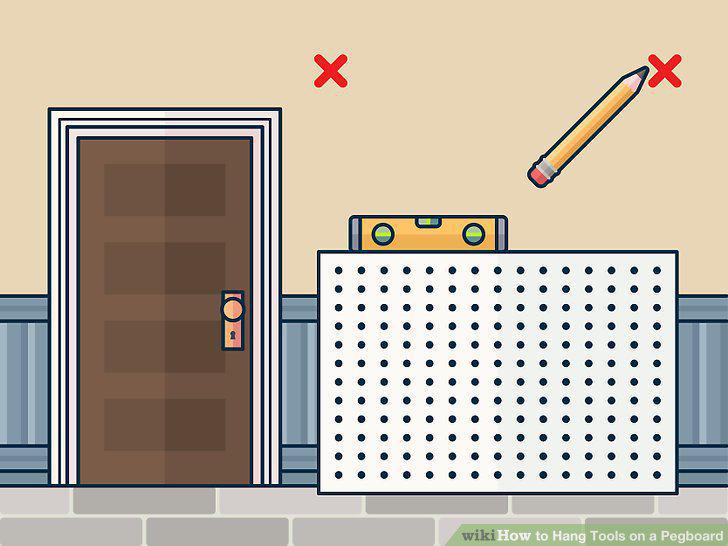
Place the board against the wall, then mark the holes with a pencil.
Set the board aside, then drill the holes into the wall.
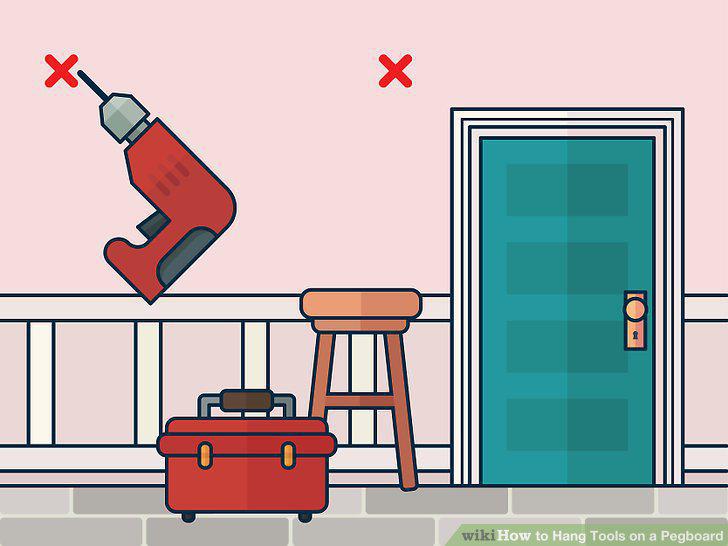
Set the board aside, then drill the holes into the wall.
Insert the wall anchors, then screw the board into place.
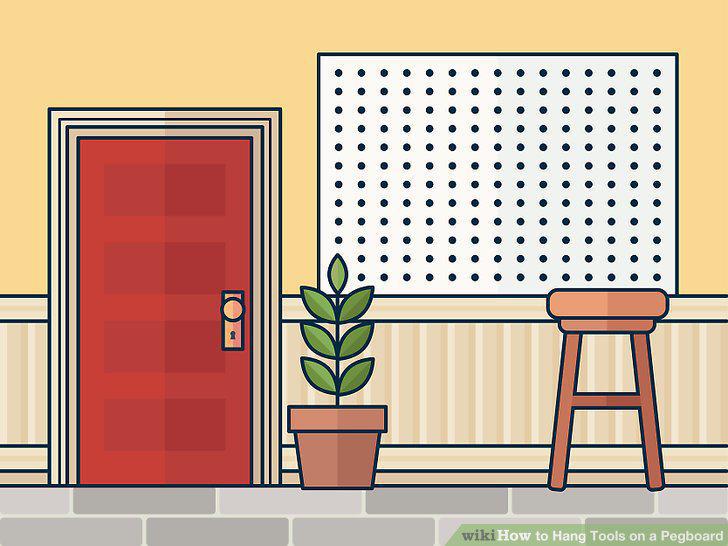
Insert the wall anchors, then screw the board into place.
Use masking tape to create a box the same size as your board.
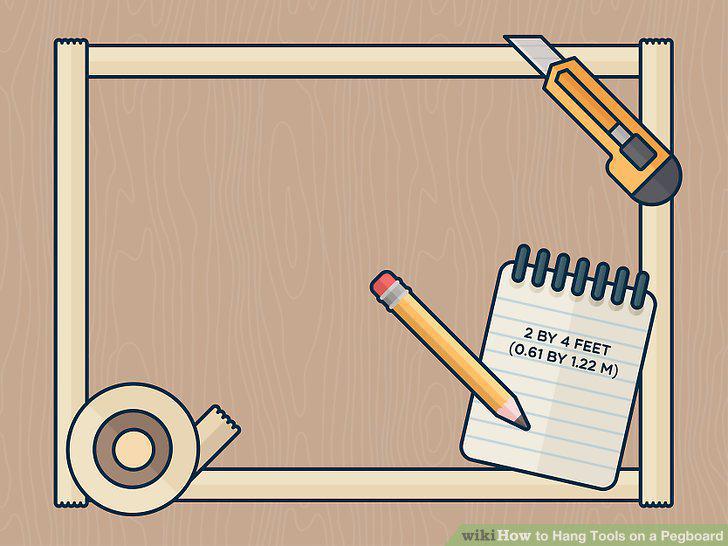
Use masking tape to create a box the same size as your board.
Arrange the tools in the box how you want them to hang on the board.
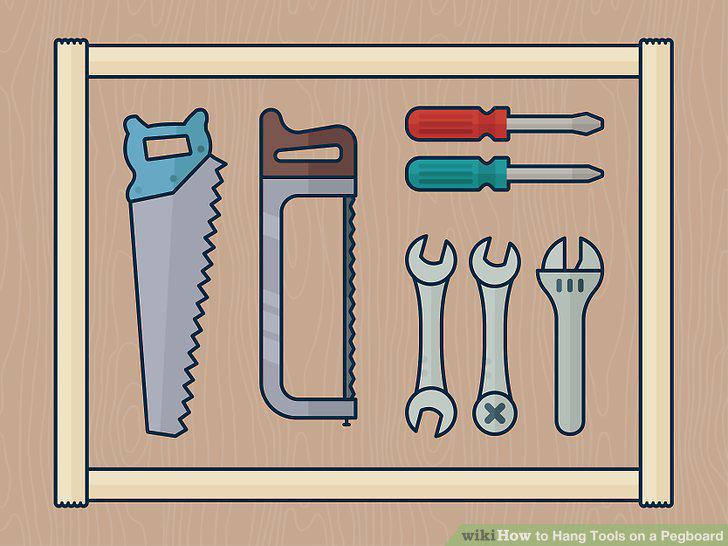
Arrange the tools in the box how you want them to hang on the board.
Attach peg hooks onto your board in the appropriate areas.
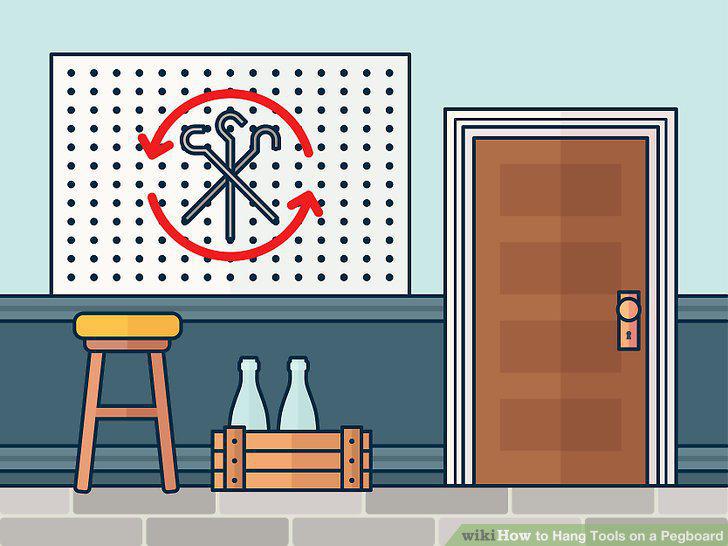
Attach peg hooks onto your board in the appropriate areas.
Hang your tools on the hooks.
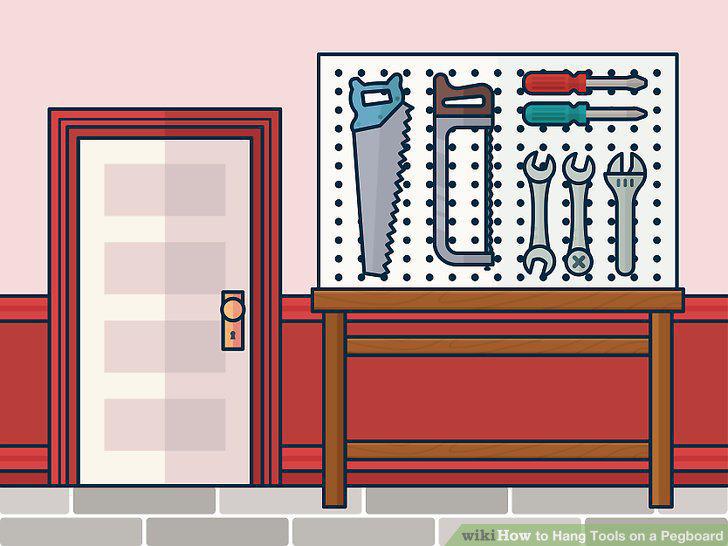
Hang your tools on the hooks.
Reinforce hooks with pegboard clips, if needed.
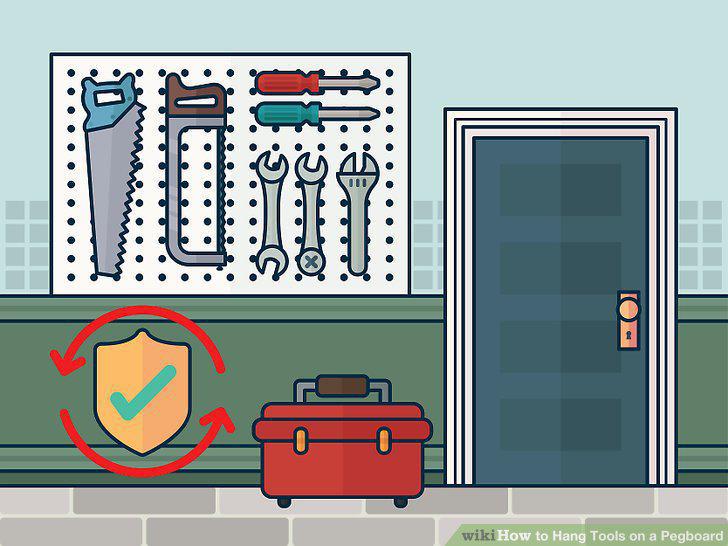
Reinforce hooks with pegboard clips, if needed.
Trace your tools onto the board with permanent marker, if desired.
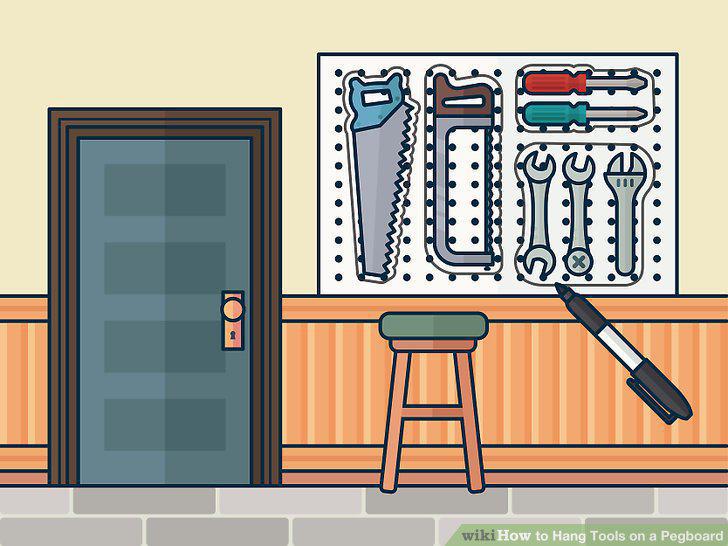
Trace your tools onto the board with permanent marker, if desired.
Use dowels to hold rolls of paper.
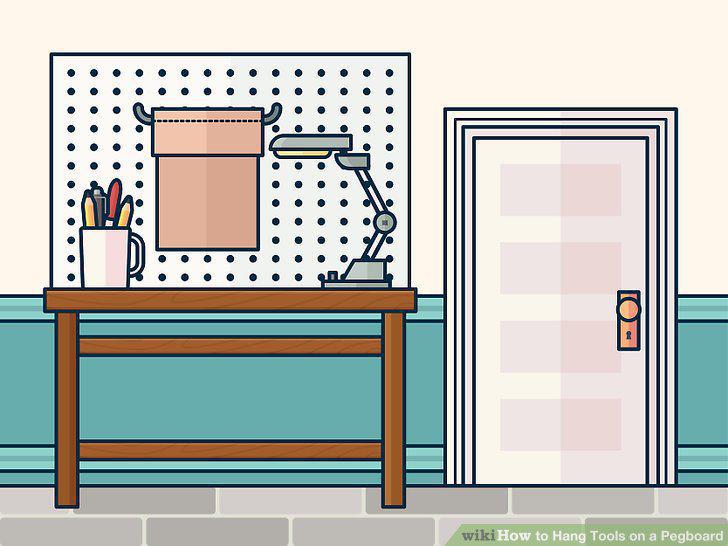
Use dowels to hold rolls of paper.
Clip non-hangable items onto binder clips, then slide the clips onto peg hooks.
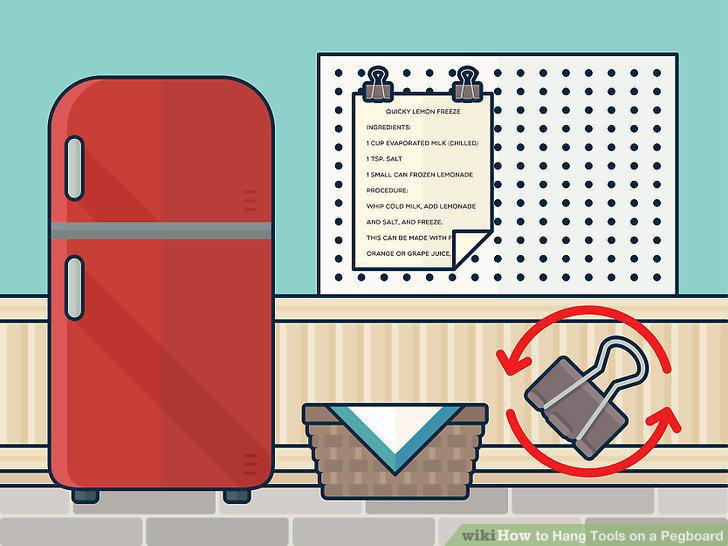
Clip non-hangable items onto binder clips, then slide the clips onto peg hooks.
Hang wire baskets from small hooks to hold other non-hangable items.
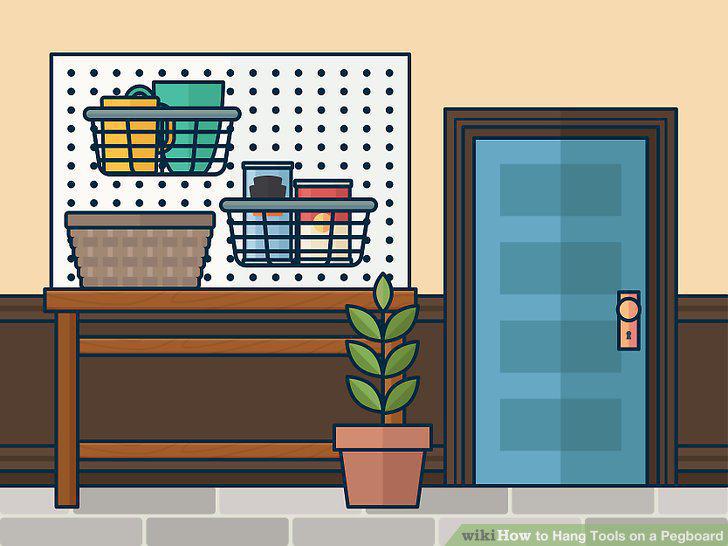
Hang wire baskets from small hooks to hold other non-hangable items.
Slide a short piece of PVC piping over a hook to turn it into a cubby.
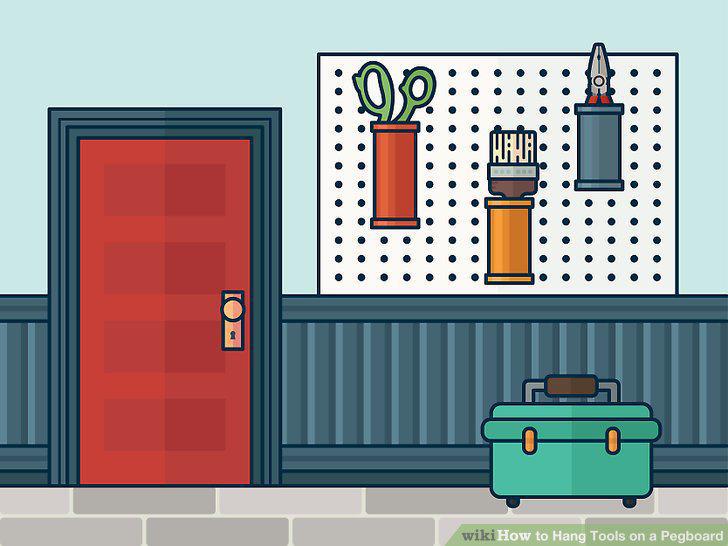
Slide a short piece of PVC piping over a hook to turn it into a cubby.
Add a magnetic board to store small screws or post notes.
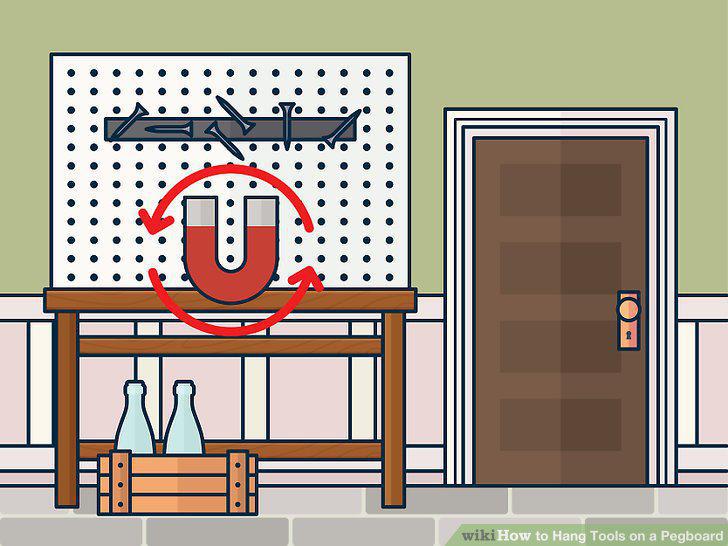
Add a magnetic board to store small screws or post notes.
Comments (0)
No comments yet. Be the first to share your thoughts!