How to Unzip a .Zip File on a Mac
Find the .zip archive file in the Finder.. Double click the .zip archive.. Click on the contents of the .zip archive to open them up.
Steps
1
Find the .zip archive file in the Finder.
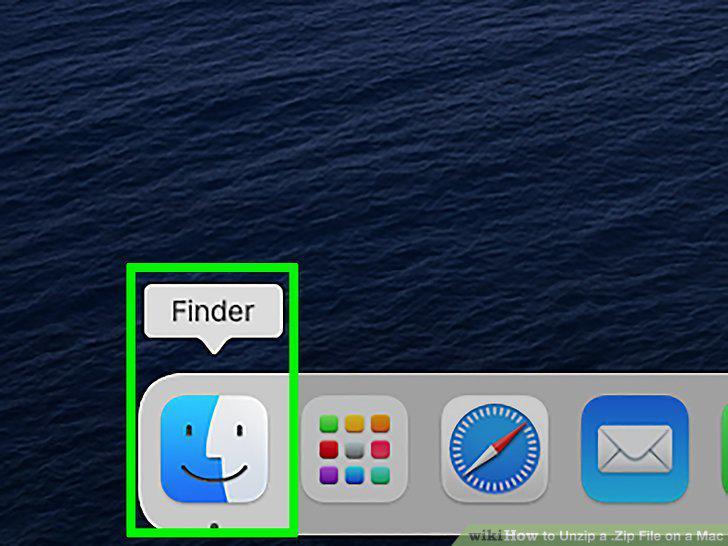
Find the .zip archive file in the Finder.
2
Double click the .zip archive.
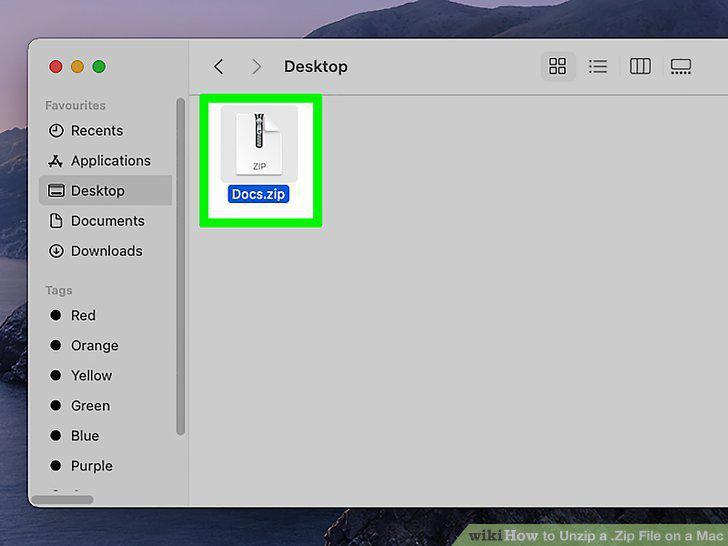
Double click the .zip archive.
3
Click on the contents of the .zip archive to open them up.
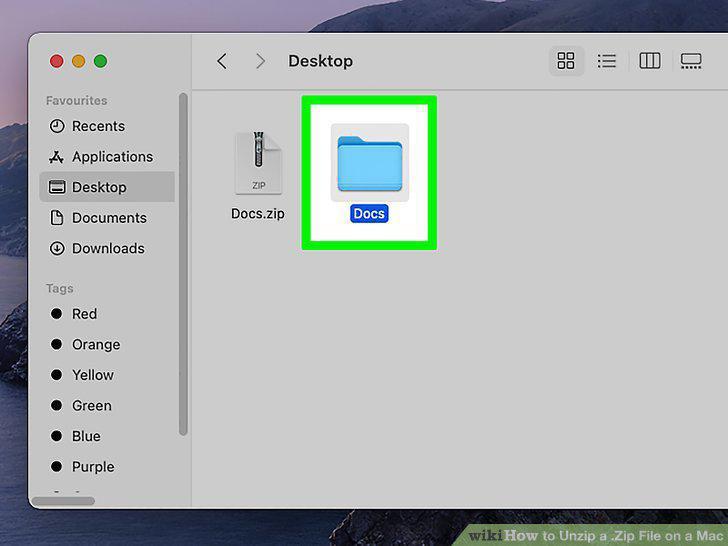
Click on the contents of the .zip archive to open them up.
4
Open Spotlight Search.
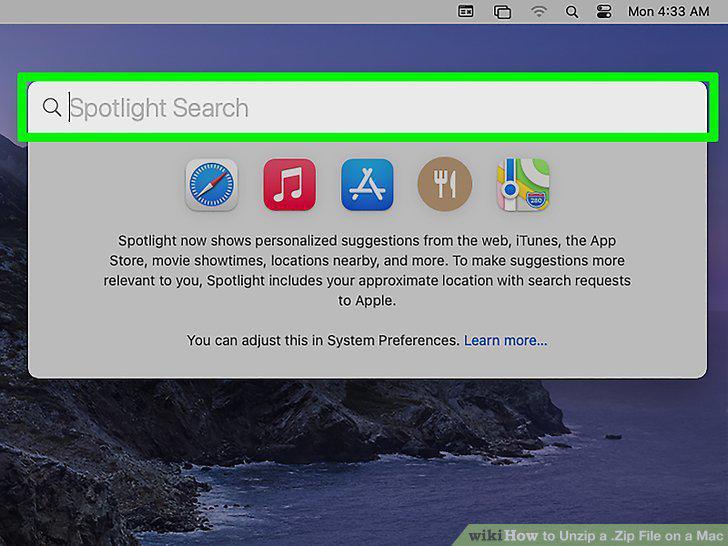
Open Spotlight Search.
5
Drag the .zip file to your desktop.
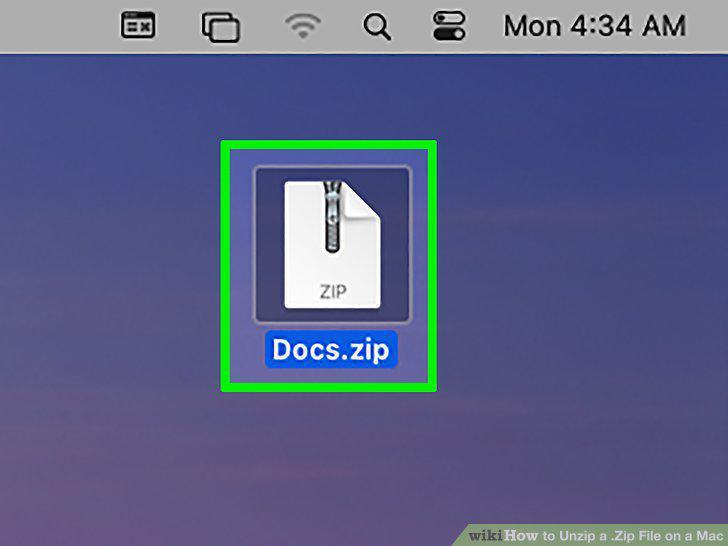
Drag the .zip file to your desktop.
6
Type in "Terminal" and open the application.
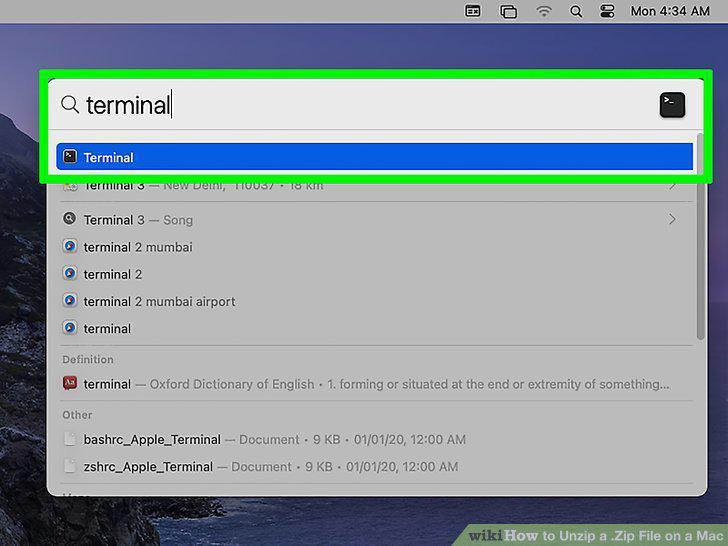
Type in "Terminal" and open the application.
7
Type in "cd desktop" and click Enter.
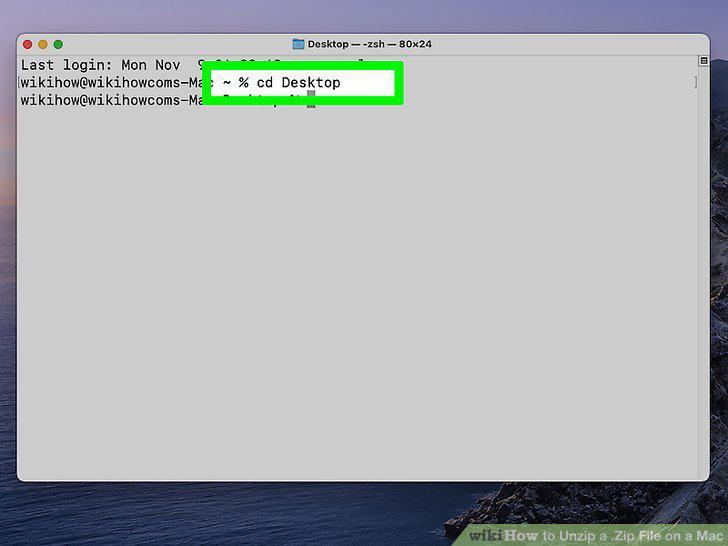
Type in "cd desktop" and click Enter.
8
Type in "unzip file name" and click enter again.
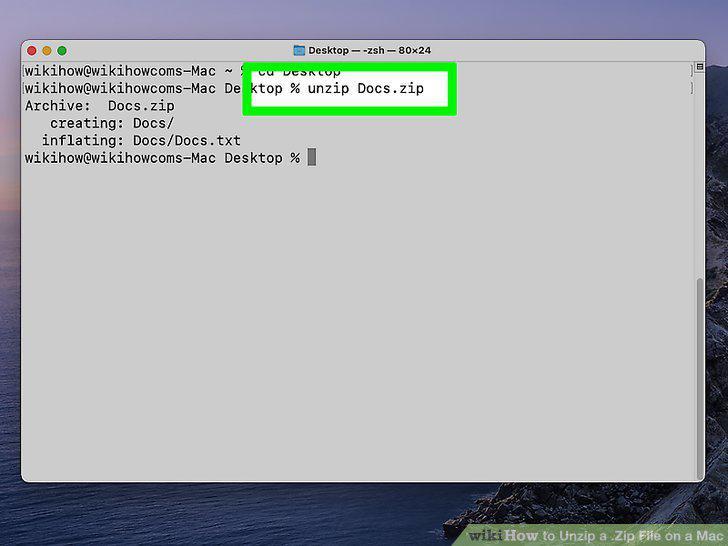
Type in "unzip file name" and click enter again.
9
Open the new unzipped file.
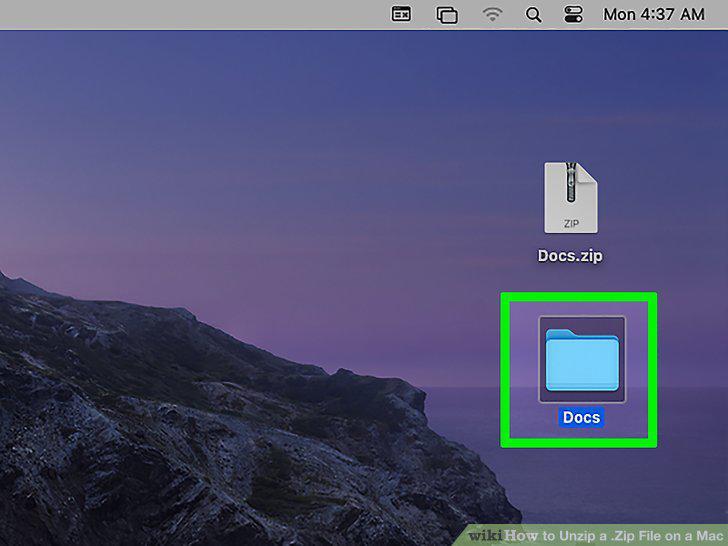
Open the new unzipped file.
10
Download a third-party extension.
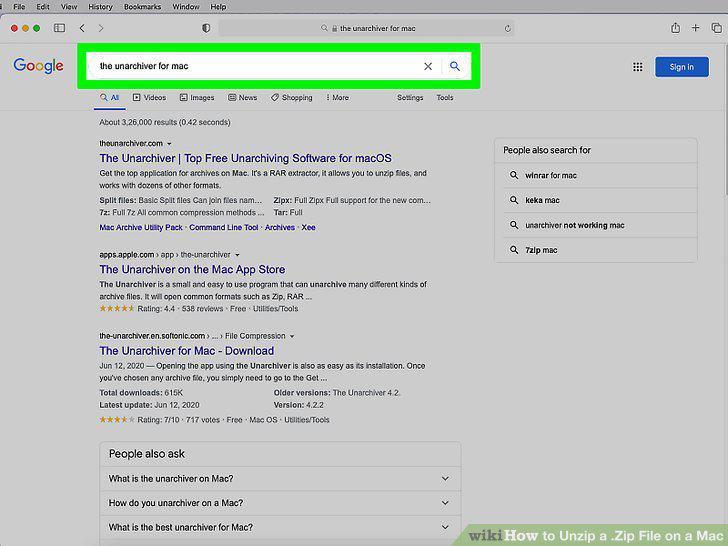
Download a third-party extension.
11
Find your Archive.zip file.
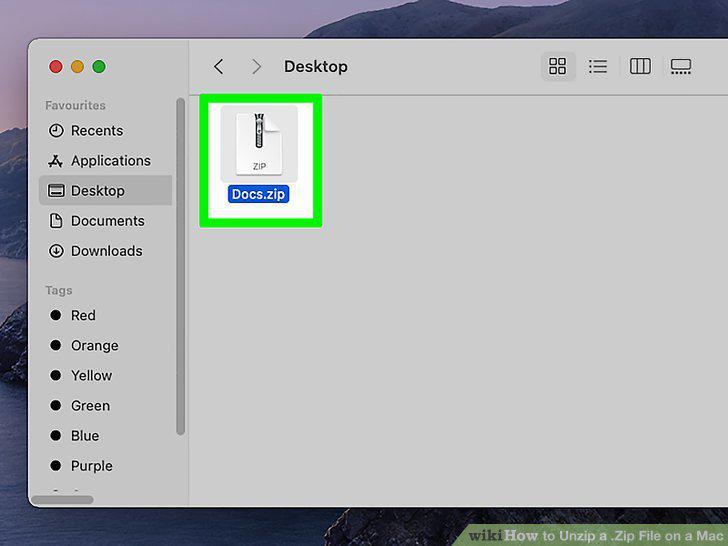
Find your Archive.zip file.
12
Click File, then Get info menu.
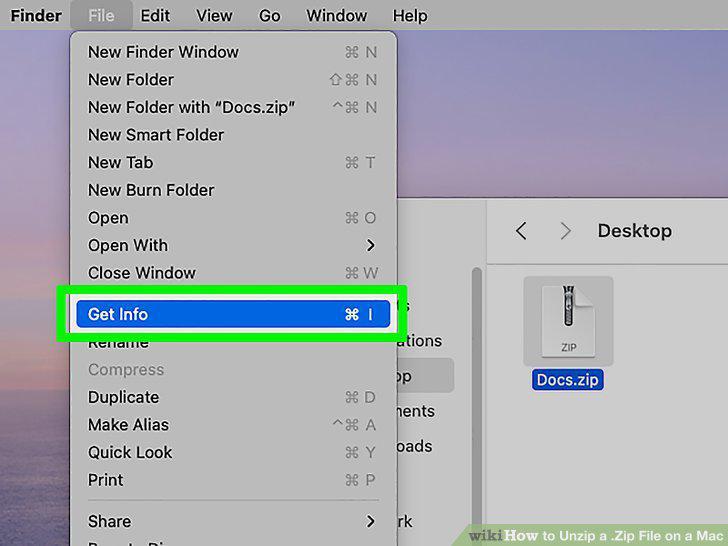
Click File, then Get info menu.
13
Scroll to Open, then select your third-party extension.
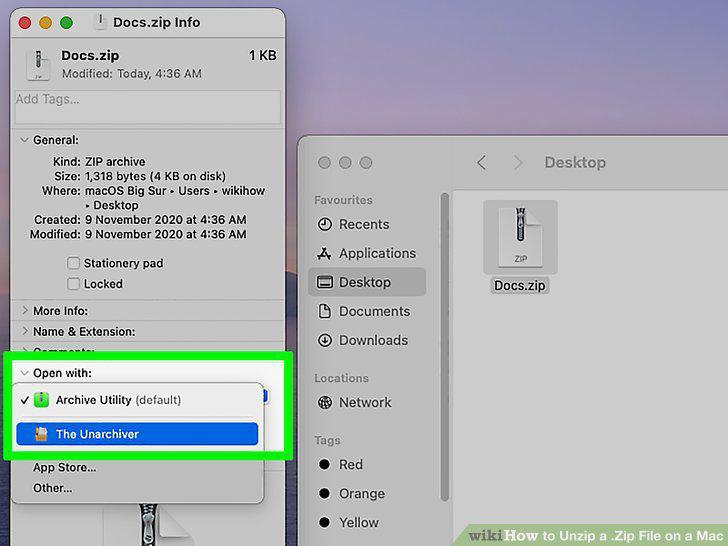
Scroll to Open, then select your third-party extension.
14
Select "Change all.
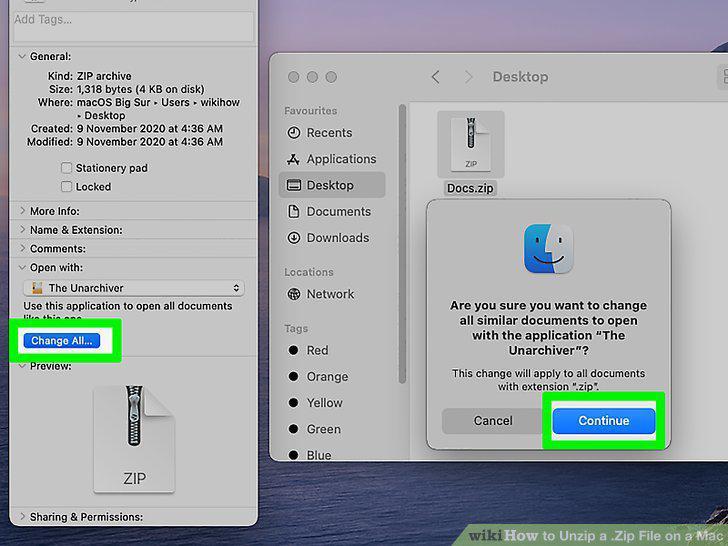
Select "Change all.
Comments (0)
No comments yet. Be the first to share your thoughts!