How to Sew a Table Runner
Determine how long and wide you want the runner to be.. Lay your fabric flat and mark the measurements on it with a fabric pencil.. Use a sharp pair of shears to cut 2 identical rectangles.
Steps
Determine how long and wide you want the runner to be.
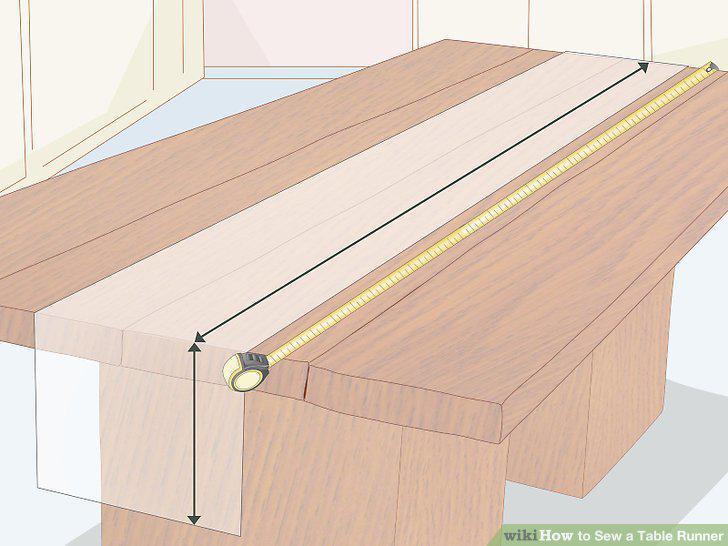
Determine how long and wide you want the runner to be.
Lay your fabric flat and mark the measurements on it with a fabric pencil.
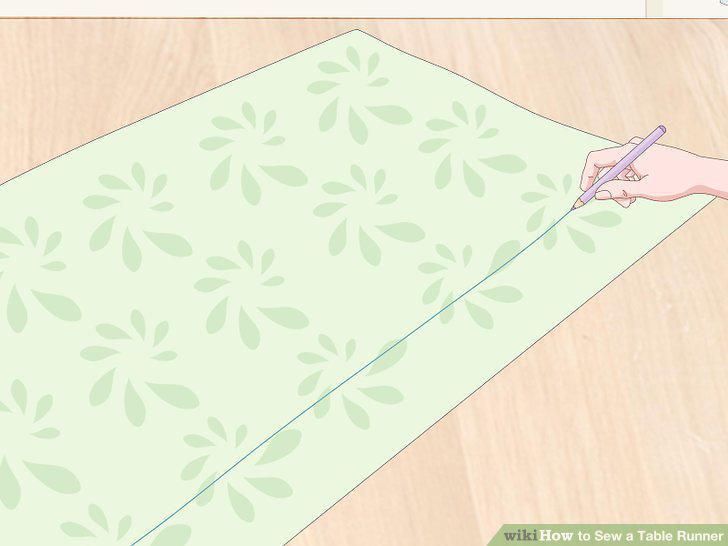
Lay your fabric flat and mark the measurements on it with a fabric pencil.
Use a sharp pair of shears to cut 2 identical rectangles.
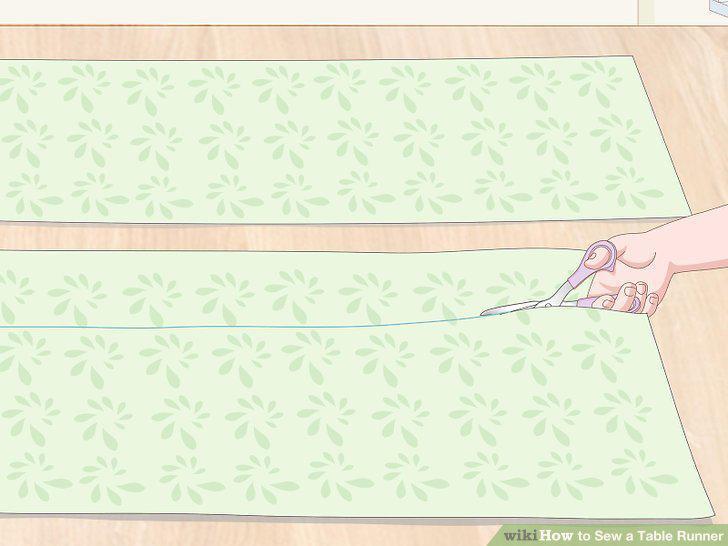
Use a sharp pair of shears to cut 2 identical rectangles.
Stack the fabric and pin the edges of the pieces in place.
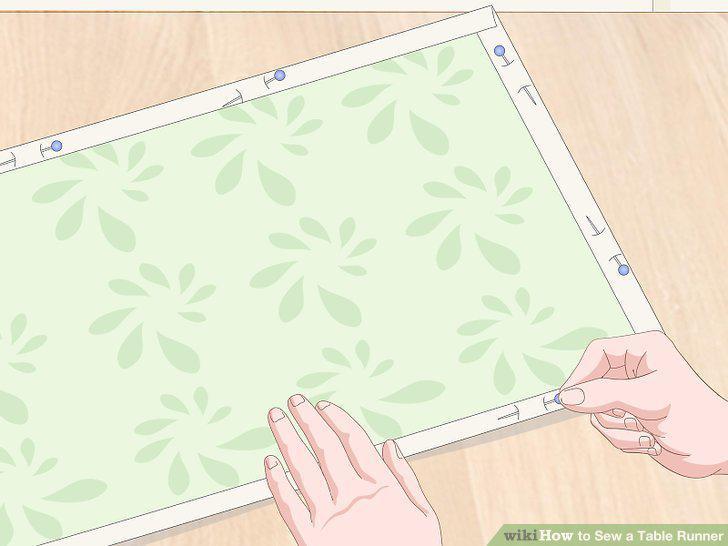
Stack the fabric and pin the edges of the pieces in place.
Use a straight stitch to sew around the edges of the runner.
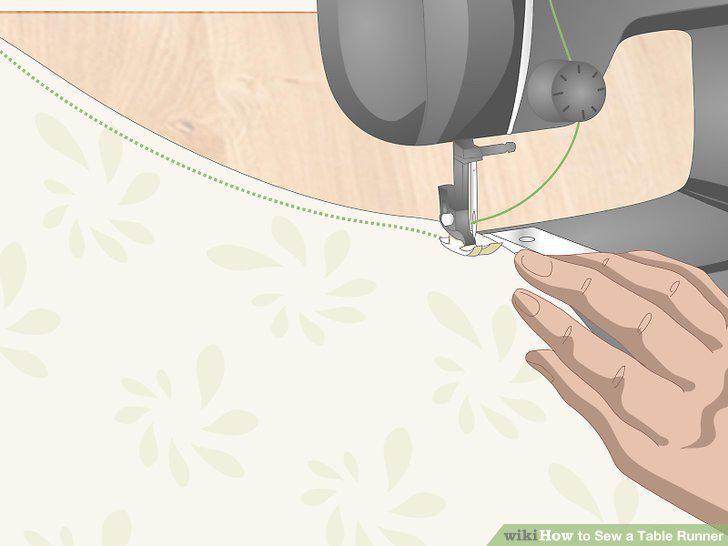
Use a straight stitch to sew around the edges of the runner.
Trim the excess fabric from each corner.
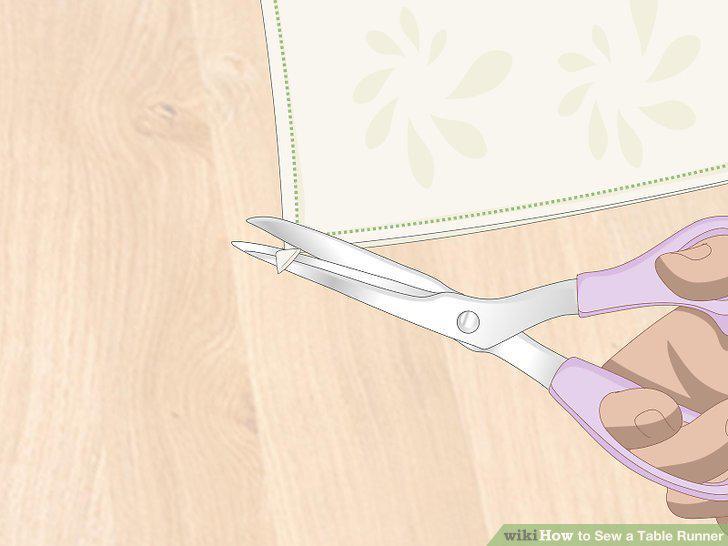
Trim the excess fabric from each corner.
Turn the runner right side out and push each corner out.
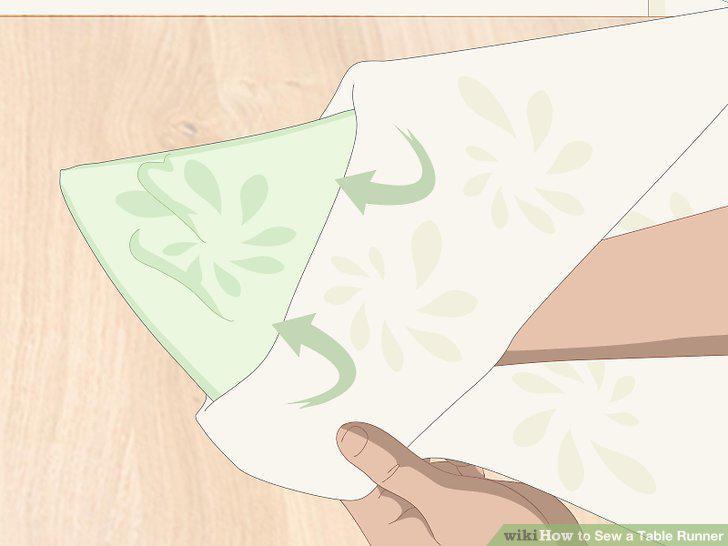
Turn the runner right side out and push each corner out.
Straight stitch the gap closed using a sewing machine.
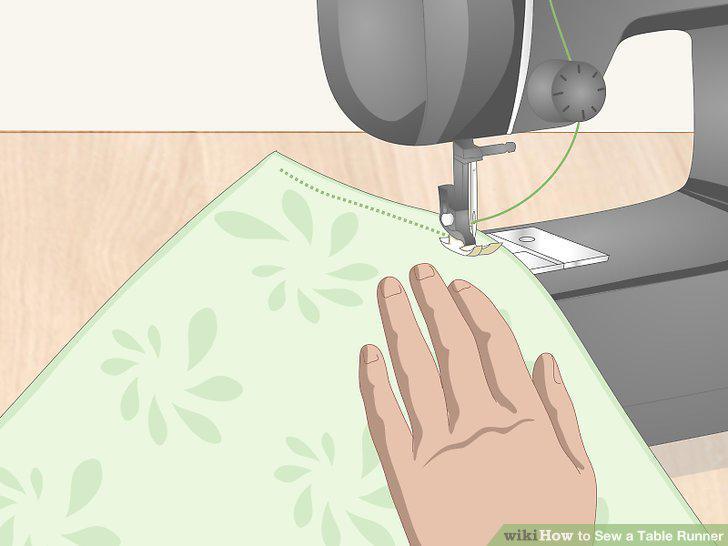
Straight stitch the gap closed using a sewing machine.
Iron the runner before you put it on the table.
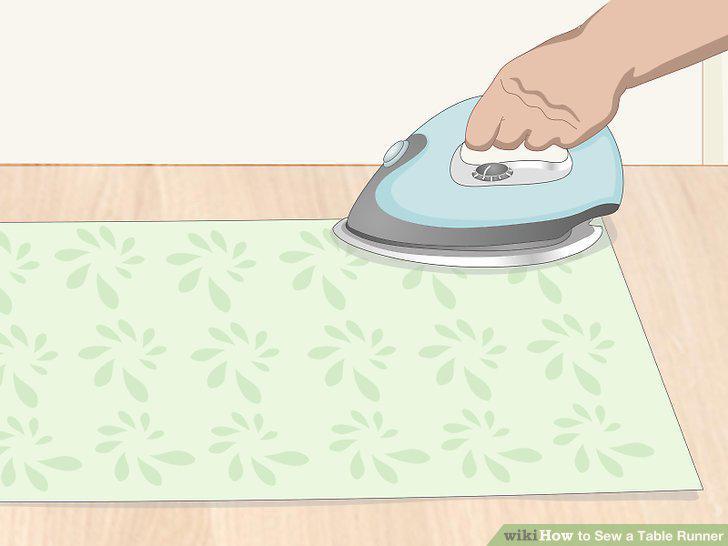
Iron the runner before you put it on the table.
Use quilting squares or remnants to make a patchwork runner.
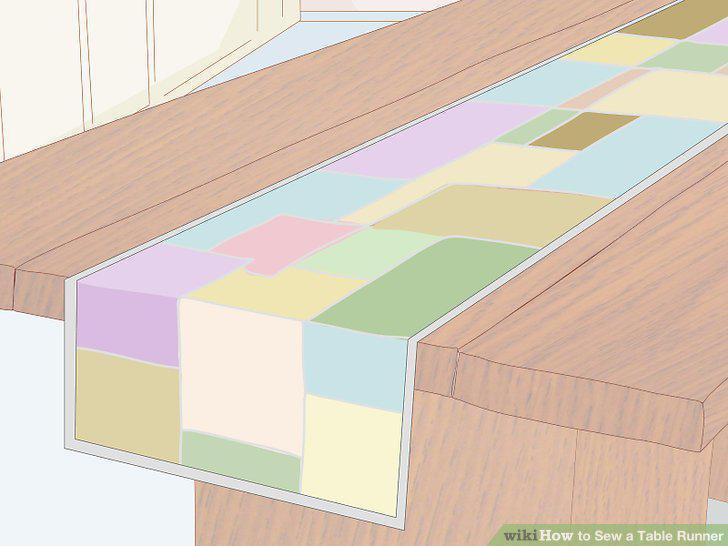
Use quilting squares or remnants to make a patchwork runner.
Cut the ends of the runner before you sew it to create points.
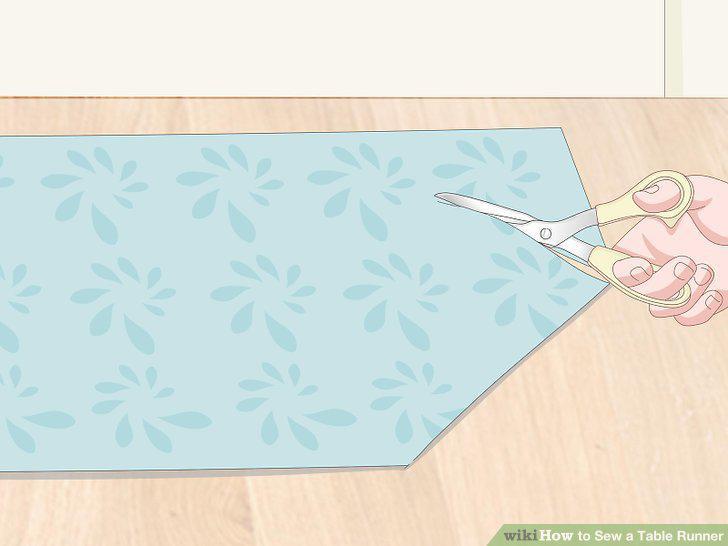
Cut the ends of the runner before you sew it to create points.
Attach tassels to pointed ends for an elegant runner.
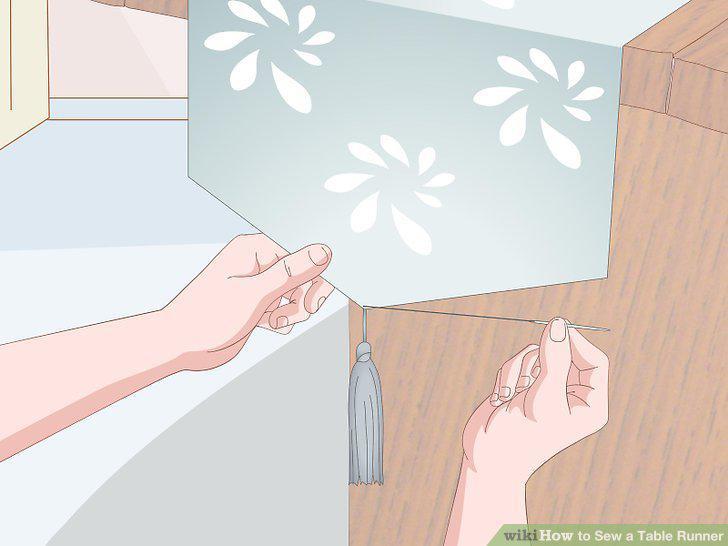
Attach tassels to pointed ends for an elegant runner.
Add piping to the edges for a decorative look.
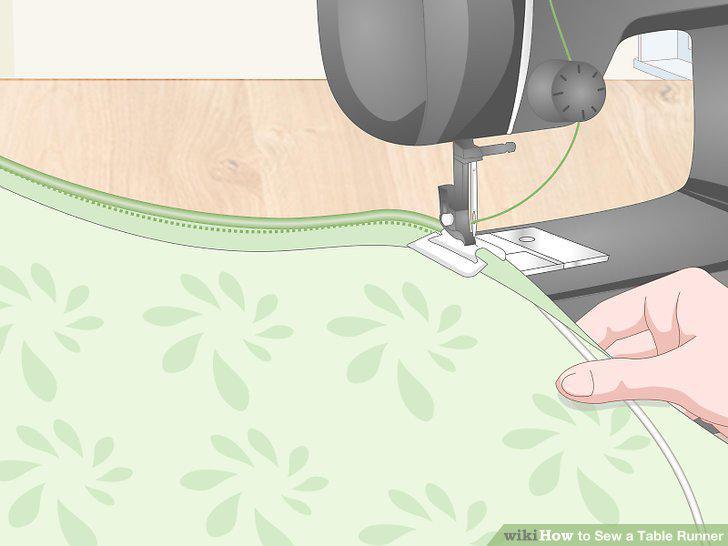
Add piping to the edges for a decorative look.
Use a different fabric to make a border that stands out.
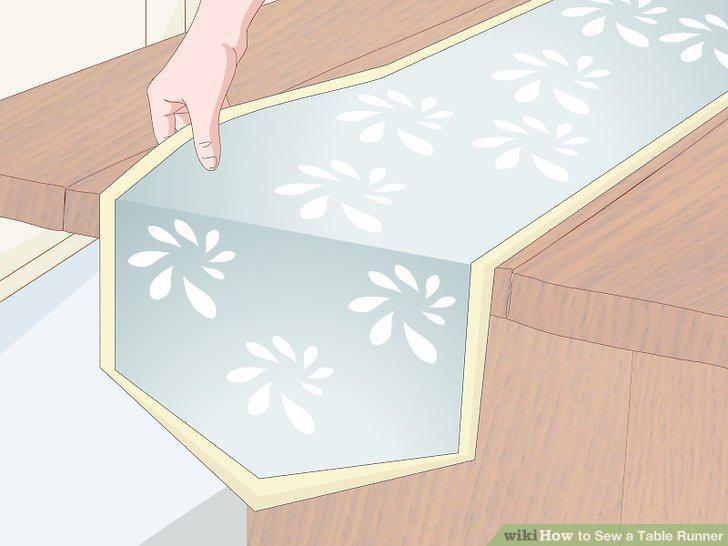
Use a different fabric to make a border that stands out.
Comments (0)
No comments yet. Be the first to share your thoughts!