How to Quickly Repair Bathroom Shower Tiles
Remove damaged tiles together with tile adhesive (cement under tiles).. Make sure any waterproof membrane is undamaged before proceeding.. Get some ceramic tile adhesive, or thinset tile cement and apply it to the substrate with a notched trowel.
Steps
Remove damaged tiles together with tile adhesive (cement under tiles).
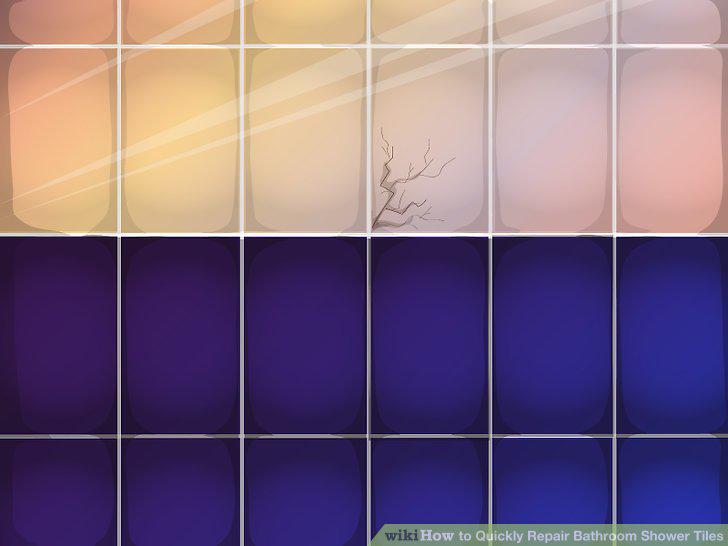
Remove damaged tiles together with tile adhesive (cement under tiles).
Make sure any waterproof membrane is undamaged before proceeding.
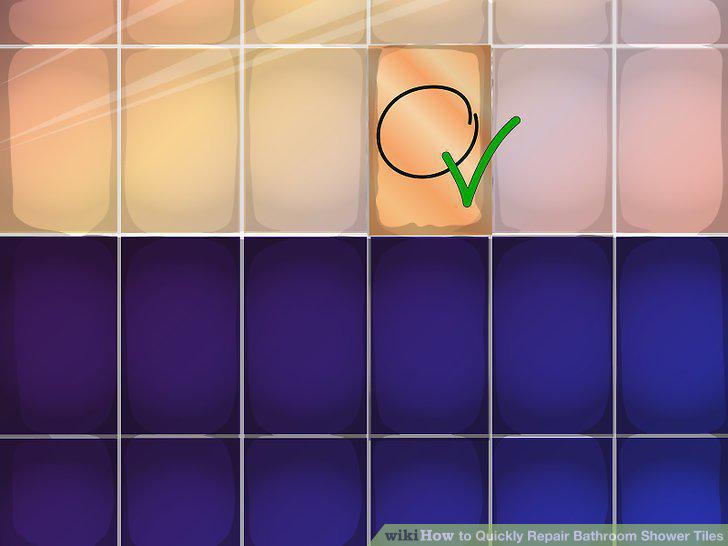
Make sure any waterproof membrane is undamaged before proceeding.
Get some ceramic tile adhesive, or thinset tile cement and apply it to the subst
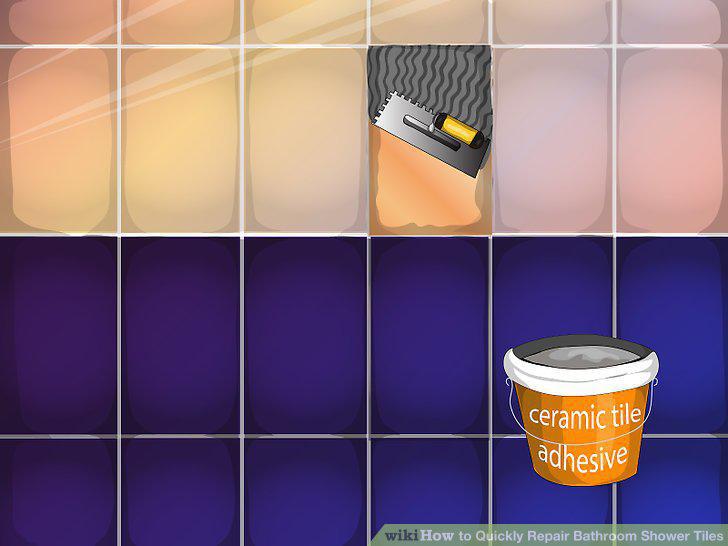
Get some ceramic tile adhesive, or thinset tile cement and apply it to the substrate with a notched trowel.
Replace the tile by pushing it into the adhesive or thinset firmly so it is bedd
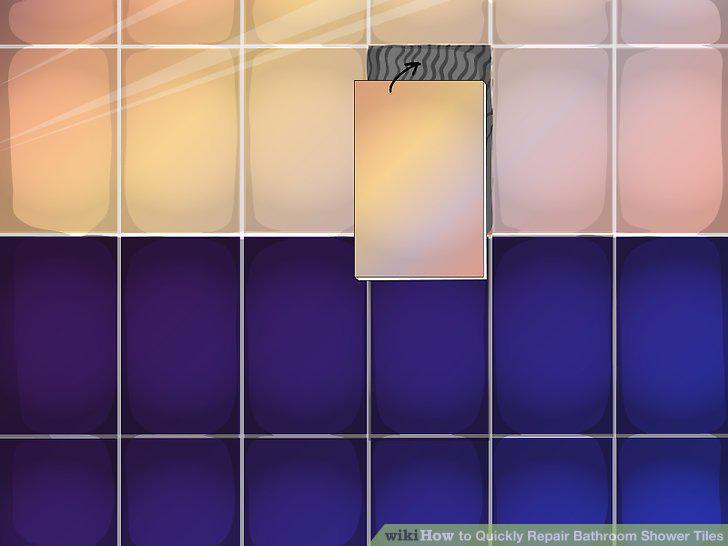
Replace the tile by pushing it into the adhesive or thinset firmly so it is bedded in the material.
Wait for the tile adhesive to dry and then grout the joints surrounding any new
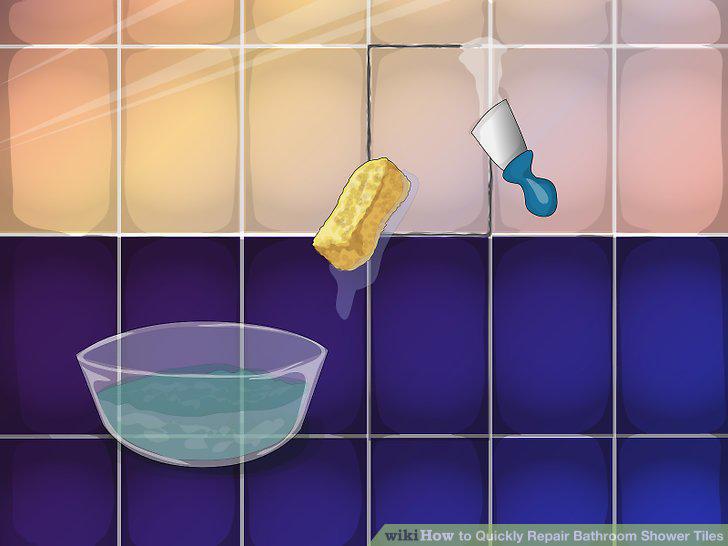
Wait for the tile adhesive to dry and then grout the joints surrounding any new tiles you have installed.
Use a good, waterproof bathroom sealant or caulk to repair any joints that do no
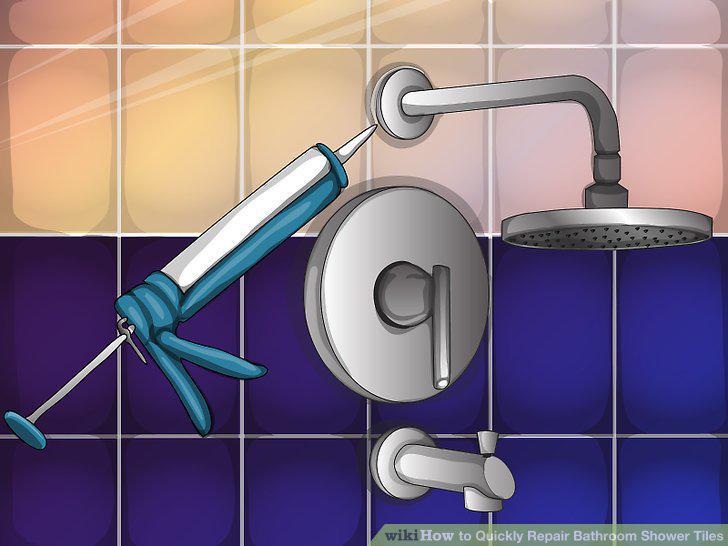
Use a good, waterproof bathroom sealant or caulk to repair any joints that do not lend themselves to grouting, such as metal trim or fixture penetrations.
Comments (0)
No comments yet. Be the first to share your thoughts!