How to Change a Drill Chuck
Remove the screw in the center of the chuck.. Insert an Allen wrench into the chuck.. Set the gearbox to the lowest setting.
Steps
1
Remove the screw in the center of the chuck.
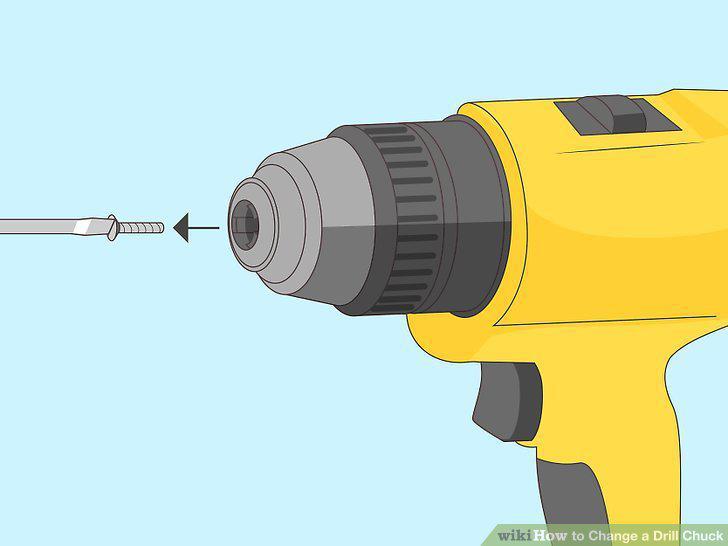
Remove the screw in the center of the chuck.
2
Insert an Allen wrench into the chuck.
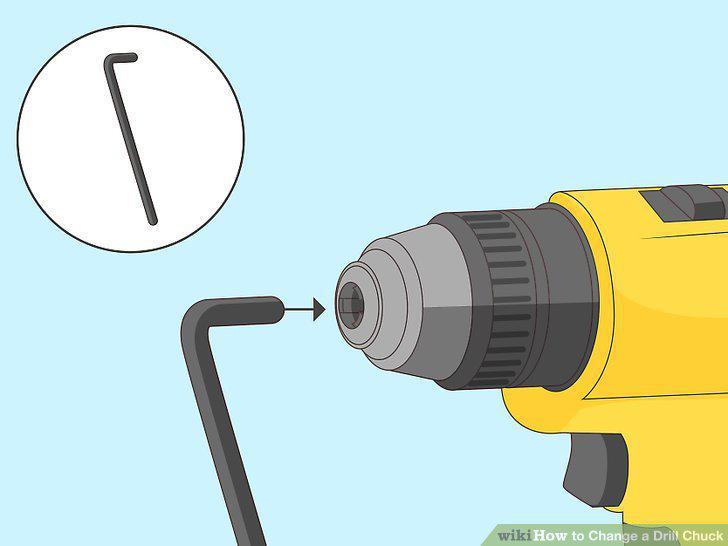
Insert an Allen wrench into the chuck.
3
Set the gearbox to the lowest setting.
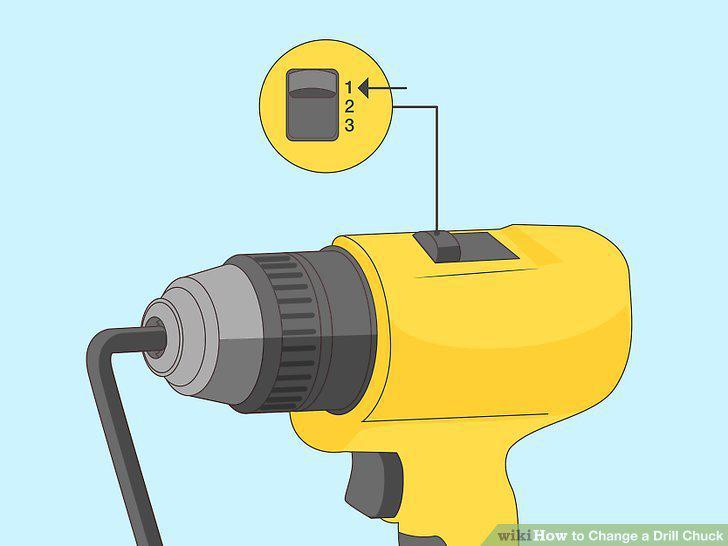
Set the gearbox to the lowest setting.
4
Tap the Allen wrench with a mallet.
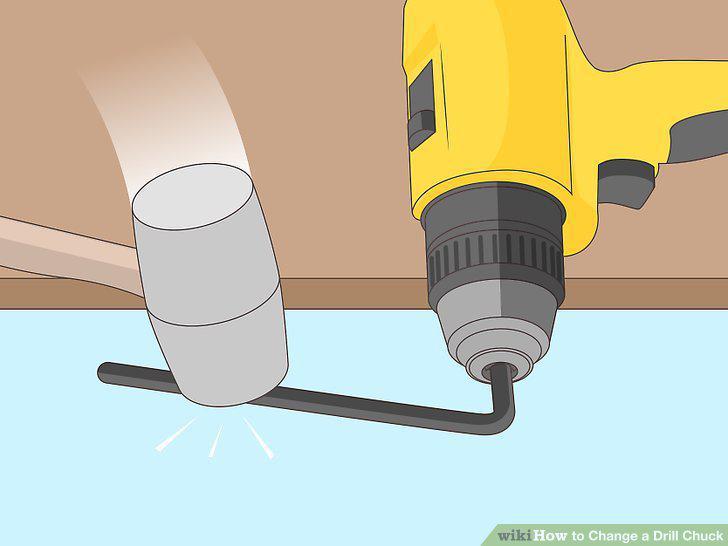
Tap the Allen wrench with a mallet.
5
Remove the chuck by hand.
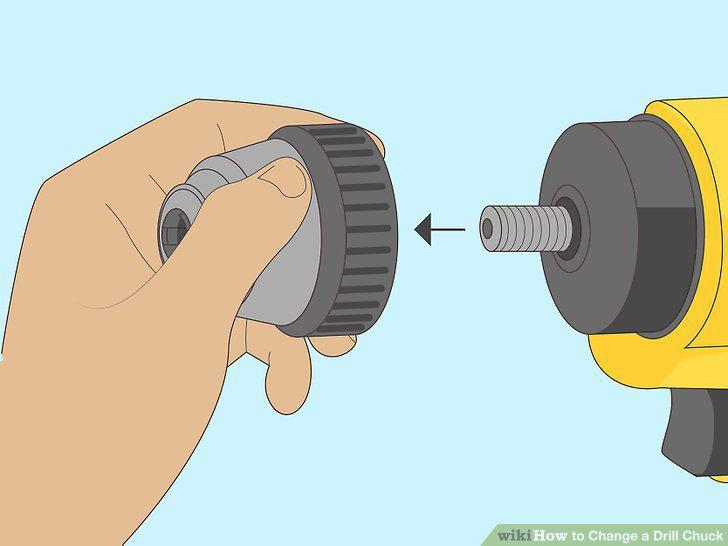
Remove the chuck by hand.
6
Replace thread-locking fluid on the screw (recommended).
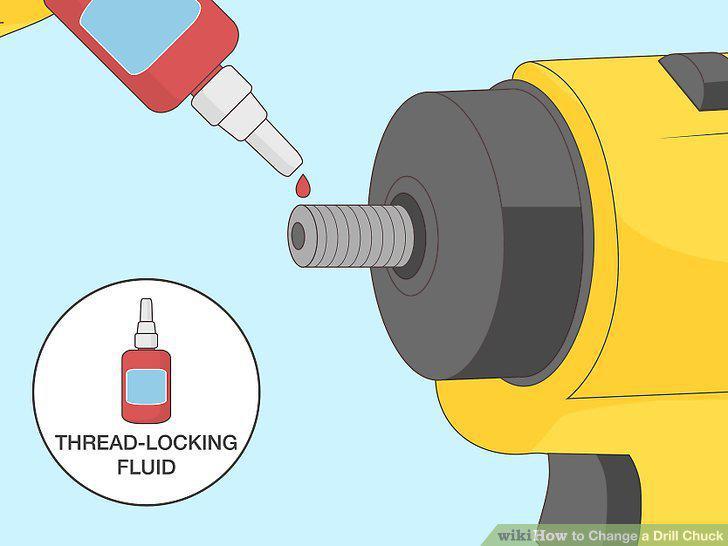
Replace thread-locking fluid on the screw (recommended).
7
Mount the new chuck.
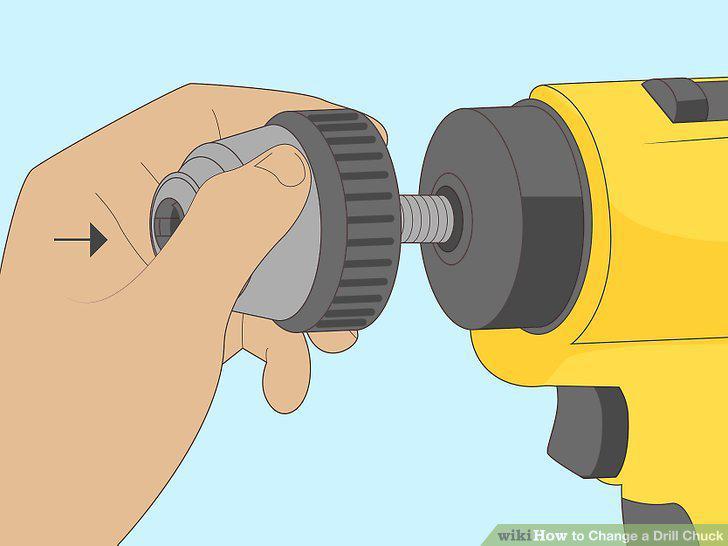
Mount the new chuck.
8
Insert a hex socket into the chuck.
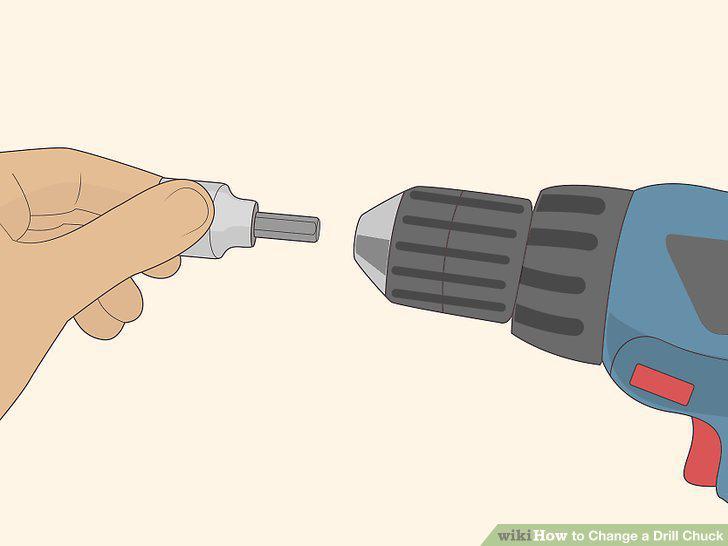
Insert a hex socket into the chuck.
9
Set the drill out of gear.
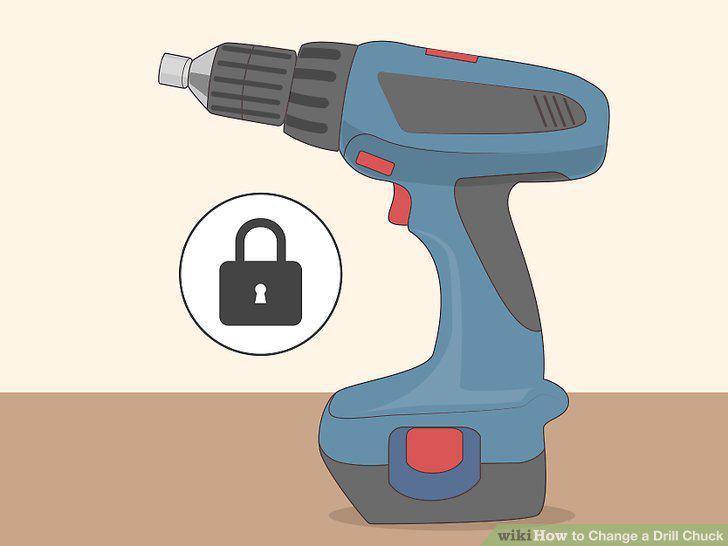
Set the drill out of gear.
10
Spin the hex socket in reverse with your impact wrench.
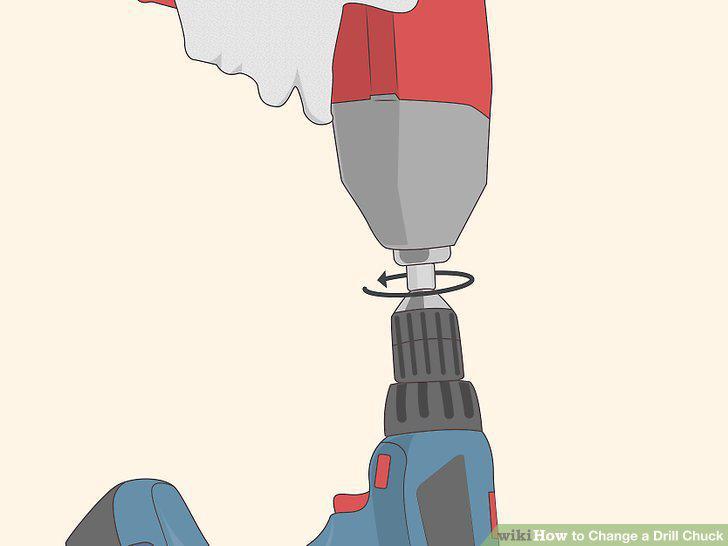
Spin the hex socket in reverse with your impact wrench.
11
Unscrew by hand.
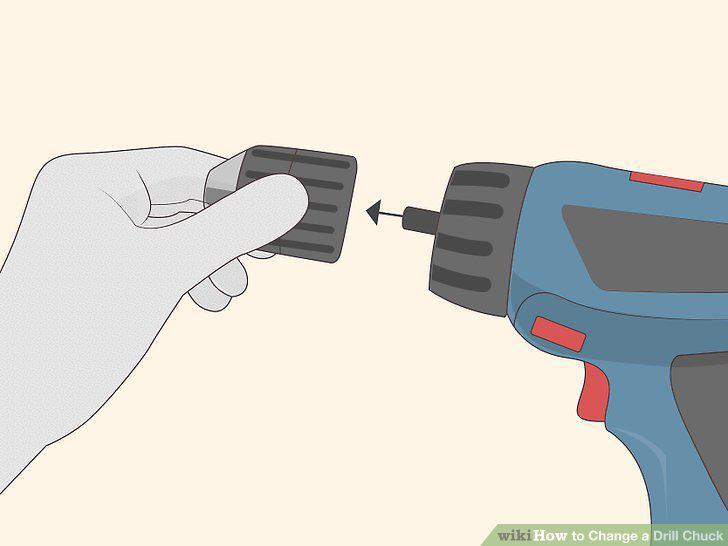
Unscrew by hand.
12
Measure the diameter of the spindle.
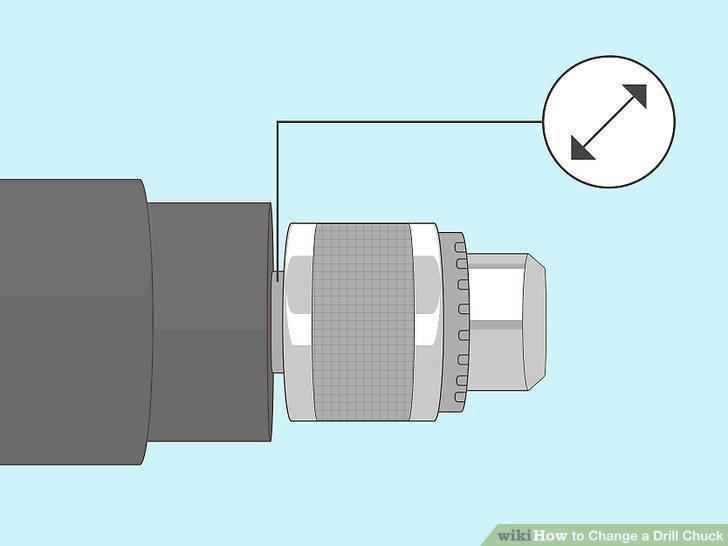
Measure the diameter of the spindle.
13
Buy a chuck removal wedge.
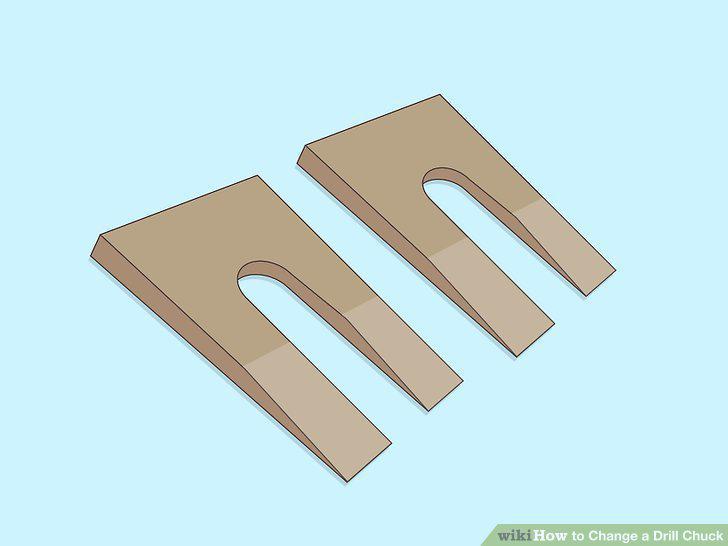
Buy a chuck removal wedge.
14
Insert the wedge between the chuck and the drill.
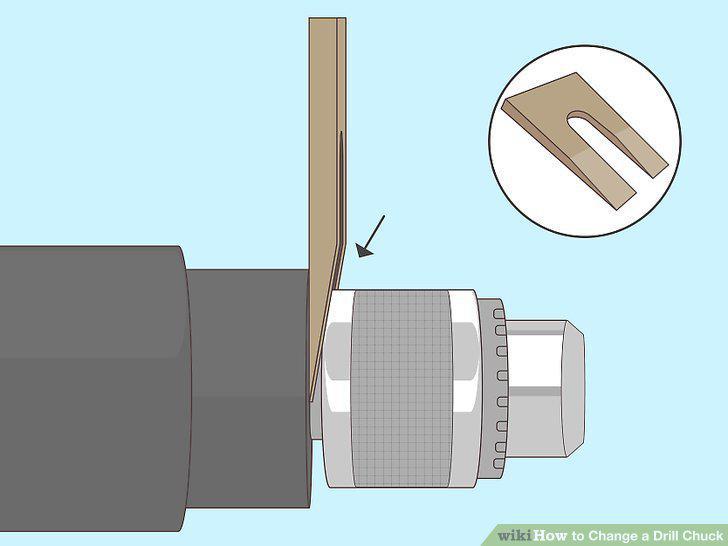
Insert the wedge between the chuck and the drill.
15
Hammer the wedge in.
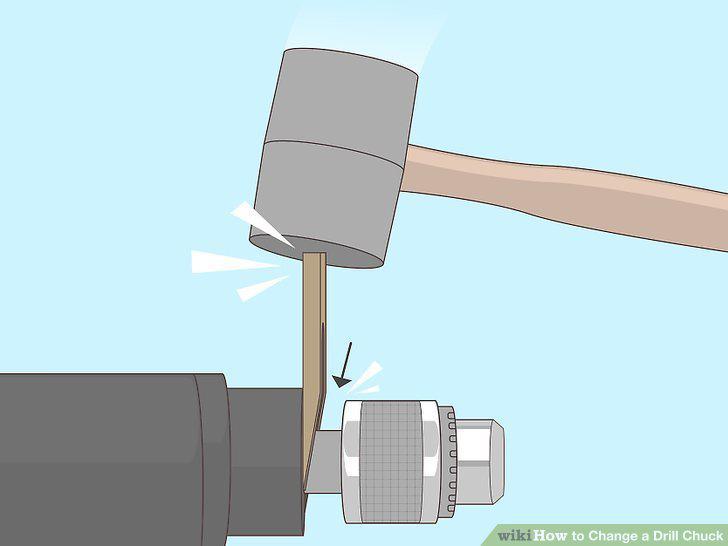
Hammer the wedge in.
16
Insert a new tapered chuck.
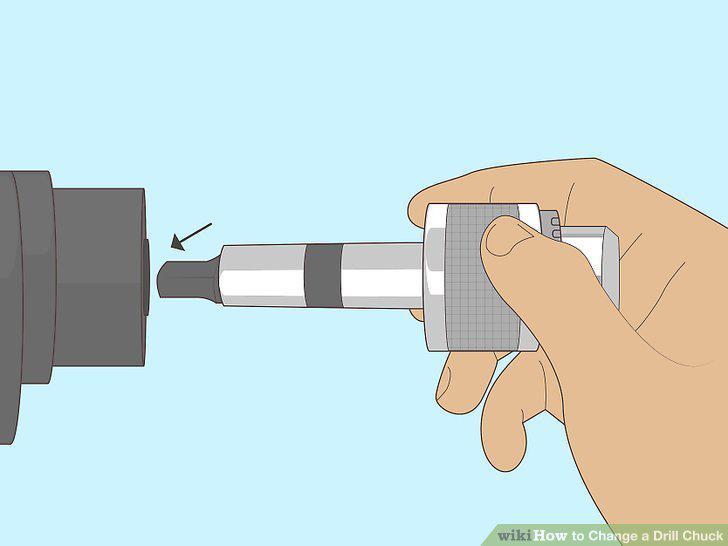
Insert a new tapered chuck.
17
Remove the entire spindle.
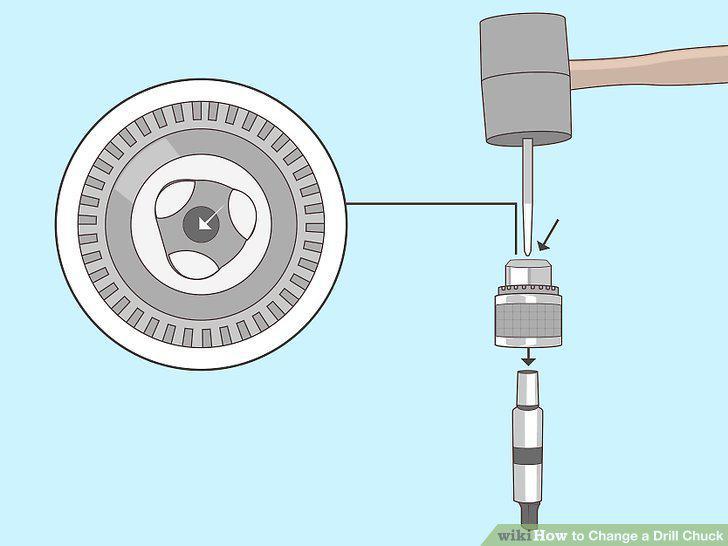
Remove the entire spindle.
Comments (0)
No comments yet. Be the first to share your thoughts!