How to Install and Manage Fonts on iPhone or iPad
Open the App Store .. Download a font app.. Launch your font app.
Steps
1
Open the App Store .

Open the App Store .
2
Download a font app.

Download a font app.
3
Launch your font app.
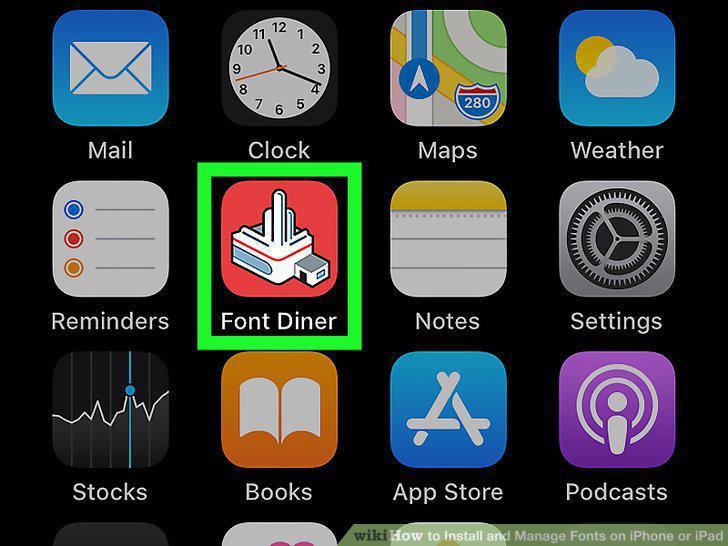
Launch your font app.
4
Browse for a font.
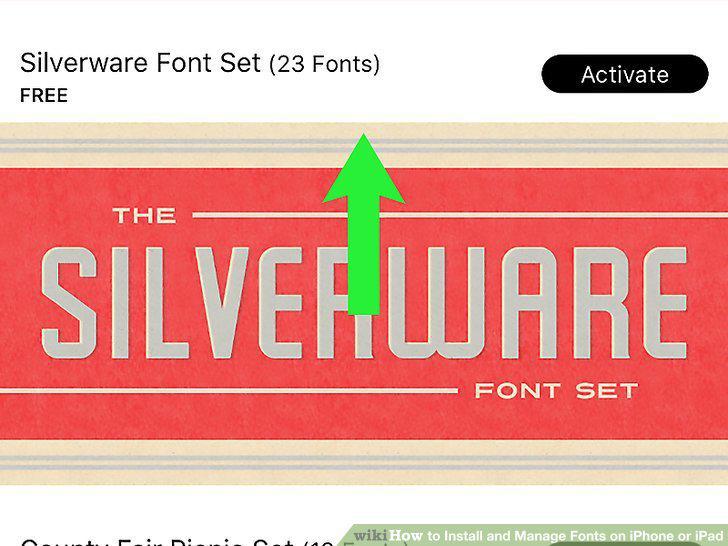
Browse for a font.
5
Tap the Activate or Install button on the font(s).
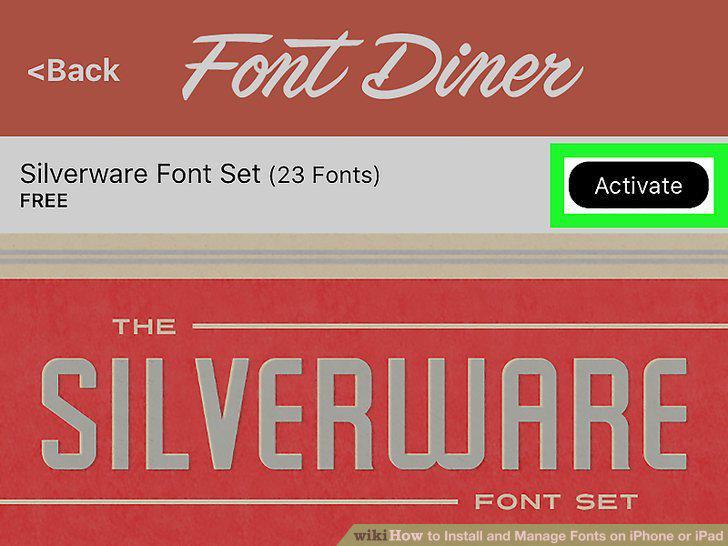
Tap the Activate or Install button on the font(s).
6
Tap Install on the pop-up window.
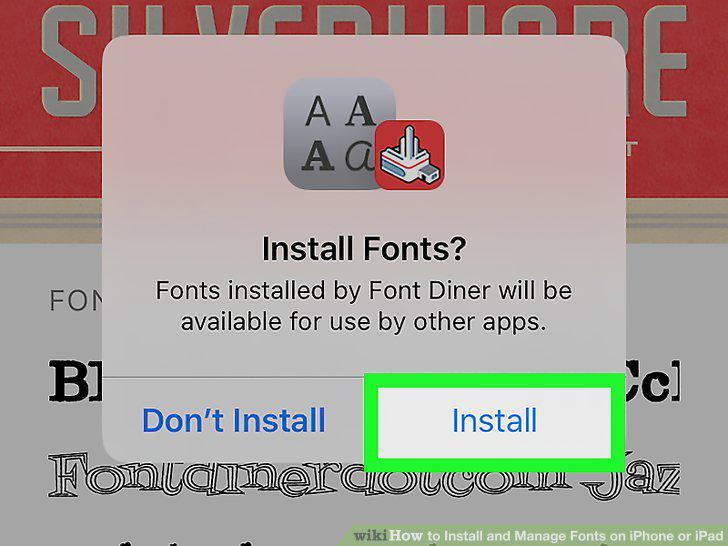
Tap Install on the pop-up window.
7
Open your iPhone or iPad's Settings .
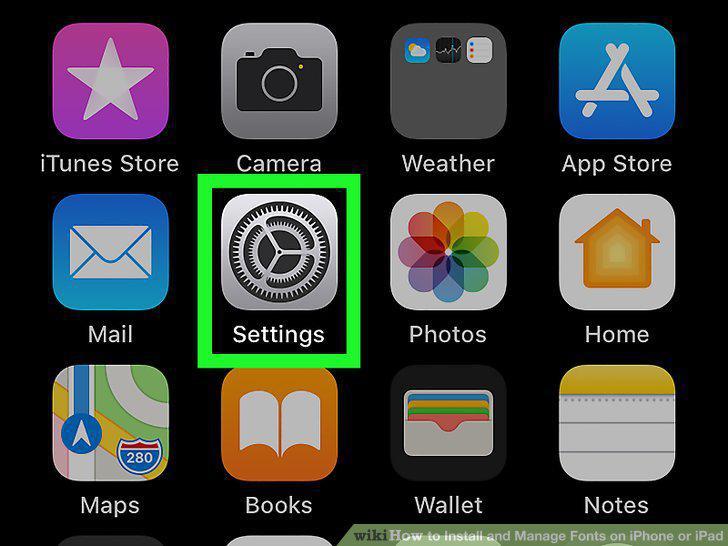
Open your iPhone or iPad's Settings .
8
Tap the General menu.
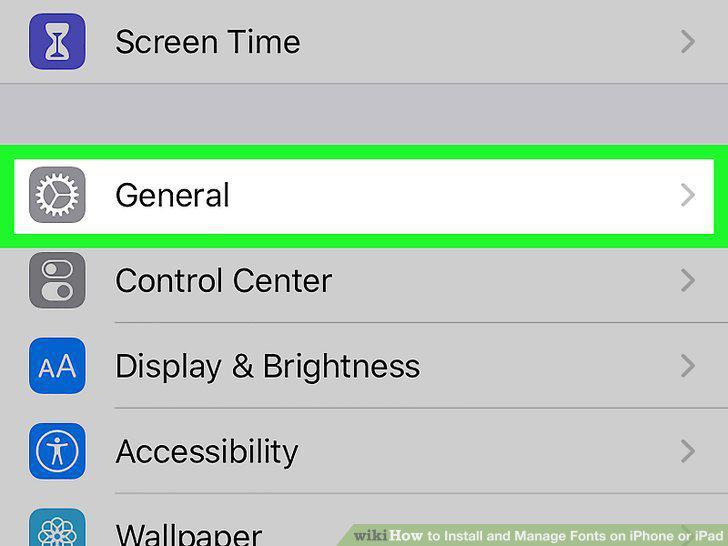
Tap the General menu.
9
Tap the Fonts menu.
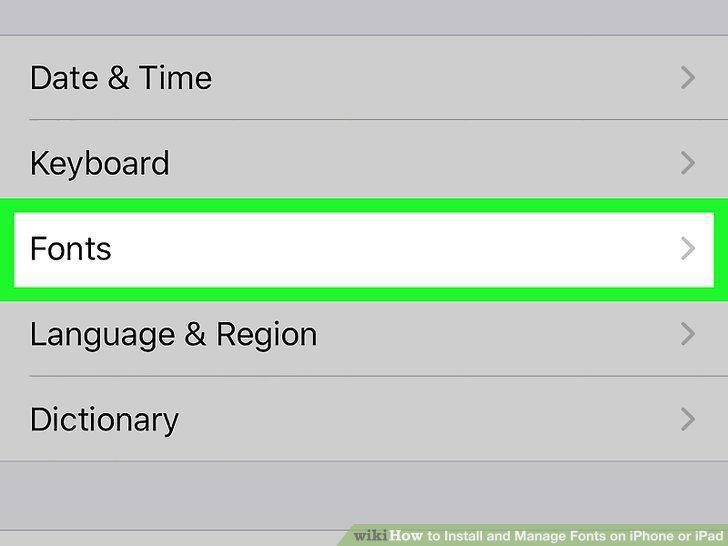
Tap the Fonts menu.
10
Tap a font name.
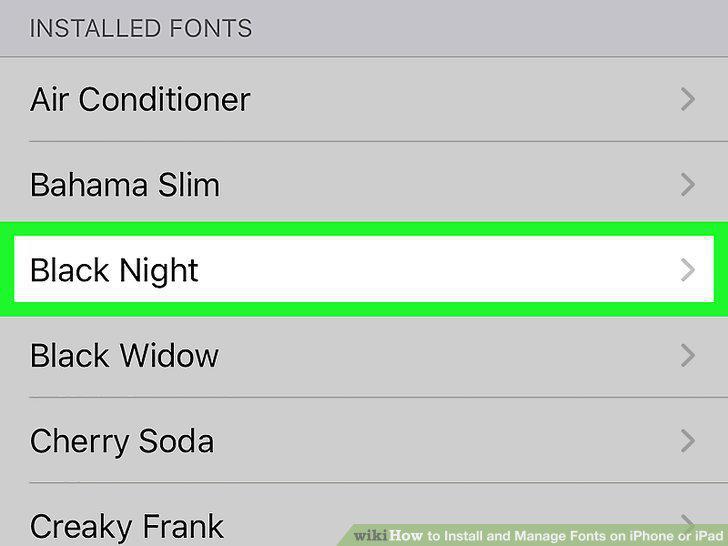
Tap a font name.
11
Tap a typeface to view a sample.
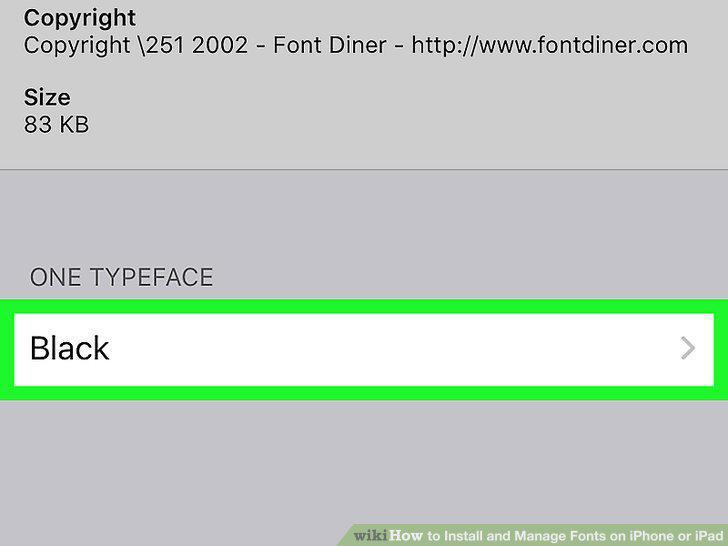
Tap a typeface to view a sample.
12
Tap Remove to delete a font.
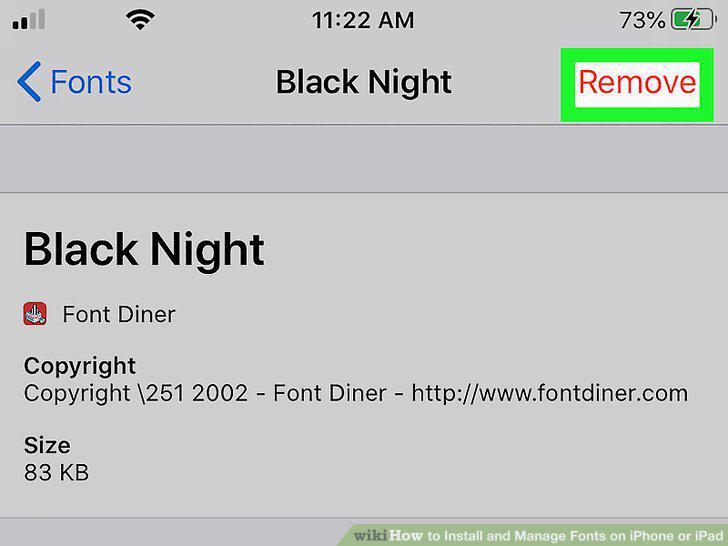
Tap Remove to delete a font.
13
Open an app that supports custom fonts.
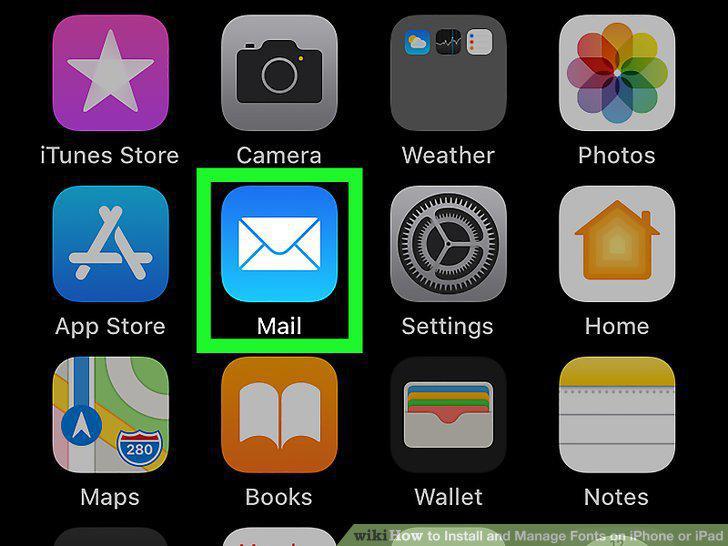
Open an app that supports custom fonts.
14
Tap the typing area to open the keyboard.
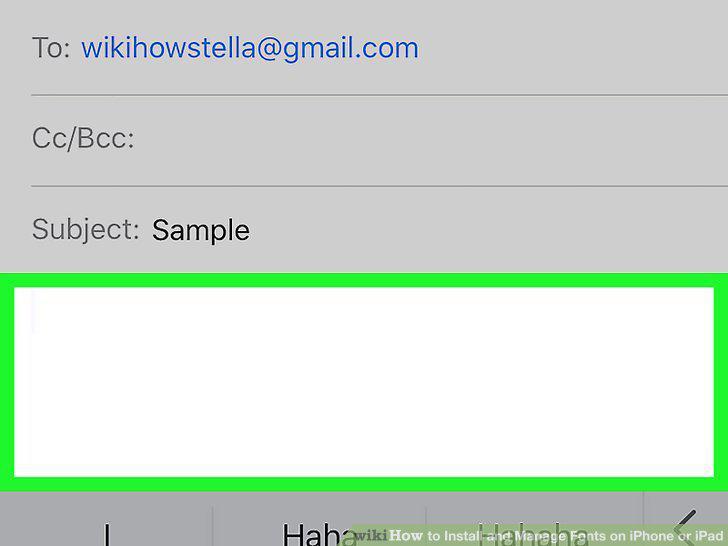
Tap the typing area to open the keyboard.
15
Tap the Format Aa icon.
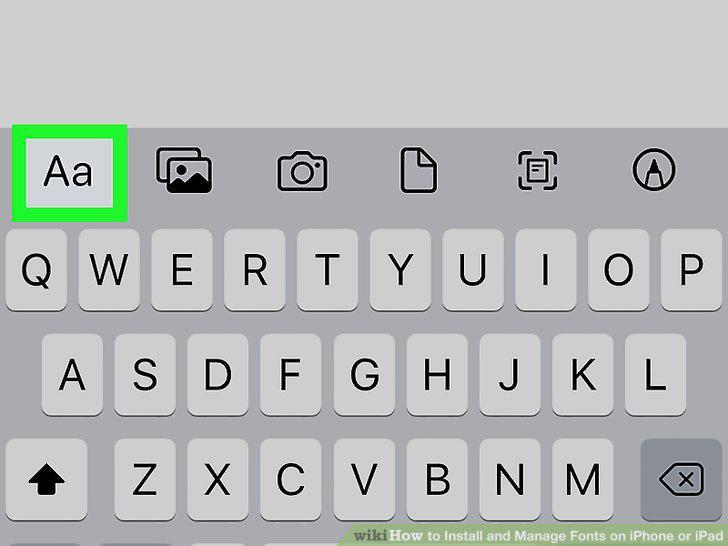
Tap the Format Aa icon.
16
Tap the Default Font menu.
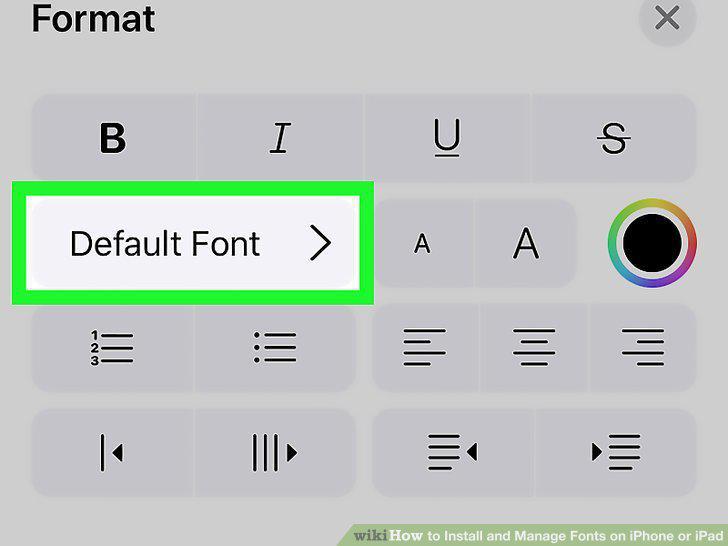
Tap the Default Font menu.
17
Tap the font you want to use.
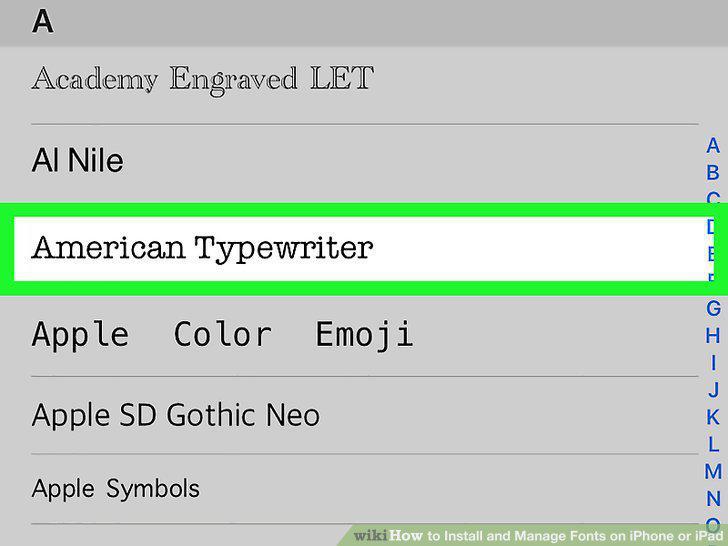
Tap the font you want to use.
18
Type in the selected font.
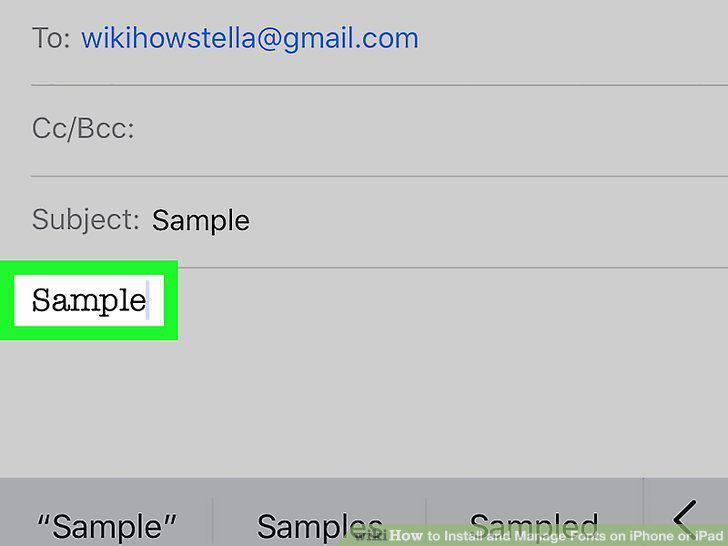
Type in the selected font.
Comments (0)
No comments yet. Be the first to share your thoughts!