How to Add Nailhead Trim to Upholstery
Choose quality tools and materials.. Plan your trim design.. Draw your design on the upholstery.
Steps
1
Choose quality tools and materials.
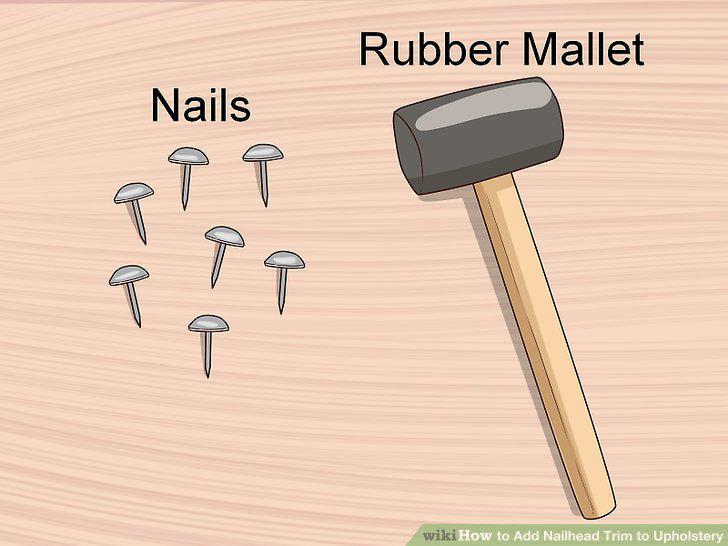
Choose quality tools and materials.
2
Plan your trim design.
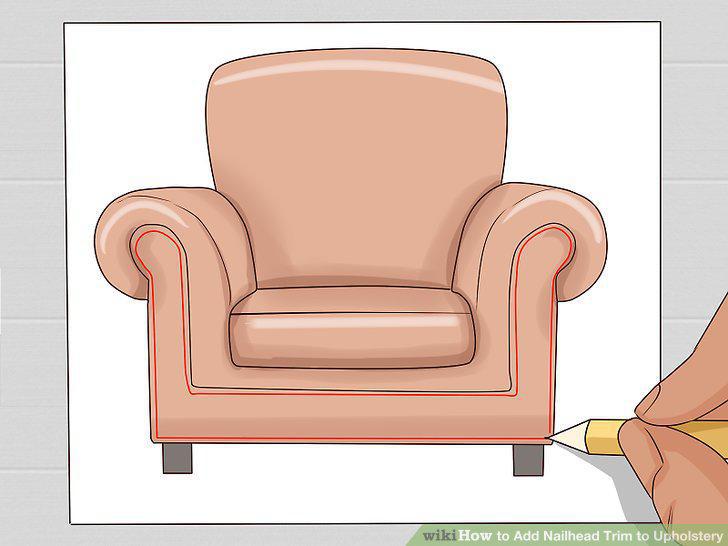
Plan your trim design.
3
Draw your design on the upholstery.
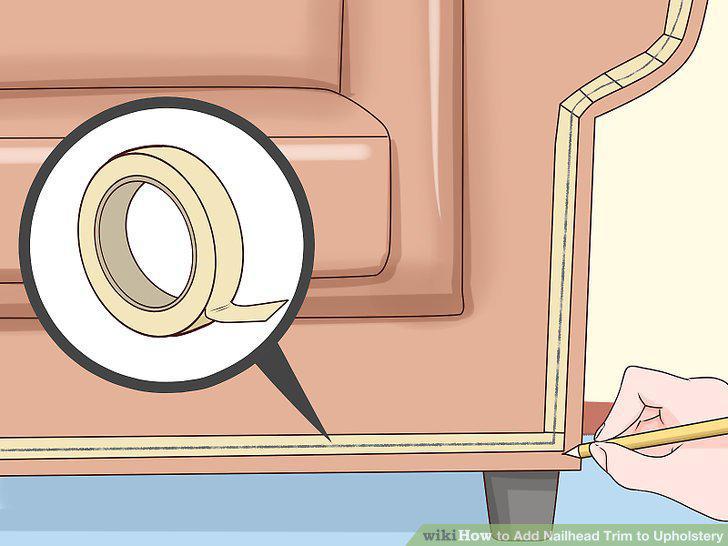
Draw your design on the upholstery.
4
Pound in the nails according to your pattern.
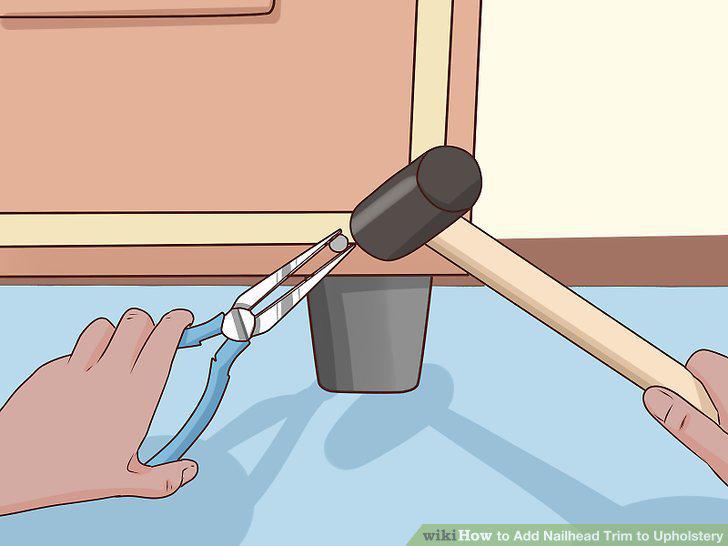
Pound in the nails according to your pattern.
5
Remove bent or warped nails.
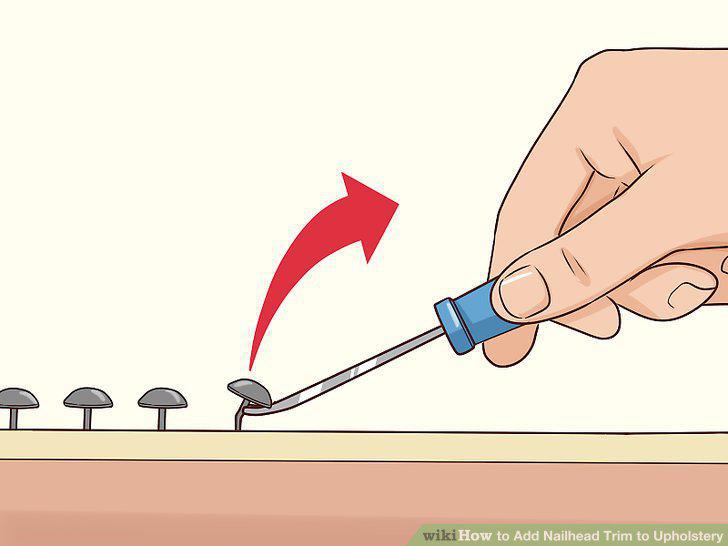
Remove bent or warped nails.
6
Pound the nails in the rest of the way and enjoy your trim.
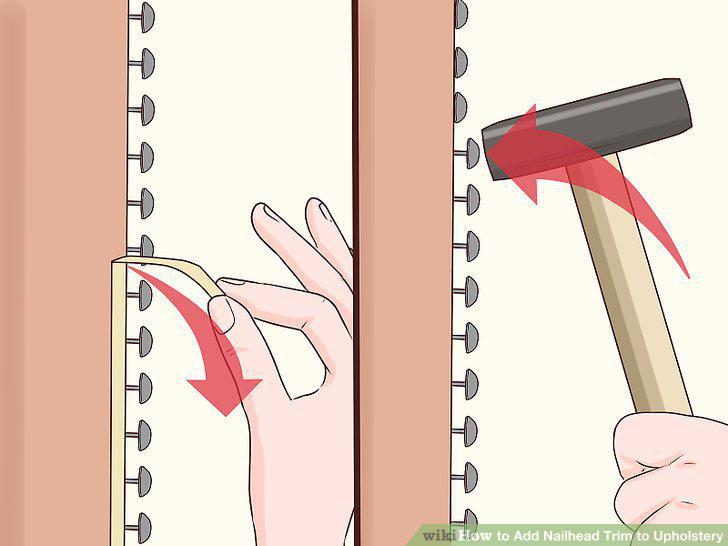
Pound the nails in the rest of the way and enjoy your trim.
7
Select a suitable pre-made trim.
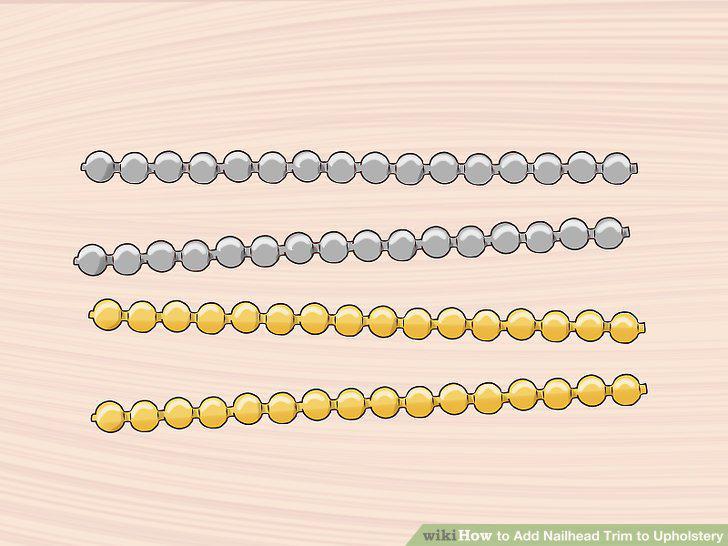
Select a suitable pre-made trim.
8
Outline your trim placement on your upholstery.
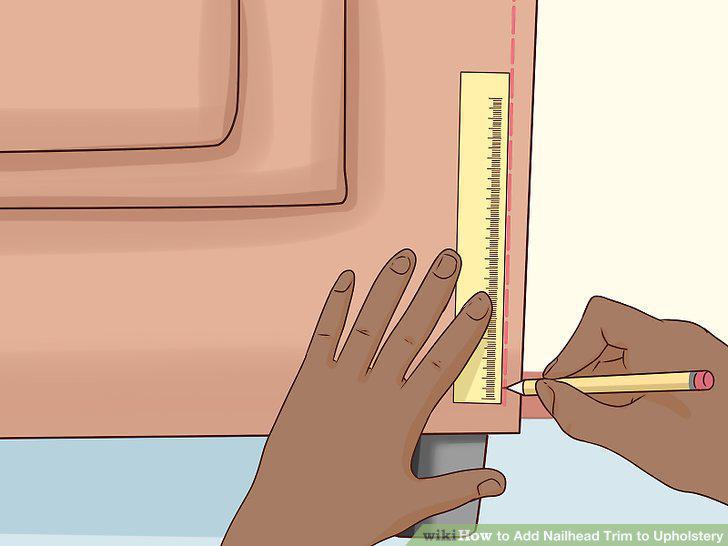
Outline your trim placement on your upholstery.
9
Install your trim along the trim outline.
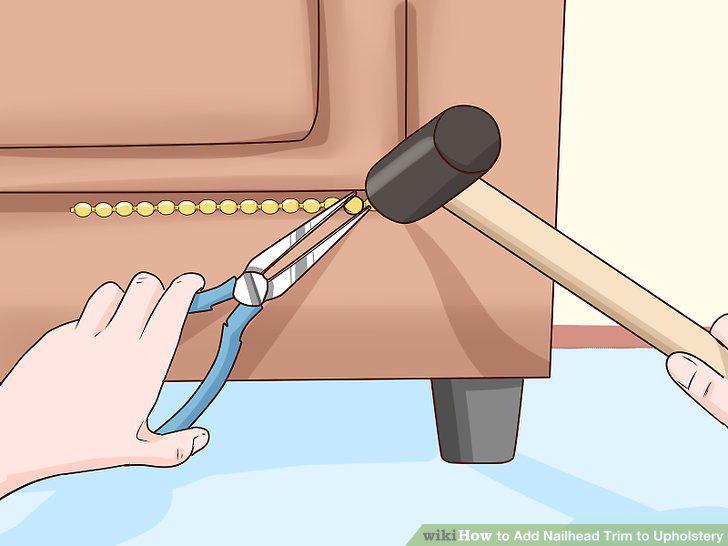
Install your trim along the trim outline.
10
Check the straightness of your trim and enjoy.
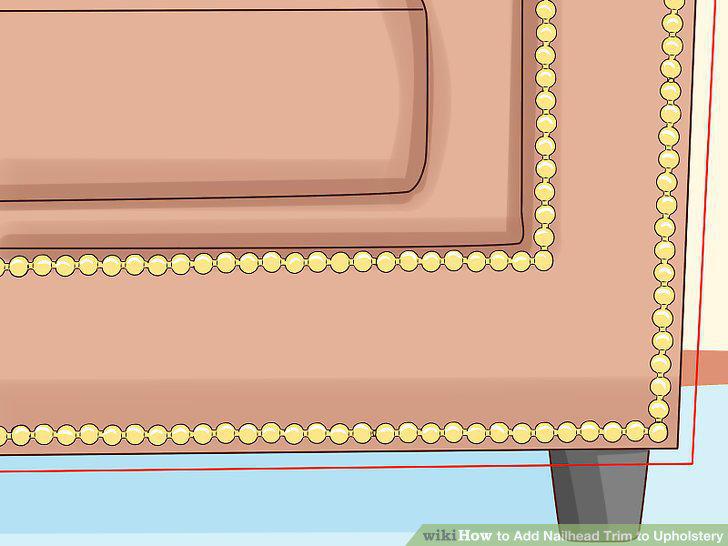
Check the straightness of your trim and enjoy.
11
Add ribbon or fabric beneath the nails of your trim.
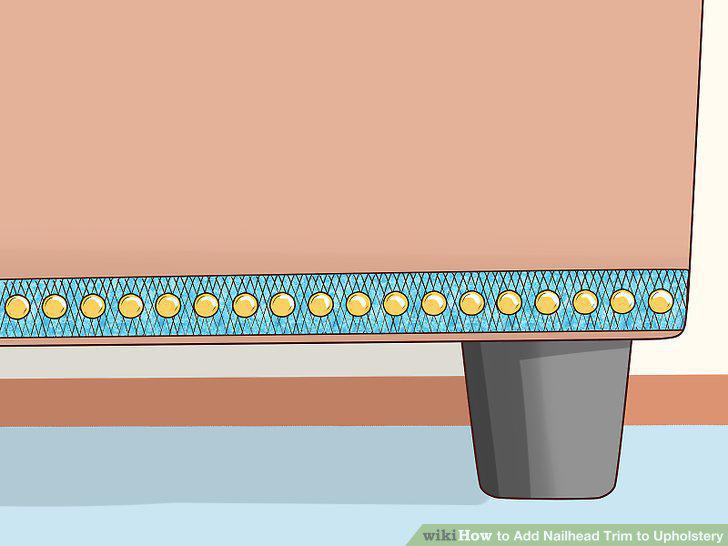
Add ribbon or fabric beneath the nails of your trim.
12
Make a curve in your trim design.
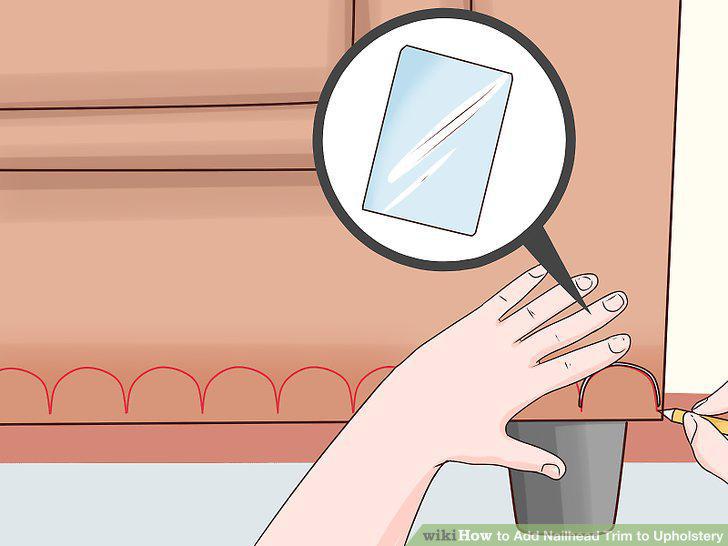
Make a curve in your trim design.
13
Use different finishes in your nails to create variety.
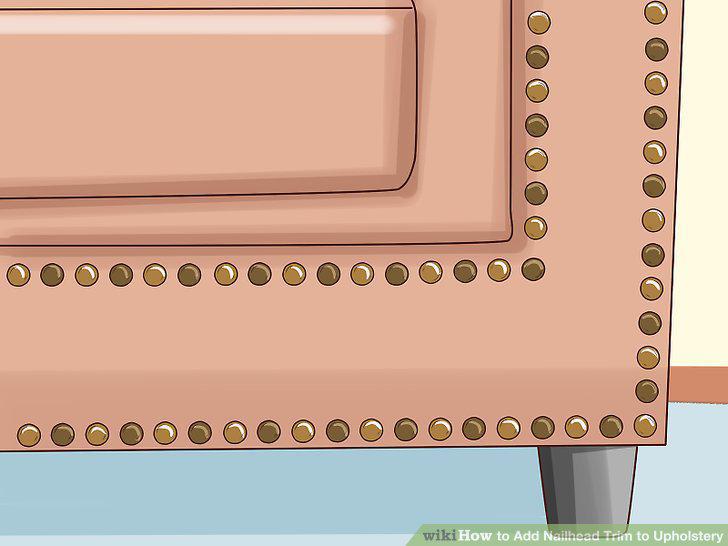
Use different finishes in your nails to create variety.
14
Create unique designs with different shaped nails.
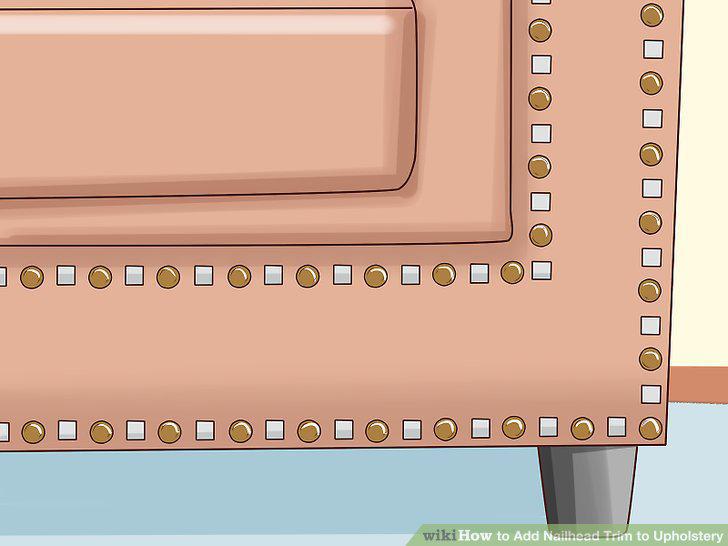
Create unique designs with different shaped nails.
15
Anchor corners with larger studs and ornate nails.
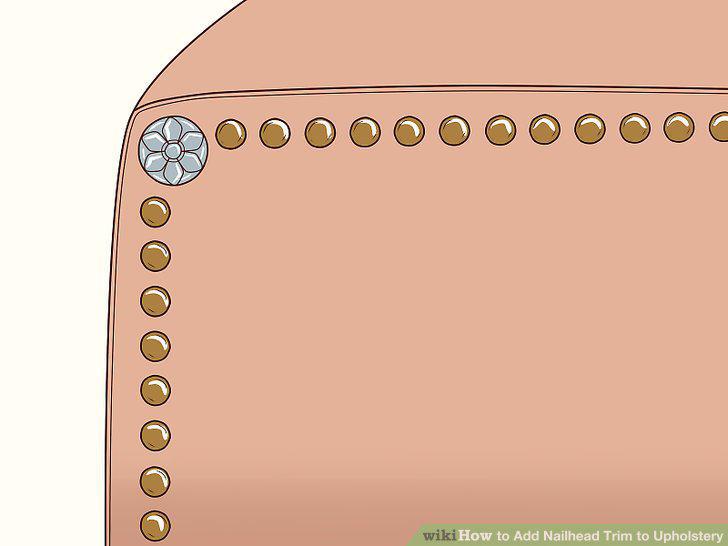
Anchor corners with larger studs and ornate nails.
Comments (0)
No comments yet. Be the first to share your thoughts!