How to Disable Camera Upload on Dropbox
Open the Dropbox app on your computer.. Click the Dropbox icon on your menu bar.. Click the gear icon.
Steps
1
Open the Dropbox app on your computer.
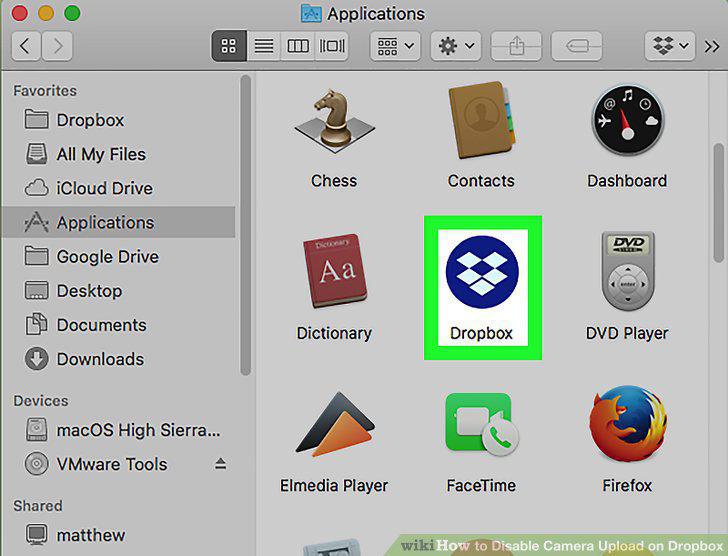
Open the Dropbox app on your computer.
2
Click the Dropbox icon on your menu bar.
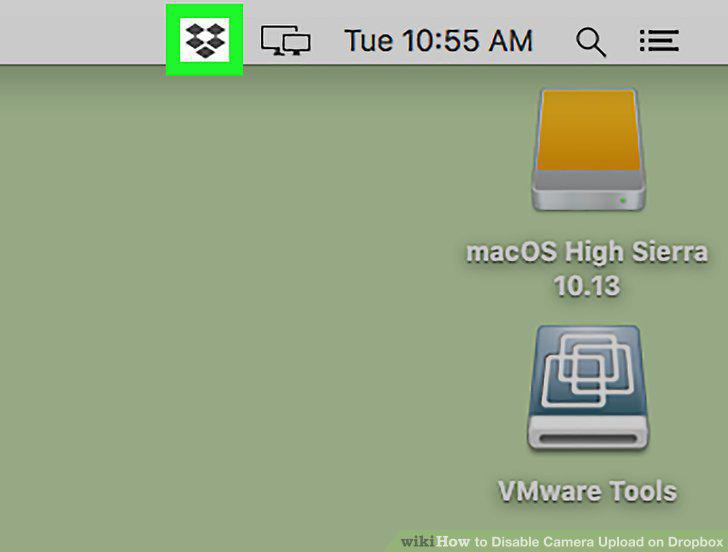
Click the Dropbox icon on your menu bar.
3
Click the gear icon.
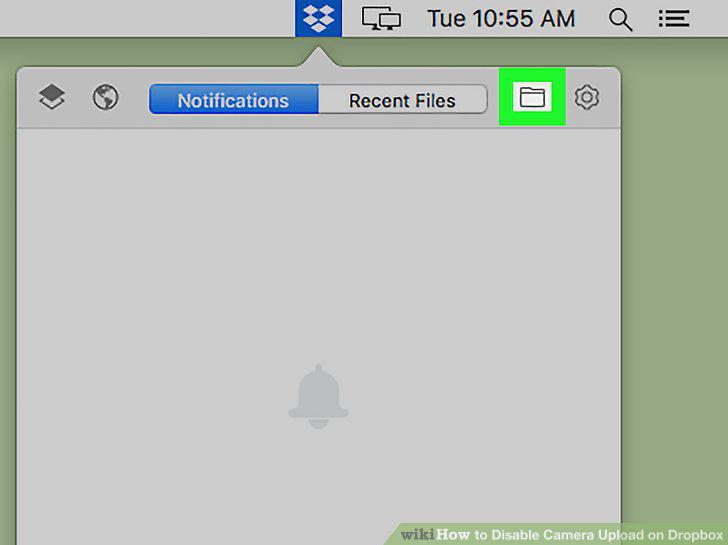
Click the gear icon.
4
Click Preferences on the menu.
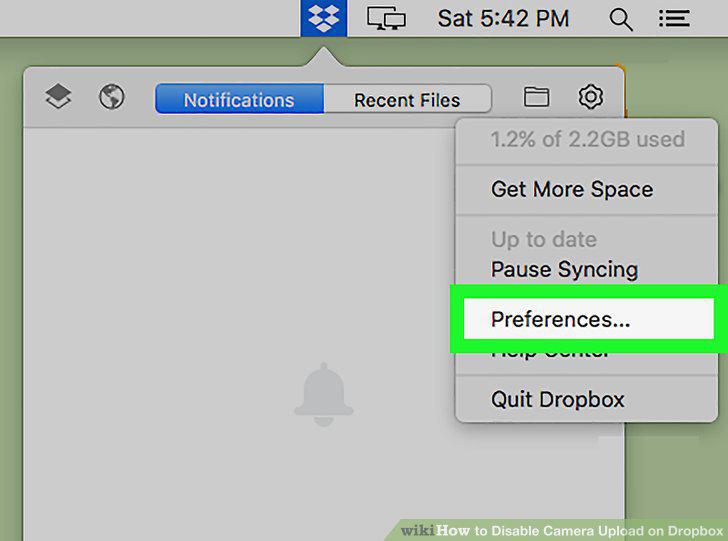
Click Preferences on the menu.
5
Click the Import tab.
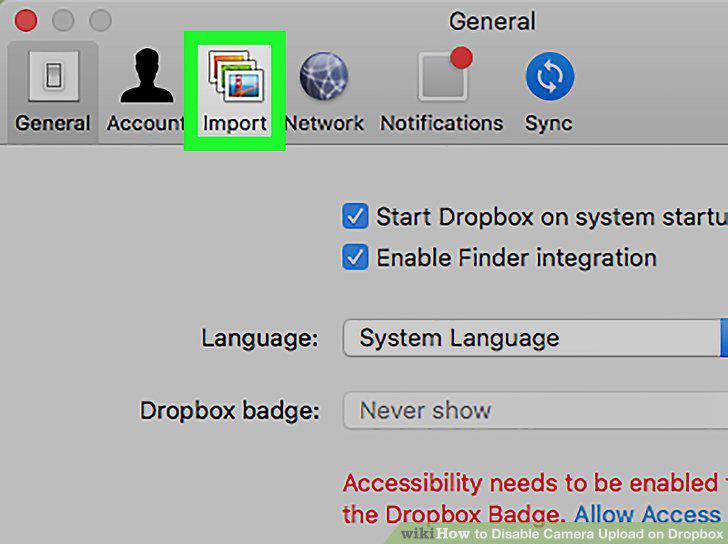
Click the Import tab.
6
Uncheck the Enable camera uploads box.
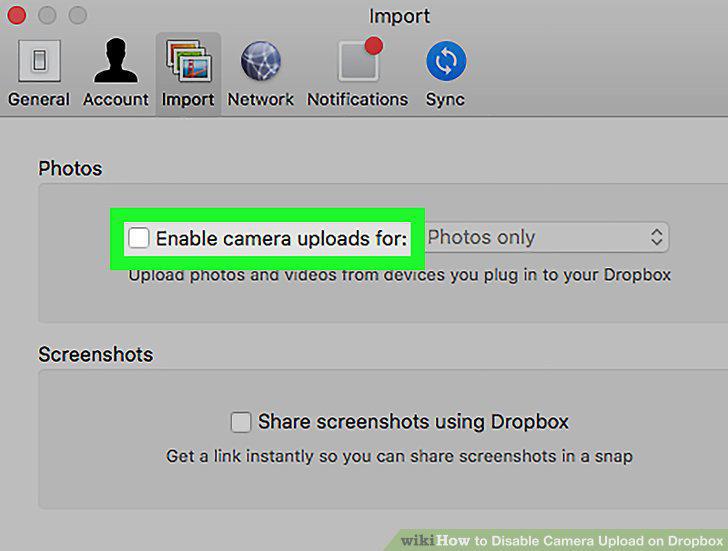
Uncheck the Enable camera uploads box.
7
Open the Dropbox app on your computer.
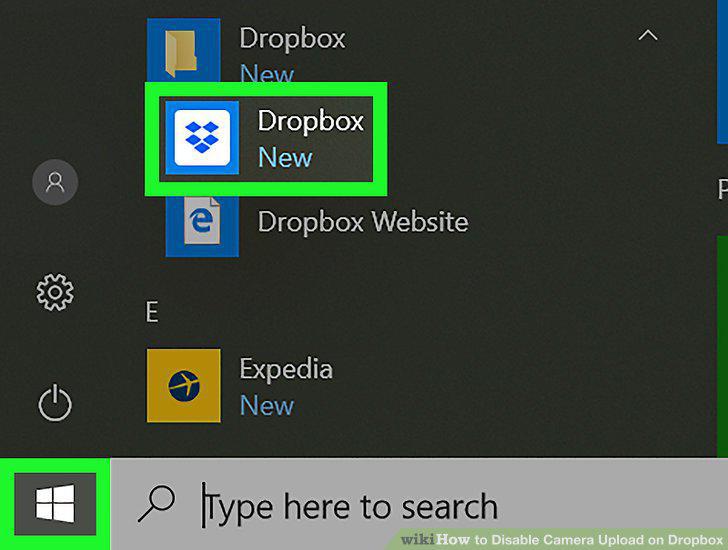
Open the Dropbox app on your computer.
8
Click the Dropbox icon on your taskbar.
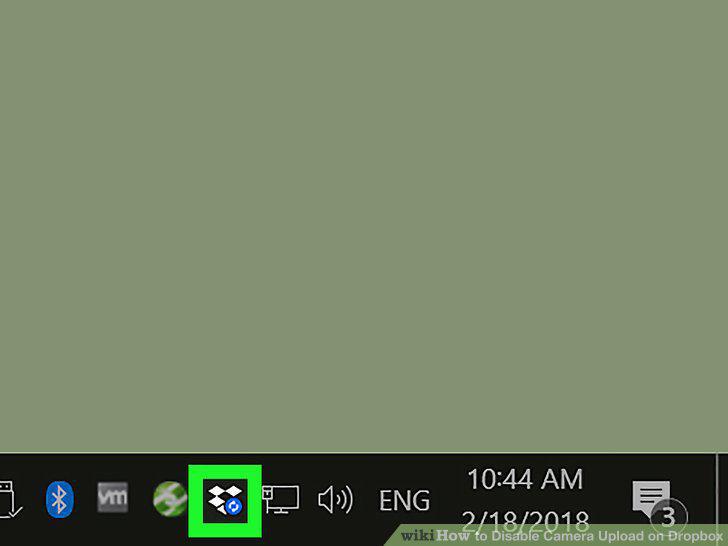
Click the Dropbox icon on your taskbar.
9
Click the gear icon.
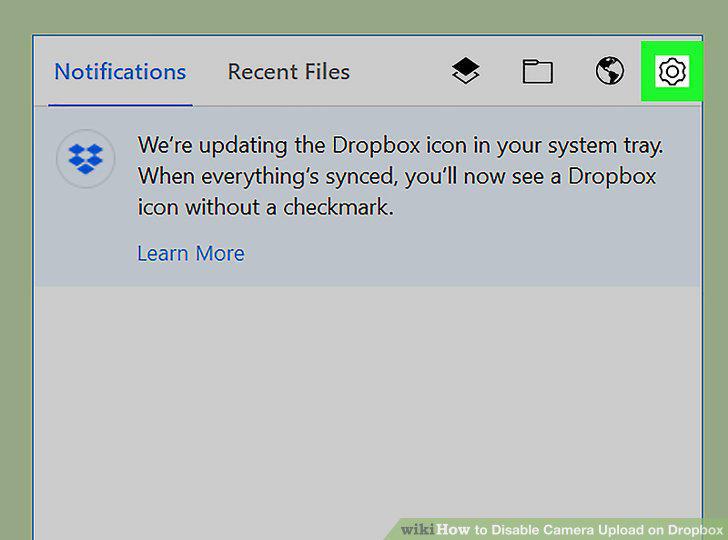
Click the gear icon.
10
Click Preferences on the menu.
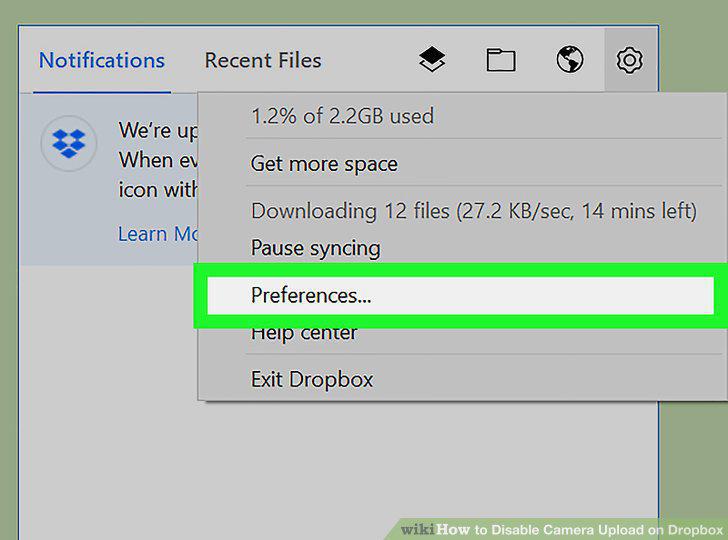
Click Preferences on the menu.
11
Click the Import tab.
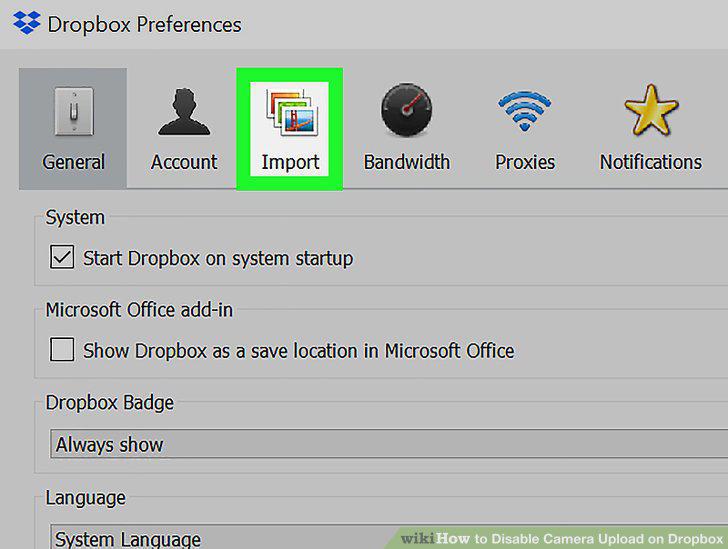
Click the Import tab.
12
Click Change autoplay settings.
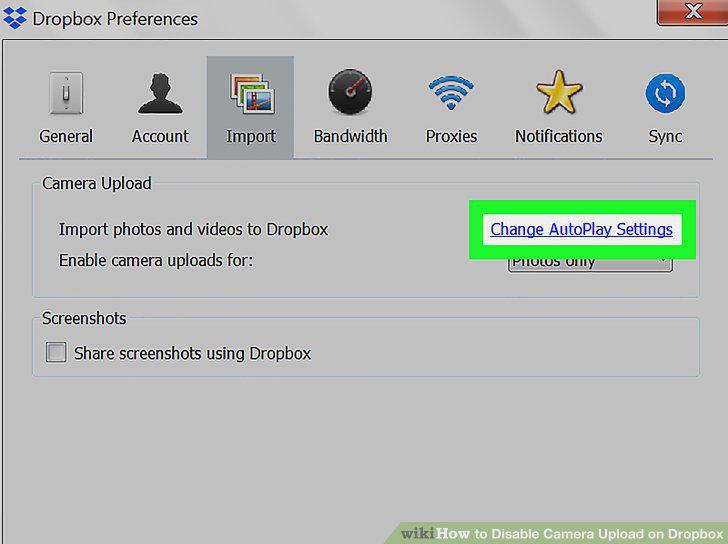
Click Change autoplay settings.
13
Click the selection box under Camera Storage.
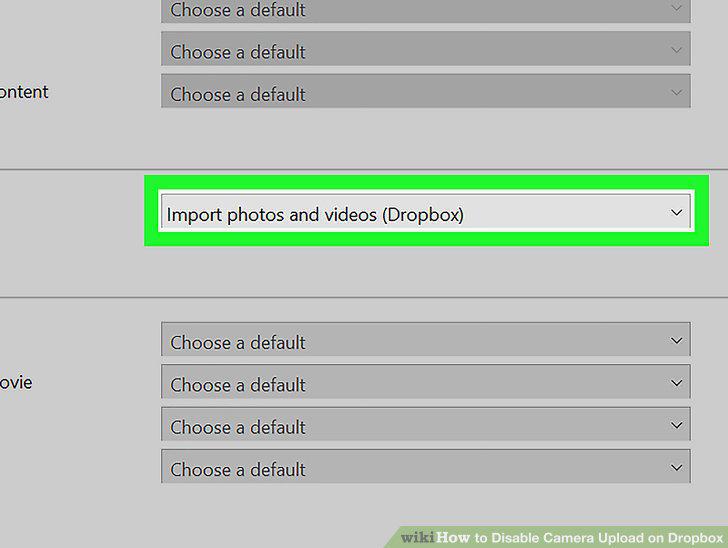
Click the selection box under Camera Storage.
14
Click Take no action.
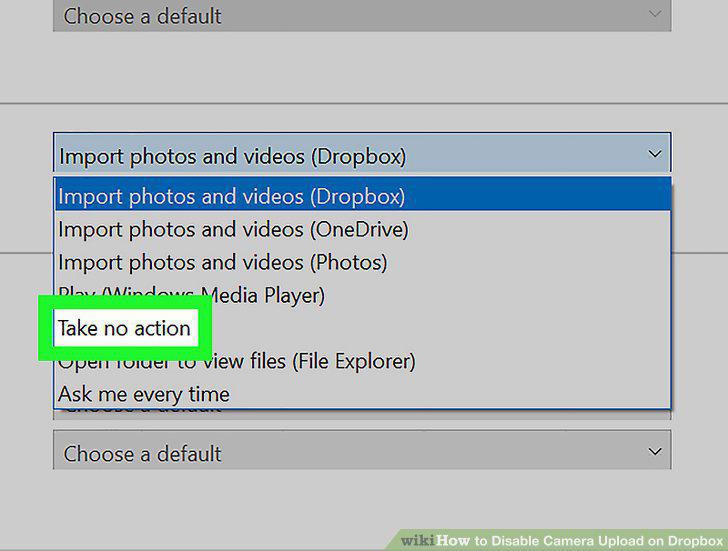
Click Take no action.
15
Click the Save button.
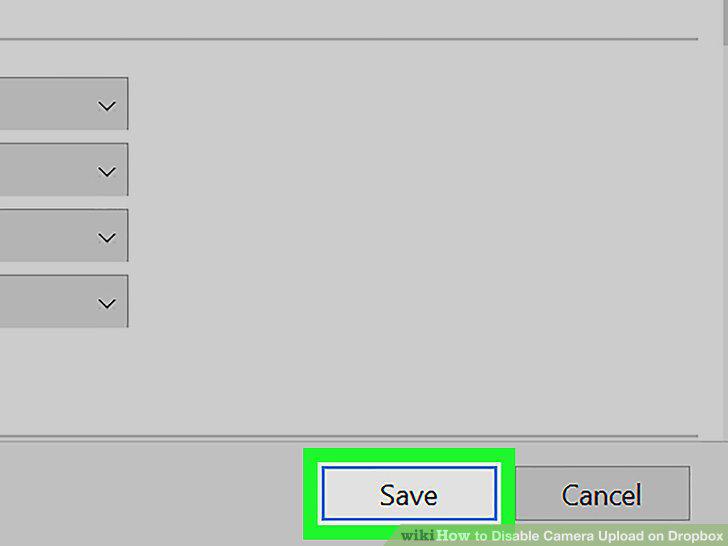
Click the Save button.
16
Click the Apply button.
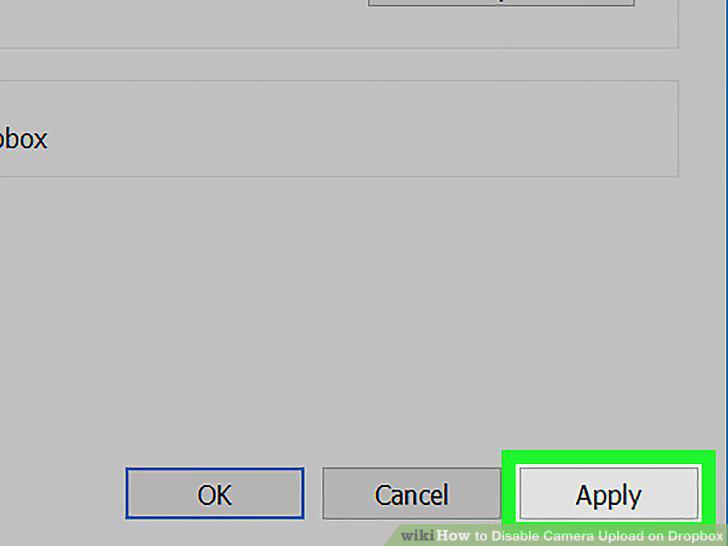
Click the Apply button.
Comments (0)
No comments yet. Be the first to share your thoughts!