How to Add Fonts to Photoshop
Download your fonts from the internet.. Open a window to view the fonts.. Right click on the font and select "Install.
Steps
1
Download your fonts from the internet.

Download your fonts from the internet.
2
Open a window to view the fonts.
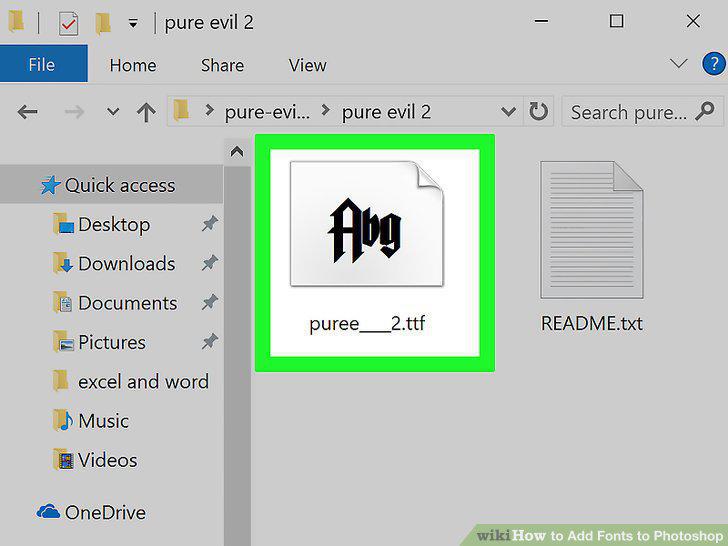
Open a window to view the fonts.
3
Right click on the font and select "Install.
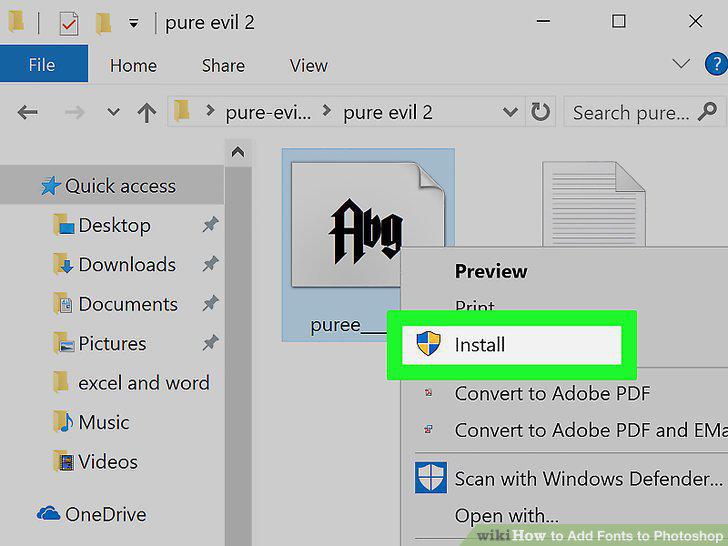
Right click on the font and select "Install.
4
Use the Control Panel to add fonts if you have no "Install" option.
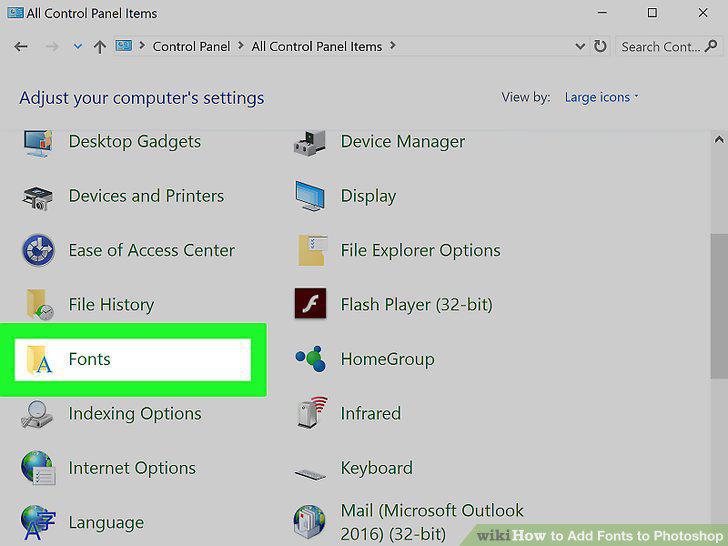
Use the Control Panel to add fonts if you have no "Install" option.
5
Find and download your new fonts.
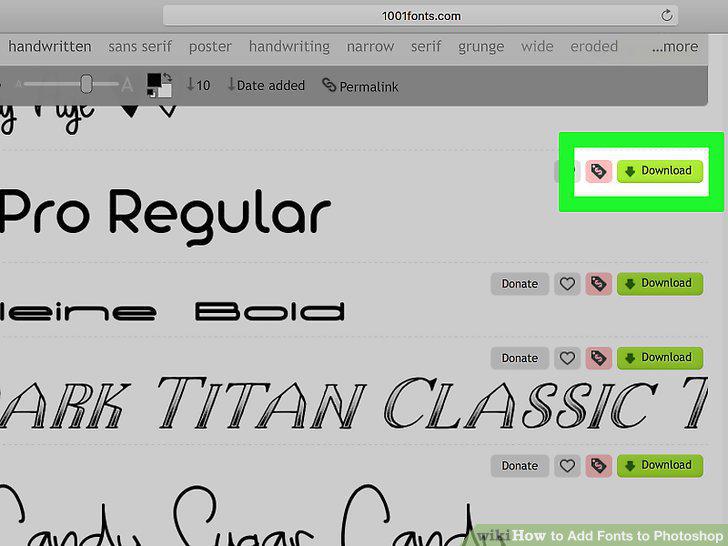
Find and download your new fonts.
6
Close all active applications.
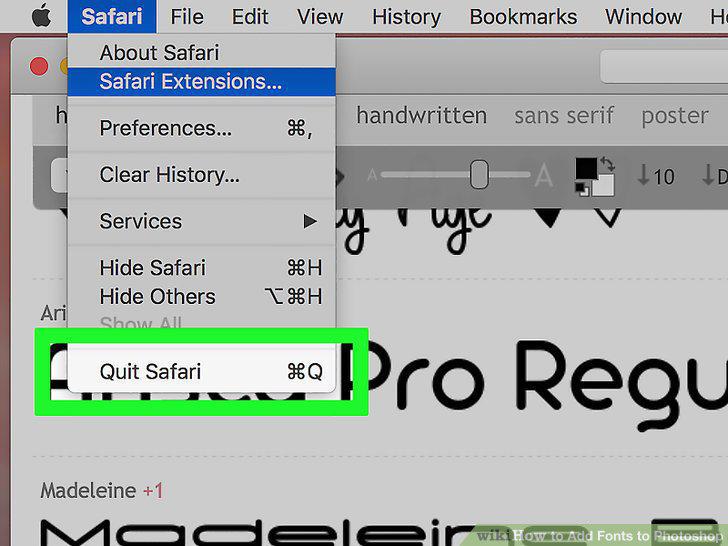
Close all active applications.
7
Double click on the actual font to bring up Font Book.
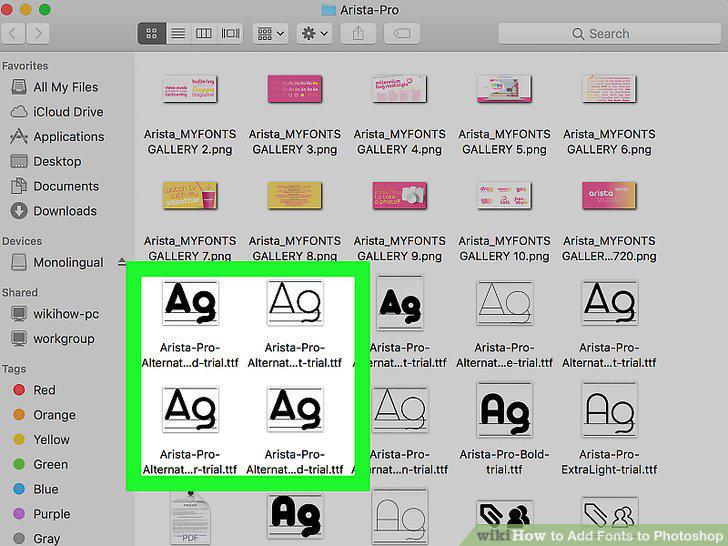
Double click on the actual font to bring up Font Book.
8
Click "Install Font" when the Font Book appears.
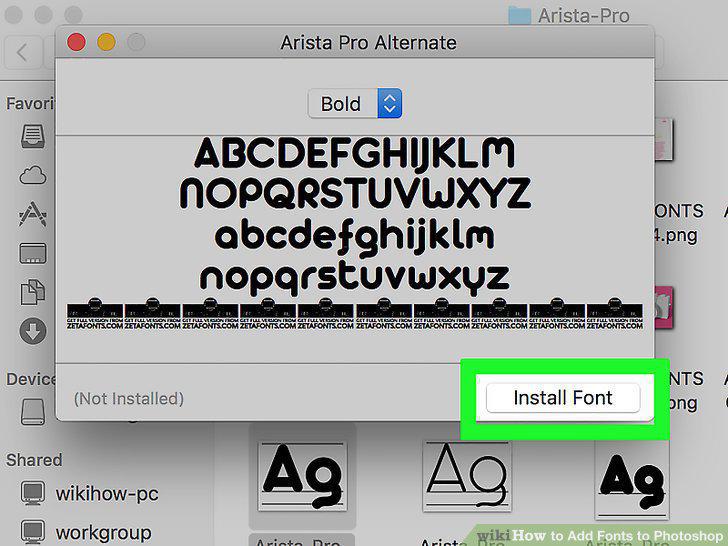
Click "Install Font" when the Font Book appears.
9
Alternatively, navigate to your font libraries in Finder and place the fonts man
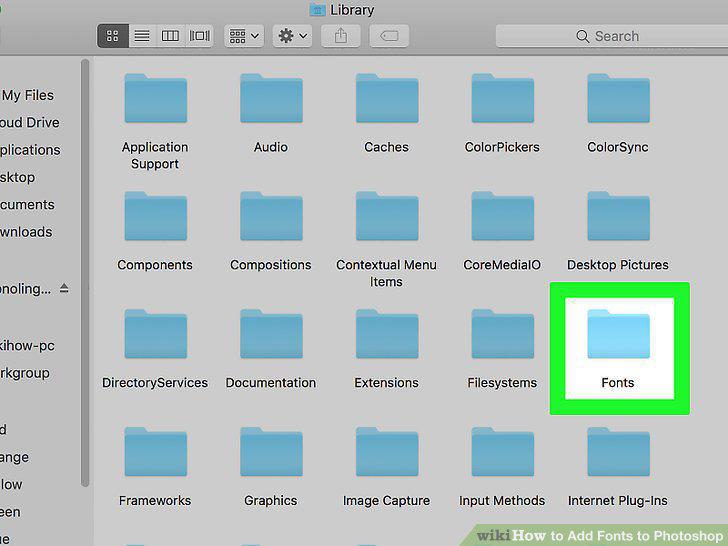
Alternatively, navigate to your font libraries in Finder and place the fonts manually.
10
Click and drag the new fonts into the folder to activate them.
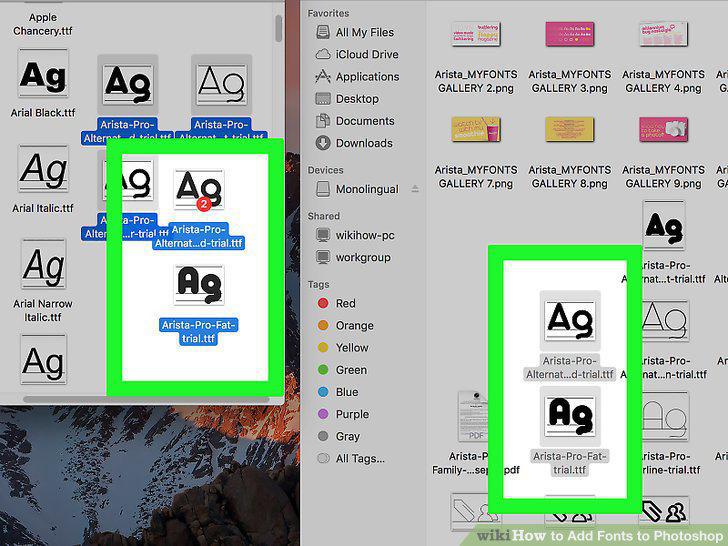
Click and drag the new fonts into the folder to activate them.
Comments (0)
No comments yet. Be the first to share your thoughts!