How to Remove the 'Read Only' Status on MS Word Documents
Understand which documents are likely to be protected.. Open the Word document.. Look for a pale yellow banner.
Steps
1
Understand which documents are likely to be protected.
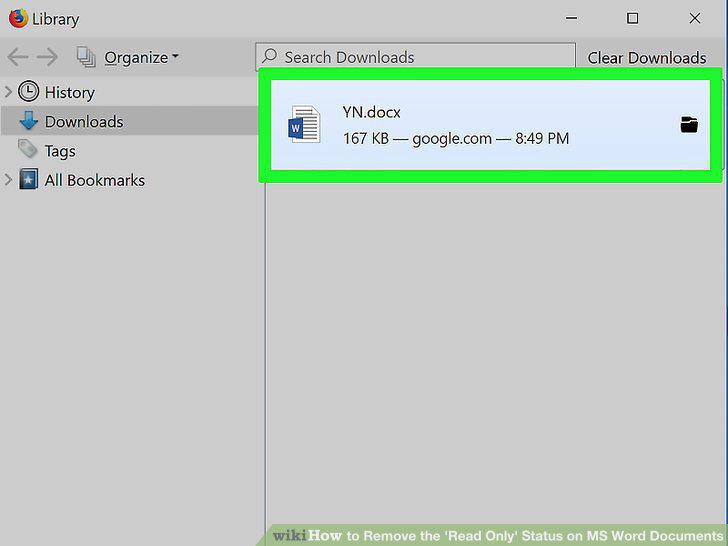
Understand which documents are likely to be protected.
2
Open the Word document.
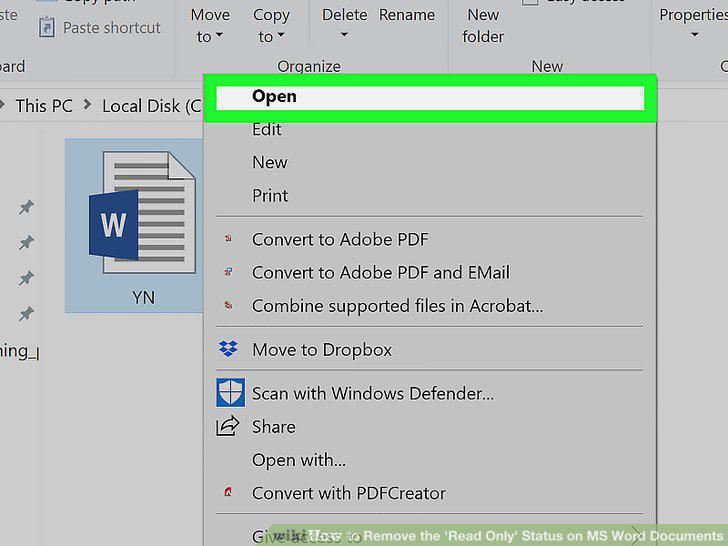
Open the Word document.
3
Look for a pale yellow banner.
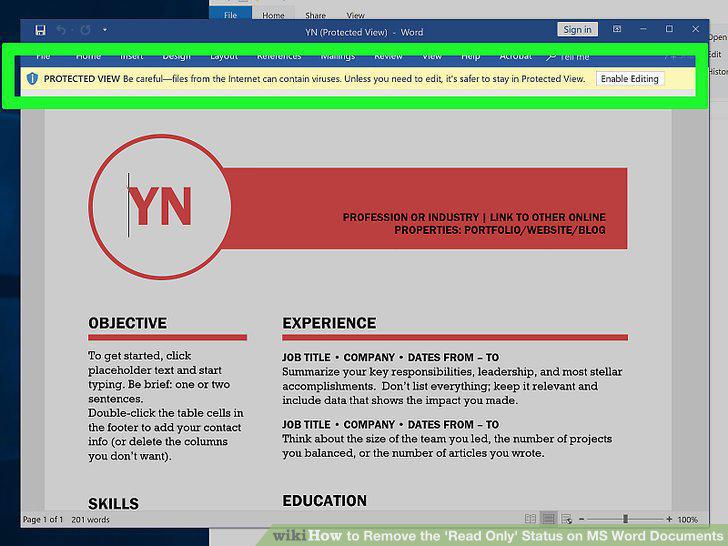
Look for a pale yellow banner.
4
Click Enable Editing.
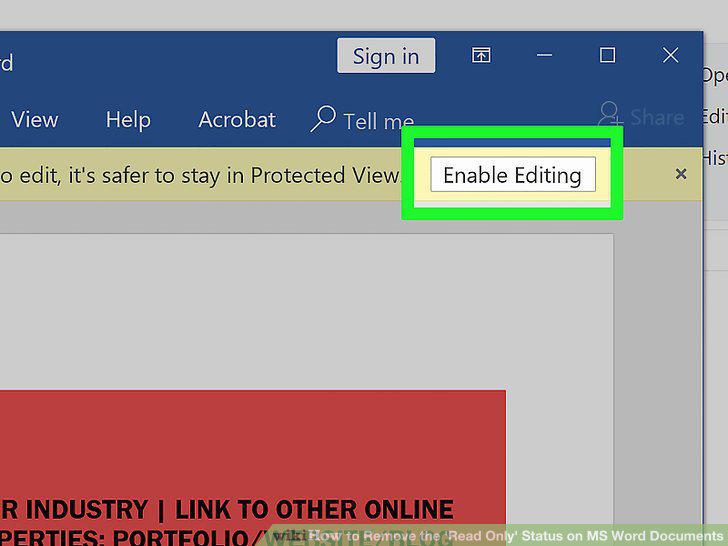
Click Enable Editing.
5
Open the Word document.
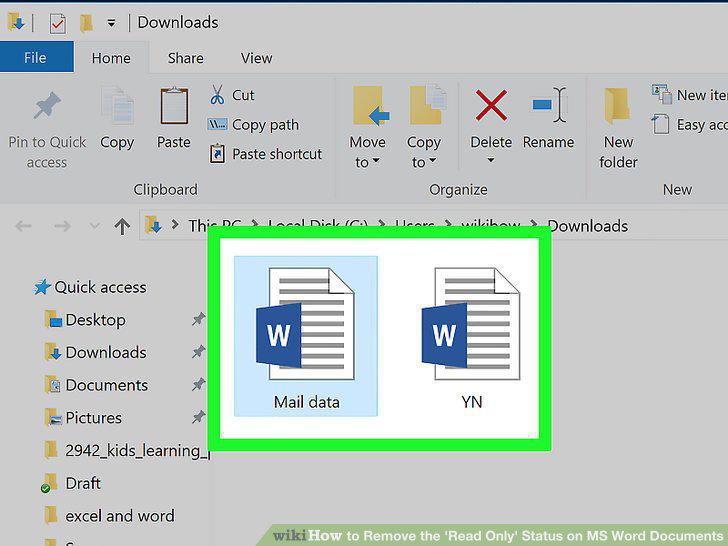
Open the Word document.
6
Click the Review tab.
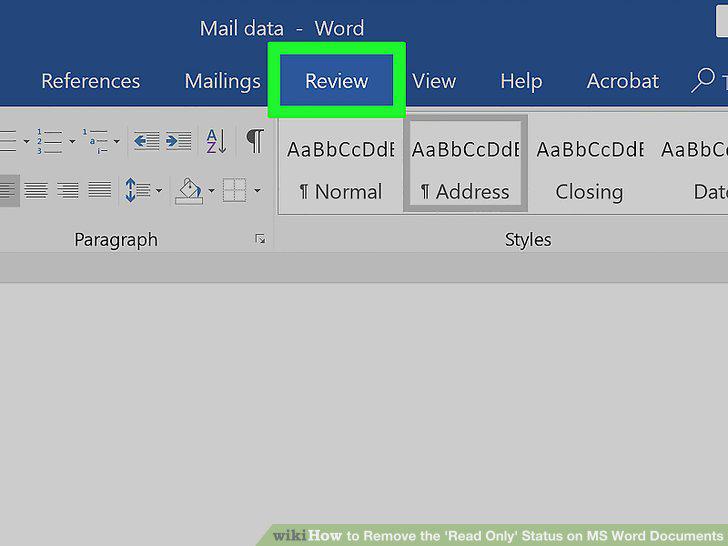
Click the Review tab.
7
Click Restrict Editing.
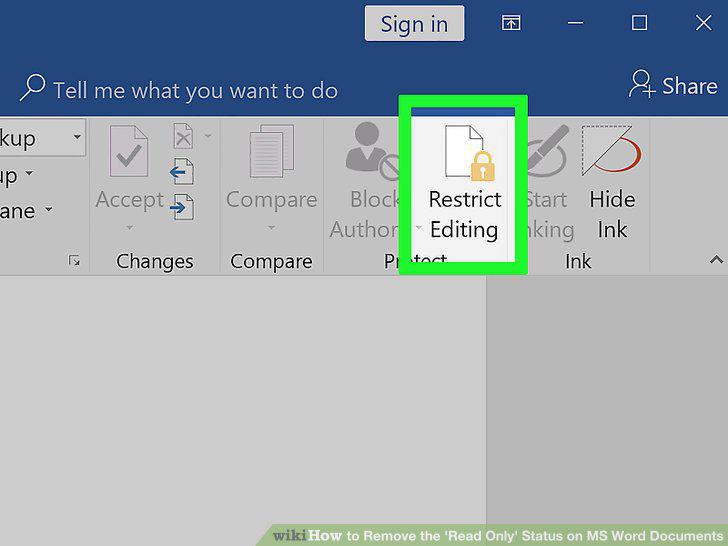
Click Restrict Editing.
8
Click Stop Protection.
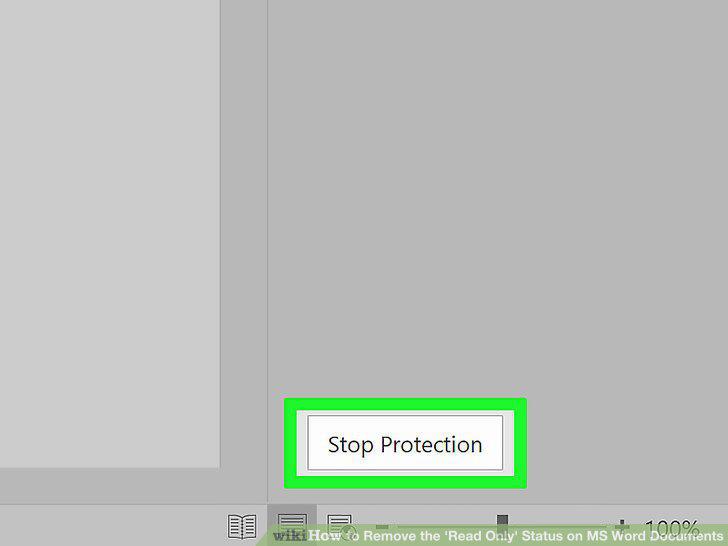
Click Stop Protection.
9
Enter the password when prompted.
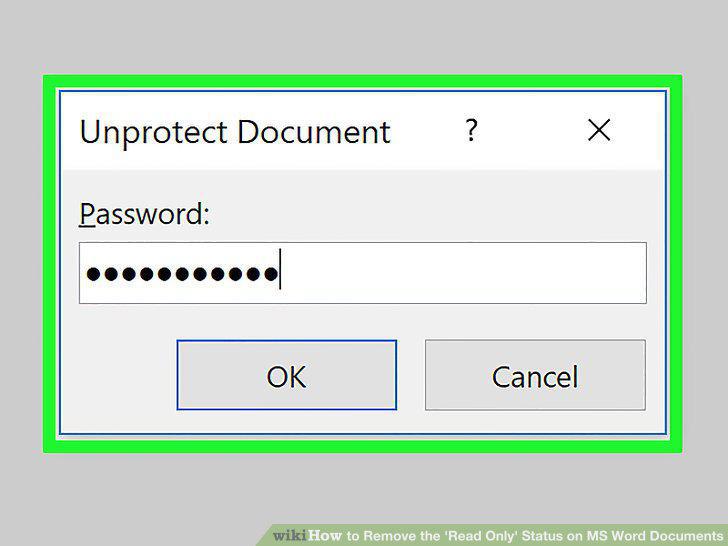
Enter the password when prompted.
10
Save your changes.
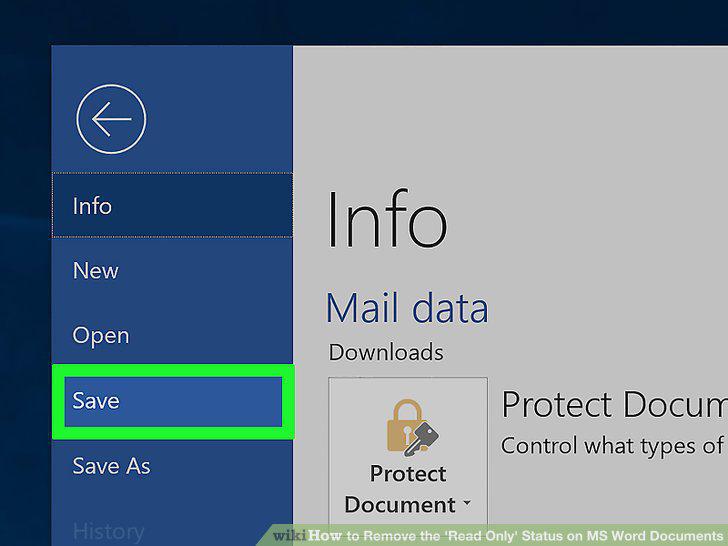
Save your changes.
11
Go to the Word document.
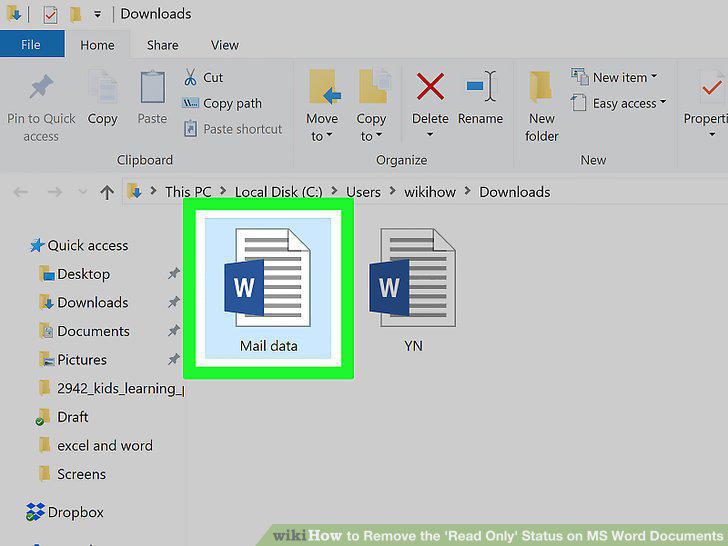
Go to the Word document.
12
Open the Word file's properties.
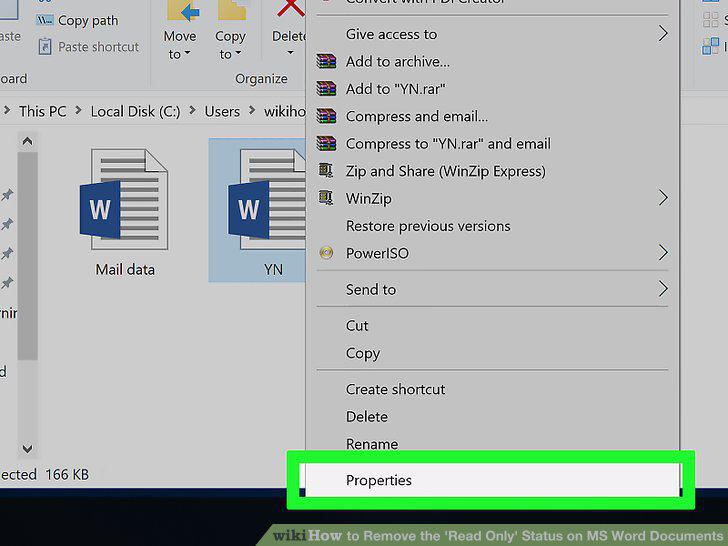
Open the Word file's properties.
13
Find the "Permissions" section.
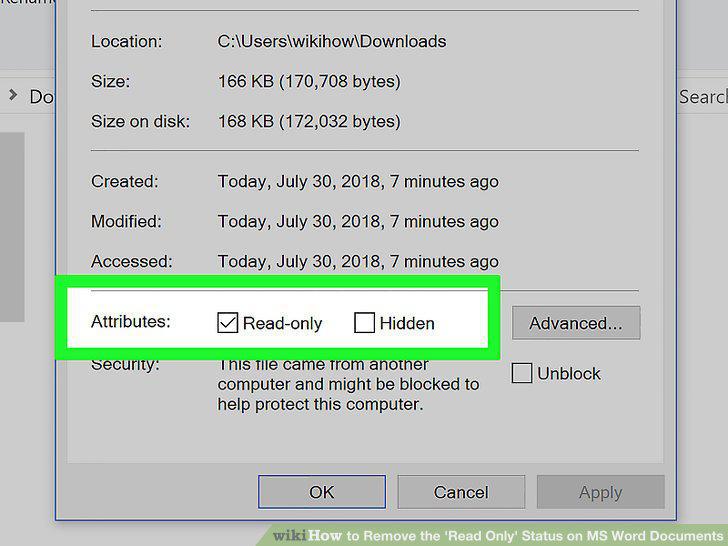
Find the "Permissions" section.
14
Disable the read-only protection.
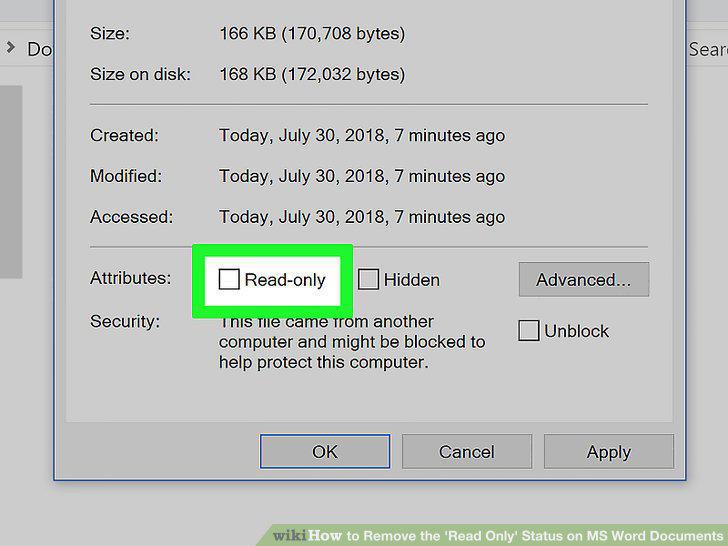
Disable the read-only protection.
15
Try to edit the file.
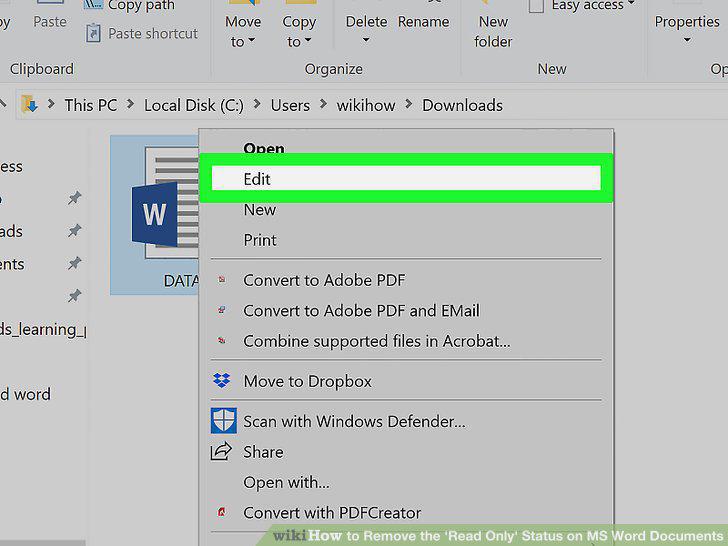
Try to edit the file.
16
Understand how this works.
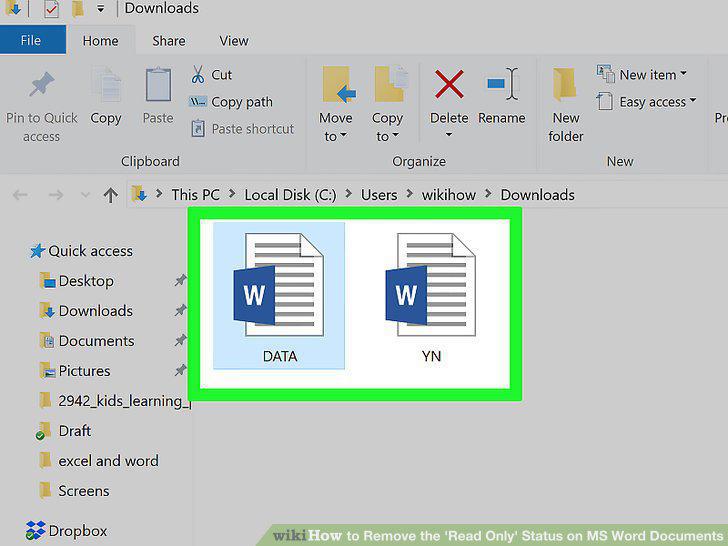
Understand how this works.
17
Open the protected Word document.
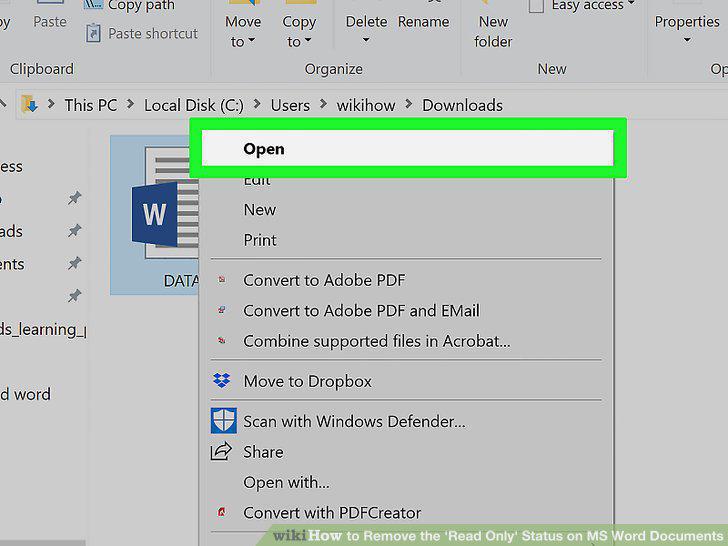
Open the protected Word document.
18
Click anywhere on the document.
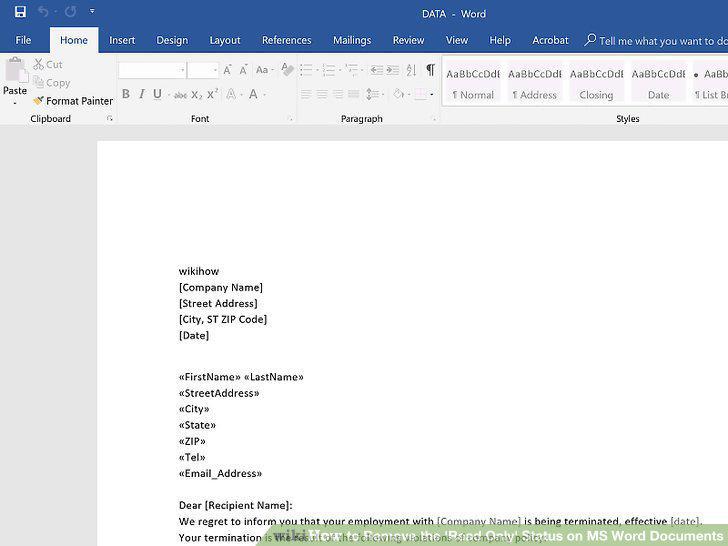
Click anywhere on the document.
19
Select the whole document.
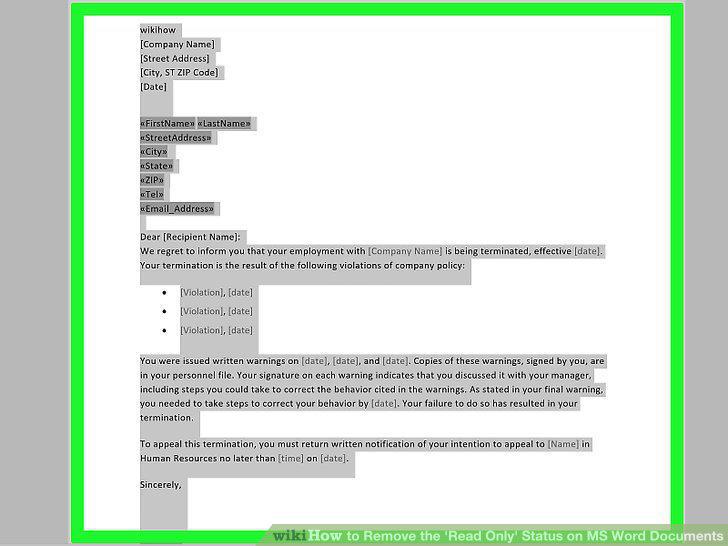
Select the whole document.
20
Copy the selected text.
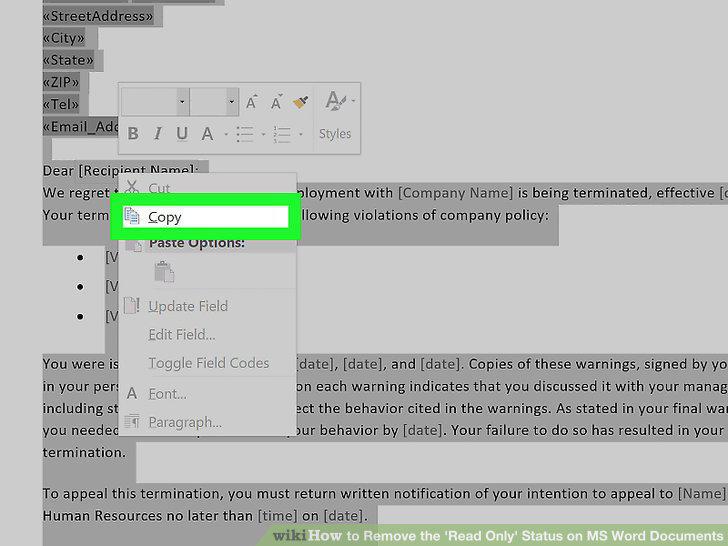
Copy the selected text.
21
Open a new Word document.
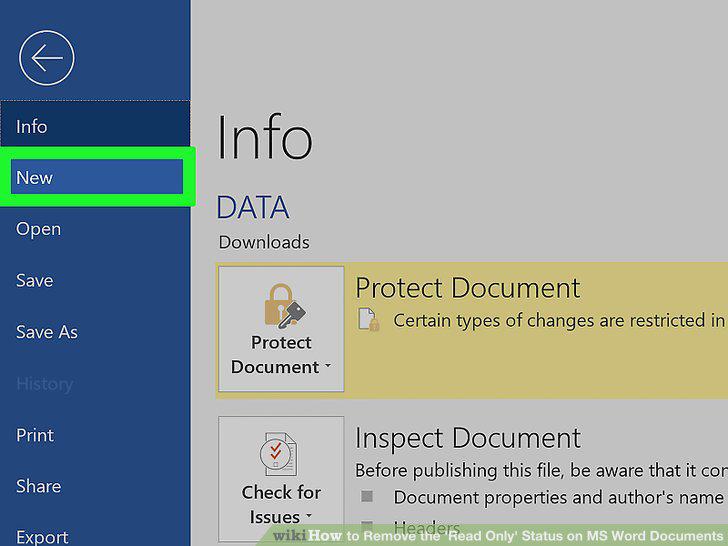
Open a new Word document.
22
Paste in the copied text.
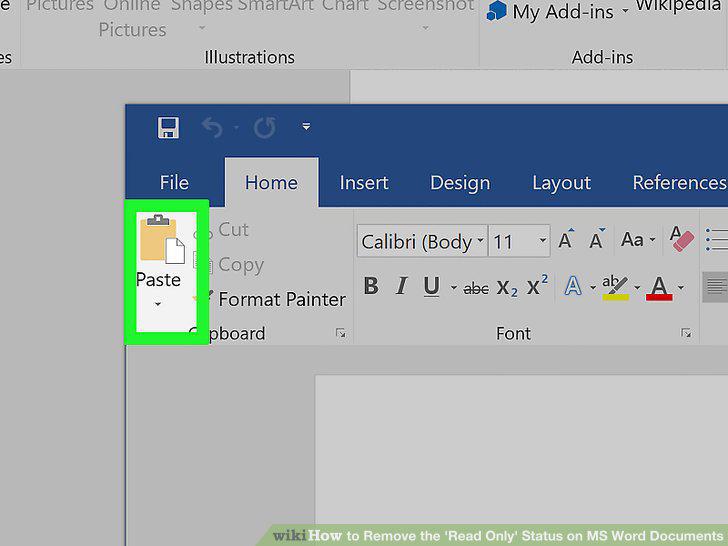
Paste in the copied text.
23
Save the document as a new file.
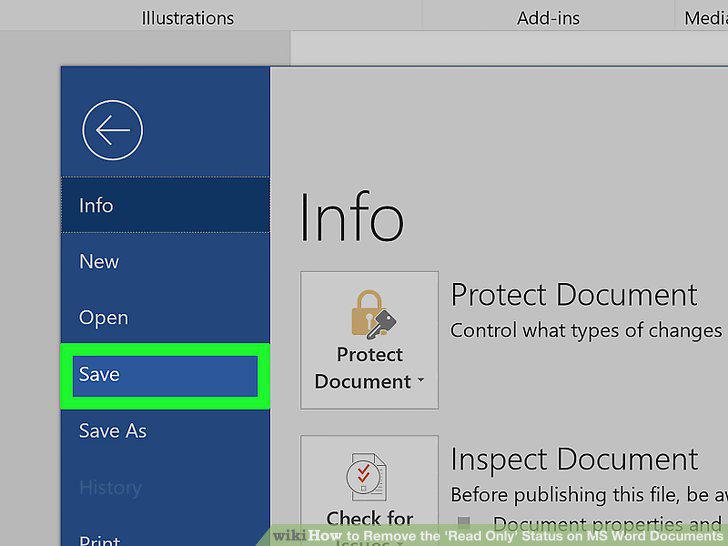
Save the document as a new file.
Comments (0)
No comments yet. Be the first to share your thoughts!