How to Exit Telnet
Open your Command Prompt window.. Make sure Telnet is active.. Enter the "Close Server" command.
Steps
1
Open your Command Prompt window.
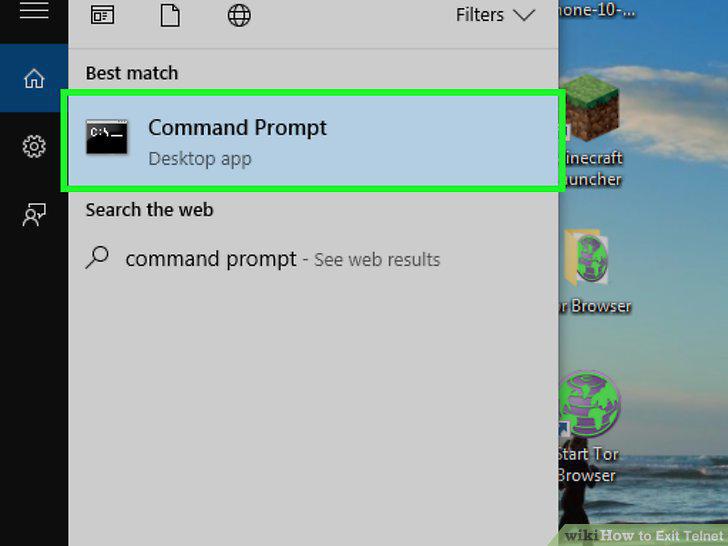
Open your Command Prompt window.
2
Make sure Telnet is active.
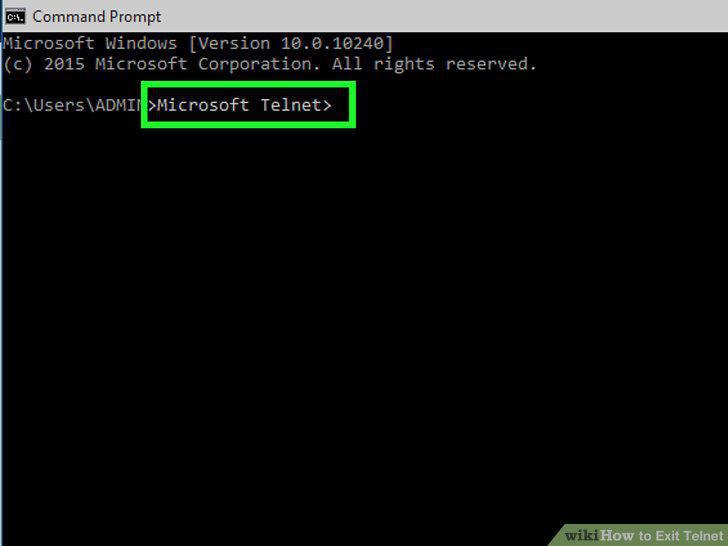
Make sure Telnet is active.
3
Enter the "Close Server" command.
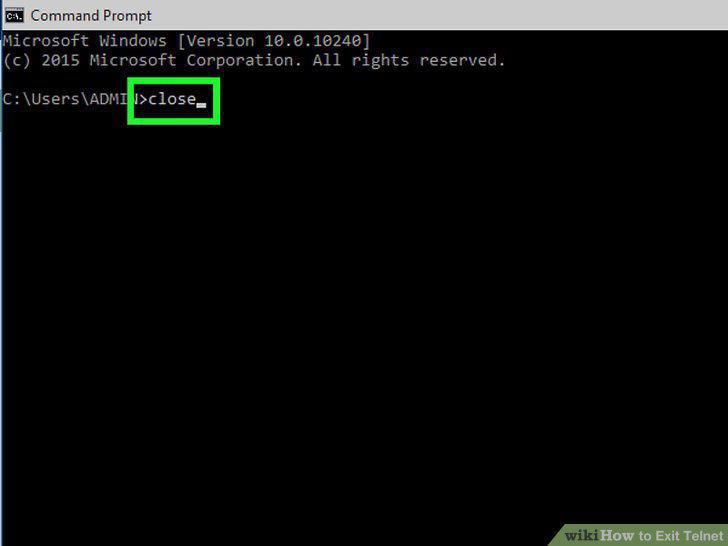
Enter the "Close Server" command.
4
Enter the "Quit" command.
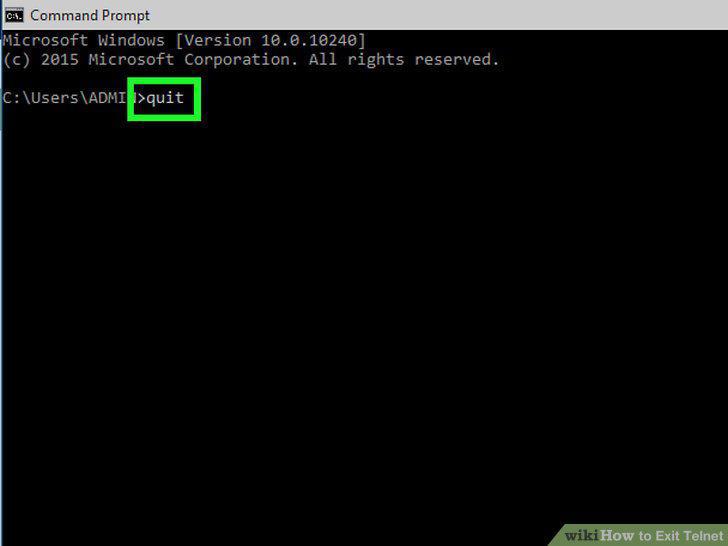
Enter the "Quit" command.
5
Wait for the normal Command Prompt window to appear.

Wait for the normal Command Prompt window to appear.
6
Close and re-open Command Prompt if necessary.
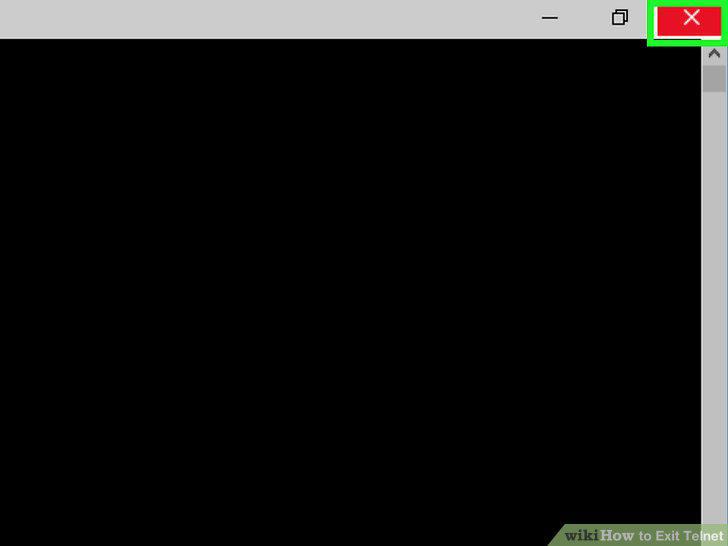
Close and re-open Command Prompt if necessary.
7
Open Start .
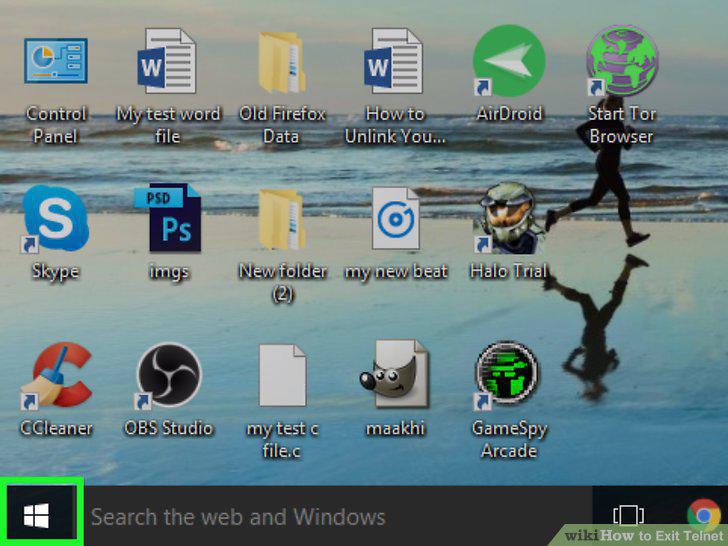
Open Start .
8
Open the "Windows Features" section of Control Panel.
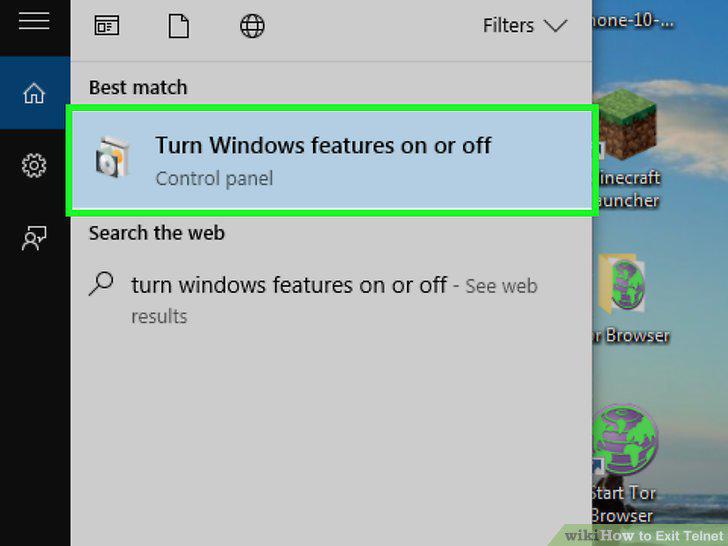
Open the "Windows Features" section of Control Panel.
9
Scroll down and uncheck the "Telnet Client" box.
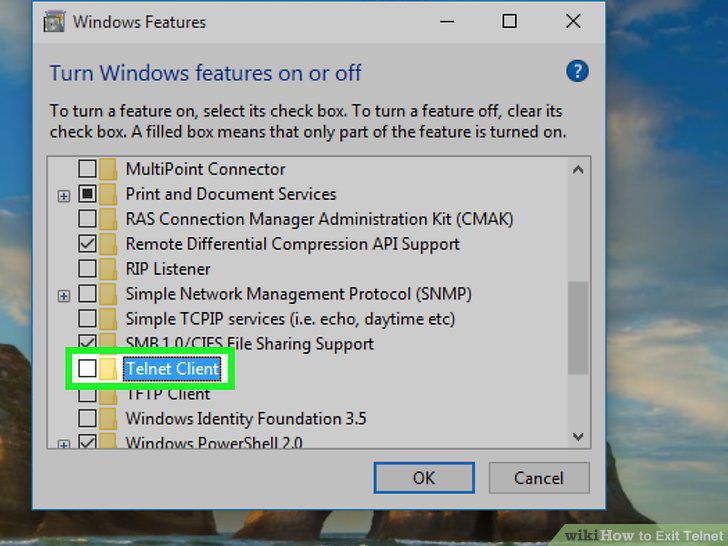
Scroll down and uncheck the "Telnet Client" box.
10
Click OK.
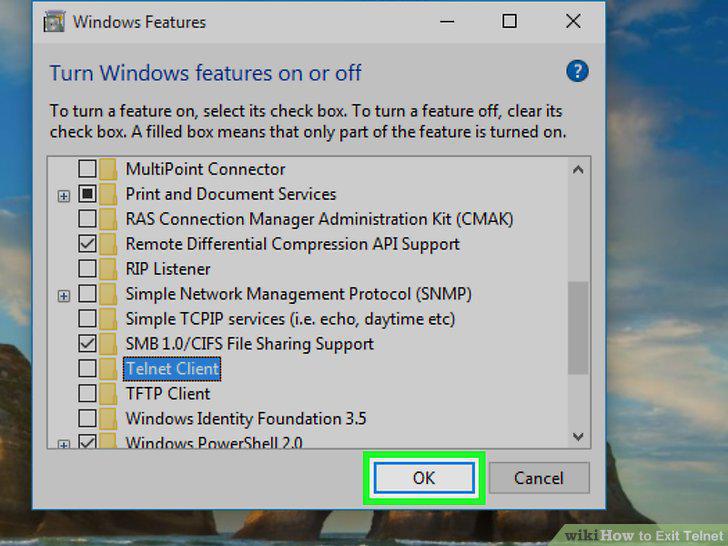
Click OK.
11
Click Close when prompted.
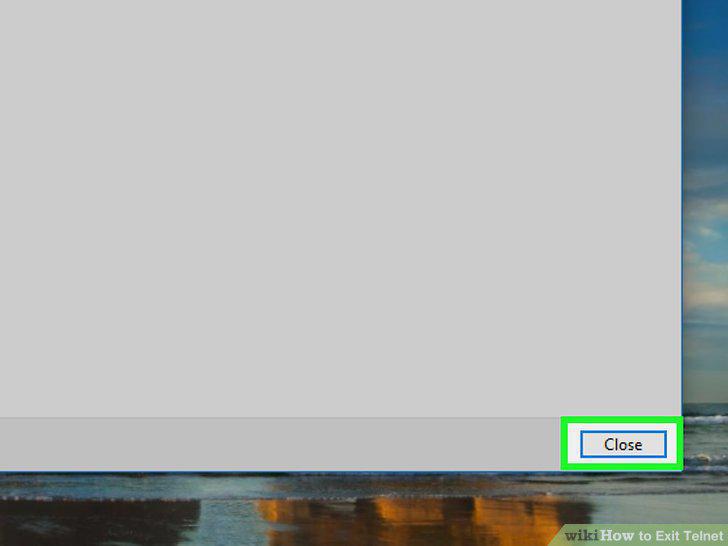
Click Close when prompted.
12
Restart your computer.
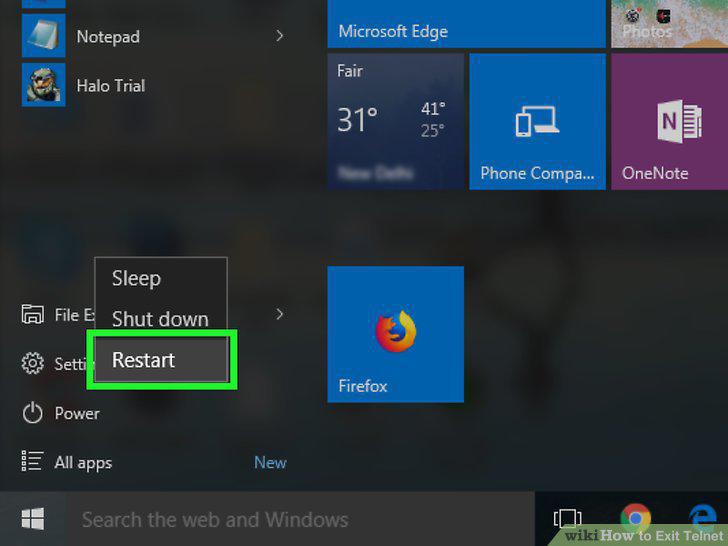
Restart your computer.
Comments (0)
No comments yet. Be the first to share your thoughts!