How to Create Desktop Shortcuts for Office Programs on PC or Mac
Open the Start menu on your computer.. Right-click the Office program you want to create a shortcut for.. Hover over More on the right-click menu.
Steps
1
Open the Start menu on your computer.
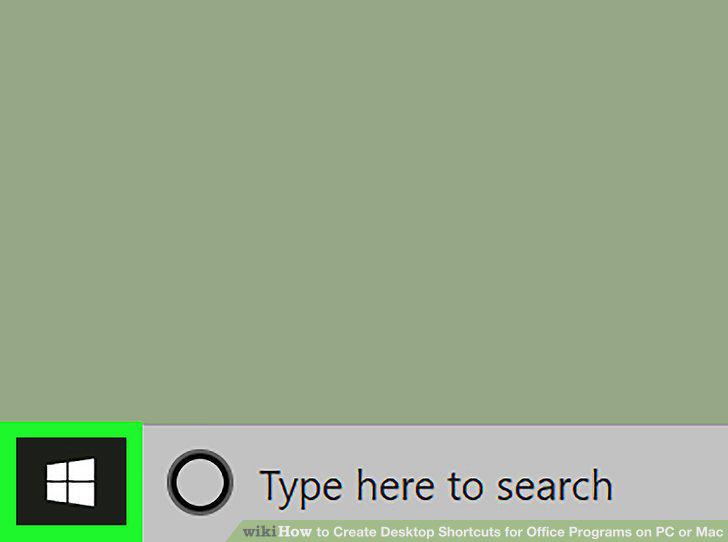
Open the Start menu on your computer.
2
Right-click the Office program you want to create a shortcut for.
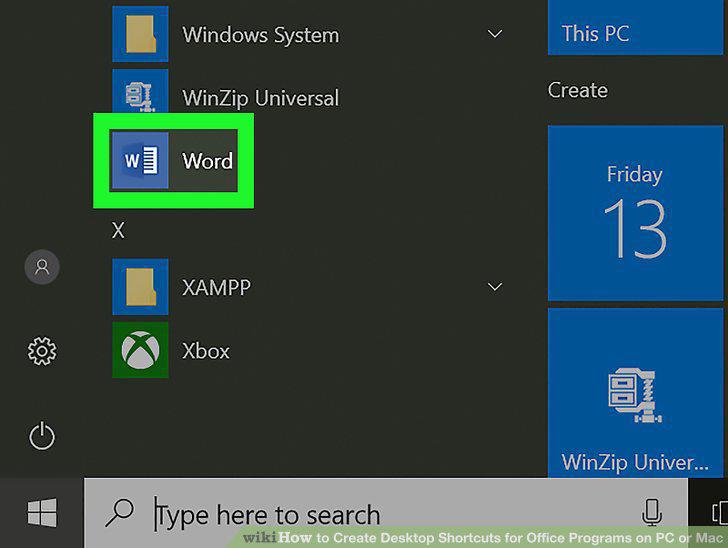
Right-click the Office program you want to create a shortcut for.
3
Hover over More on the right-click menu.
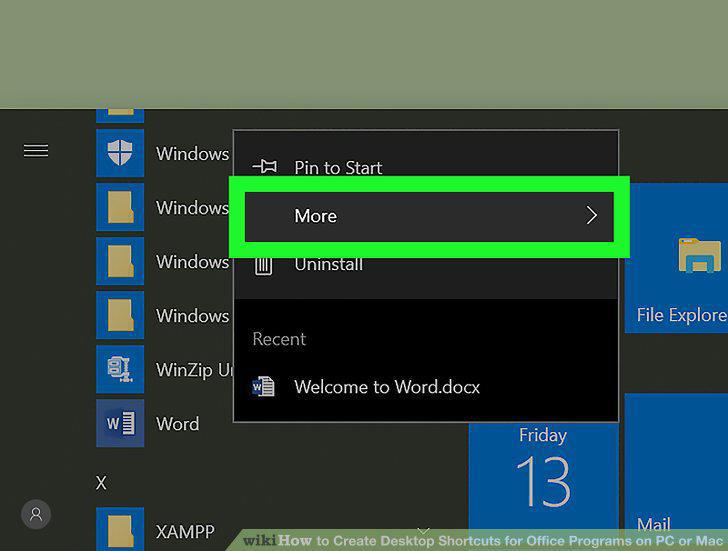
Hover over More on the right-click menu.
4
Click Open file location on the More menu.
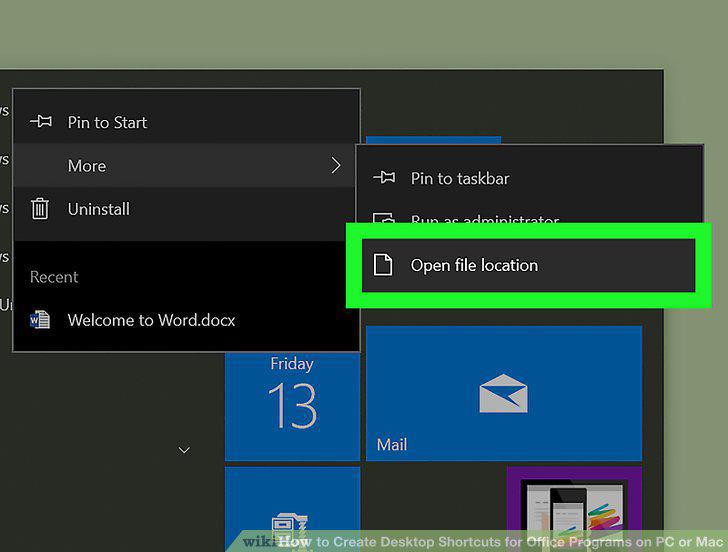
Click Open file location on the More menu.
5
Right-click the EXE file in the file explorer window.
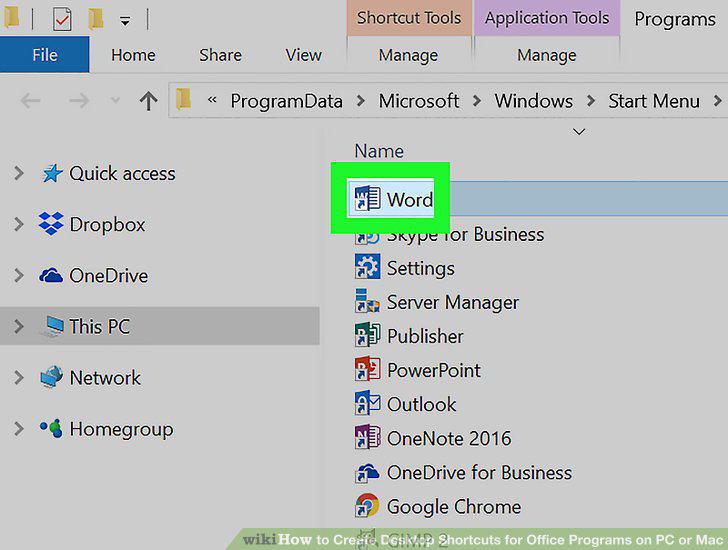
Right-click the EXE file in the file explorer window.
6
Hover over Send to on the right-click menu.
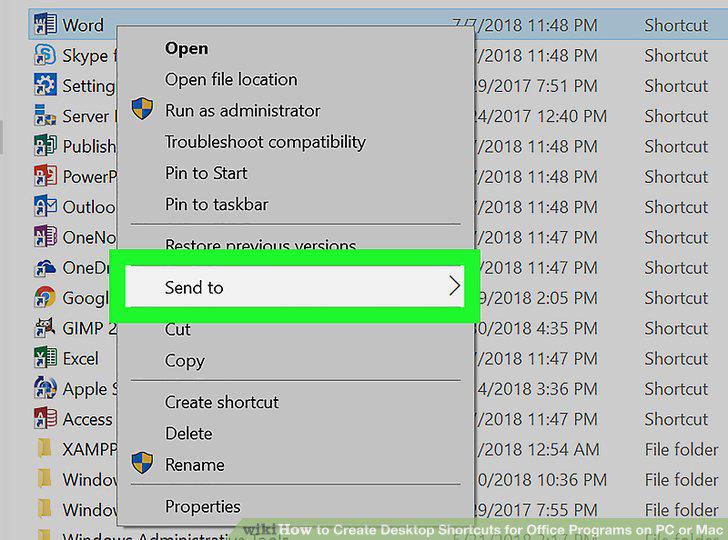
Hover over Send to on the right-click menu.
7
Select Desktop (create shortcut) on the Send to menu.
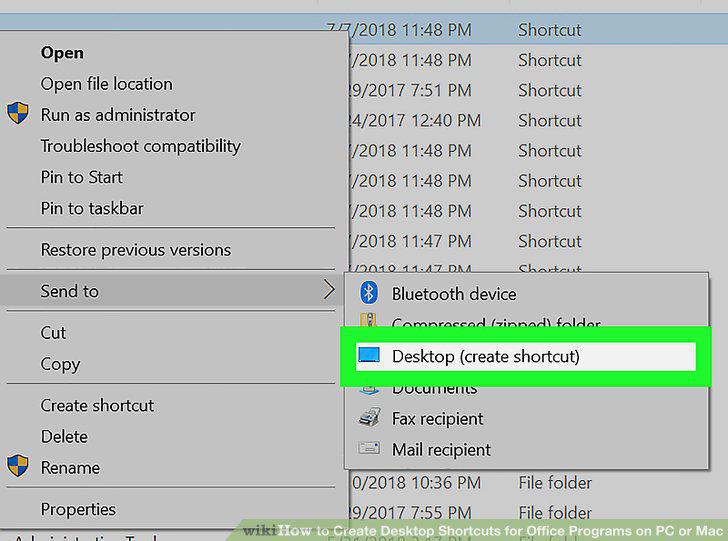
Select Desktop (create shortcut) on the Send to menu.
8
Open a new Finder window.
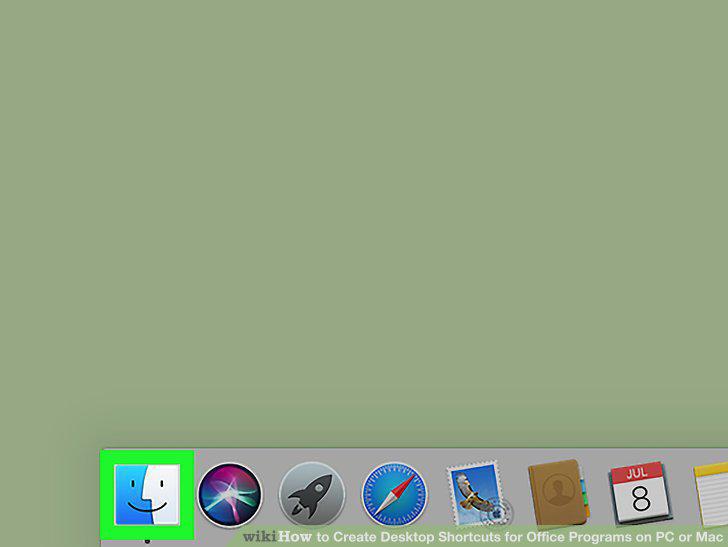
Open a new Finder window.
9
Click Applications on the left sidebar.
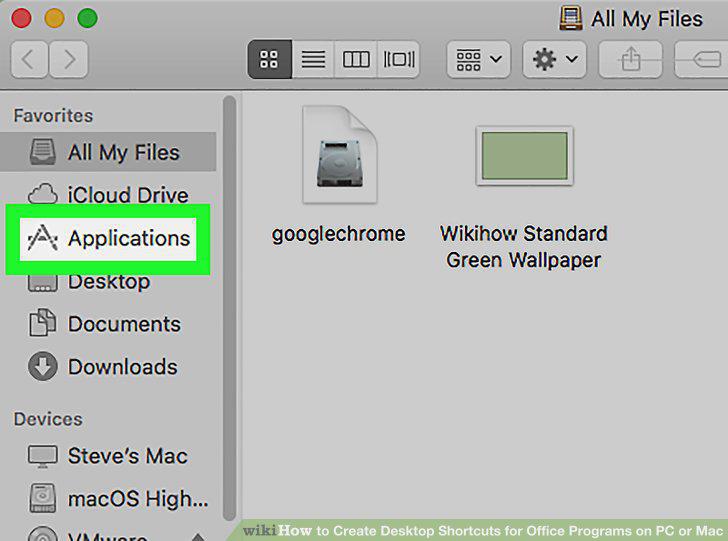
Click Applications on the left sidebar.
10
Select the Office app you want to create a shortcut for.
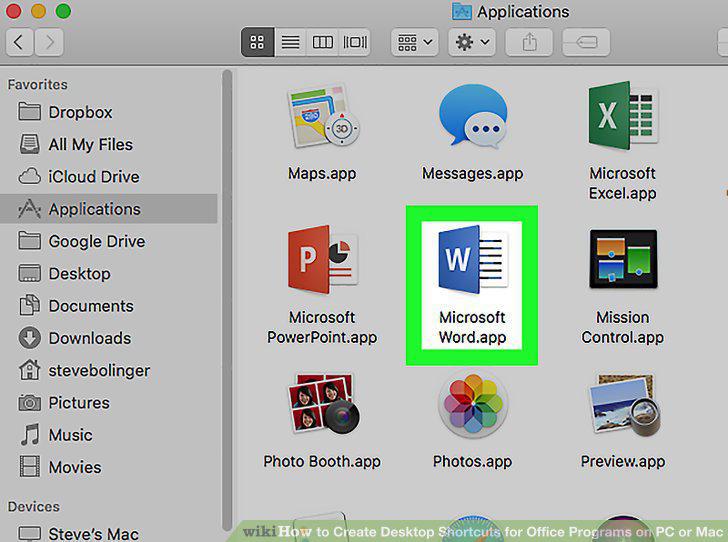
Select the Office app you want to create a shortcut for.
11
Click the File tab on the top-left.
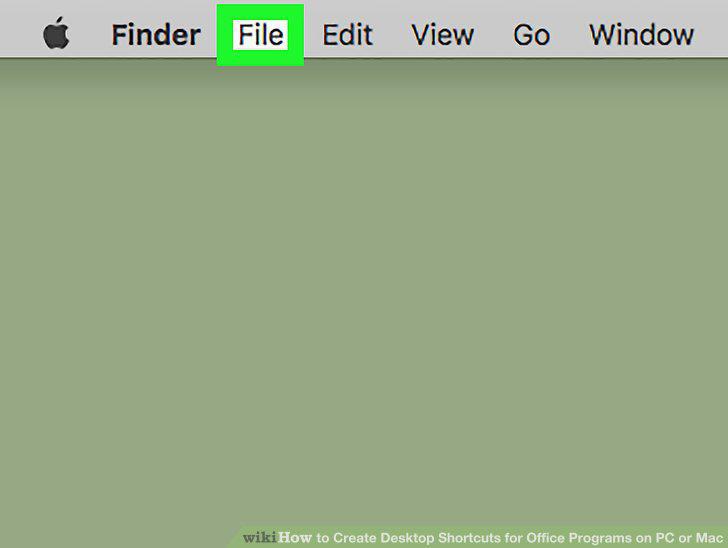
Click the File tab on the top-left.
12
Click Make Alias on the File menu.
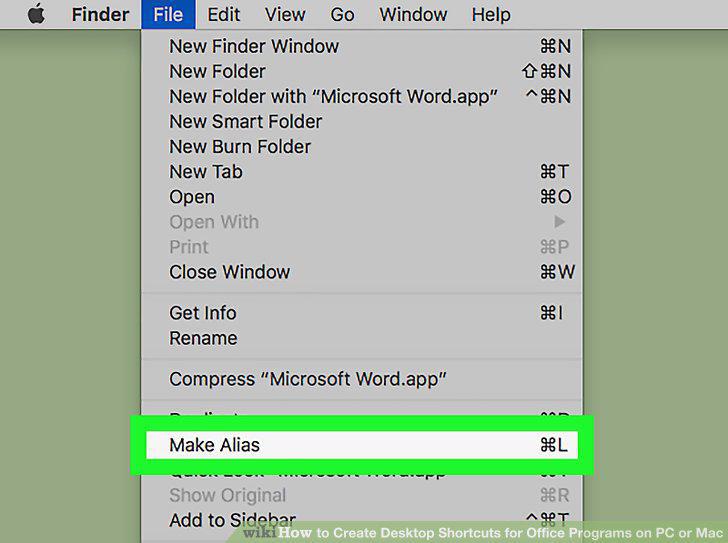
Click Make Alias on the File menu.
13
Drag the shortcut to the desktop.
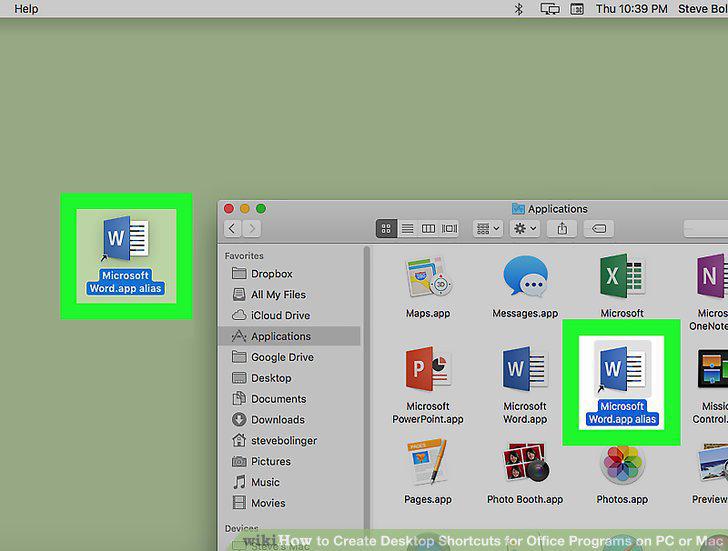
Drag the shortcut to the desktop.
Comments (0)
No comments yet. Be the first to share your thoughts!