How to Change the Default WiFi Network on a Mac
Click on the Apple logo.. Select "System Preferences.. Select the "Network" icon.
Steps
1
Click on the Apple logo.
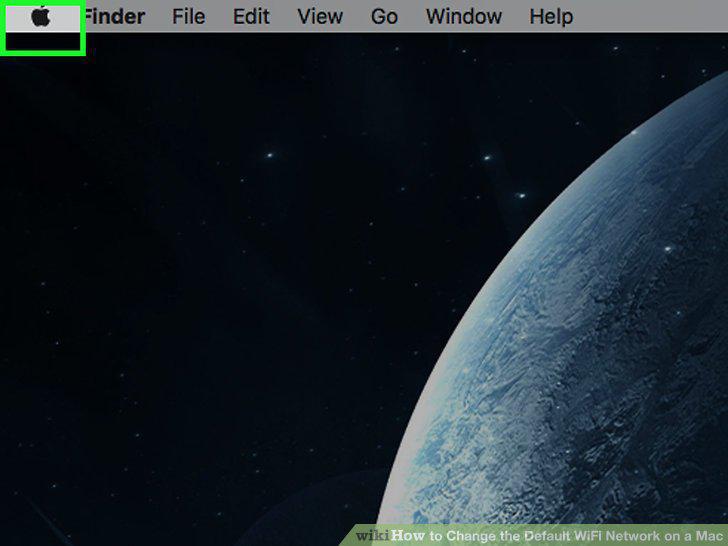
Click on the Apple logo.
2
Select "System Preferences.
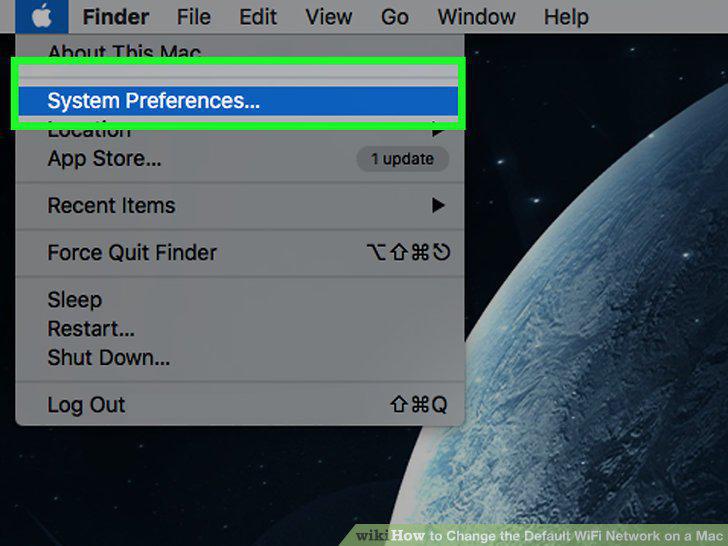
Select "System Preferences.
3
Select the "Network" icon.
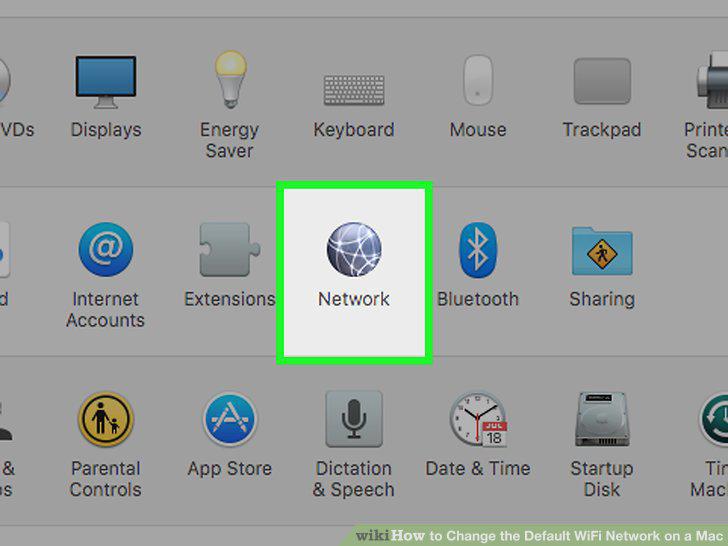
Select the "Network" icon.
4
Confirm that "Wi-Fi" is highlighted in the left-hand panel.
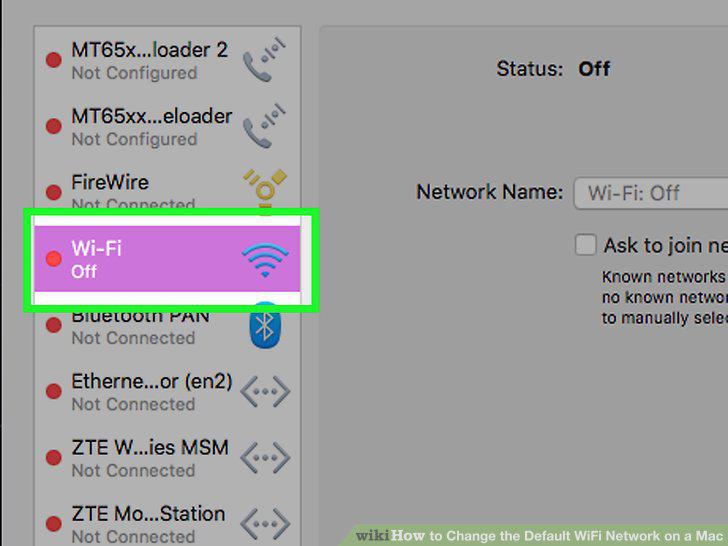
Confirm that "Wi-Fi" is highlighted in the left-hand panel.
5
Click on the "Advanced" button.
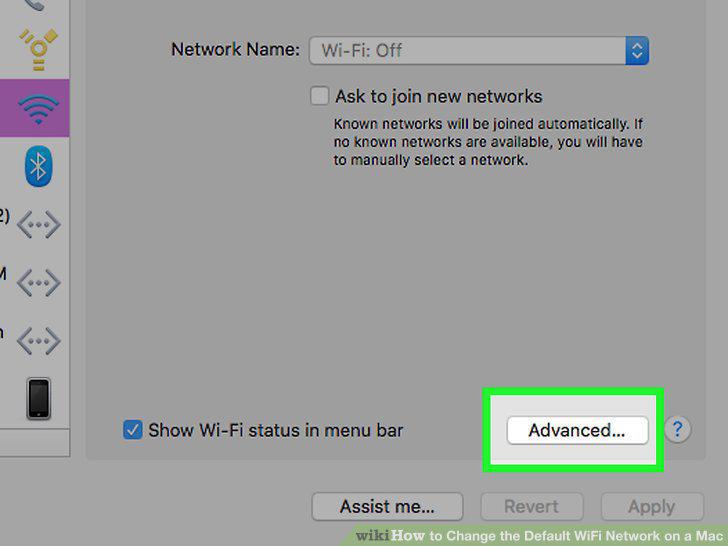
Click on the "Advanced" button.
6
Locate your list of Preferred Networks.
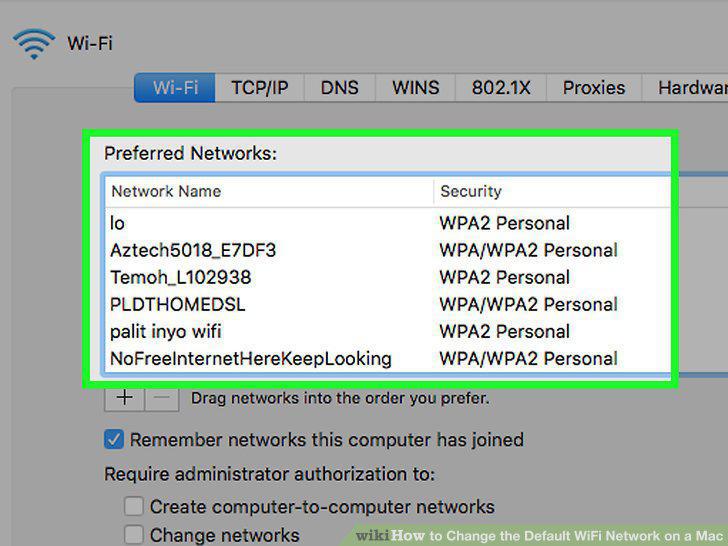
Locate your list of Preferred Networks.
7
Drag your preferred network to the top of the list.
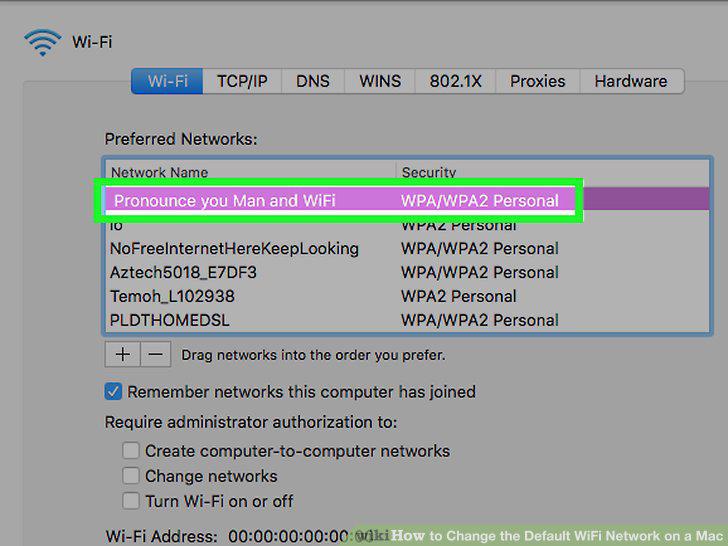
Drag your preferred network to the top of the list.
8
Remove a Network (optional).
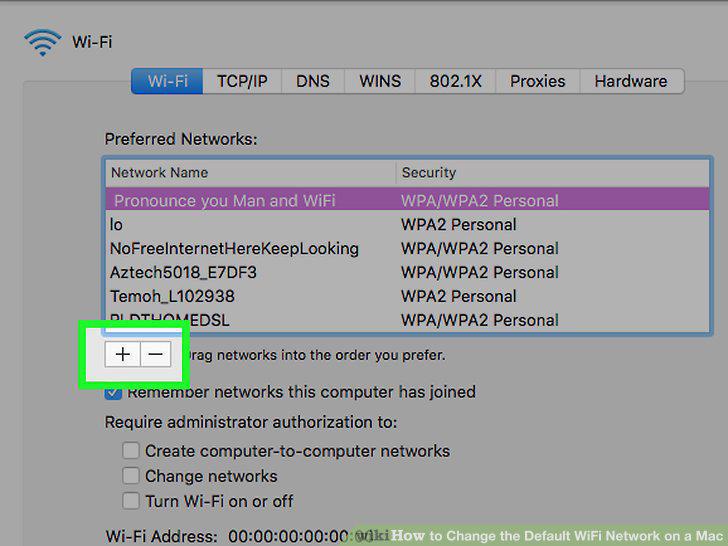
Remove a Network (optional).
9
Click "OK.
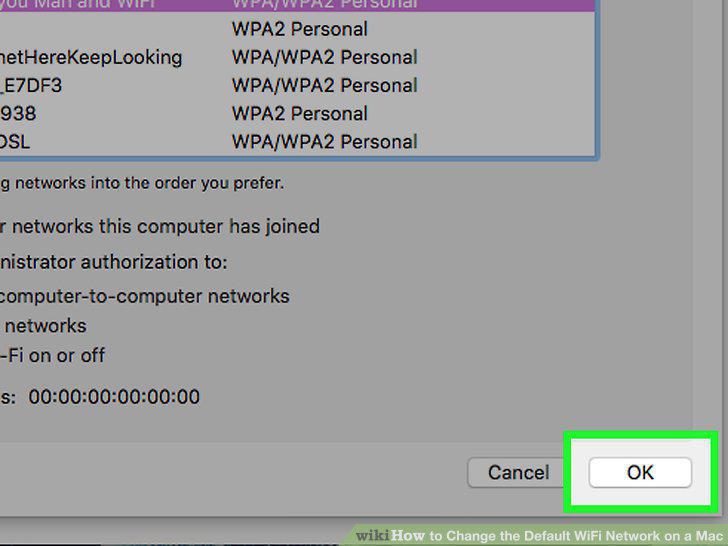
Click "OK.
Comments (0)
No comments yet. Be the first to share your thoughts!