How to Use an Accelerometer
Connect your accelerometer to a breadboard.. Attach "X_OUT" to "A_O.. Run "Y_OUT" to "A_1.
Steps
1
Connect your accelerometer to a breadboard.
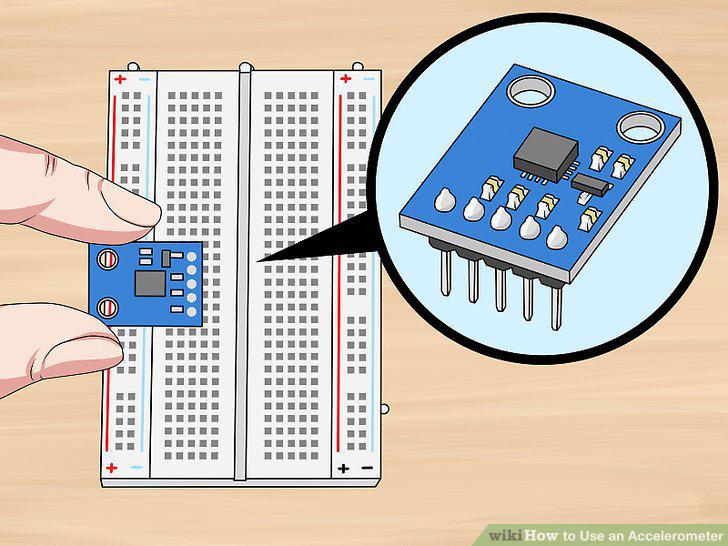
Connect your accelerometer to a breadboard.
2
Attach "X_OUT" to "A_O.
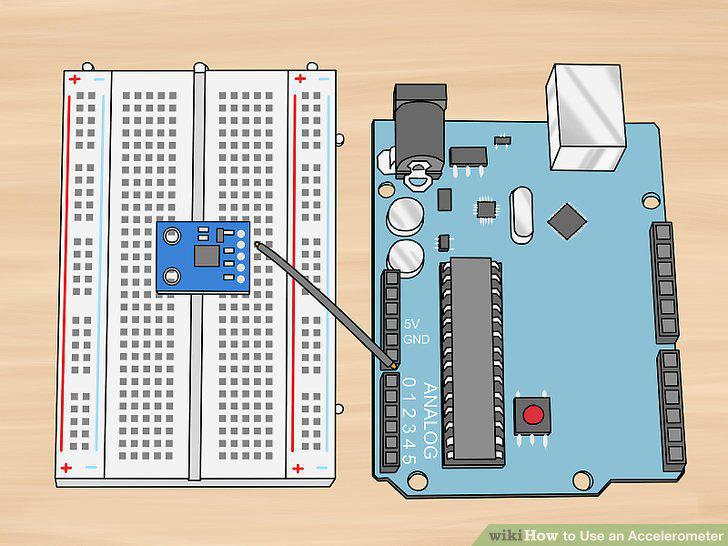
Attach "X_OUT" to "A_O.
3
Run "Y_OUT" to "A_1.
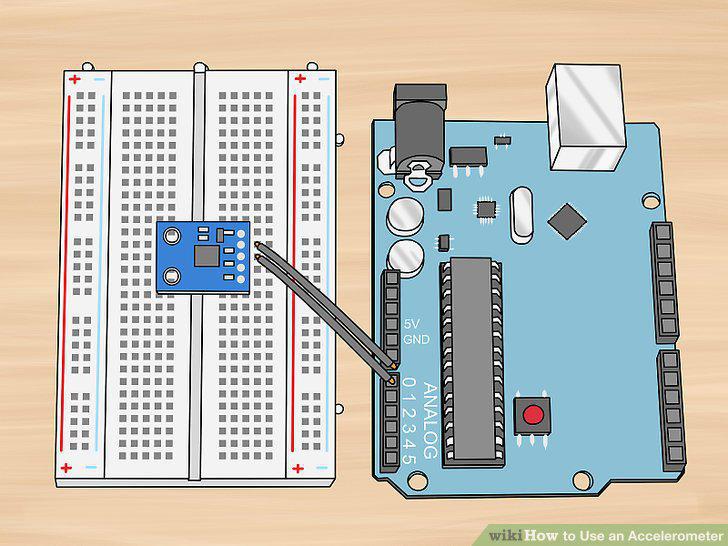
Run "Y_OUT" to "A_1.
4
Connect "Z_OUT" to "A_2.
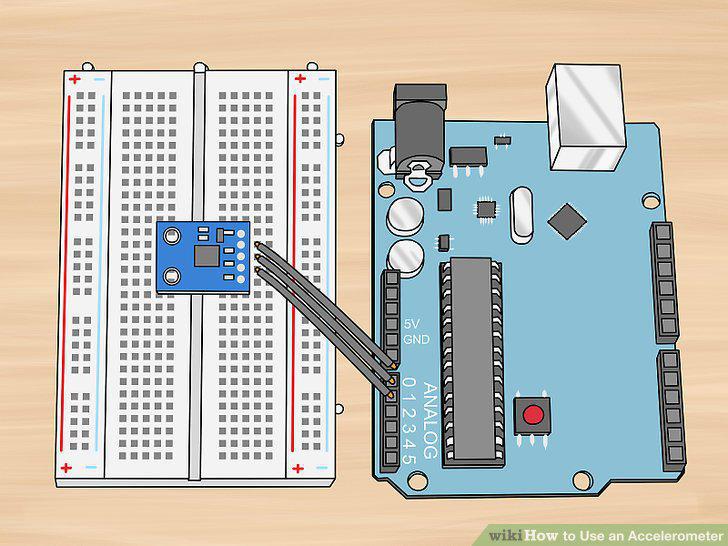
Connect "Z_OUT" to "A_2.
5
Attach "GND" to "GND.
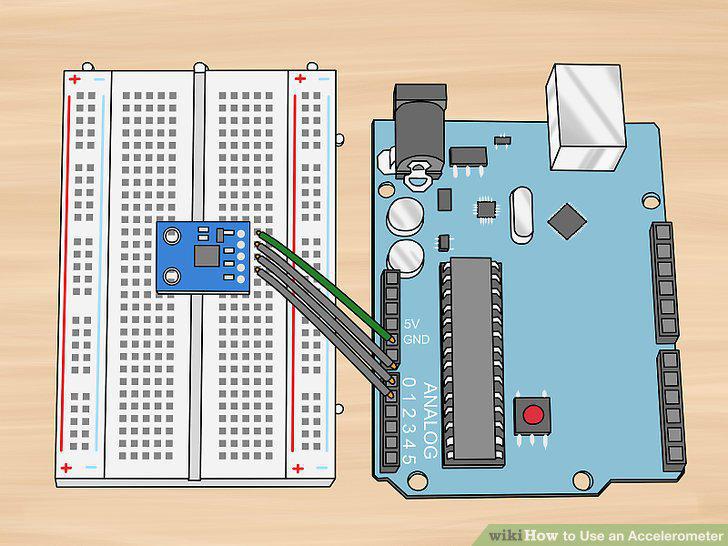
Attach "GND" to "GND.
6
Connect "VCC" to the appropriate voltage.
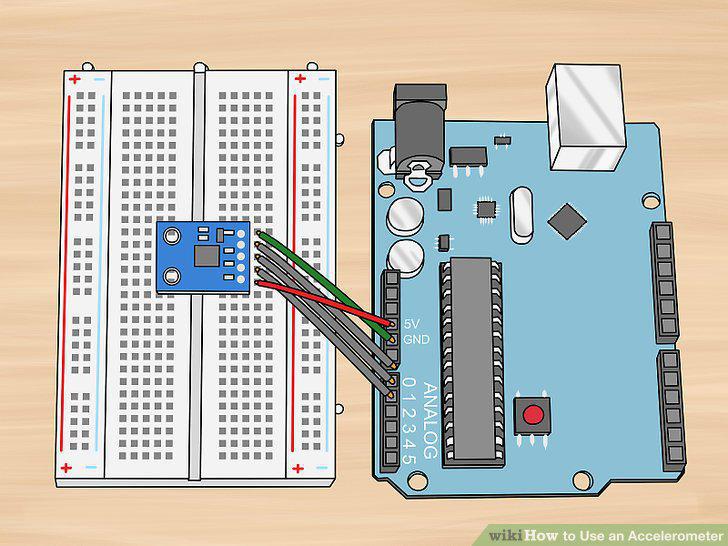
Connect "VCC" to the appropriate voltage.
7
Install Arduino on your computer.

Install Arduino on your computer.
8
Connect your microcontroller to your computer.
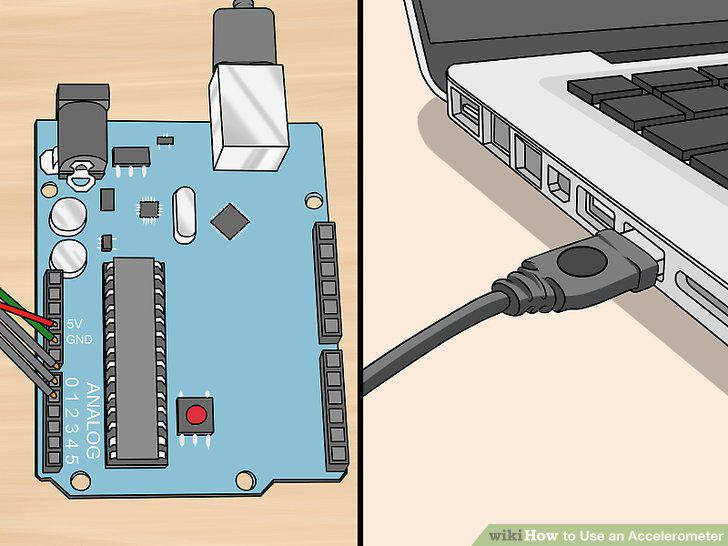
Connect your microcontroller to your computer.
9
Download a GitHub accelerometer script for your microcontroller board.
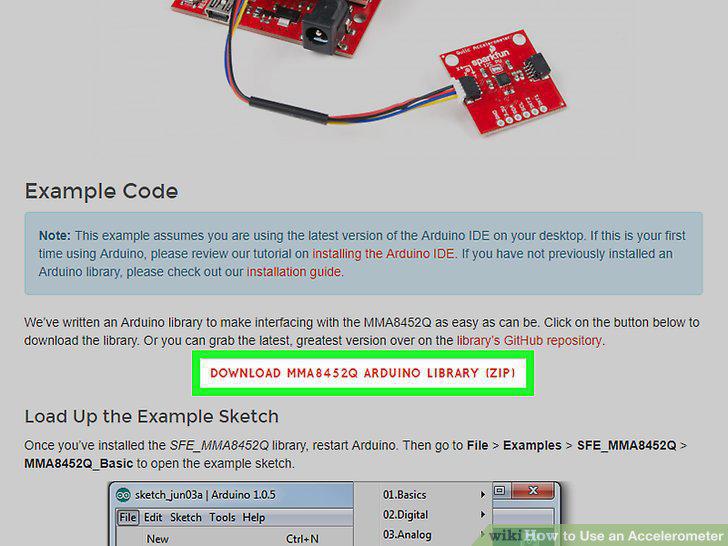
Download a GitHub accelerometer script for your microcontroller board.
10
Install the microcontroller library in Arduino.
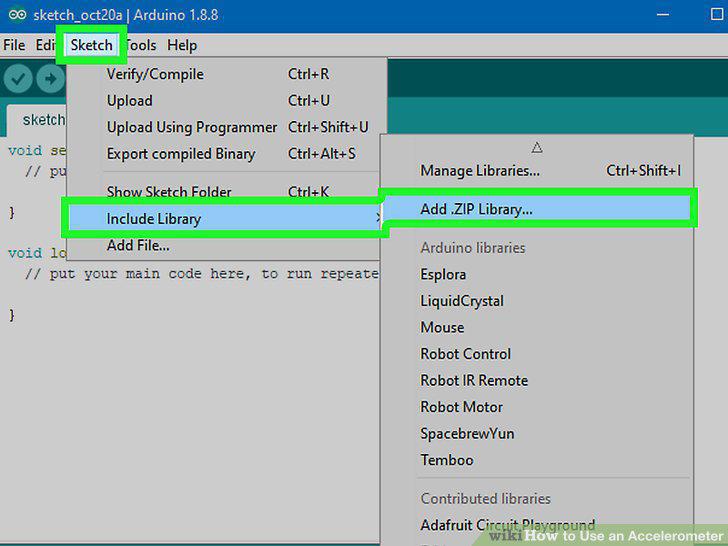
Install the microcontroller library in Arduino.
11
Load your accelerometer sketch into Arduino.
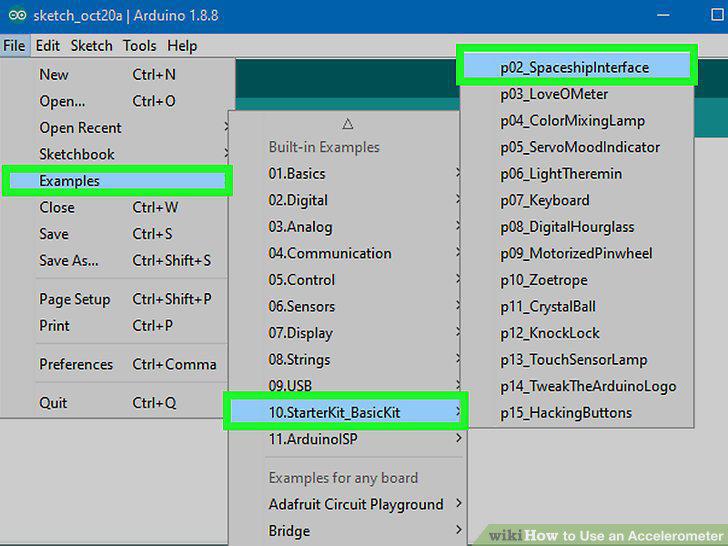
Load your accelerometer sketch into Arduino.
12
Upload the sketch to your microcontroller.
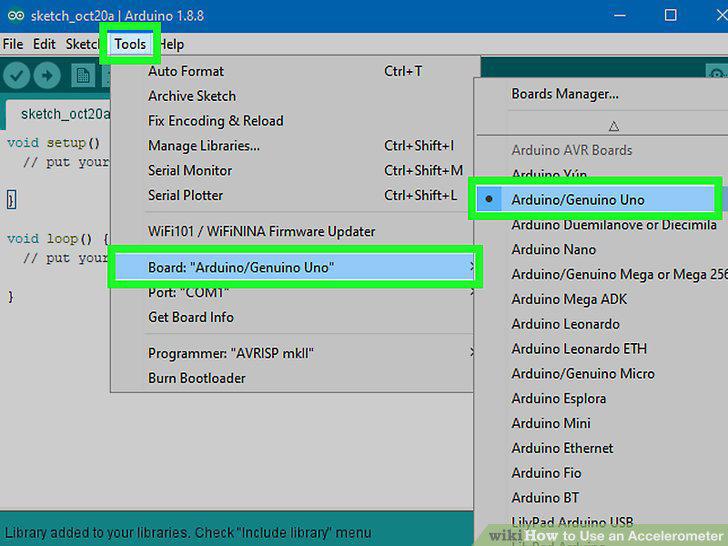
Upload the sketch to your microcontroller.
13
Tilt the accelerometer left and right to change the x-axis value.
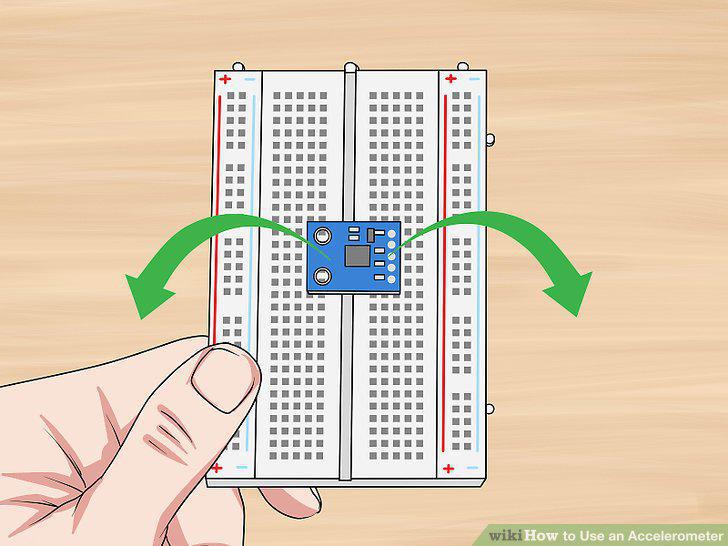
Tilt the accelerometer left and right to change the x-axis value.
14
Tilt the accelerometer backward and forward to change the y-axis value.
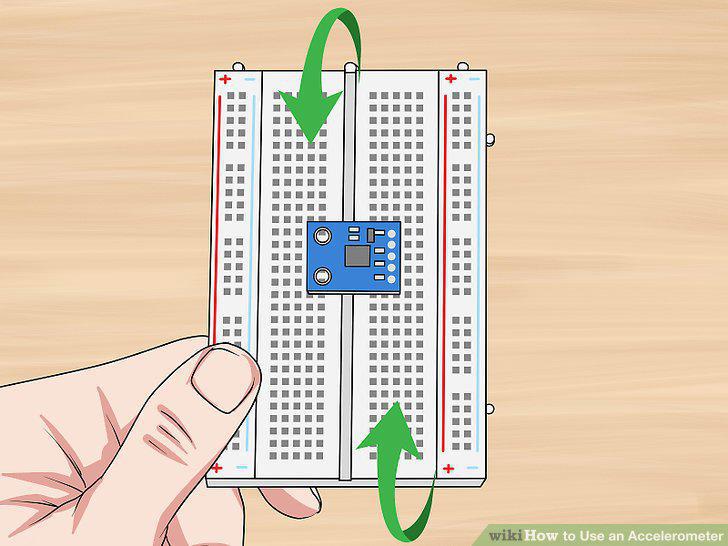
Tilt the accelerometer backward and forward to change the y-axis value.
15
Lift the accelerometer up and down to change the z-axis value.
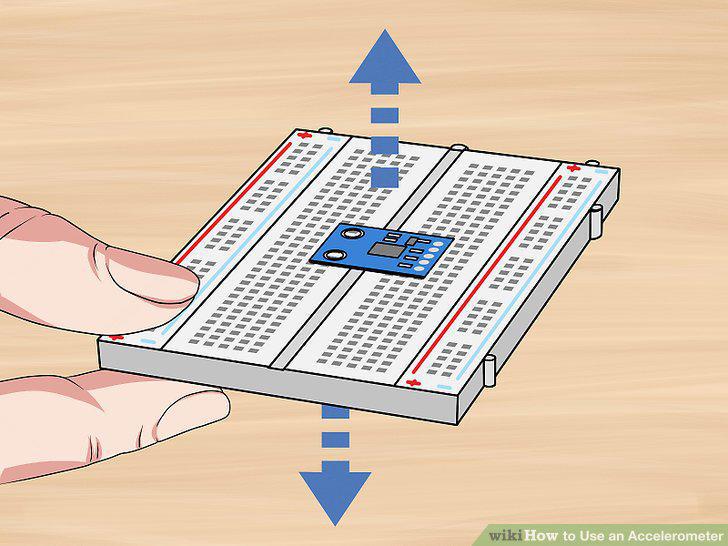
Lift the accelerometer up and down to change the z-axis value.
Comments (0)
No comments yet. Be the first to share your thoughts!