How to Create and Close a Path in Photoshop
Open your file in your Photoshop program.. Enable the grid in Photoshop.. Enable the Snap feature in Photoshop.
Steps
1
Open your file in your Photoshop program.
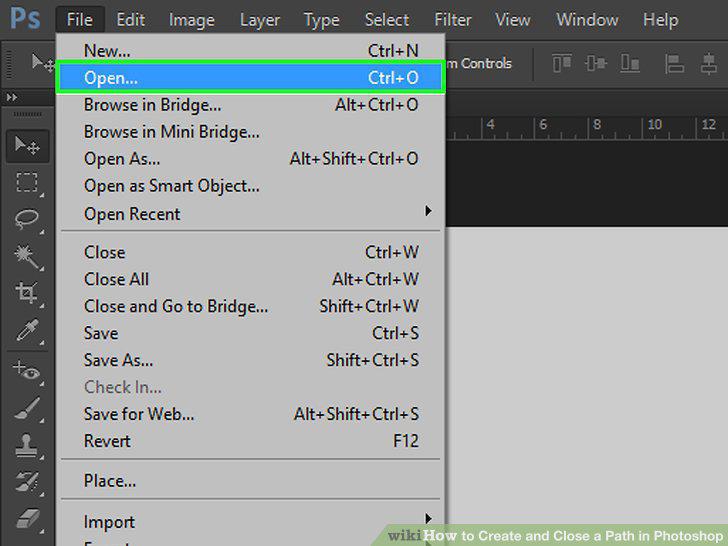
Open your file in your Photoshop program.
2
Enable the grid in Photoshop.
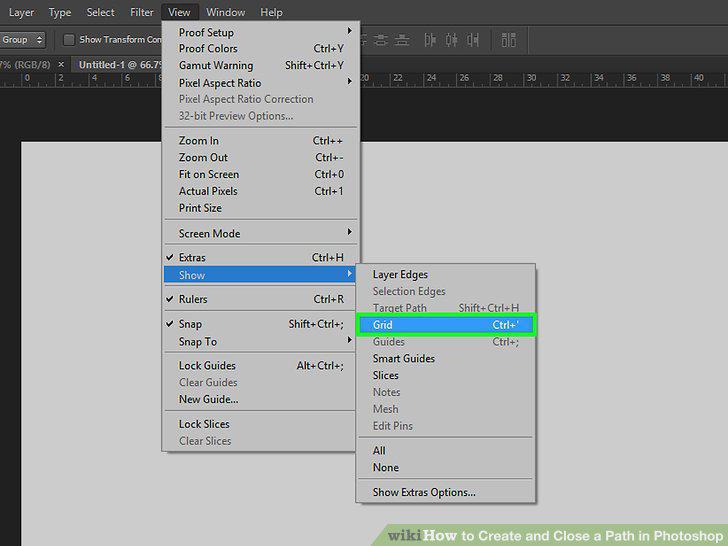
Enable the grid in Photoshop.
3
Enable the Snap feature in Photoshop.
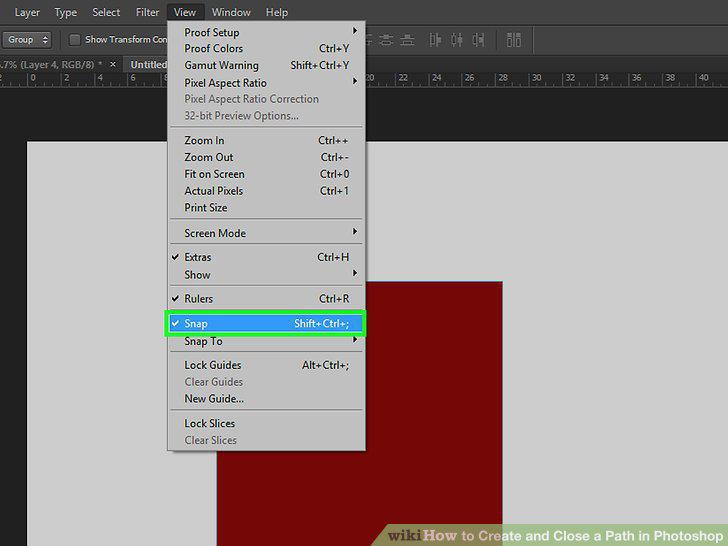
Enable the Snap feature in Photoshop.
4
Use the Pen tool, from the Shape Layers toolbar.
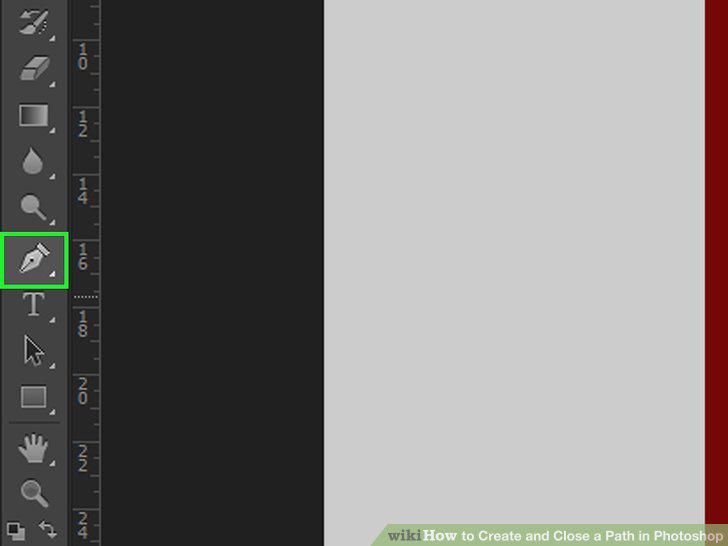
Use the Pen tool, from the Shape Layers toolbar.
5
Position the pointer over the first point at the edge of the shape.
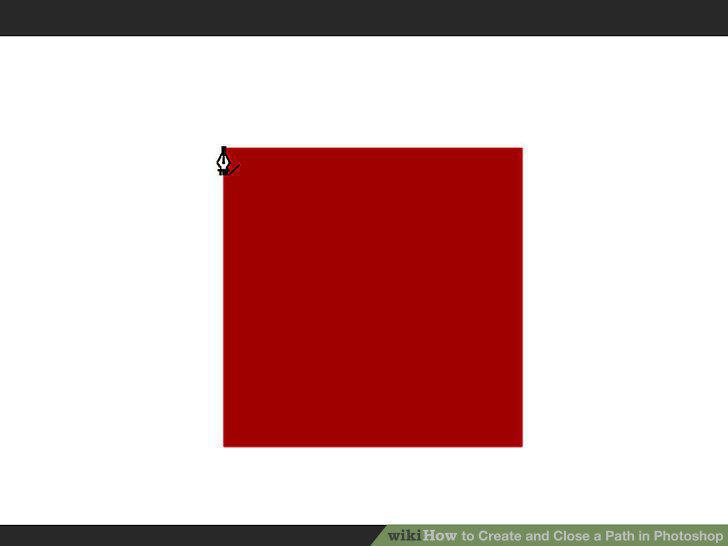
Position the pointer over the first point at the edge of the shape.
6
Single click the end point where the shape will be completed to.
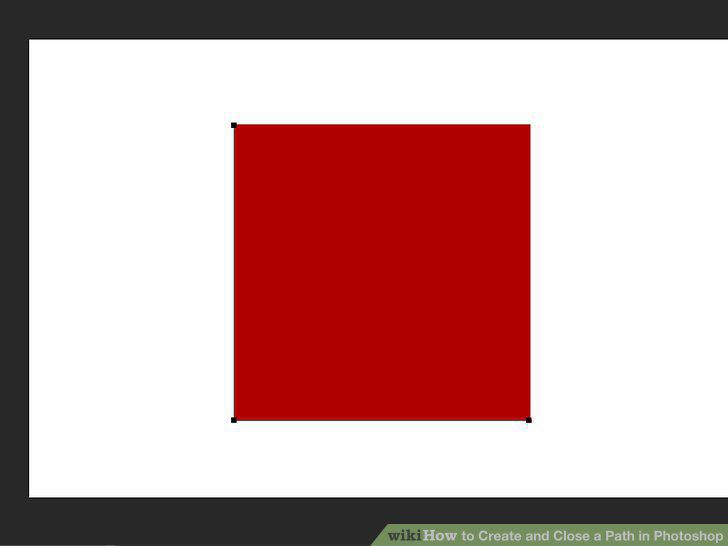
Single click the end point where the shape will be completed to.
7
Click (for a straight segment) or drag (for a curve) when a circle appears next
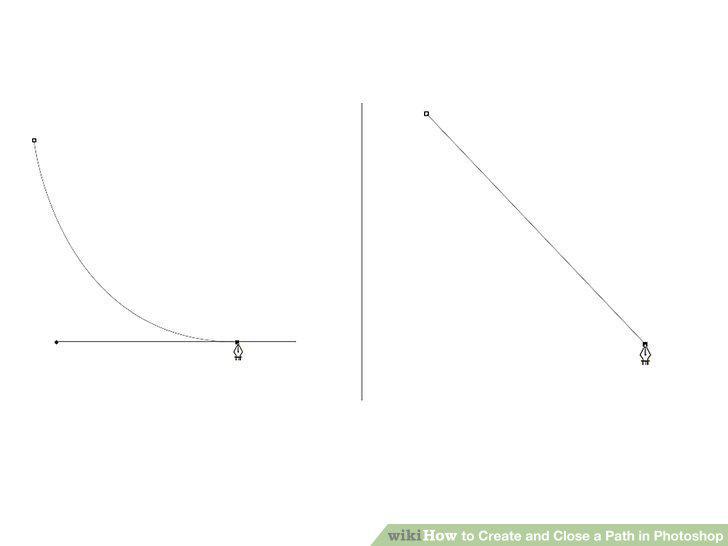
Click (for a straight segment) or drag (for a curve) when a circle appears next to the pointer.
8
Release your finger from the mouse pointer, when the two parts of the drawn line
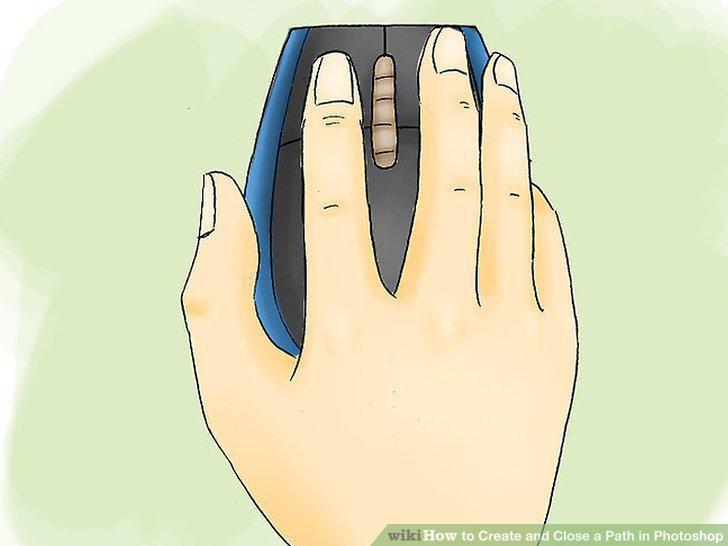
Release your finger from the mouse pointer, when the two parts of the drawn line connect each piece to each other.
9
Hover over the point where you started creating the shape.
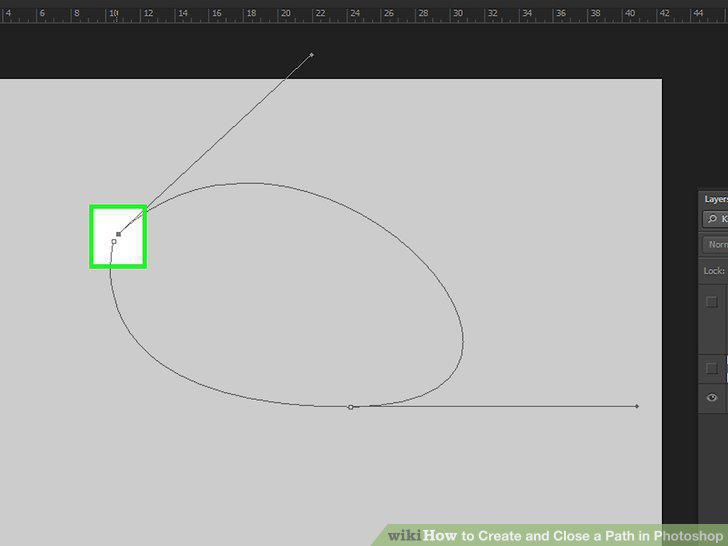
Hover over the point where you started creating the shape.
10
Export into a selection and rasterize to use it with other tools.
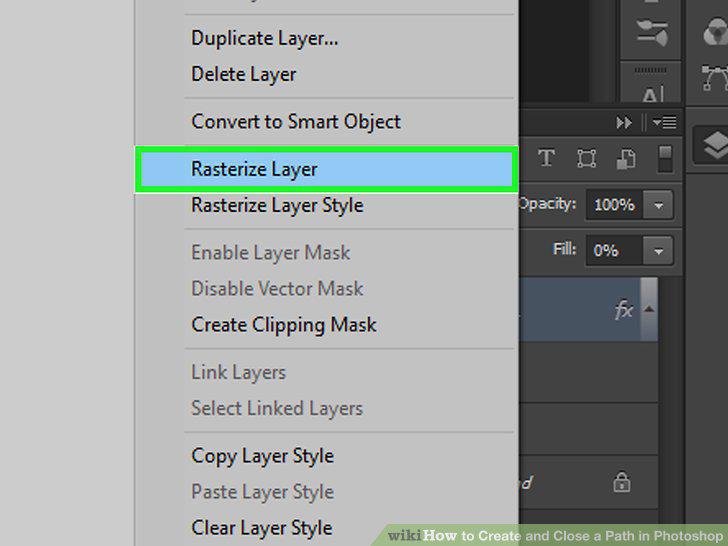
Export into a selection and rasterize to use it with other tools.
Comments (0)
No comments yet. Be the first to share your thoughts!