How to View an Original Photo in Lightroom
Open Adobe Lightroom on your computer.. Click the Develop tab.. Select the photo edit you want to view.
Steps
1
Open Adobe Lightroom on your computer.
Open Adobe Lightroom on your computer.
2
Click the Develop tab.
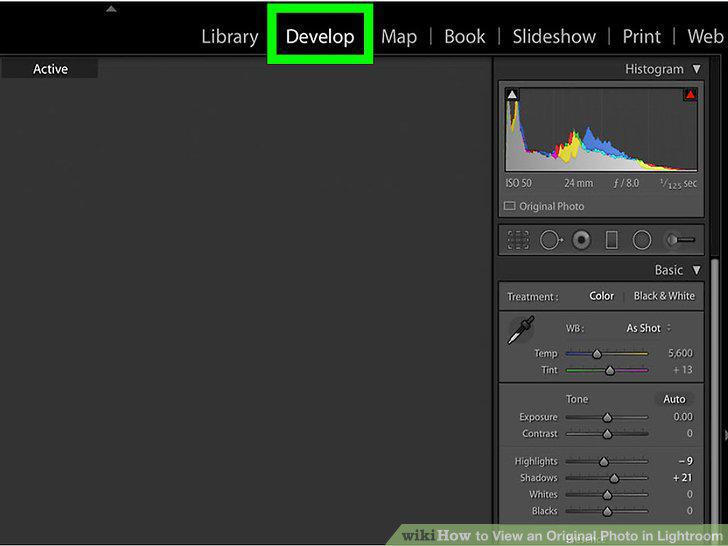
Click the Develop tab.
3
Select the photo edit you want to view.
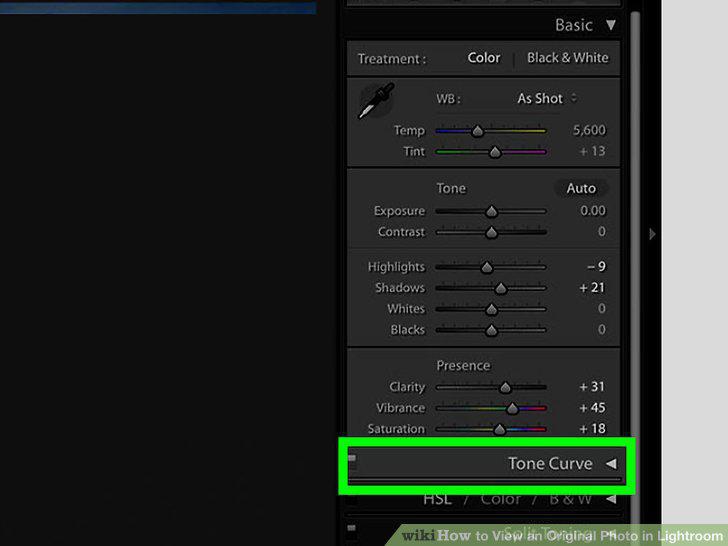
Select the photo edit you want to view.
4
Press the \ button on your keyboard.
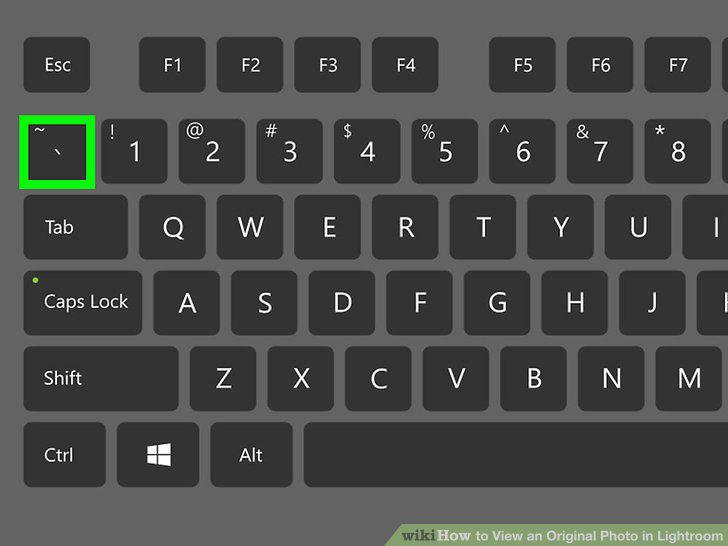
Press the \ button on your keyboard.
5
Click the YY button near the bottom-left of the preview window.
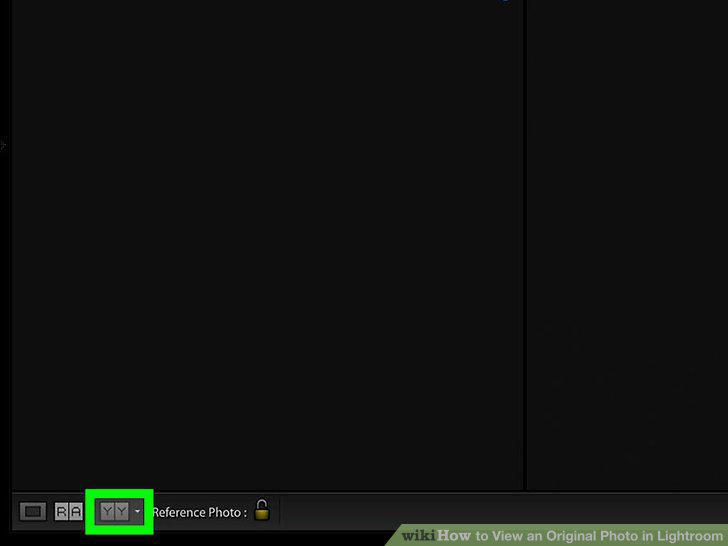
Click the YY button near the bottom-left of the preview window.
6
Click YY again to view a half-original and half-edited image.
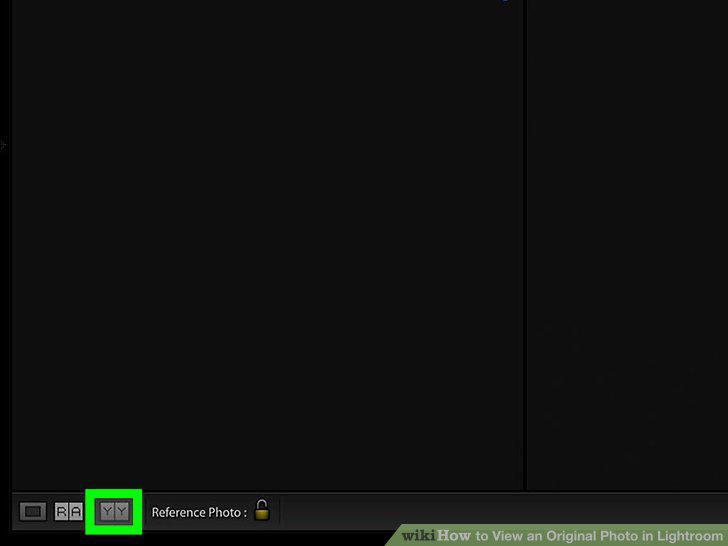
Click YY again to view a half-original and half-edited image.
7
Click YY again to view the original and the edit separately.
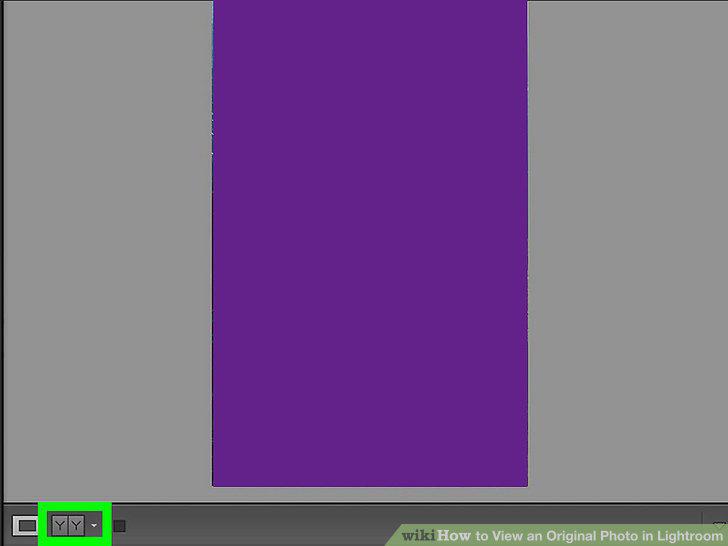
Click YY again to view the original and the edit separately.
8
Click YY again to view a horizontal half-and-half comparison.
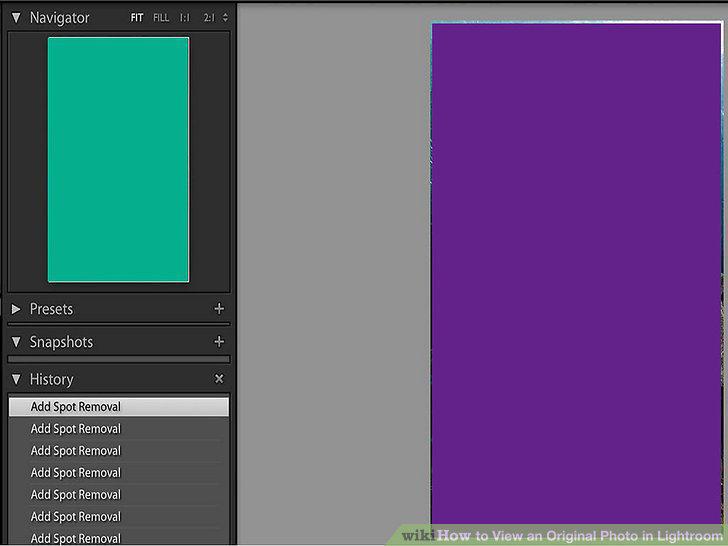
Click YY again to view a horizontal half-and-half comparison.
Comments (0)
No comments yet. Be the first to share your thoughts!