How to Set Up a Wireless Printer Connection
Place the printer within range of your wireless router.. Power on the printer.. Connect the printer to your wireless network.
Steps
Place the printer within range of your wireless router.
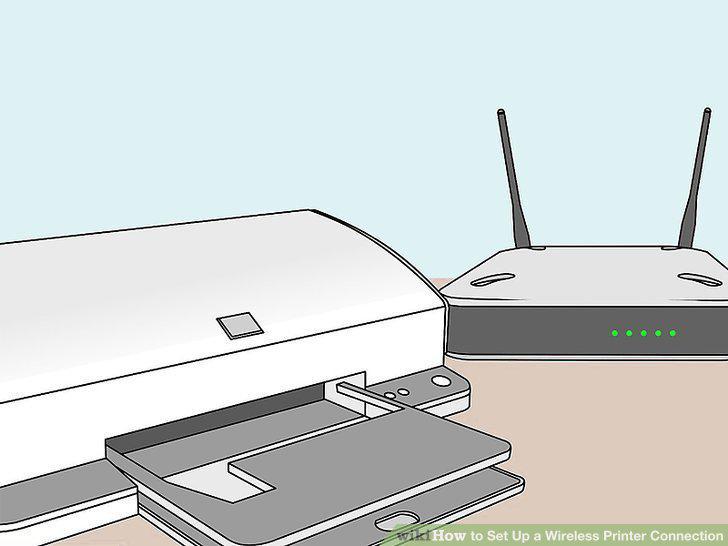
Place the printer within range of your wireless router.
Power on the printer.
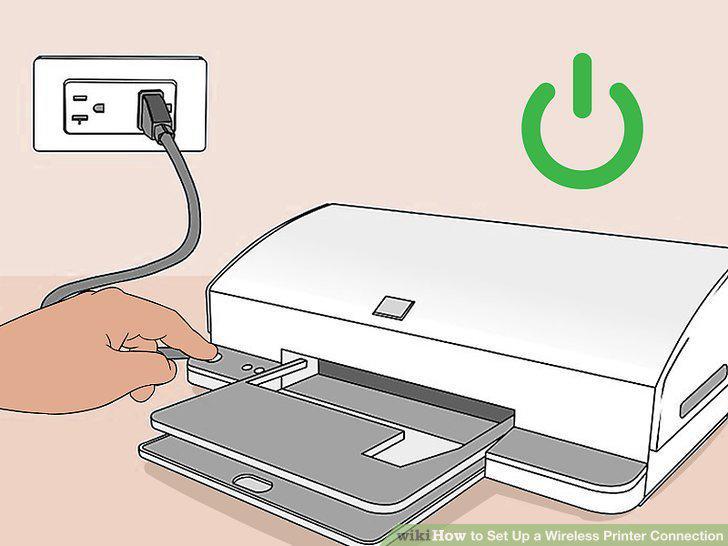
Power on the printer.
Connect the printer to your wireless network.
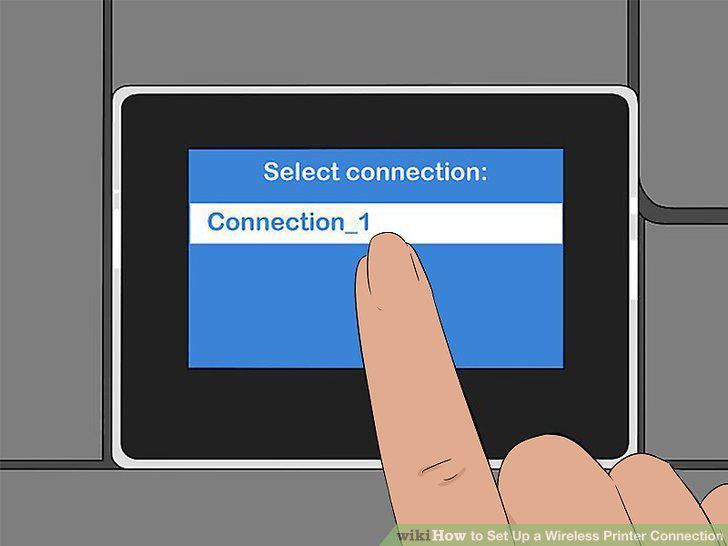
Connect the printer to your wireless network.
Add the printer on your Windows computer.
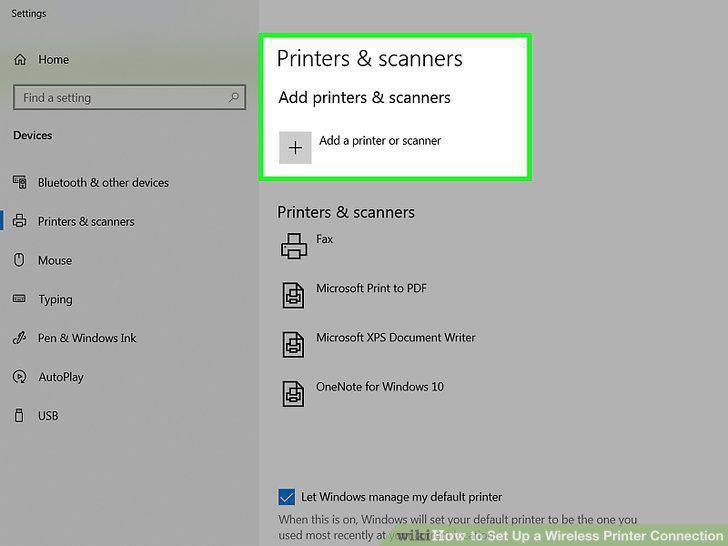
Add the printer on your Windows computer.
Add the printer on your Mac computer.
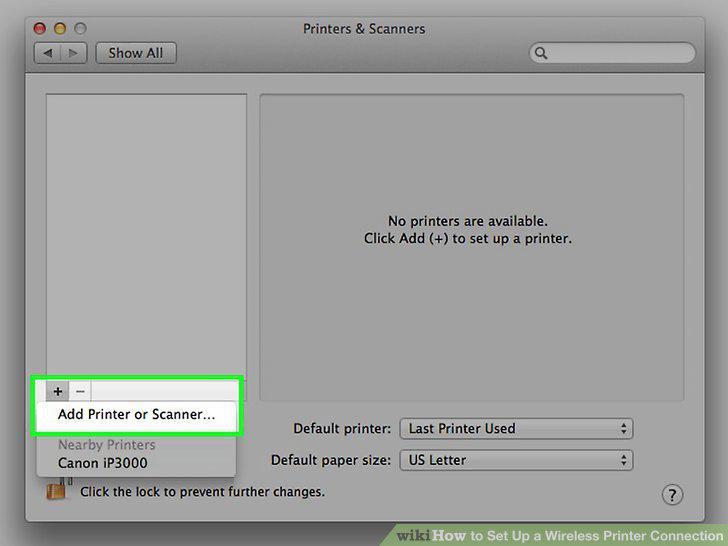
Add the printer on your Mac computer.
Print to your wireless printer.
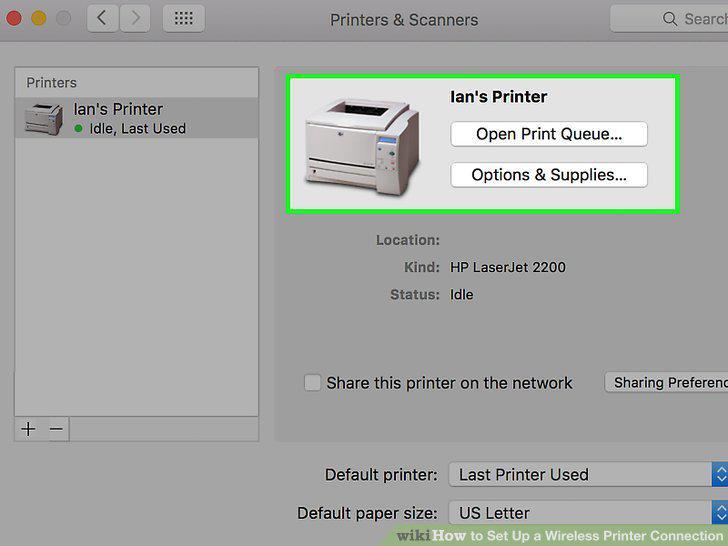
Print to your wireless printer.
Set up your printer so that it is connected to the network or to a computer.
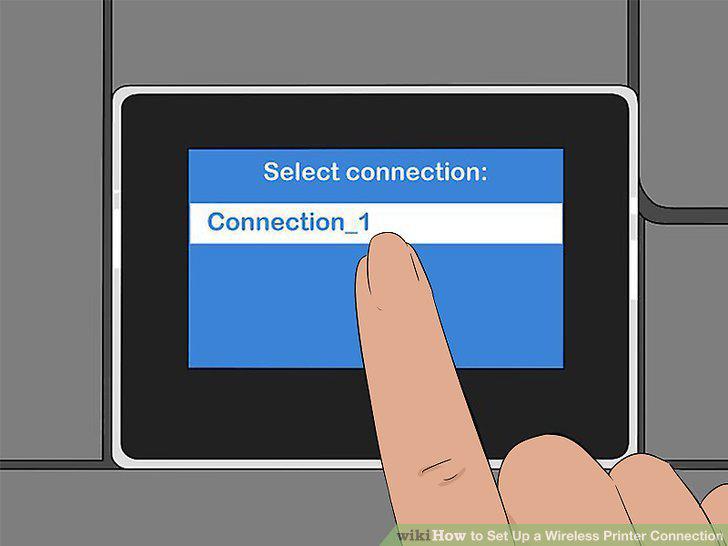
Set up your printer so that it is connected to the network or to a computer.
Connect your network printer to Google Cloud Print directly (if possible).
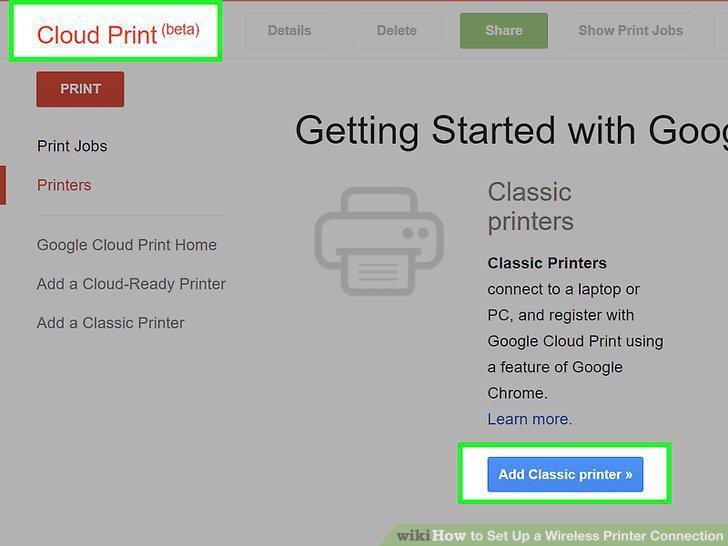
Connect your network printer to Google Cloud Print directly (if possible).
Open Chrome on your computer if the printer does not support Google Cloud Print.
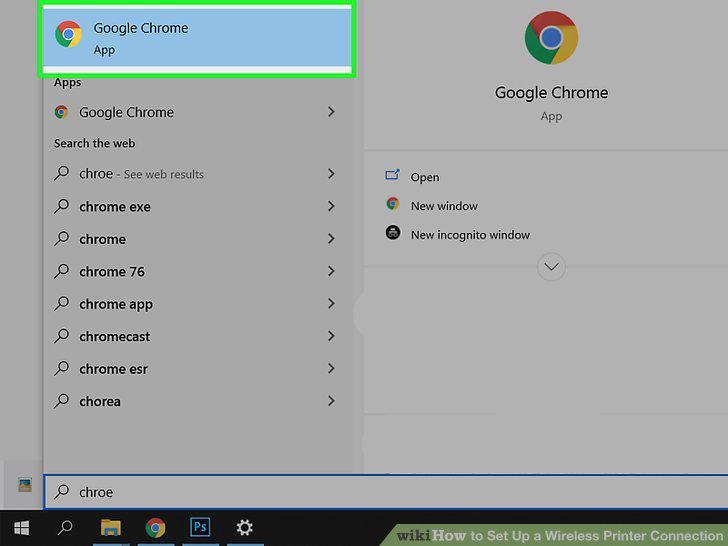
Open Chrome on your computer if the printer does not support Google Cloud Print.
Click the Chrome menu button and select "Settings."
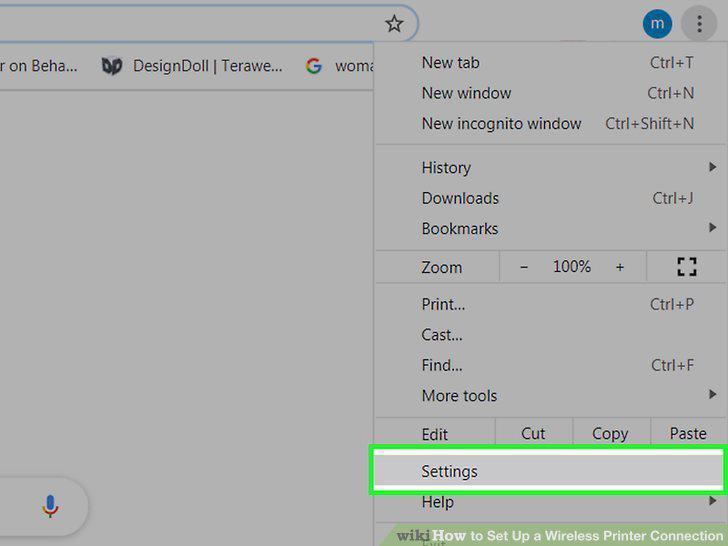
Click the Chrome menu button and select "Settings."
Click the "Show advanced settings" link and then scroll down.
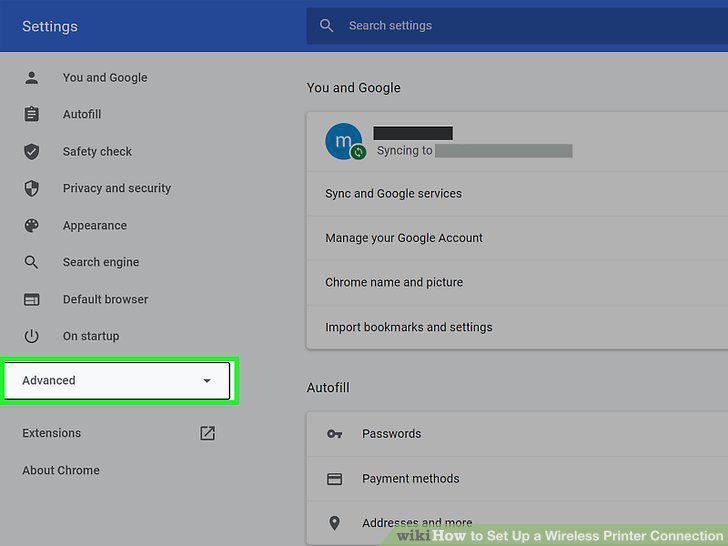
Click the "Show advanced settings" link and then scroll down.
Click the "Manage" button to open the Google Cloud Print manager.
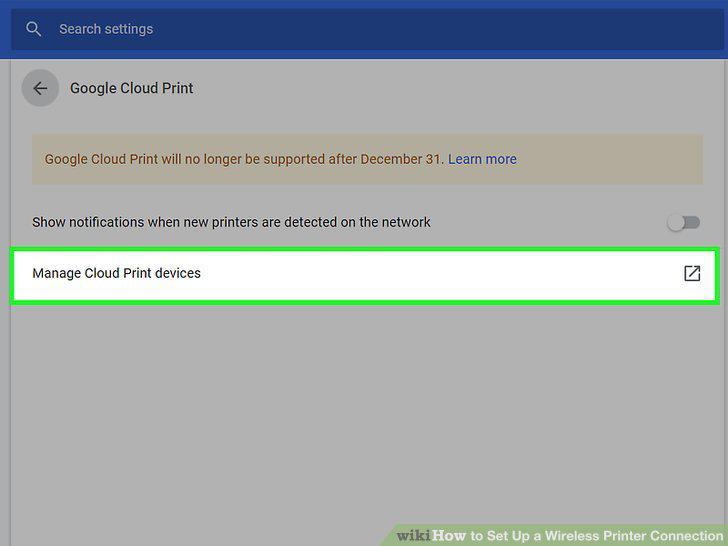
Click the "Manage" button to open the Google Cloud Print manager.
Click "Add printers" and you'll see a list of printers connected to your compute
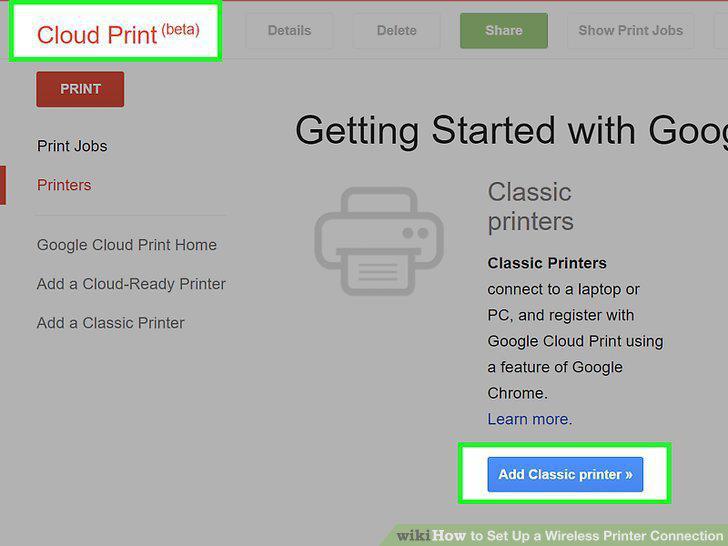
Click "Add printers" and you'll see a list of printers connected to your computer.
Ensure your device is selected and click "Add printers."
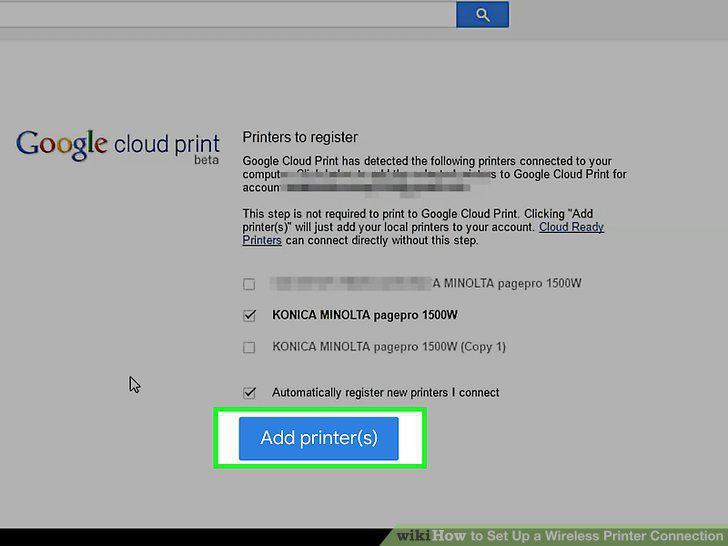
Ensure your device is selected and click "Add printers."
Download the Cloud Print app on your Android device.
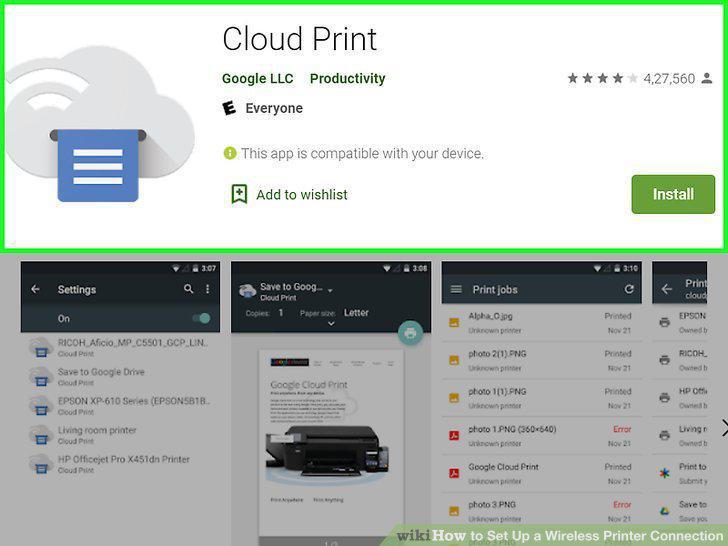
Download the Cloud Print app on your Android device.
Print from your Android apps.
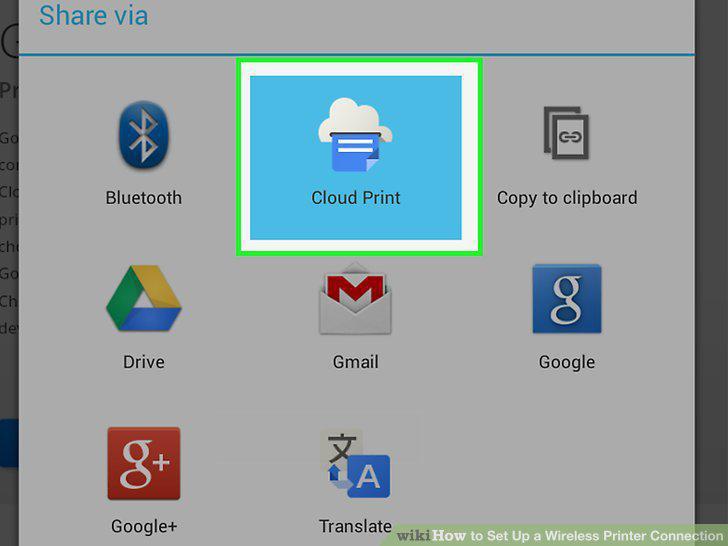
Print from your Android apps.
Determine if your printer supports AirPrint.
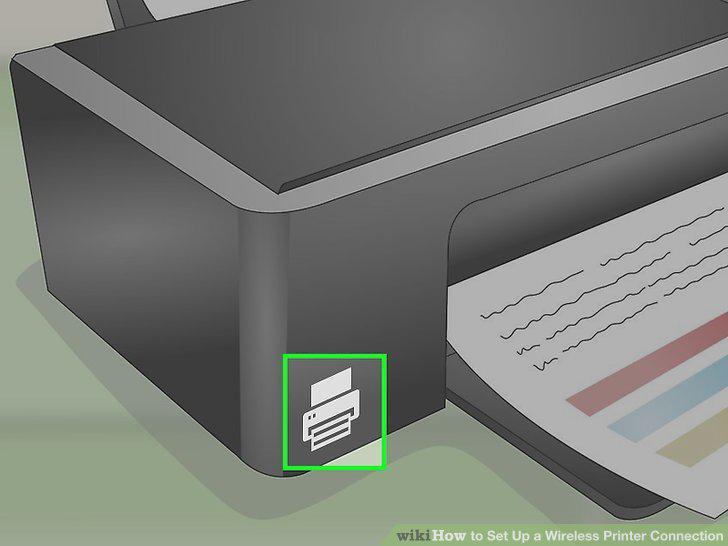
Determine if your printer supports AirPrint.
Open the app that you want to print from.
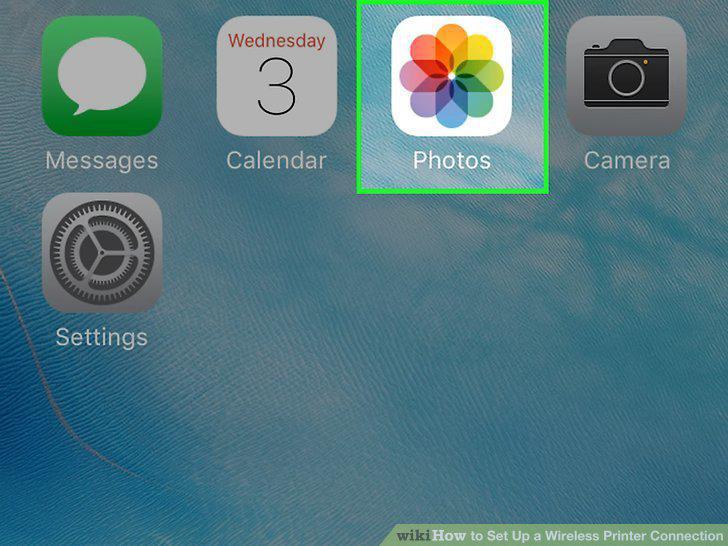
Open the app that you want to print from.
Open the item you want to print.
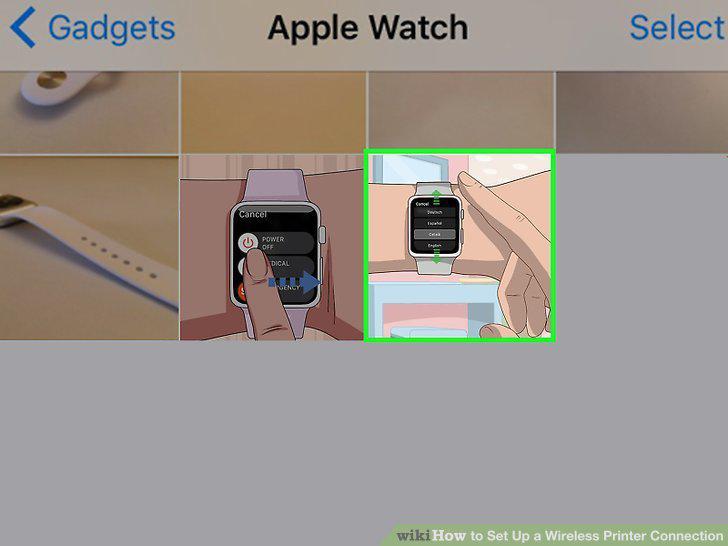
Open the item you want to print.
Tap the "Share" button and select "AirPrint."

Tap the "Share" button and select "AirPrint."
Select your printer and tap "Print."
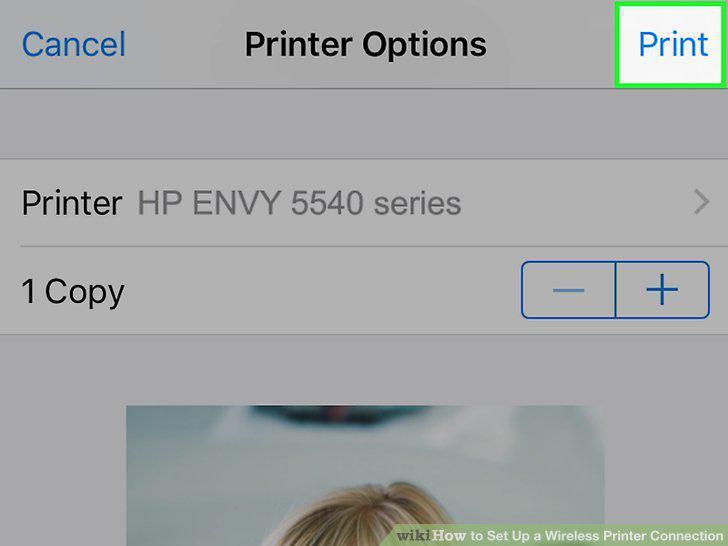
Select your printer and tap "Print."
Comments (0)
No comments yet. Be the first to share your thoughts!