How to Convert a JPEG to a Silhouette Cut-Out
Navigate to Silhouette's download site.. Find the "Silhouette Studio" option.. Select your platform from the drop-down menu.
Steps
Navigate to Silhouette's download site.
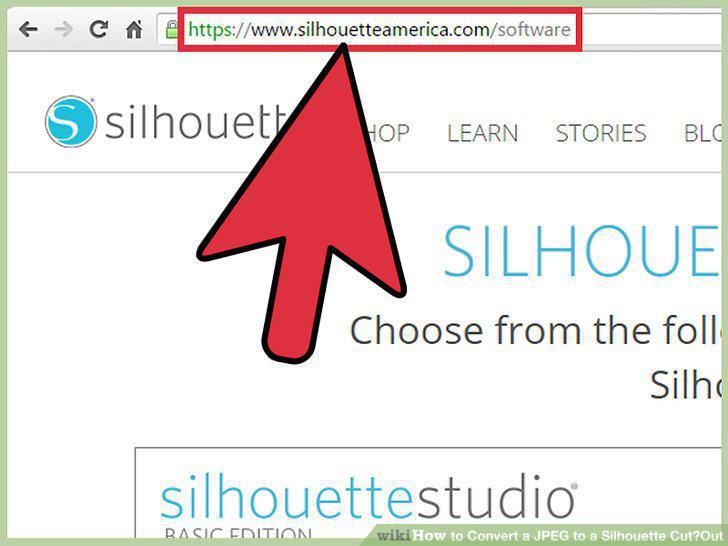
Navigate to Silhouette's download site.
Find the "Silhouette Studio" option.
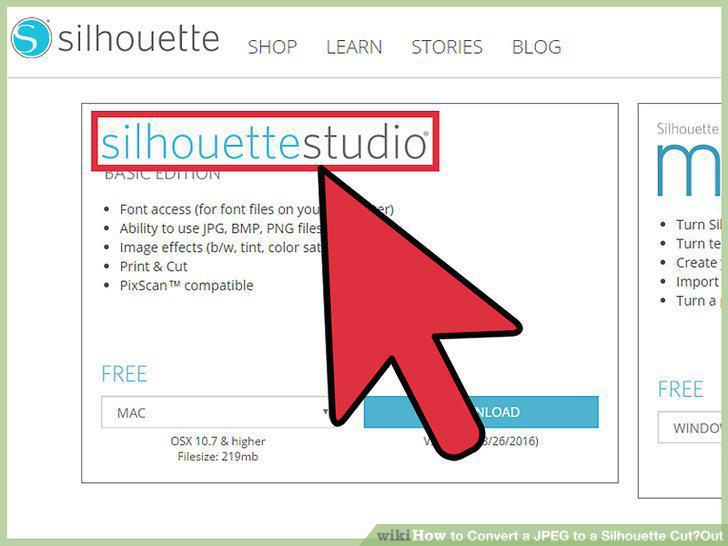
Find the "Silhouette Studio" option.
Select your platform from the drop-down menu.
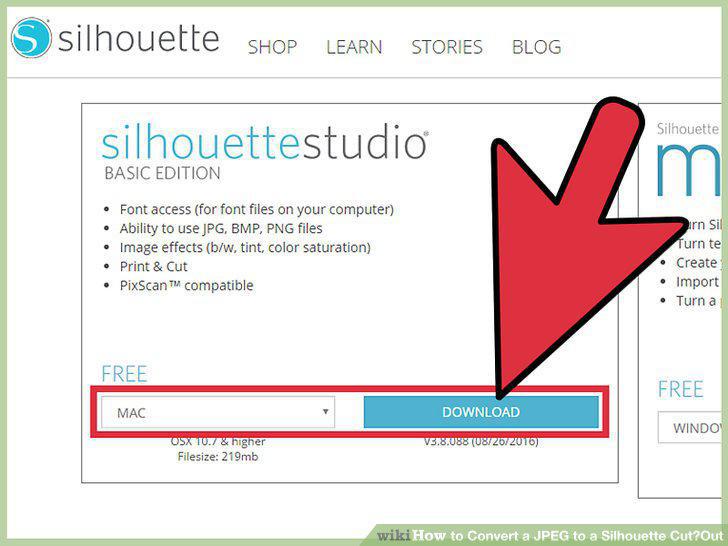
Select your platform from the drop-down menu.
Open the Silhouette setup.
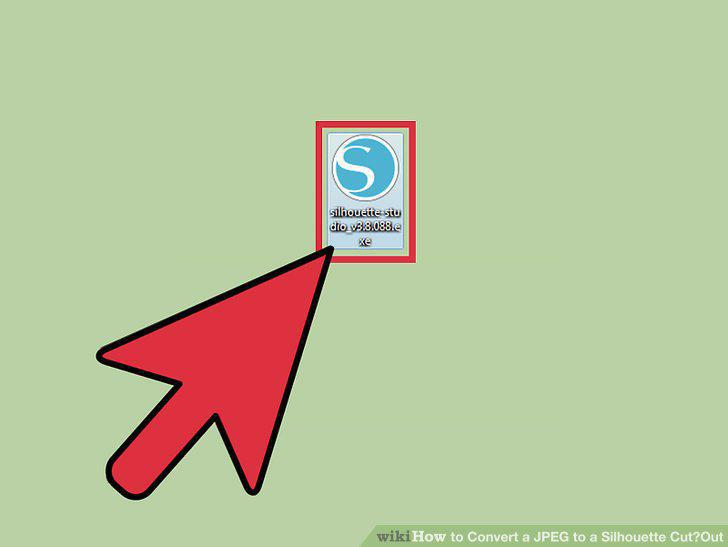
Open the Silhouette setup.
Follow the on-screen instructions for installation.
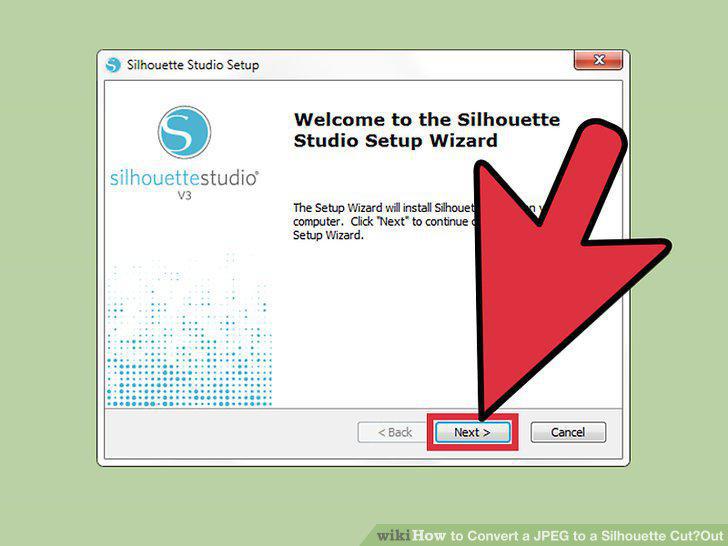
Follow the on-screen instructions for installation.
Double-click the Silhouette Studio icon.
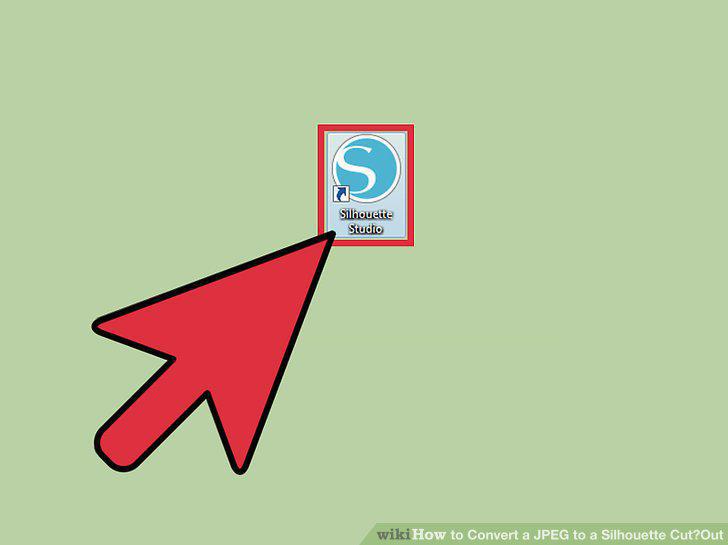
Double-click the Silhouette Studio icon.
Click the "Design" option.
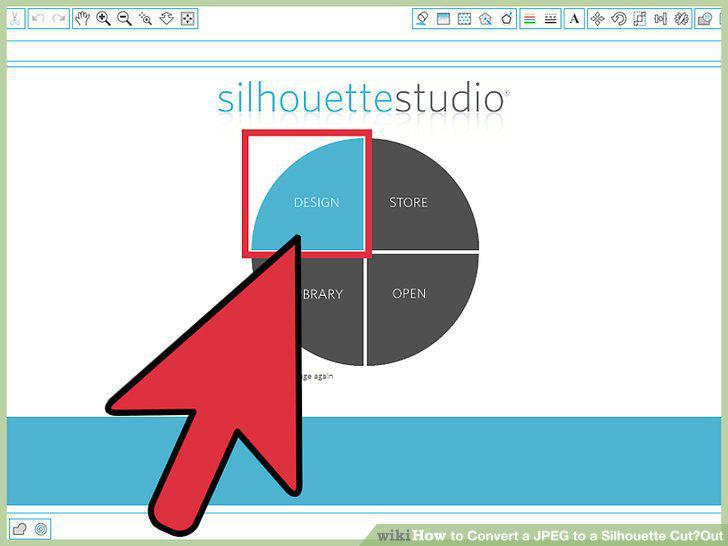
Click the "Design" option.
Click and drag your JPEG into the Silhouette window.
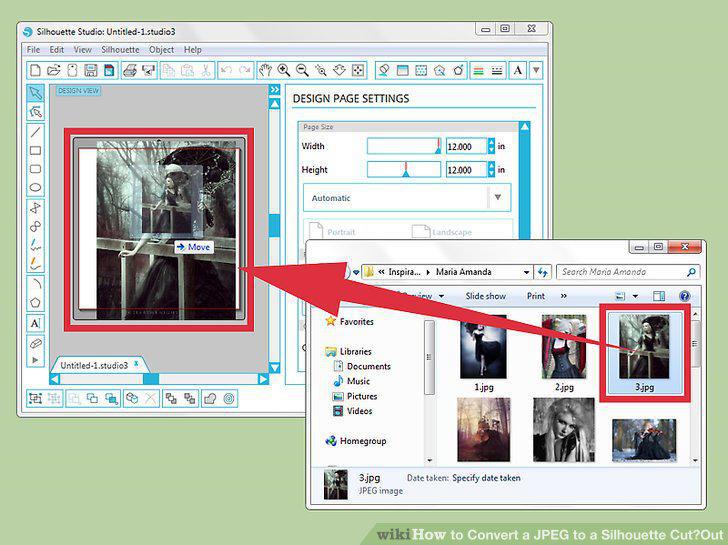
Click and drag your JPEG into the Silhouette window.
Resize your file if you need to.
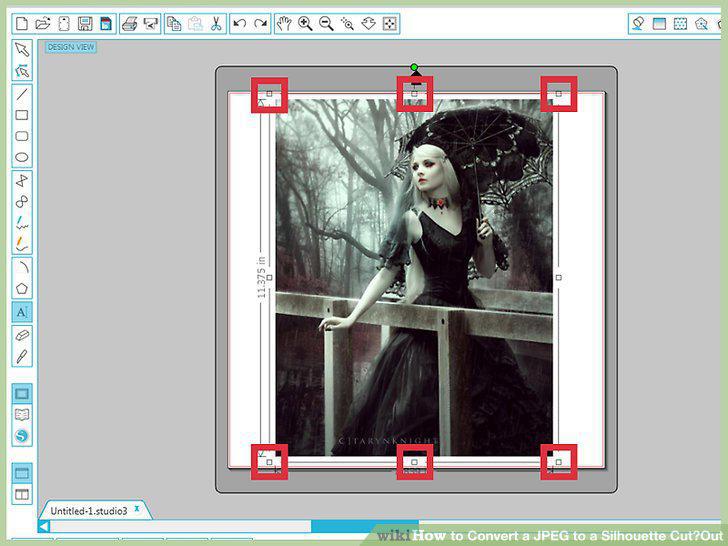
Resize your file if you need to.
Click the "Trace" button.
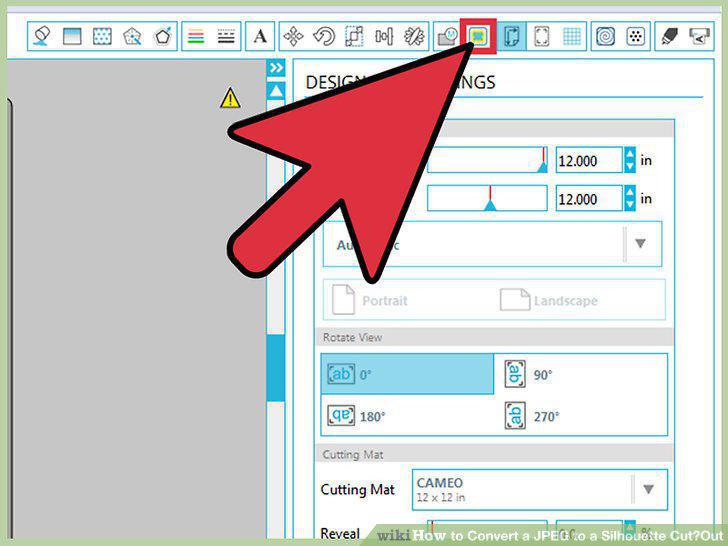
Click the "Trace" button.
Click "Select Trace Area".
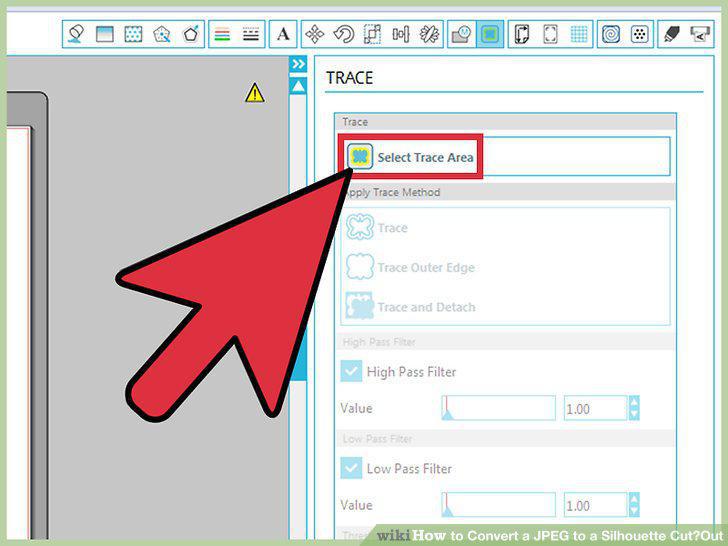
Click "Select Trace Area".
Click and drag your cursor over your trace area.
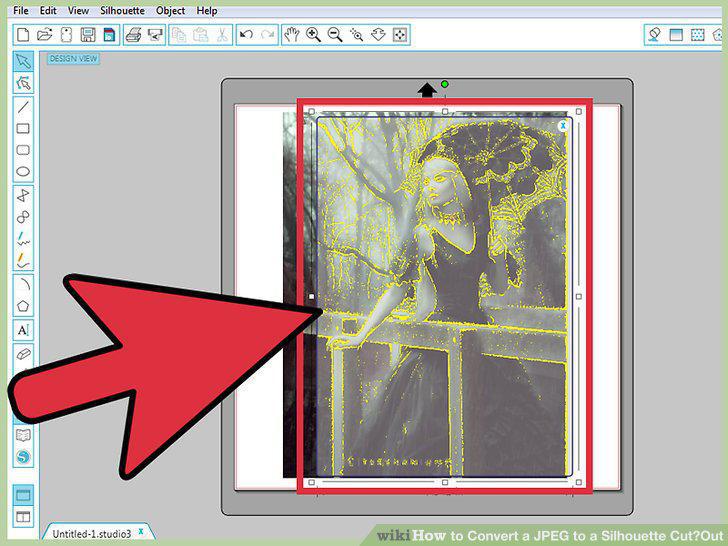
Click and drag your cursor over your trace area.
Click the checkbox next to "High Pass Filter".
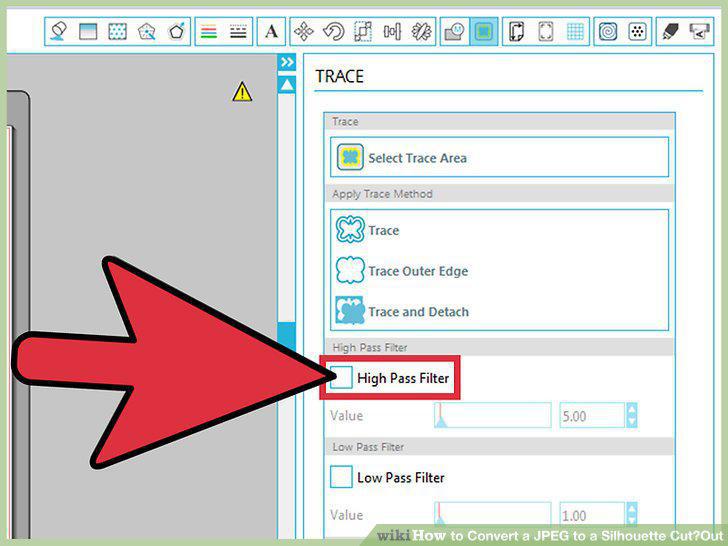
Click the checkbox next to "High Pass Filter".
Click and drag the "Threshold" option to the right.
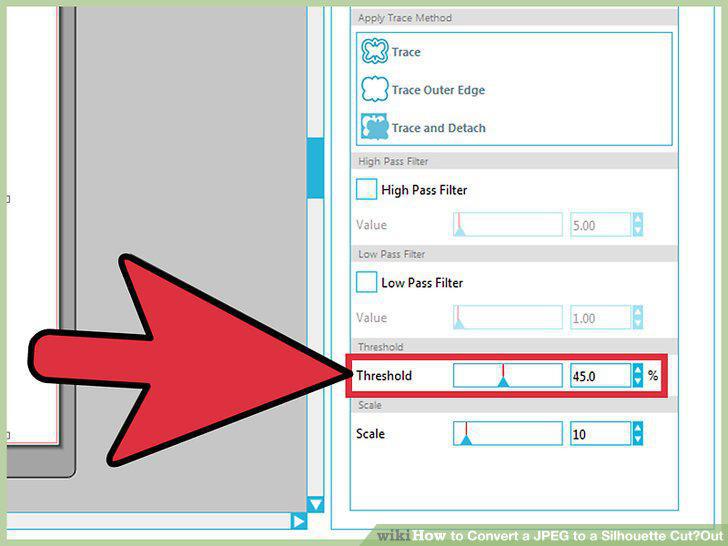
Click and drag the "Threshold" option to the right.
Click "Trace Outer Edge".
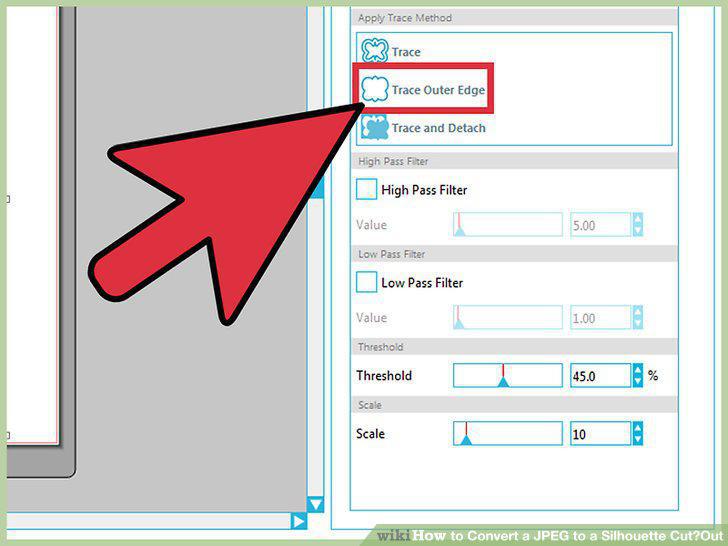
Click "Trace Outer Edge".
Click your original JPEG and tap Delete.
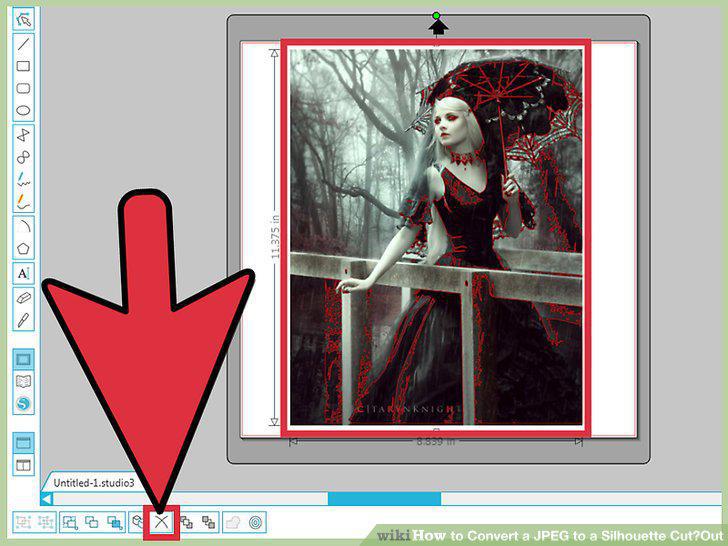
Click your original JPEG and tap Delete.
Click "File", then "Save As".
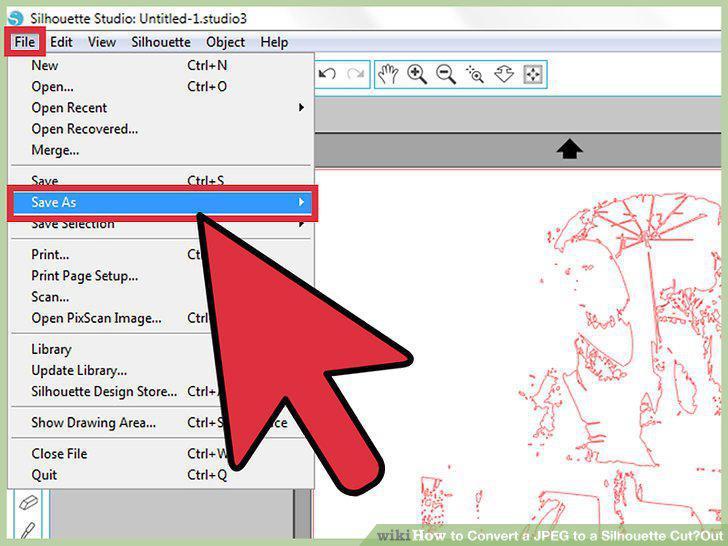
Click "File", then "Save As".
Comments (0)
No comments yet. Be the first to share your thoughts!