How to Replace a Sink Stopper
Undo the clamp that connects the pivot rod and extension bar.. Unscrew the pivot nut and pull it out with the pivot rod.. Undo the screw that connects the extension bar and lift rod.
Steps
Undo the clamp that connects the pivot rod and extension bar.
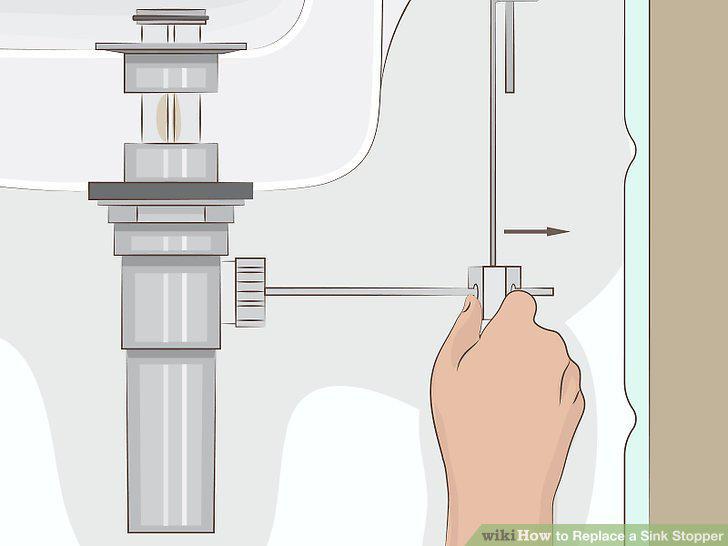
Undo the clamp that connects the pivot rod and extension bar.
Unscrew the pivot nut and pull it out with the pivot rod.
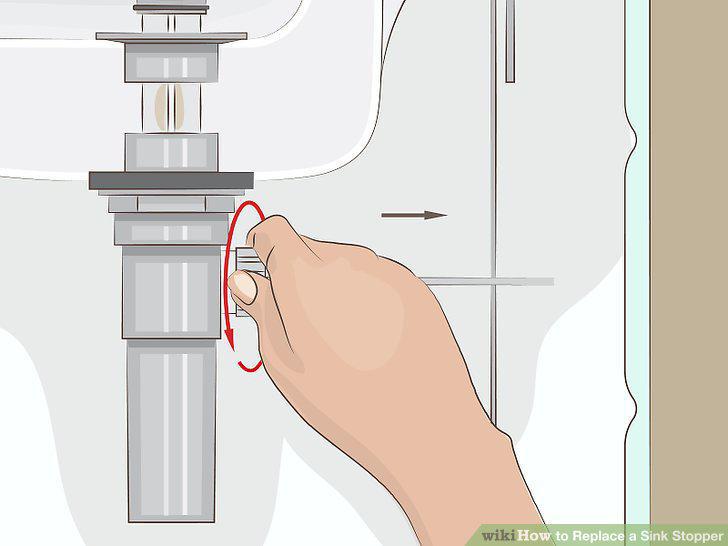
Unscrew the pivot nut and pull it out with the pivot rod.
Undo the screw that connects the extension bar and lift rod.
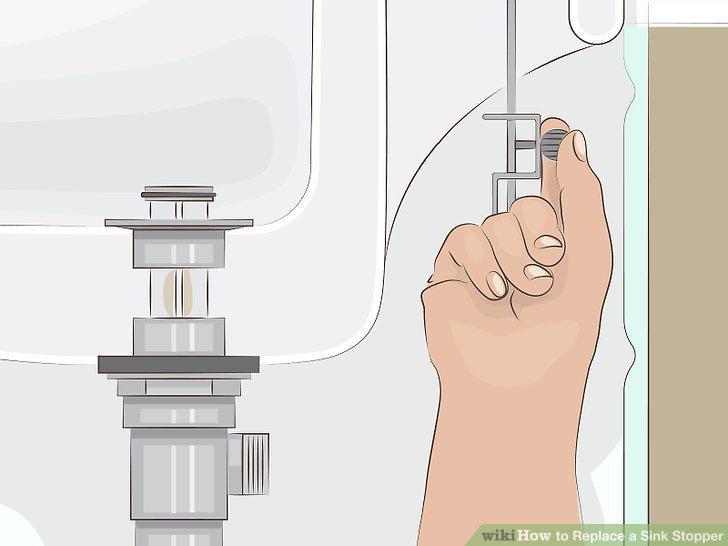
Undo the screw that connects the extension bar and lift rod.
Lift out the drain stopper.
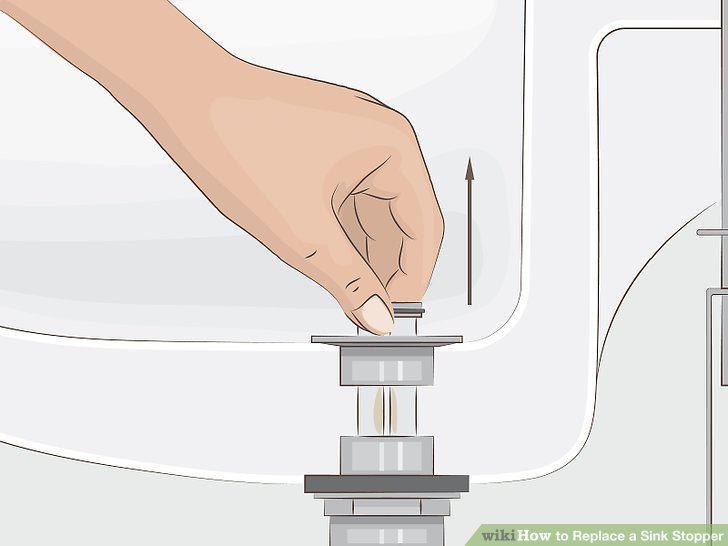
Lift out the drain stopper.
Find precise matches if you want to replace only the removed components.
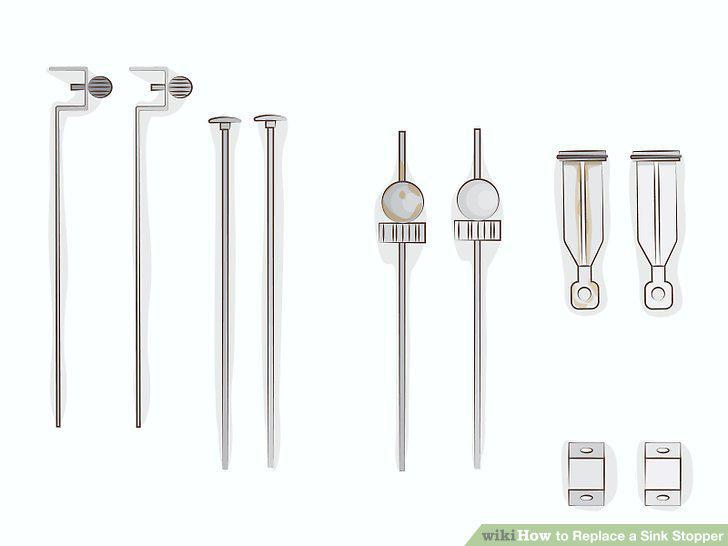
Find precise matches if you want to replace only the removed components.
Undo the connection between the P-trap and the tailpipe.
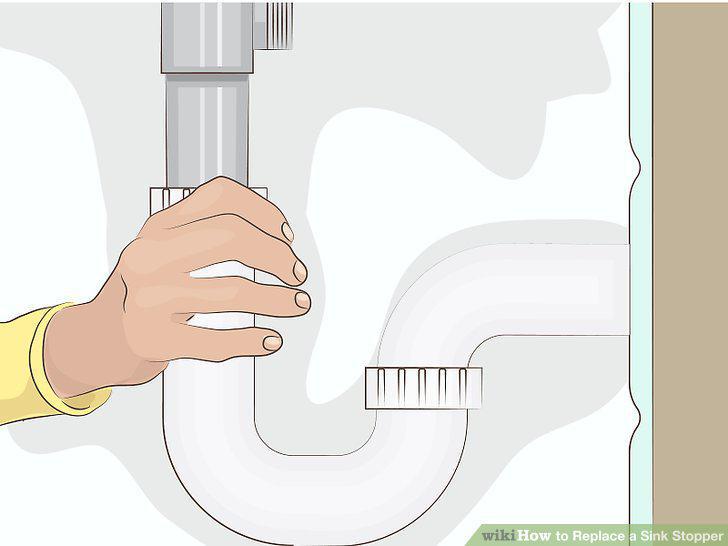
Undo the connection between the P-trap and the tailpipe.
Unthread the sink stopper's tailpipe from the underside of the drain.
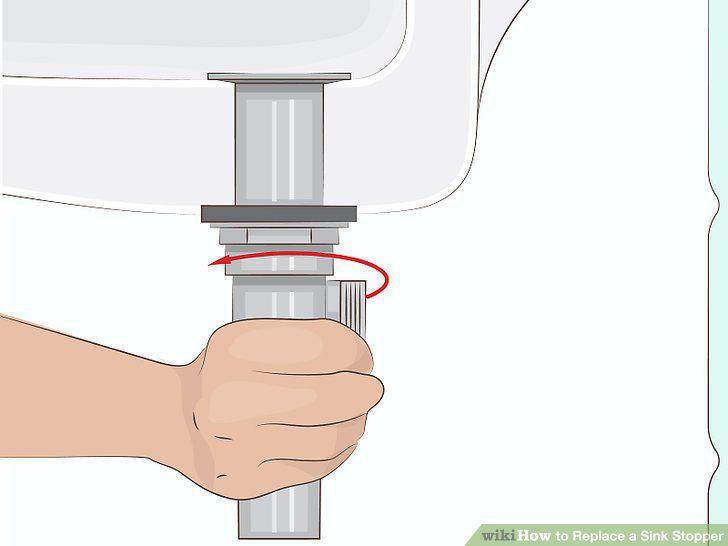
Unthread the sink stopper's tailpipe from the underside of the drain.
Loosen the locknut
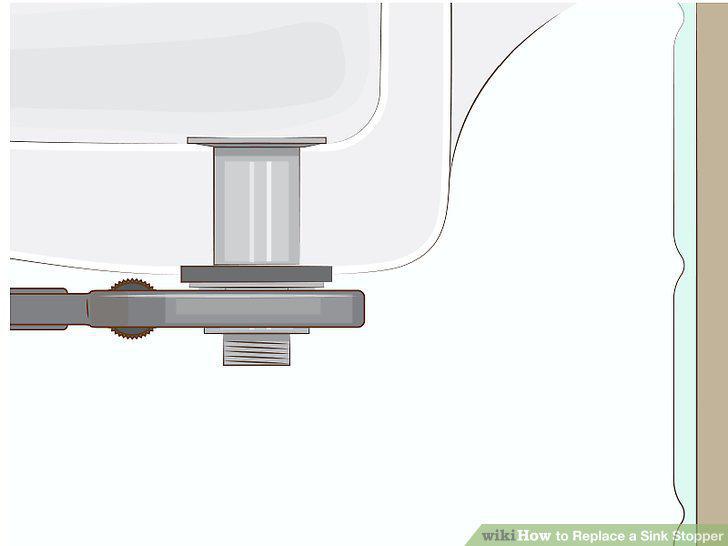
Loosen the locknut
Push up on the sink drain and pull it out of the sink basin.
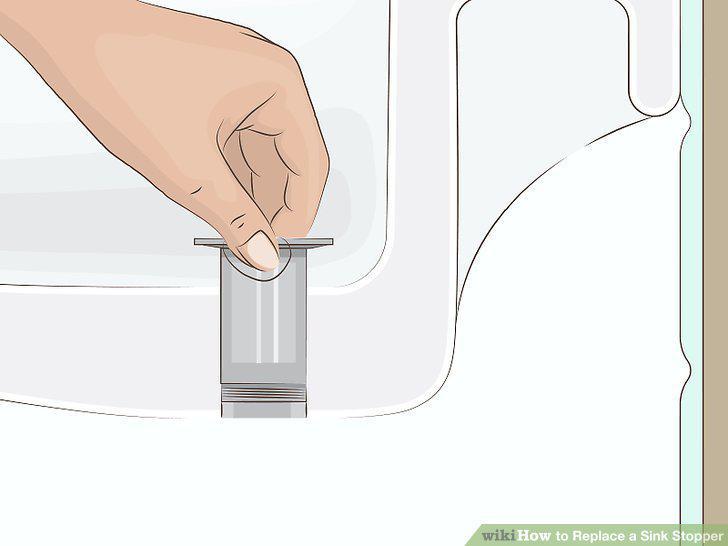
Push up on the sink drain and pull it out of the sink basin.
Take the disassembled components to the hardware store to find a replacement.
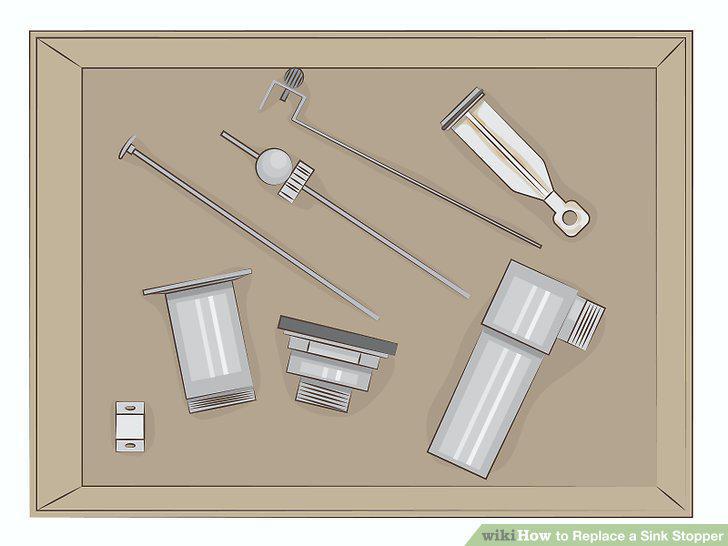
Take the disassembled components to the hardware store to find a replacement.
Place a rolled out ring of plumber's putty around the sink opening.
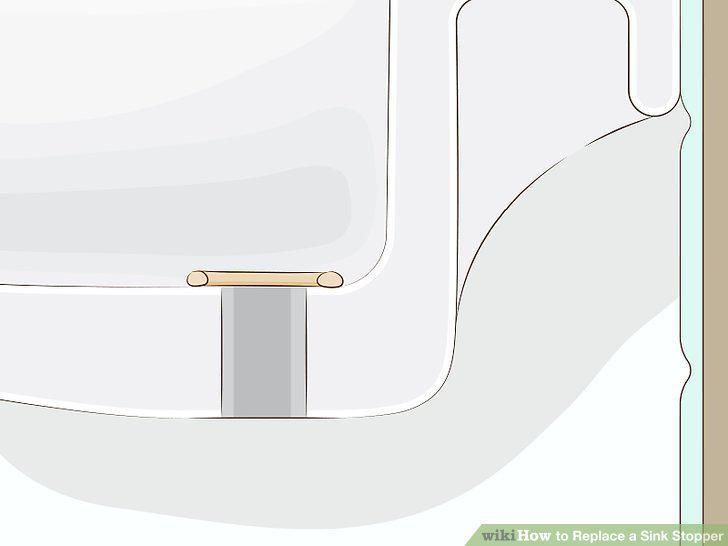
Place a rolled out ring of plumber's putty around the sink opening.
Push the new sink drain into the opening and onto the putty.
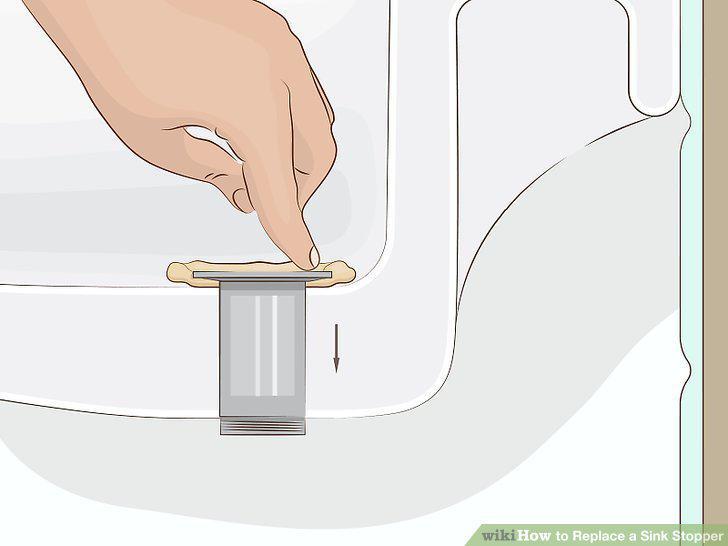
Push the new sink drain into the opening and onto the putty.
Stack any included gaskets on top of the locknut or bell housing.
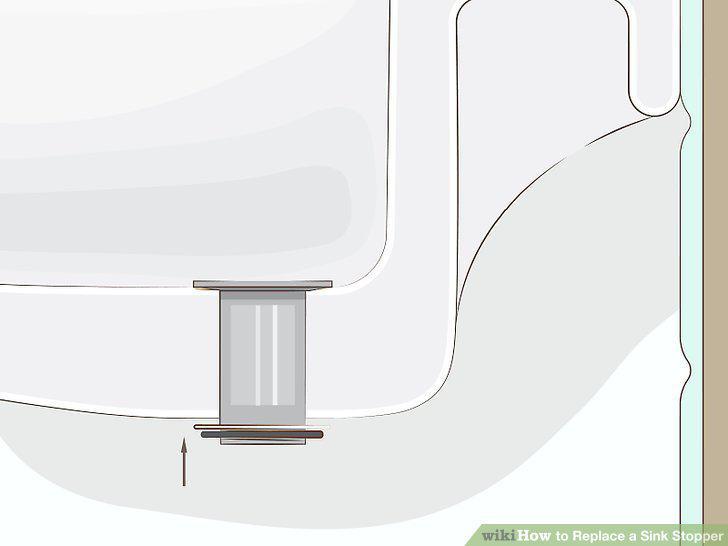
Stack any included gaskets on top of the locknut or bell housing.
Tighten the locknut or bell housing nut to secure the drain in place.
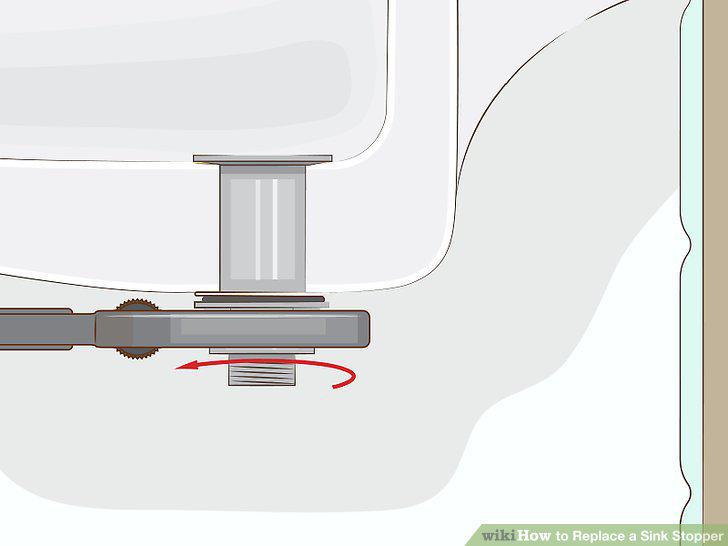
Tighten the locknut or bell housing nut to secure the drain in place.
Smear pipe joint compound onto the threads at the bottom of the sink drain.
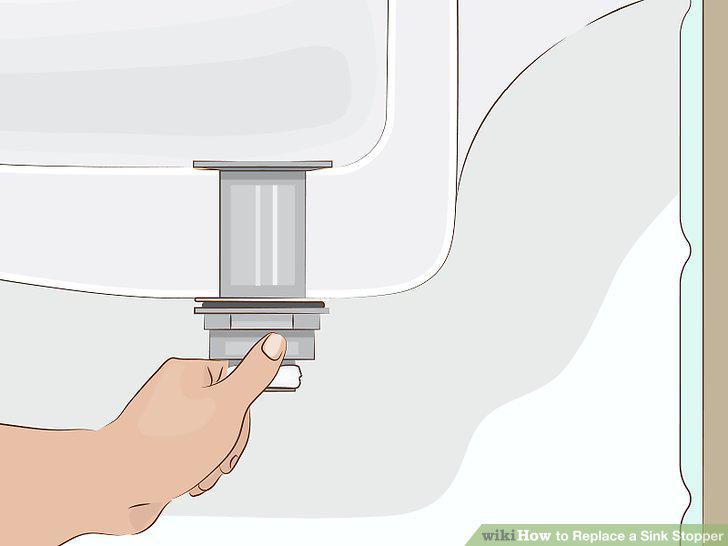
Smear pipe joint compound onto the threads at the bottom of the sink drain.
Screw on the tailpipe while also properly aligning the pipe stub.
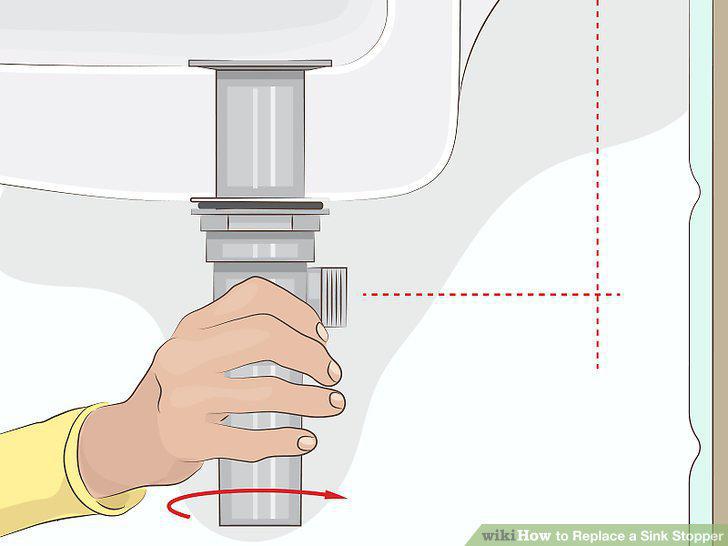
Screw on the tailpipe while also properly aligning the pipe stub.
Connect the P-trap to the tailpipe to complete the drain connection.
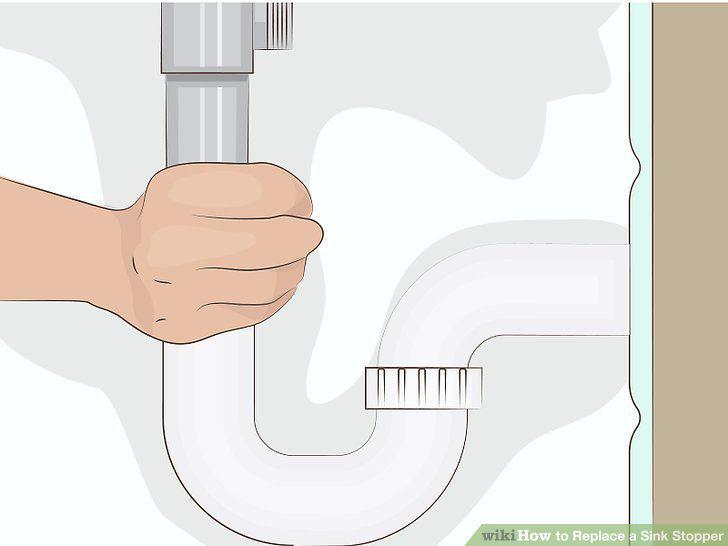
Connect the P-trap to the tailpipe to complete the drain connection.
Align and place the drain stopper into the sink's drain opening.
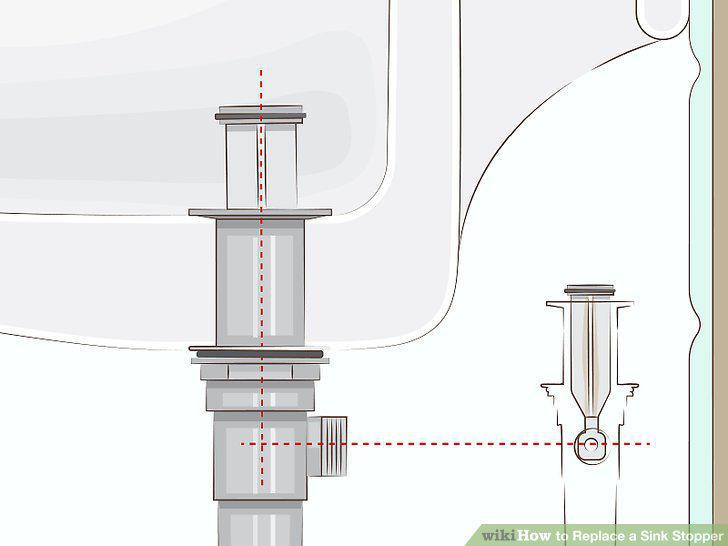
Align and place the drain stopper into the sink's drain opening.
Insert the tapered plastic washer into the horizontal stub on the tailpipe.
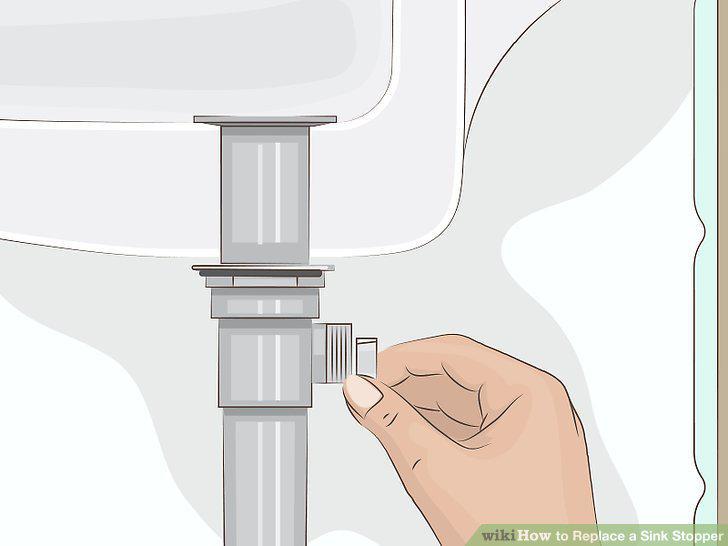
Insert the tapered plastic washer into the horizontal stub on the tailpipe.
Feed the pivot rod into the stub and through the hole on the drain stopper.
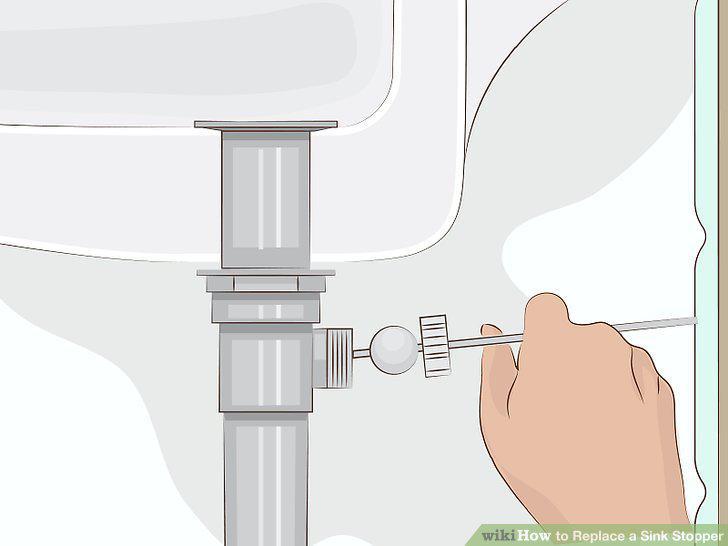
Feed the pivot rod into the stub and through the hole on the drain stopper.
Feed the pivot nut over the pivot rod and tighten it onto the pipe stub.
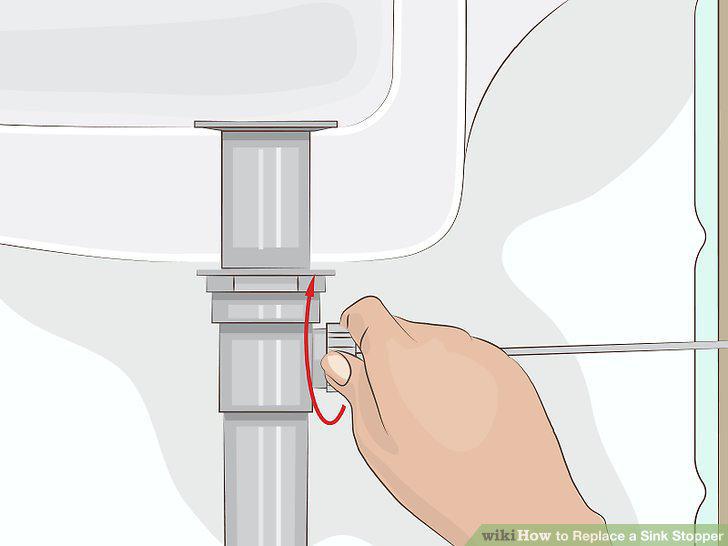
Feed the pivot nut over the pivot rod and tighten it onto the pipe stub.
Install and connect the lift handle and extension bar.
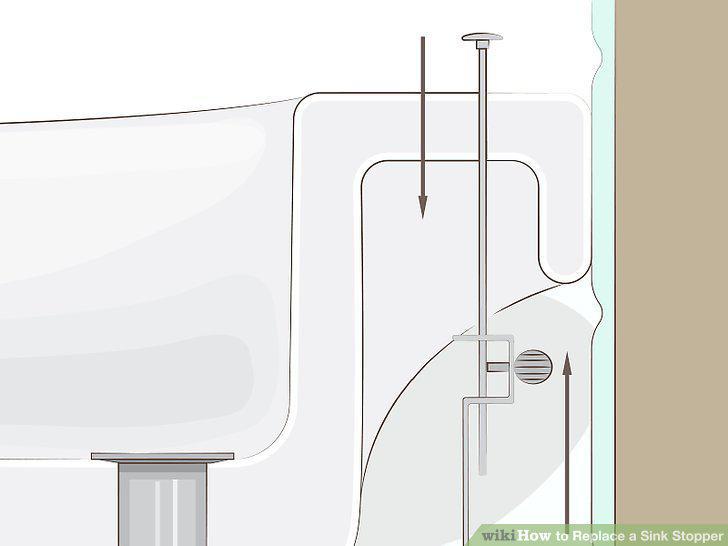
Install and connect the lift handle and extension bar.
Connect the pivot rod to the extension bar.
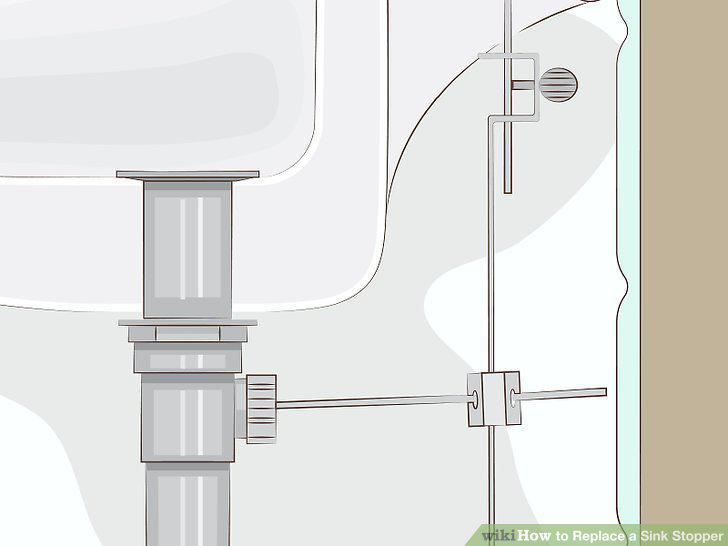
Connect the pivot rod to the extension bar.
Test the stopper and check for leaks.
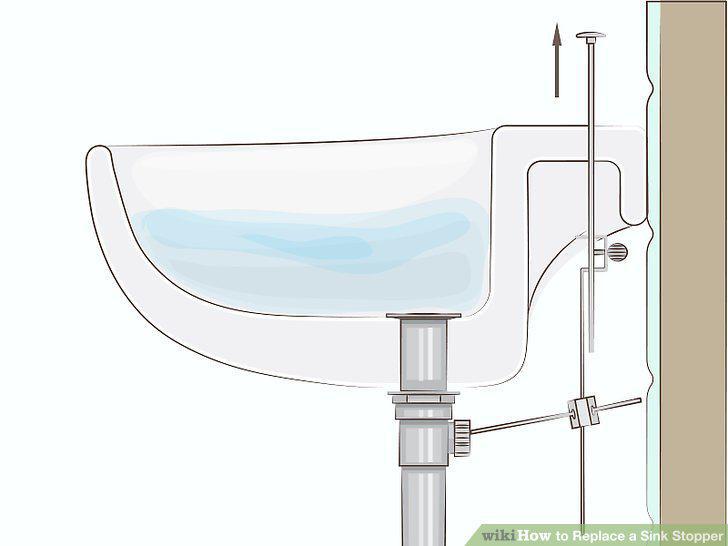
Test the stopper and check for leaks.
Check for leaks under the sink.
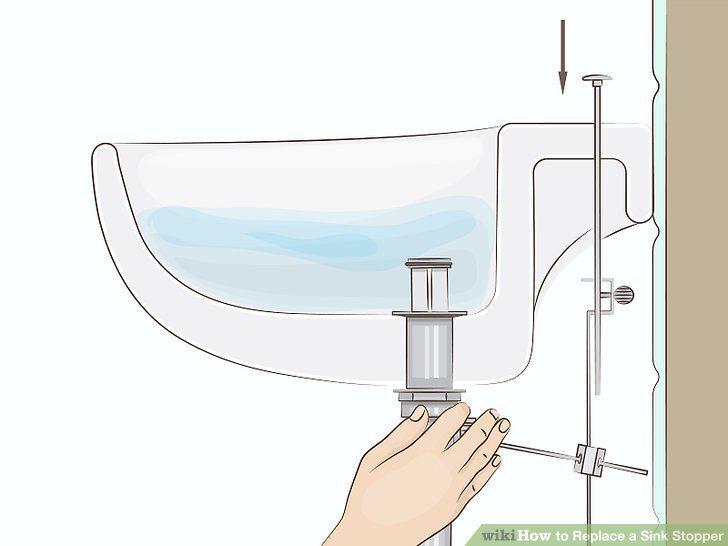
Check for leaks under the sink.
Comments (0)
No comments yet. Be the first to share your thoughts!