How to Add Text in Photoshop
Select the Type tool from the tools palette.. Set your text settings using the menu at the top of the screen.. Click on the part of your image where you want to add text in Photoshop.
Steps
Select the Type tool from the tools palette.
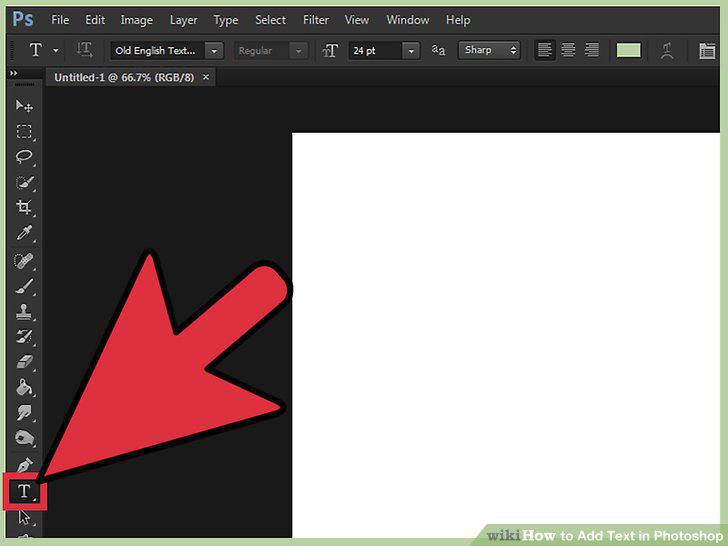
Select the Type tool from the tools palette.
Set your text settings using the menu at the top of the screen.
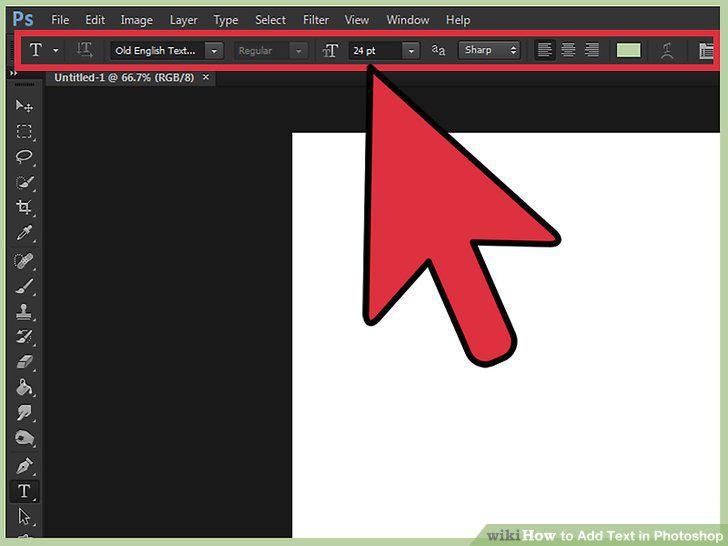
Set your text settings using the menu at the top of the screen.
Click on the part of your image where you want to add text in Photoshop.
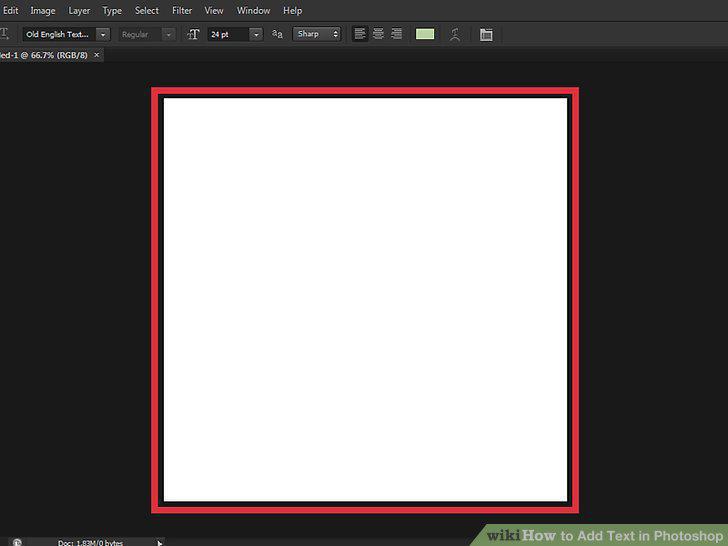
Click on the part of your image where you want to add text in Photoshop.
Click and drag with the text tool, before typing, to contain the text to one are
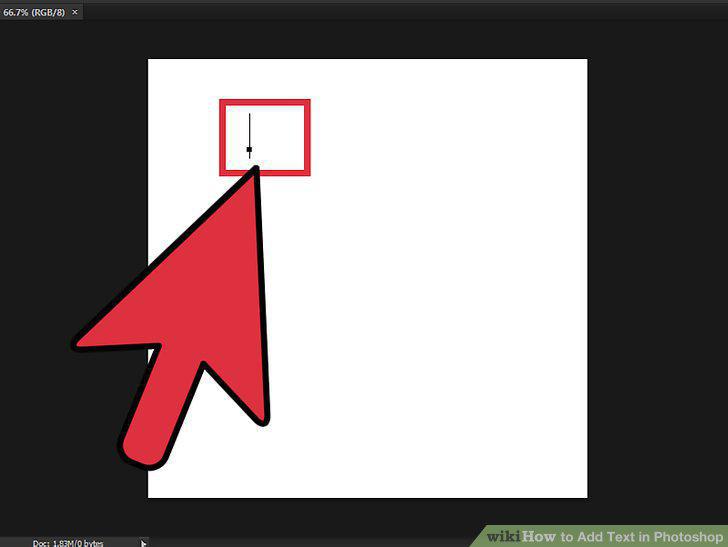
Click and drag with the text tool, before typing, to contain the text to one area.
Click outside the text box or press the Ctrl (Control) and Enter keys on your ke
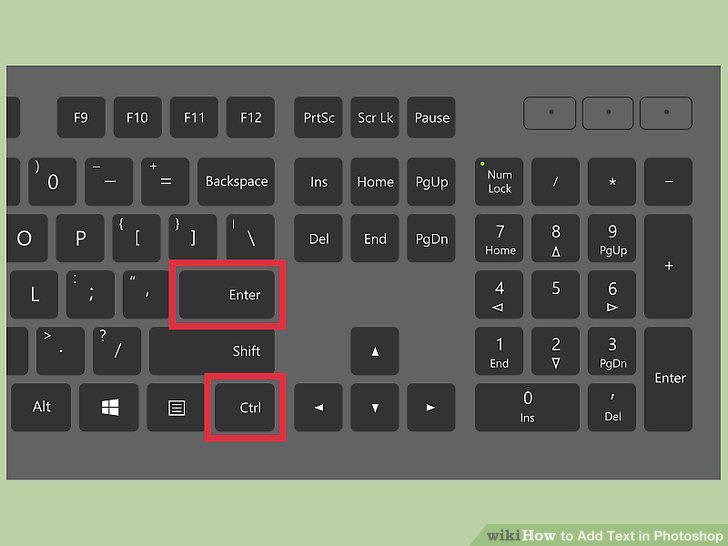
Click outside the text box or press the Ctrl (Control) and Enter keys on your keyboard simultaneously to see how the text finally appears on your Photoshop image.
Click and hold the Text icon in the toolbar for different text-writing options.
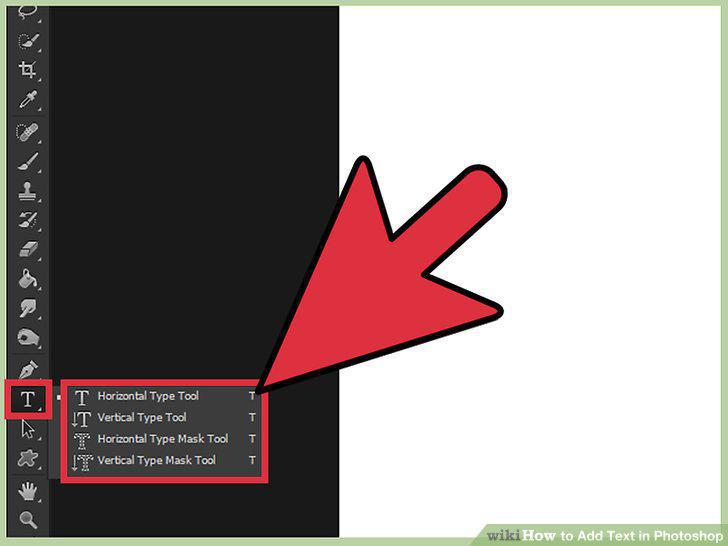
Click and hold the Text icon in the toolbar for different text-writing options.
Use the "Paragraph" and "Character" menus to change line spacing, kerning, and m
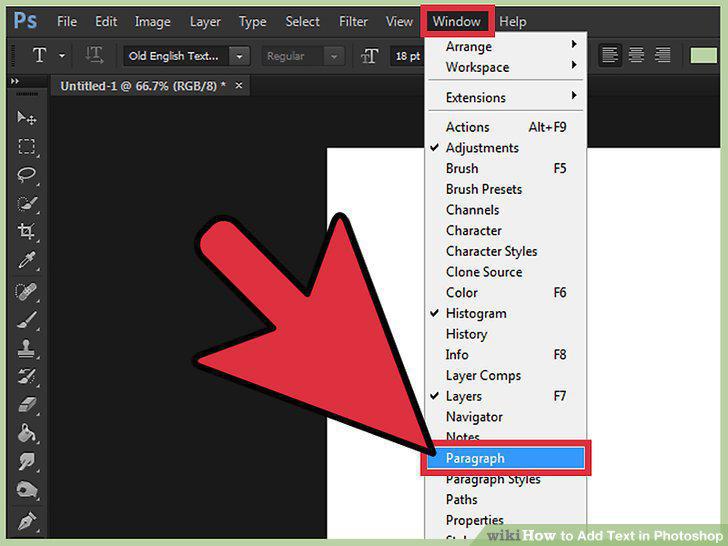
Use the "Paragraph" and "Character" menus to change line spacing, kerning, and more in-depth options.
Right-click the text and select Blending Options.
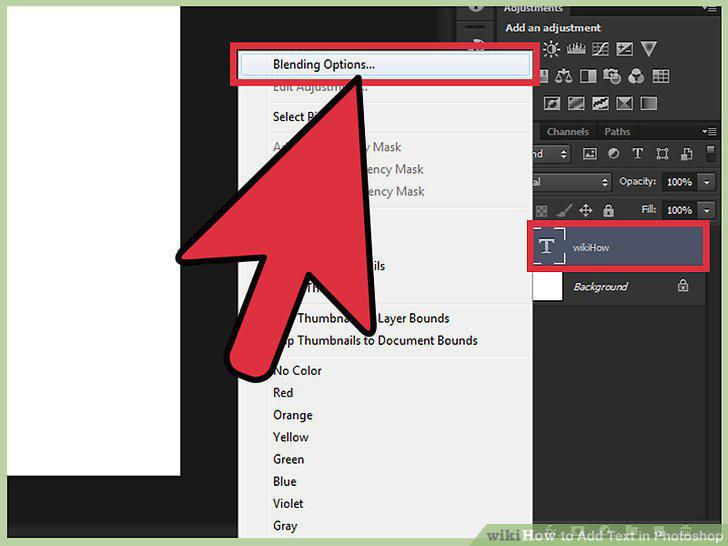
Right-click the text and select Blending Options.
Find and add free new fonts online.
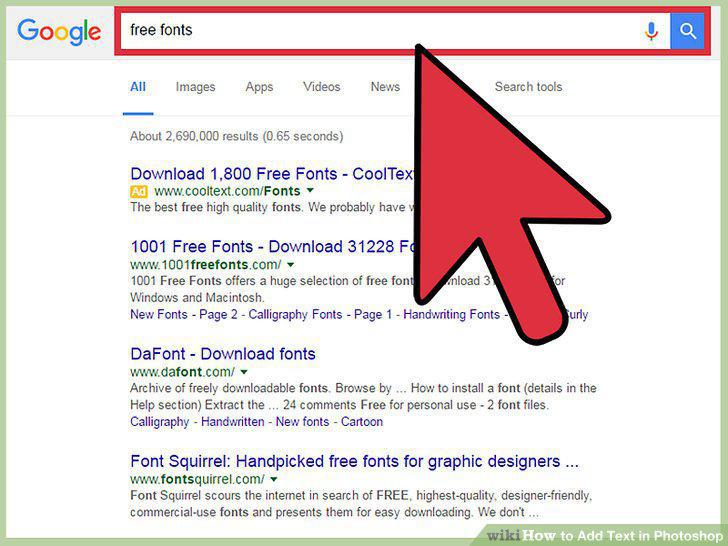
Find and add free new fonts online.
Comments (0)
No comments yet. Be the first to share your thoughts!